
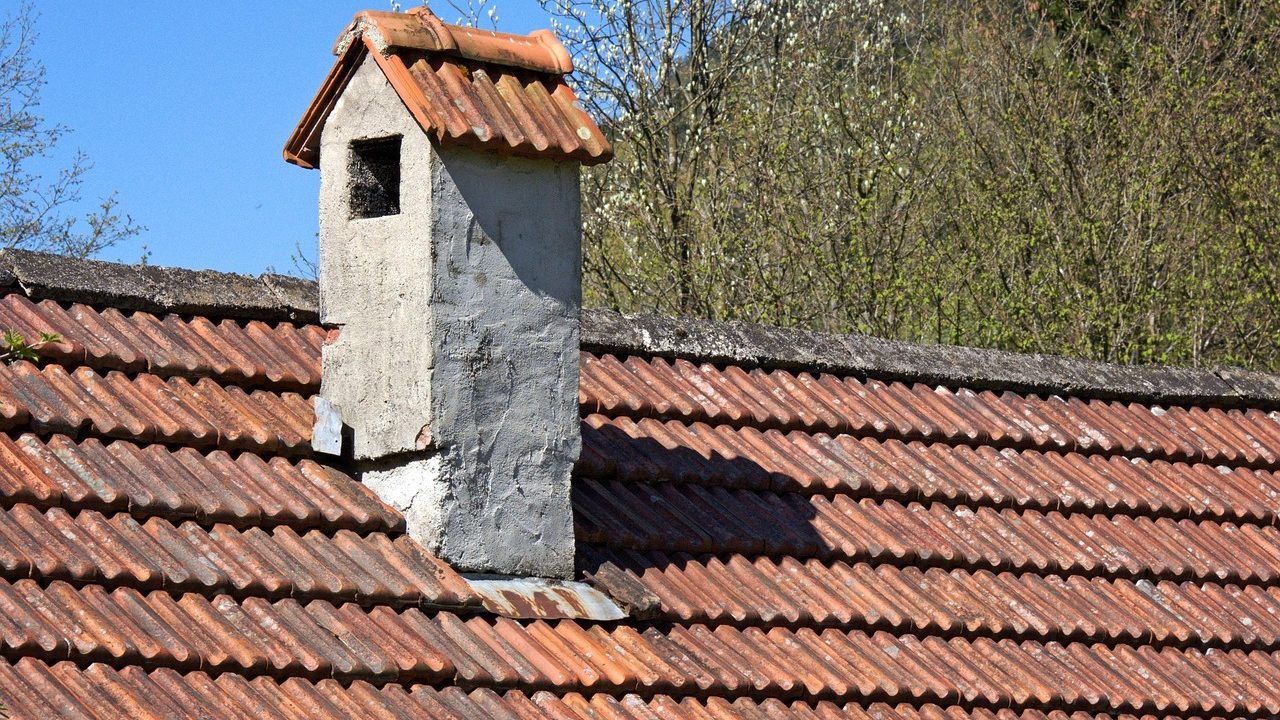
When water stains appear on the drywall near your ceiling or along the attic rafters surrounding your fireplace, evaluating the chimney flashing repair vs masonry rebuilding cost US contractors quote becomes an urgent financial priority. Water moving along framing members creates a classic diagnostic dilemma for homeowners: Is the leak caused by a localized failure of metal seam integrity at the roofline, or is water migrating through porous, freeze-thaw damaged brickwork that requires a complete structural teardown?
Misdiagnosing this issue leads to two costly errors: spending thousands of dollars completely rebuilding structural brickwork when simple sheet metal replacement would suffice, or repeatedly applying short-lived topical caulking to a structurally failing chimney that continues to decay internally. Understanding how sheet metal flashing systems interlock with structural masonry—and how trade labor costs break down across North America—allows you to make a cold, clear economic decision.
Understanding the Anatomy of Chimney Water Protection
A residential masonry chimney passing through a roof pitch is inherently a structural hole in your house. To prevent rainwater from pouring through this gap, roofers and masons install a layered system of sheet metal flashing designed to divert water using gravity alone. Recognizing these individual components helps pinpoint precisely where water is entering.
Step Flashing
Step flashing consists of individual L-shaped metal cards (typically aluminum, galvanized steel, or copper) bent at a 90-degree angle. Each card is woven directly into successive courses of roof shingles along the sides of the chimney structure. One leg lays flat under the shingle while the vertical leg rests flat against the vertical brick wall. Because step flashing moves independently with roof deck flexing, it provides continuous coverage as the home settles and responds to seasonal temperature changes.
Counter-Flashing (Cap Flashing)
Counter-flashing sits directly over top of the vertical legs of the step flashing. Masons cut a horizontal channel—known as a reglet—roughly one inch deep directly into the mortar joints of the brickwork. The top edge of the metal counter-flashing is folded into this reglet and secured with metal wedges or masonry fasteners, then sealed with high-performance polyurethane or silicone sealant. Water running down the outer brick face cascades over the counter-flashing, shedding cleanly past the step flashing and onto the roof shingles without reaching the attic space.
Base and Head Flashing
Base flashing covers the front bottom edge of the chimney that faces down the roof pitch, extending over the lower shingles. Head flashing protects the upper wall facing up toward the roof ridge. Because the upper back wall receives high-volume water run-off down the roof slope, head flashing must be integrated carefully or paired with a specialized diverter structure known as a chimney cricket.
The Role and Mechanics of a Chimney Cricket
When a chimney sits perpendicular to a sloped roof deck, the uphill side acts as a dam, capturing rainwater, leaf debris, and snow against the rear vertical face. In areas with high annual precipitation or freezing winter temperatures, standing water and accumulated snow melt along this seam rapidly degrade both mortar and metal seams.
A chimney cricket (or saddle) is a small, elevated wooden roof structure clad in metal or shingles shaped like a pitched ridge roof. It is installed directly behind the chimney to split incoming water flow and divert it around both sides of the masonry stack. According to International Residential Code (IRC) standards, a cricket is mandatory when a chimney width along the ridge axis exceeds 30 inches, unless the chimney is located directly on the roof ridge itself.
Evaluating a chimney cricket installation price is an essential factor when addressing persistent roofline water damage. Installing a custom-fabricated sheet metal or framed timber cricket during a flashing replacement typically costs between $400 and $1,500 depending on roof pitch, access difficulty, and materials used. Retrofitting a cricket drastically eliminates standing water pressure against the back wall, often curing chronic rear-flashing leaks without requiring full masonry demolition.
Key Signs: Flashing Failure vs. Masonry Failure
Determining whether you need a quick sheet metal intervention or structural masonry restoration requires identifying distinct, verifiable diagnostic signs. Water follows the path of least resistance, but the exact physical location and behavior of interior damage provide strong clues.
Primary indicators of metal flashing failure include:
- Targeted attic drips along framing: Fresh water appears inside the attic ceiling only during active, wind-driven rainstorms and dries quickly afterward.
- Visible caulking separation: The sealant along the mortar reglet joint is cracked, peeling, hardened, or missing entirely.
- Corroded metal components: Rust holes, oxidation, or pinhole perforations are visible on galvanized steel flashing cards.
- Unattached or lifted sheet metal: Wind uplift or roof deck movement has pulled the counter-flashing away from the brick face.
Primary indicators of structural masonry failure include:
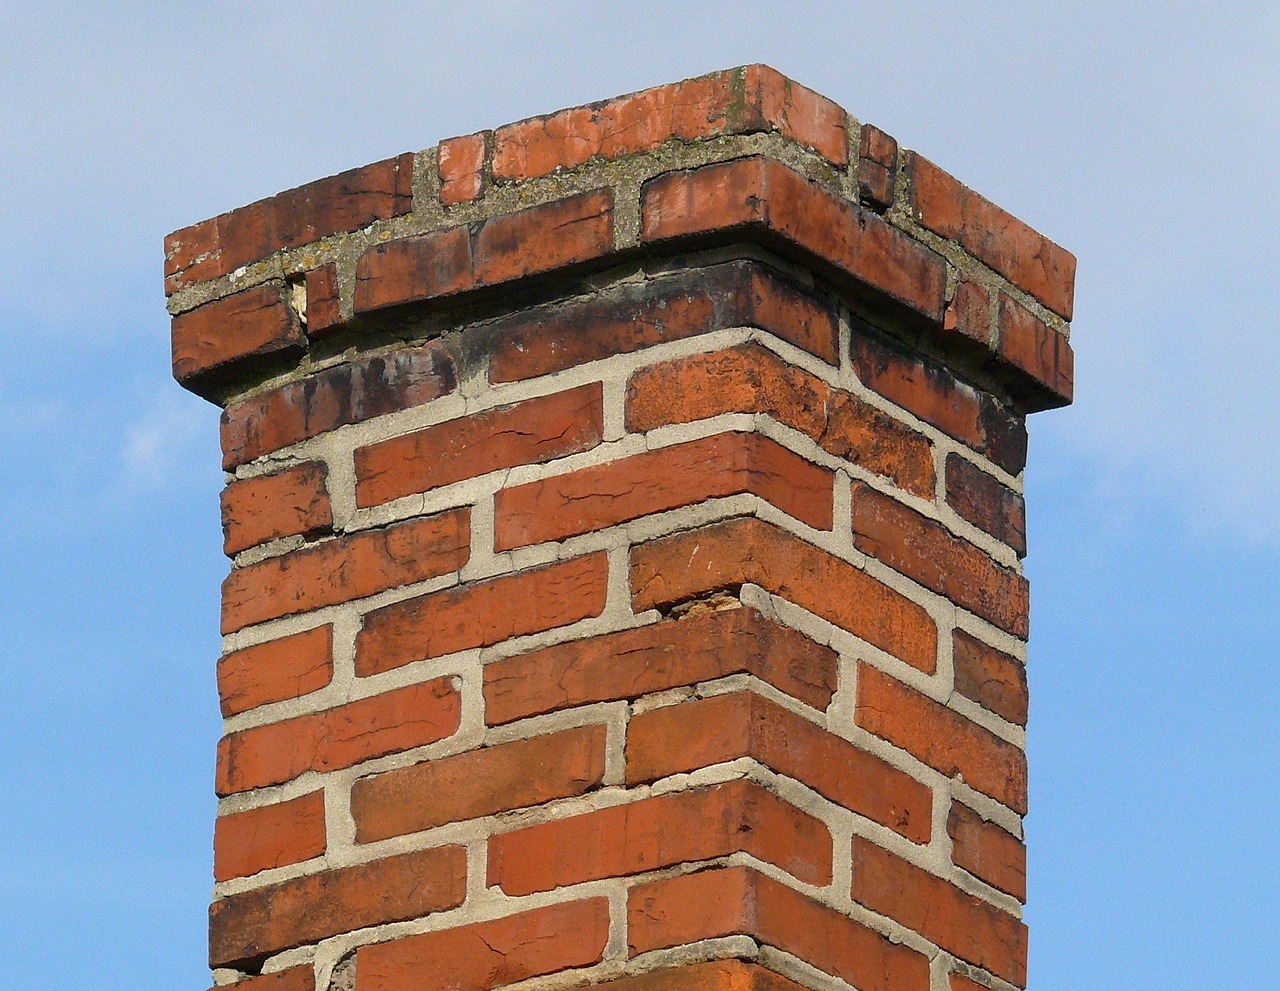
- Efflorescence: White, powdery mineral salt deposits crusting on the exterior bricks or fireplace surround inside the home, indicating continuous moisture absorption through porous material.
- Spalling bricks: The outer faces of the bricks are flaking off, cracking, or crumbling into piles on the roof deck due to internal moisture freezing and expanding during winter cycles.
- Mortar deterioration: Mortar joints are eroded deeper than half an inch, soft enough to scrape away with a screwdriver, or missing completely across multiple courses.
- Persistent internal staining during dry weather: Water stains inside the living room ceiling that persist long after rain has stopped, caused by water soaked into saturated brick gradually bleeding inward.
- Crown damage: The concrete slab at the top of the chimney stack is cracked, unsealed, or missing large chunks, letting water drop directly down into the interior masonry core.
Cost Breakdown: Localized Flashing Repairs
If your chimney’s structural brickwork remains sound, plumb, and solid, performing a targeted flashing replacement offers the most economical solution. Repairing localized flashing components preserves functioning masonry while completely sealing the vulnerable roof-to-wall intersection.
Standard Counter-Flashing and Step Flashing Replacement
Completely stripping away compromised step flashing and grinding fresh reglets for new counter-flashing typically ranges from $500 to $1,800 for an average single-flue residential chimney in the US. Labor represents the majority of this cost due to roof pitch safety requirements, tear-off labor, and precise sheet metal bending.
Material choices directly influence long-term longevity and expense:
- Aluminum: Inexpensive and easy to shape, but can corrode when in direct contact with wet masonry mortar due to alkaline chemical reactions. Expected lifespan: 15–20 years.
- Galvanized Steel: Durable and economical, but prone to rusting if the protective coating is scratched during installation or weathered over time. Expected lifespan: 15–25 years.
- Lead-Coated Copper or Pure Copper: High-end, completely impervious to masonry corrosion, highly malleable, and capable of lasting 50 to 100 years without degradation. Premium copper flashing installations generally sit at the top end of repair estimates.
Leaking Chimney Step Flashing Cost Considerations
Calculating a realistic leaking chimney step flashing cost requires looking closely at surrounding roof shingles. Step flashing cannot be replaced in isolation without lifting or removing the surrounding courses of shingles. If your roof deck features older, brittle asphalt shingles, replacing step flashing may force partial roof repairs, increasing labor time and total cost.
If contractors can salvage existing shingles without damaging the waterproof underlayment, localized step flashing repairs generally cost between $600 and $1,200. However, if entire surrounding shingle courses must be torn out and re-shingled, expect total project expenses to rise accordingly.
Waterproof Sealant Injection and Elastomeric Coatings
When brick masonry shows minor surface porosity but no structural cracking, trade specialists often apply clear breathable silane/siloxane water repellents after grinding and resealing flashing joints. Unlike film-forming clear sealers that trap internal moisture inside the brick, penetrating sealants absorb deep into the masonry pores, repelling liquid rain while allowing internal water vapor to escape. Applying breathable waterproof coatings across an exposed exterior chimney stack usually costs between $300 and $800.
Cost Breakdown: Partial and Complete Masonry Rebuilding
When moisture penetrates deep into structural brickwork over repeated winter seasons, structural integrity collapses from the inside out. Expanding ice cracks the brick bodies, dissolves mortar binder, and turns internal structural elements to loose gravel. When this occurs, surface flashing repairs are ineffective; water simply passes through the porous bricks behind the metal tags.
Tuckpointing (Repointing)
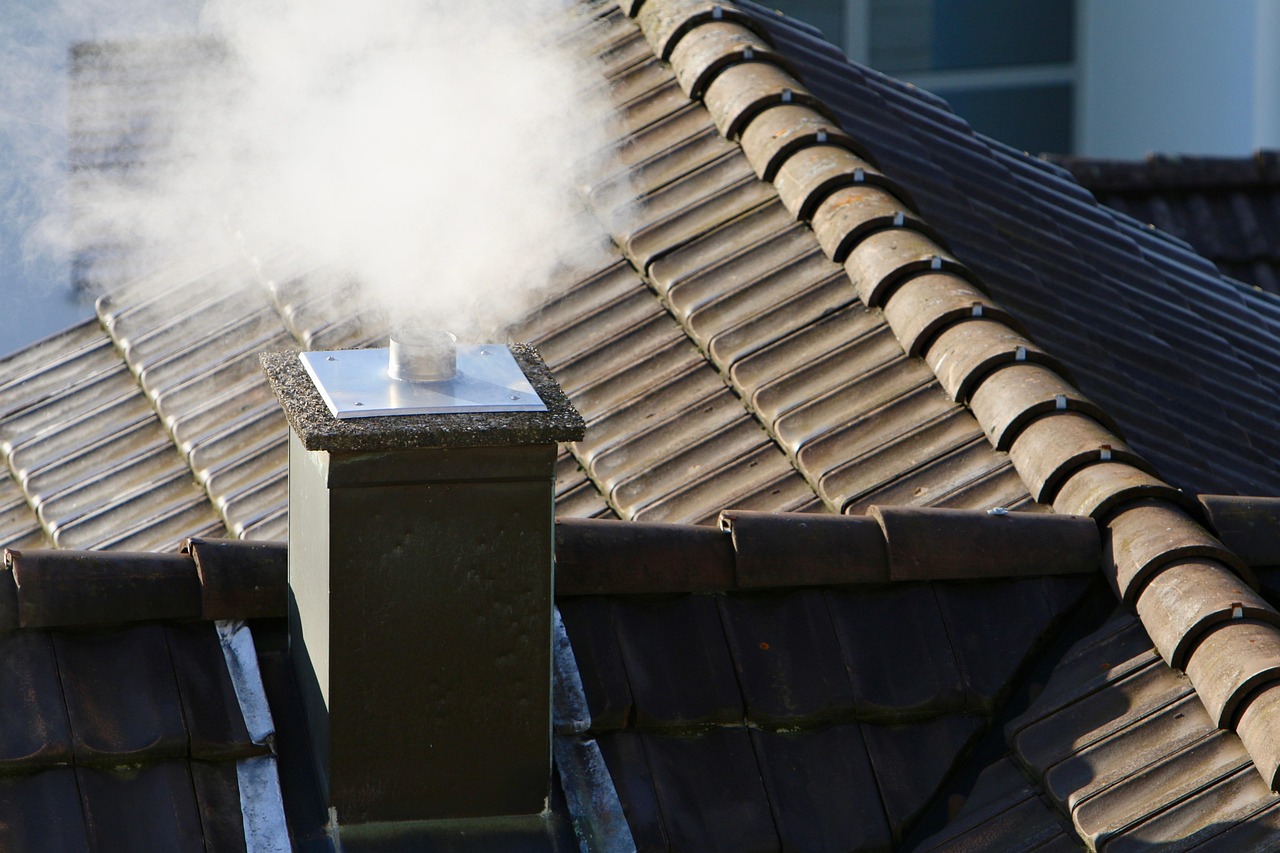
If bricks are structurally sound but mortar joints have weathered away, masons perform tuckpointing. Workers grind out compromised mortar to a depth of 1/2 to 3/4 inch using diamond-blade angle grinders, clean the joints, and pack fresh mortar matched to the strength and composition of the original brickwork. Tuckpointing costs range from $8 to $25 per square foot of chimney surface, or roughly $700 to $2,500 for a typical above-roofline stack.
Partial Chimney Rebuilding (Roofline Up)
Because the section of chimney standing above the roof plane is exposed to weather on four sides, it degrades far faster than interior sections protected inside the house. Partial rebuilding involves erecting temporary scaffolding, carefully taking down damaged brickwork down to the sound roof intersection, and rebuilding the stack from the roof deck up with fresh brick, mortar, concrete crown, and integrated flashing.
A partial chimney rebuild above the roofline generally costs between $3,000 and $7,500 depending on height, brick availability, scaffolding setup, and flue size. Rebuilding from the roofline up automatically includes new step flashing, counter-flashing, and concrete crown casting as standard elements of the project scope.
Complete Chimney Rebuilding (Ground Up)
When structural movement, foundation settling, or extensive moisture saturation causes vertical splitting or tilting along the entire length of the chimney stack, complete demolition is required. Tearing down a multi-story exterior masonry chimney from the foundation line up to the top cap and completely rebuilding it is a major construction endeavor. Complete rebuilds range from $8,000 to over $20,000 depending on structural load requirements, flue framing, home height, and historic preservation guidelines.
Side-by-Side Financial Comparison Matrix
To help you evaluate contractors’ estimates, the following decision matrix compares key structural indicators, typical material choices, expected lifespans, and national cost averages across common chimney restoration pathways.
| Repair Option | Primary Diagnostic Trigger | Typical Materials Used | Estimated Cost Range (US Average) | Expected Lifespan |
|---|---|---|---|---|
| Flashing Resealing & Injection | Minor sealant deterioration at reglet; isolated leak during driving rain | Polyurethane/silicone masonry caulk, silane water repellents | $300 – $800 | 3 – 7 Years |
| Full Flashing & Cricket Replacement | Corroded metal, detached step flashing, water pooling on upper roof side | Copper/aluminum sheet metal, ice & water shield, custom wooden saddle | $900 – $2,500 | 20 – 50+ Years |
| Tuckpointing & Crown Repair | Eroded mortar joints, minor top cap cracking, intact structural bricks | Type N/O mortar, elastomeric crown sealer, mortar pigments | $1,000 – $3,000 | 15 – 25 Years |
| Partial Rebuild (Roofline Up) | Spalling bricks, deep structural cracking above roofline, internal moisture rot | New modular bricks, mortar, concrete crown, integrated copper flashing | $3,000 – $7,500 | 40 – 80 Years |
| Complete Ground-Up Rebuild | Leaning chimney stack, massive foundation failure, structural collapse risk | Full masonry stack, structural ties, clay flue liners, custom flashing systems | $8,000 – $20,000+ | 50 – 100 Years |
Economic Decision Matrix: Repair vs. Rebuild
When reviewing quotes from roofing and masonry contractors, evaluate your situation against these clear economic decision rules to avoid overspending on unnecessary demolition or under-protecting your roof deck with temporary fixes.
Choose Flashing Replacement When:
- Bricks pass a basic scratch test (a screwdriver pressed firmly against the brick body does not flake or break the face).
- Mortar joints remain solid and recessed less than 1/4 inch deep.
- Attic leaks occur strictly during active rainfall directly along the vertical plane of the chimney stack.
- The chimney crown is intact or shows only superficial hairline shrinkage cracks that can be sealed with flexible crown rubber coating.
Choose Masonry Rebuilding When:
- More than 15% of total exterior bricks show visible spalling, face cracking, or crumbling bodies.
- The chimney stack tilts, sways, or has pulled visibly away from the roof framing fascia.
- Previous contractors have repeatedly replaced flashing and applied topical elastomeric coatings, yet water leaks persist inside the home.
- Tuckpointing reveals that internal mortar beds have turned to loose dust due to prolonged, deep freeze-thaw cycles.
Geographic and Regional Cost Variations Across the US
When evaluating quotes for chimney work, keep in mind that trade labor and material prices vary significantly across different US regions. Understanding local economic factors will help you gauge whether a bid is fair for your area.
Northeast and Midwest (Freeze-Thaw Belts)
Homeowners in cold northern climates face severe freeze-thaw cycles that accelerate brick spalling and mortar erosion. Because structural masonry damage is more prevalent, skilled masons are in high demand, driving labor rates higher. Expect partial rebuilding quotes in urban centers like Boston, Chicago, or Philadelphia to sit at the upper end of standard ranges ($4,500 to $8,500). Furthermore, heavy snow load considerations often require higher-grade metal flashing (such as lead-coated copper) to resist ice damming.
South and Southeast
Southern regions experience intense rainfall, high humidity, and coastal salt air rather than severe ice storms. While brick spalling is less frequent, flashing corrosion and organic moss growth along shingle lines are common. Flashing replacement costs in states like Georgia, Florida, or Texas often trend lower ($500 to $1,400), though high-wind hurricane zone codes may dictate specific mechanical fastening standards for counter-flashing reglets.
West Coast and Mountain Regions
On the West Coast and in mountain states, seismic building codes and high fire-risk requirements dictate repair methods. In California, rebuilding a masonry chimney often requires retrofitting internal steel rebar reinforcement or installing stainless steel flue liners, which can increase full rebuilding costs by 20% to 35% compared to national averages.
Real-World Homeowner Case Studies
Examining real-world diagnostic scenarios helps illustrate how to apply this decision matrix in everyday homeownership situations.
Case Study 1: The Misdiagnosed Attic Leak
A homeowner in Ohio noticed water dripping along their attic rafters near the chimney stack during spring rains. An initial quote from a general handyman recommended a $4,500 partial chimney rebuild, claiming the bricks were absorbing water. Upon closer inspection by a certified master mason, the bricks and mortar were found to be completely solid. The true culprit was a rusted galvanized step flashing card and dried-out polyurethane sealant along the counter-flashing reglet. The homeowner replaced the entire flashing system with copper and added a custom metal cricket for $1,350, completely resolving the leak while saving over $3,000.
Case Study 2: The Repeated Quick-Fix Failure
A homeowner in New York experienced recurring water stains on their living room ceiling near the fireplace hearth. Over three consecutive years, they paid various roofers $300 to $500 each time to apply layers of black asphalt roofing cement around the chimney base. Despite these patches, water continued to leak inside every winter. A comprehensive inspection revealed that water was entering through a cracked concrete crown and saturated, spalling bricks above the roofline. The trapped moisture had completely rotted the internal mortar joints behind the thick tar patches. The homeowner ultimately had to pay $5,200 for a partial roofline-up rebuild and new copper flashing system—costing significantly more than if the underlying masonry issue had been addressed when first detected.
Step-by-Step Guide to Inspecting Your Chimney
While hiring a licensed inspector or trade professional is recommended for steep or complex roofs, homeowners can perform a safe ground-level and attic inspection using these practical steps:
- Inspect from the Ground with Binoculars: Look closely at the brick face above the roofline. Are there missing pieces, flaking brick surfaces, or white powdery stains? Check if the metal counter-flashing is flush against the brick or sagging away.
- Check the Attic Space During or After Rain: Access your attic space with a flashlight. Examine the roof decking and wooden rafters framing the chimney perimeter. Check for active water droplets, damp insulation, dark water rings, or wood rot.
- Examine the Interior Fireplace Surround: Check the drywall or plaster adjacent to the chimney stack on upper floors and main living levels. Look for bubbling paint, discoloration, or dampness following major storms.
- Test Brick Hardness (If Safely Accessible): If you have safe access to the roof deck, press a flathead screwdriver against the surface of several bricks and mortar joints. Healthy masonry resists pressure easily; failing masonry crumbles or flakes away under light mechanical pressure.
Common Homeowner Mistakes and Misconceptions
Avoid these frequent, expensive errors when assessing chimney leaks:
1. Over-relying on elastomeric roofing cement (black tar)
Applying slathers of thick asphalt roofing cement or black tar around leaking chimney bases is a short-term patch that quickly fails. Roofing cement dries out, bakes under UV light, and cracks within 12 to 24 months. Furthermore, hardened tar forms a rigid lip that locks in trapped water against the brick, accelerating mortar rot behind the patch and making proper sheet metal replacement far more labor-intensive later.
2. Hiring the wrong trade for the job
Roofers excel at installing shingles, underlayments, and basic step flashing, but many lack specialized masonry skills needed to cut clean 1-inch reglets or assess mortar health. Conversely, masons understand brickwork structural loads but may not properly overlap roof step flashing under surrounding shingles. For hybrid projects, hire a contractor with verified experience in both roofing integration and historic masonry restoration.
3. Ignoring the chimney crown
Homeowners often assume ceiling leaks near a chimney stem directly from flashing failures when rain is actually entering through a cracked concrete chimney crown at the top of the stack. Water enters top cracks, drops straight down the inner hollow core of the masonry stack, and leaks out into attic ceiling joists feet below, mimicking a flashing leak.
4. Failing to address root cause moisture sources
Treating surface symptoms while ignoring structural drainage problems leads to ongoing decay. If your chimney lacks a proper cricket or sits in a shaded valley where roof runoff concentrates, simply replacing metal flashing without installing water diverters will lead to premature failure of the new repair.
Evaluating Contractor Quotes and Warranties
When collecting estimates for flashing or rebuilding work, ensure contractor proposals explicitly answer these practical questions:
- Is reglet cutting included? Verify that counter-flashing will be inserted deep into mortar joints rather than simply surface-mounted and caulked flat against the brick face.
- How will surrounding shingles be handled? Confirm whether nearby shingles will be carefully preserved, replaced with matching stock, or integrated into a new underlayment membrane.
- Are structural water diverters included? Ask if a chimney cricket is required by local building code or structural dimensions, and ensure it is itemized in the quote.
- What warranty is provided on labor versus materials? Top contractors typically offer a 5- to 10-year labor guarantee on flashing installation and a 10- to 25-year warranty on new masonry structural work.
- Are permits and safety scaffolding included in the base price? Ensure that temporary staging, roof fall-protection setup, and municipal building permits are explicitly detailed in written contract estimates.
By accurately separating sheet metal seam failures from structural brick decay, you can choose the correct repair path, protect your home’s roof deck, and manage long-term maintenance costs effectively.



