Securing video feeds during everyday virtual meetings requires more than relying on software mute buttons or operating system toggles. Configuring a reliable webcam privacy shutter hardware switch remote work US setup is now an essential operational safeguard for corporate employees, legal professionals, defense contractors, and remote staff handling sensitive intellectual property. Software permissions leave an unacceptable margin of vulnerability: a background daemon crash, an unpatched zero-day OS exploit, or a silent remote access tool can leave your camera transmitting without ever lighting up the activity LED. Hardware privacy solutions eliminate these risks by introducing physical air gaps and opaque mechanical barriers that software cannot breach.
Physical camera controls fall into two main engineering categories: visual occlusion devices that block light from reaching the optical sensor, and electrical isolation switches that interrupt the physical USB data and power channels. Choosing the right mechanism depends on your hardware profile—whether you rely on an ultra-thin integrated laptop webcam or a high-definition external USB desktop camera—and your organization’s specific compliance requirements. This guide breaks down the mechanics, technical selection criteria, screen clearance tolerances, and step-by-step deployment methods for building an air-tight physical webcam isolation strategy.
The Limits of Software Camera Muting
Virtually every major video conferencing client—including Zoom, Microsoft Teams, Cisco Webex, and Google Meet—provides software camera toggles. Clicking “Stop Video” signals the operating system’s media framework to drop the active video buffer. However, from an electrical and system architecture standpoint, the camera remains powered, the hardware driver stays loaded in kernel memory, and the physical USB or PCIe bus interface maintains an open data pipe.
Software-based muting relies entirely on the integrity of the operating system’s kernel and application permission layers. This architecture presents several distinct failure points:
- Background Application Glitches: A crashed user interface or suspended background thread can leave the underlying capture graph active in memory, allowing video capture to persist even after you close the conference window.
- Remote Access Trojans (RATs) and Malware: Sophisticated spyware can directly access low-level media drivers, bypass OS privacy consent dialogs, and stream raw video frames to remote command-and-control servers without notifying the user.
- Decoupled Firmware Indicator LEDs: While modern enterprise laptops hardwire the camera indicator LED directly to the sensor’s physical power trace, older laptops and many budget external webcams control the LED via firmware commands. Malware capable of flashing or spoofing peripheral firmware can activate the camera sensor while forcing the status light to remain unlit.
- Peripheral Ambiguity in Hub Environments: Smart displays, secondary monitors with integrated cameras, and thunderbolt docks frequently run background polling cycles. These automated polling routines wake up video sensors periodically without generating explicit desktop alerts.
Relying solely on software switches forces security teams to trust thousands of lines of third-party code. In contrast, physical hardware controls rely on basic physics: if photon pathways are blocked or copper data traces are physically disconnected, no software exploit can generate a visual feed.
Evaluating Physical Camera Blockers for Laptops
Physical lens covers are the most straightforward visual security tools for portable computers. However, installing aftermarket accessories on modern ultrabooks requires careful consideration of mechanical tolerances to prevent costly hardware damage.
1. Ultra-Thin Mechanical Sliders
Adhesive mechanical sliders stick directly over the laptop screen bezel using pressure-sensitive acrylic adhesive. A tiny plastic or metal shutter slides horizontally across a track to expose or cover the camera aperture.
The Screen Clearance Hazard: Premium modern laptops, including Apple MacBooks and flagship Windows ultrabooks, feature extremely tight clearances between the keyboard deck and display panel when the lid is closed. Many displays utilize thin, edge-to-edge glass covers. Installing an aftermarket metal slider that exceeds 0.6mm (0.023 inches) in thickness introduces a high-pressure point when the lid is shut. Closing the laptop lid with a thick cover installed can crack the display panel, damage the antireflective coating, or bend the display hinge. When shopping for stick-on sliders, select high-grade plastic models engineered to a maximum thickness of 0.5mm or less.
2. Built-in OEM Privacy Shutters
Many business-oriented laptops—such as enterprise Lenovo ThinkPads, HP EliteBooks, and Dell Latitudes—feature factory-integrated mechanical privacy shutters. These sliders position an internal opaque blade behind the outer protective glass layer, physically blocking light from reaching the image sensor. When engaged, most native shutters display a high-visibility mechanical accent indicator (typically a bright orange or red dot) to provide instant visual verification that the camera is blinded. Integrated shutters are ideal because they require zero clearance calculations and cannot fall off over time.
3. Magnetic and Removable Lens Caps
For laptops with ultra-narrow bezels where adhesive sliders might cover adjacent ambient light sensors, dual-array noise-canceling microphones, or infrared facial-recognition emitters (such as Windows Hello sensors), removable magnetic caps or soft silicone clips are the preferred alternative. These non-permanent covers clip onto the bezel during working hours and must be removed before closing the laptop lid, eliminating screen pressure risks while maintaining full visual privacy while the computer is open.
Inline USB Hardware Switches for External Webcams
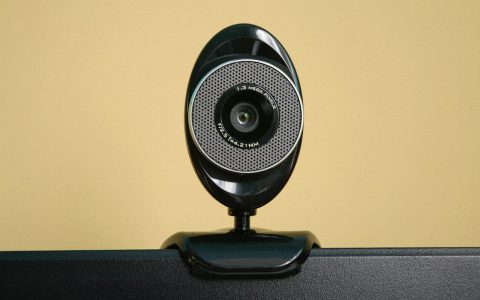
Desktop workstations and docked remote laptops frequently rely on standalone 1080p, 2K, or 4K USB webcams mounted atop external monitors. While these cameras deliver far superior optics and low-light performance compared to laptop webcams, very few models feature native mechanical privacy covers. For external desktop peripherals, an inline USB hardware switch provides superior security by physically cutting off the electrical and signal pathways.
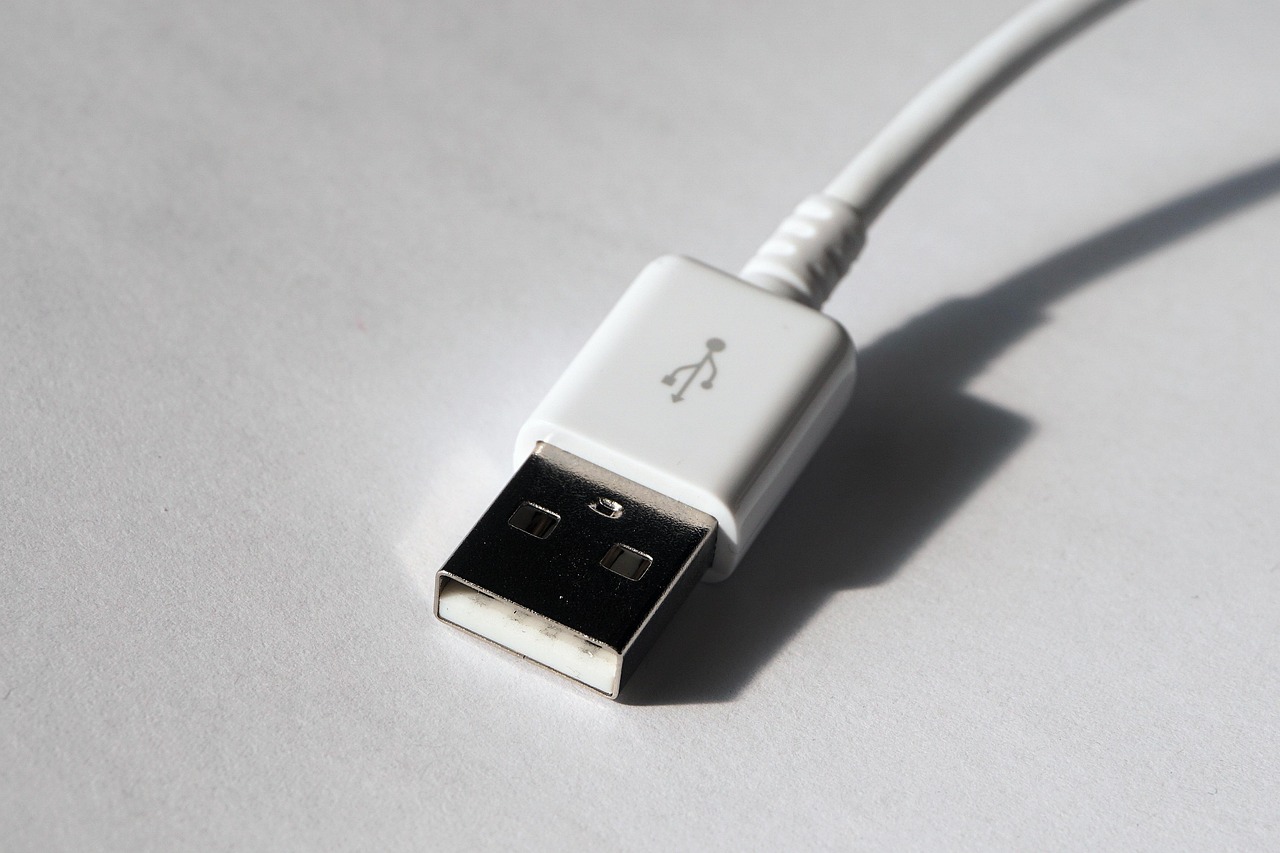
To understand why inline switches are effective, consider how standard USB cabling works. Inside a standard USB 2.0 or USB 3.x cable sheath, separate isolated copper wires carry electrical power and signal data:
- VBUS (Power Line): Delivers 5V DC power from the host port to energize the internal camera circuitry and image processor.
- GND (Ground Line): Completes the low-voltage electrical circuit.
- Data Pins (D+ and D- for USB 2.0; SSTX/SSRX differential pairs for USB 3.x SuperSpeed): High-speed signal lines that transport encoded video streams and device control commands back to the host system.
An inline USB hardware kill switch features a heavy-duty physical rocker switch, slide toggle, or push button that mechanically interrupts these internal copper traces. Flipping the switch to the “OFF” position breaks the physical circuit, triggering an immediate hardware disconnect event inside the operating system—identical to pulling the USB plug out of the computer port.
Selecting the Right Inline USB Hardware Switch
Not all inline USB switches offer equal protection or performance. When selecting hardware for a secure remote workstation, evaluate the following technical criteria:
- Dual Power and Data Line Disconnection: Ensure the switch disconnects both the VBUS power line AND all high-speed data traces simultaneously. Cheaper USB switches designed solely for desk lamps or charging cables only cut the power line. While cutting power disables unpowered webcams, webcams connected through powered external USB hubs or high-end cameras with separate AC power adapters can remain powered and connected to system data channels if data pins remain connected.
- Data Throughput Standard (USB 2.0 vs. USB 3.x SuperSpeed): High-resolution 4K and high-frame-rate 1080p webcams require significant bandwidth. Verify that the inline switch and its internal PCB support USB 3.0 (5 Gbps) or USB 3.1 Gen 2 (10 Gbps) passthrough. Connecting a 4K camera through an inline switch rated only for USB 2.0 (480 Mbps) will throttle the camera, causing dropped frames, severe compression, or resolution downgrades.
- Interface Topology (USB-A vs. USB-C): Match the switch architecture directly to your cable infrastructure. USB-A inline switches are straightforward mechanical cutoffs, whereas inline USB-C disconnect switches must incorporate pass-through routing for Power Delivery (PD) negotiation and reversible signal channels without degrading SuperSpeed signal integrity.
Comparing Physical Camera Security Solutions
Selecting the optimal combination of hardware privacy tools requires balancing mechanical clearance, ease of deployment, electrical security, and budget. The matrix below outlines the operational trade-offs of primary physical camera privacy controls available for remote work setups:
| Privacy Control Type | Primary Use Case | Isolation Mechanism | Key Advantage | Main Limitation / Risk |
|---|---|---|---|---|
| Adhesive Thin Plastic Slider | Laptops & All-in-One PCs | Visual Occlusion | Low cost, universally retrofitted | Can crack screens if thicker than 0.6mm |
| Integrated OEM Shutter | Enterprise Business Laptops | Visual Occlusion | Zero clearance risk, native design | Only available on specific laptop models |
| Inline USB Toggle Switch | External USB Desktop Webcams | Electrical & Signal Disconnect | Triggers true OS device drop | Adds cable clutter to desk surface |
| Removable Magnetic Cap | Narrow-Bezel Ultrabooks | Visual Occlusion | Zero adhesive residue, safe for glass | Must be removed before shutting lid |
| Physical USB Lockout Key | High-Security Desktop Hubs | Physical Port Disablement | Prevents unauthorized reconnection | Higher unit cost, requires physical key management |
Deploying Hardware Controls in Corporate Remote Workplaces
For IT directors, Chief Information Security Officers (CISOs), and compliance leads managing distributed employees across the US, hardware-based physical camera controls solve a critical risk management challenge. Mobile Device Management (MDM) policies can enforce software camera restrictions, but software settings are susceptible to administrative overrides, user misconfigurations, and software update rollbacks. Standardizing physical hardware controls establishes a reliable, user-verifiable security baseline.
Establishing Corporate Hardware Baselines
Enterprise procurement departments should incorporate physical privacy specifications into standard employee hardware packages:
- Prioritize Built-in Mechanical Shutters During Fleet Refreshes: Specify enterprise laptop SKUs that include factory-installed physical camera shutters rather than relying on aftermarket stick-on covers or software function keys.
- Standardize External Webcams with Physical Covers: Supply remote employees with external webcams that include integrated physical flip-down covers or sliding optical rings.
- Issue Approved USB Disconnect Adapters for High-Security Roles: Employees handling sensitive medical records (HIPAA), confidential client financial data, or government contract information should be issued inline USB hardware switches tested for signal fidelity and mechanical durability.
Avoiding Common Installation and Operational Errors
While physical camera controls are simple in concept, improper installation or incomplete implementation can introduce hardware issues or leave security blind spots:
- Blocking Essential Sensor Arrays: Misaligning stick-on plastic sliders can inadvertently cover adjacent ambient light sensors, proximity sensors, dual-array noise-canceling microphone ports, or infrared emitters required for biometrics. Always test all bezel-mounted sensors after installing an adhesive cover.
- Thermal Breakdown of Low-Grade Adhesives: Placing cheap stick-on covers over camera modules on high-performance laptops can lead to adhesive failure during heavy processing loads. Heat dissipating through the top glass can melt cheap adhesives, causing the cover to slide off or leave gummy residue across the glass lens element.
- Overlooking Audio Hardware Isolation: Securing your video feed addresses only half of the physical privacy equation. A mechanical camera cover stops visual eavesdropping, but it does not mute the internal microphone array. Comprehensive remote security requires combining physical camera blockers with physical microphone mute switches, inline USB audio disconnects, or physical audio hardware toggles.
Step-by-Step Setup Guide for Remote Work Stations
Follow this procedure to configure an absolute, dual-layer hardware privacy system for your home office or remote workspace:
Step 1: Inspect and Inventory Your Video Peripherals
Identify every video input device connected to your workstation, including built-in laptop cameras, secondary monitor webcams, and external USB devices. Check if any device features built-in mechanical shutters or manual physical lens caps.
Step 2: Measure Bezel Clearance (For Laptops)
If retrofitting a laptop without a factory shutter, perform a clearance test. Place a standard sheet of copy paper (roughly 0.1mm thick) over the webcam, gently close the lid, and check for resistance. If the lid fits snugly with no visible gap, avoid metal sliders. Choose an ultra-thin plastic slider measuring under 0.5mm, or use a non-adhesive slide-on clip that is removed before closing the computer.
Step 3: Install and Route an Inline Hardware Switch (For External Webcams)
Unplug your external webcam’s USB cable from your PC or docking station. Plug the camera cable into the female port of an inline hardware USB kill switch supporting your camera’s USB specification (USB 2.0 or USB 3.x SuperSpeed). Plug the switch’s male connector directly into your host computer or dock. Position the toggle switch in an easily accessible location on your desk for immediate tactile control.
Step 4: Execute Physical Verification Testing
Launch your primary video call application or open a local diagnostic camera tool to verify your setup:
- Visual Occlusion Test: Close the physical shutter or slider. Confirm that the video preview window displays a pitch-black frame with zero light leakage, even when pointing a desk lamp directly at the laptop bezel.
- Electrical Disconnect Test: If using an inline USB switch on an external webcam, toggle the switch to the