
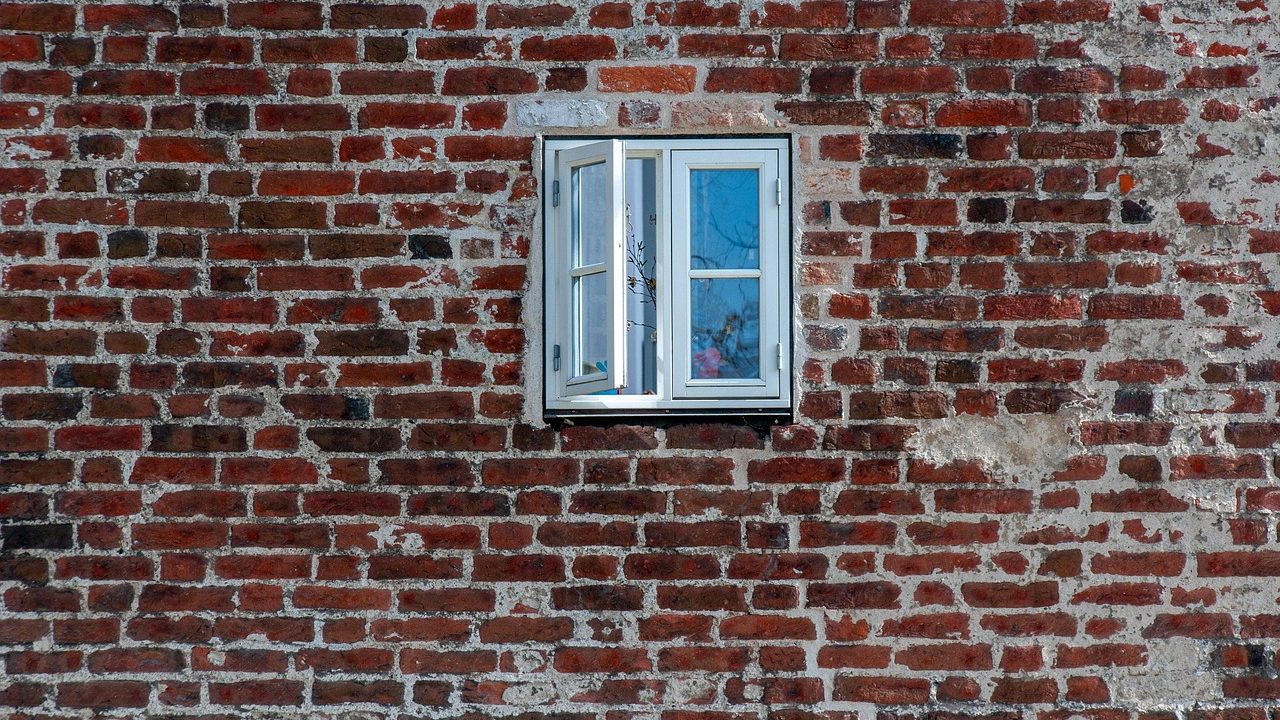
Millions of older homes across the United States—particularly those constructed prior to the energy efficiency standard overhauls of the 1970s—contain vast expanses of completely empty exterior wall cavities. Leaving these wall bays uninsulated creates an open highway for continuous heat loss during winter and severe solar heat gain during summer. When evaluating blown in cellulose wall insulation vs interior foam retrofit cost US options, homeowners face a critical choice between two dominant post-construction methods: dense-pack cellulose and injected expanding foam (frequently marketed as Retro-Foam, tripolymer, or aminoplast foam).
Both insulation options allow licensed contractors to insulate uninsulated exterior walls without tearing down existing interior plaster or drywall. However, these two approaches rely on fundamentally different material physics, moisture drying mechanisms, installation tools, and price structures. Selecting the wrong retrofit material for your specific building envelope can trigger hidden moisture accumulation, wall assembly bowing, persistent draft paths, or unsatisfactory financial returns. This in-depth guide evaluates thermal resistance performance, building science dynamics, upfront contractor pricing, and energy bill payback timelines to help you choose the ideal retrofit strategy for your home.
The Uninsulated Wall Cavity Challenge in Older US Homes
Prior to modern residential building codes that mandated continuous thermal boundaries, US home construction relied on empty framing cavities to provide natural ventilation. In homes constructed before 1980, exterior wall systems typically consist of dimensional 2×4 wood studs (creating a 3.5-inch nominal cavity depth) or, in older balloon-framed homes, unbroken vertical bays running directly from the basement sill plate up to the attic floor.
Uninsulated stud cavities create three distinct building envelope defects that drive up monthly energy costs:
- Convective Looping: Air within the hollow stud space absorbs heat from warm interior room surfaces, rises to the top of the bay, hits the freezing exterior sheathing, drops in temperature, sinks to the bottom, and creates a continuous internal airflow loop that rapidly strips energy from living spaces.
- Air Infiltration and Drafts: Outdoor wind pressures force cold air through tiny cracks in exterior lap siding, original board sheathing, electrical outlets, and baseboards, creating unpleasant drafts and forcing HVAC systems to work overtime.
- Unimpeded Conductive Heat Loss: Heat moves freely directly through interior plaster, wood lath, structural framing, and exterior siding during freezing winter temperatures or intense summer heatwaves.
Retrofitting exterior walls is one of the single most impact energy upgrades a US homeowner can perform. However, filling a cavity originally designed to dry out naturally requires strict attention to how new materials handle air movement and ambient water vapor drive.
Dense-Pack Cellulose: Physics, Application, and Performance
Dense-pack cellulose is manufactured primarily from post-consumer recycled paper products treated with non-toxic borate mineral compounds. The borate additive provides Class A fire ignition resistance, deters household pests and wood-boring insects, and prevents mold growth. Unlike loose-fill cellulose installed horizontally on flat attic floors, sidewall cellulose must be installed under high mechanical pneumatic pressure using specialized blowing equipment and a long, flexible hose inserted deep into the wall bay.
To perform as true dense-pack insulation, the material must be packed into the enclosed cavity to a minimum density of 3.5 to 4.0 pounds per cubic foot. At this target density, the interlocked wood fibers create a solid mass that delivers key performance advantages:
- Thermal Resistance: Achieves an R-value between R-3.2 and R-3.8 per inch of cavity depth, providing an overall thermal rating of R-11 to R-13 inside a standard 2×4 framing bay.
- Convection Elimination: High compaction pressure completely prevents air movement inside the bay, eliminating internal convective loops.
- Frictional Friction Holding: Dense fibers press firmly outward against studs, interior lath, and exterior sheathing, preventing material settling or sagging over decades.
- Hygric Buffer Capacity: Natural cellulose fibers can safely absorb small amounts of indoor or outdoor moisture vapor without losing insulating performance, releasing it back out gradually as relative humidity shifts.
Installation typically involves drilling access holes—usually 2 inches in diameter—either through exterior siding or through interior wall surfaces. The contractor feeds a flexible directional hose to the bottom of the cavity, packs the cellulose under pressure, and slowly retrieves the hose upward until the bay is packed tight from floor to top plate.
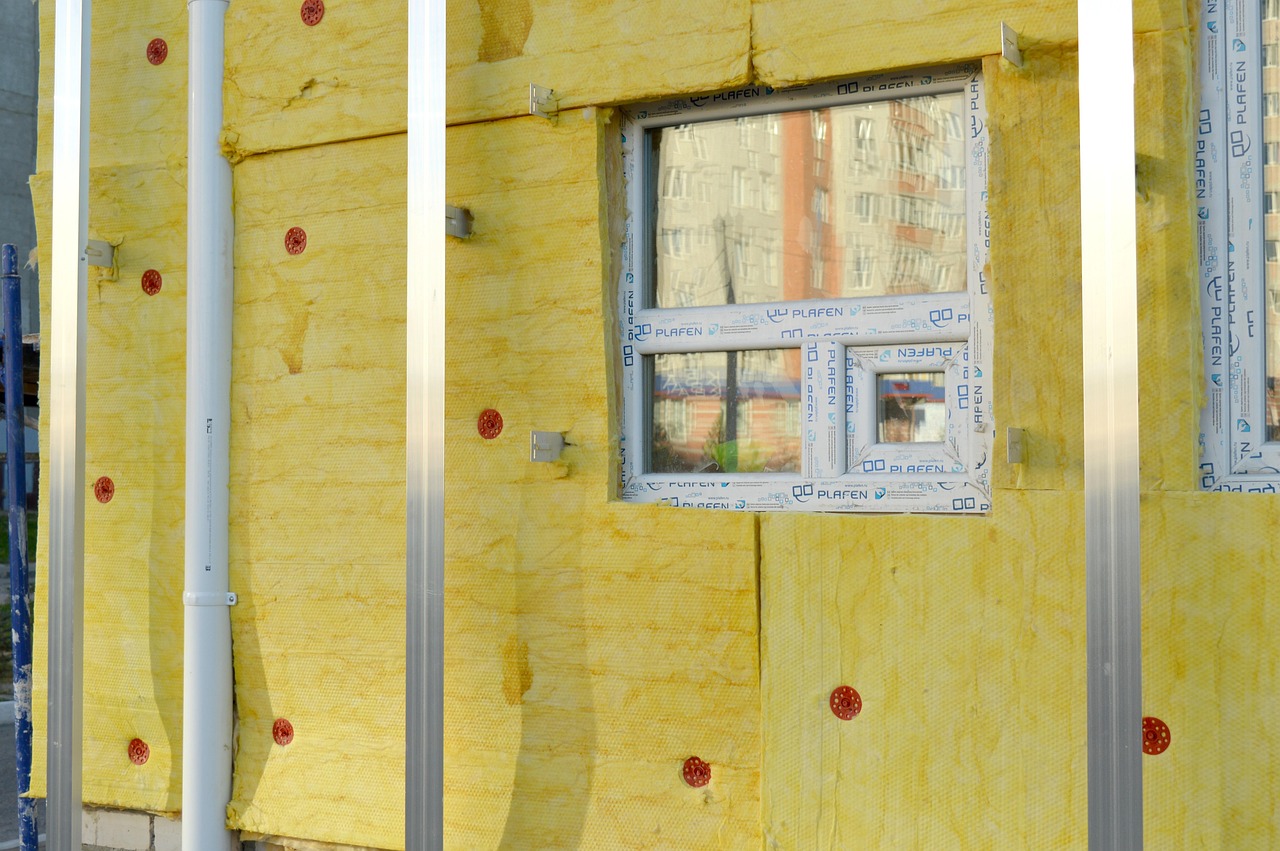
Injected Expanding Foam: Formulations and Installation Mechanics
Injection foam (marketed under trade names such as Retro-Foam or Air Krete) is a liquid or shaving-cream-like consistency material injected directly into closed wall cavities. It is vital to separate non-expanding or ultra-low-expansion retro-foams from standard two-part spray polyurethane foam (SPF). Standard spray polyurethane foam expands with extreme physical force and cannot be injected into closed drywall or plaster cavities without bowing or popping wallboard off stud framing. Injection retro-foams, by contrast, flow smoothly around internal obstructions and cure into a firm, lightweight cellular block with minimal expansion pressure.
The primary chemistries used in residential retro-foam installations include:
- Aminoplast / Tripolymer Resins: Water-based synthetic resin systems mixed on-site with liquid foaming agents and compressed air. They cure into an inert, fire-safe solid that offers strong sound deadening and thermal performance.
- Cementitious Foams: Inorganic magnesium-oxide-based foams that are non-combustible, chemically inert, and emit zero volatile organic compounds (VOCs) during or after curing.
- Low-Expansion Polyurethanes: Specialized slow-cure open-cell or closed-cell formulations engineered specifically to fill cavity voids without exceeding structural wall pressure limits.
Injection foam yields a higher thermal resistance per inch than cellulose, ranging between R-4.0 and R-5.0 per inch. In a standard 2×4 stud space, this delivers a total wall assembly value of R-14 to R-18. Because it acts as a liquid during injection, retro-foam easily flows into micro-cracks around electrical junction boxes, non-standard blocking, and pipe penetrations that fibrous materials might bridge over.
Thermal R-Value and Air Sealing Performance Compared
Evaluating insulation options purely on nominal R-value numbers misses half the performance equation. Real-world thermal efficiency depends just as heavily on an insulation material’s capacity to stop air leakage through the wall framing assembly.
| Performance Metric | Dense-Pack Cellulose | Injected Retro-Foam |
|---|---|---|
| R-Value per Inch | R-3.2 to R-3.8 | R-4.0 to R-5.0 |
| Effective R-Value (2×4 Wall) | R-11 to R-13 | R-14 to R-18 |
| Air Sealing Mechanism | Reduces airflow dramatically at 3.5+ lbs/cu.ft density; highly effective air retarder | Forms a continuous, monolithic air barrier block across the cavity |
| Convective Loop Suppression | Total when packed to proper density specifications | Total due to continuous solid fill |
| Sound Attenuation (Acoustic STC) | Superior low-frequency dampening (street traffic, heavy bass) | Superior high-frequency dampening (voices, wind noise) |
While injected retro-foam holds a clear advantage in maximum R-value and raw air-sealing capability, dense-pack cellulose performs exceptionally well in drafty walls when installed by an experienced crew. The pneumatic pressure of dense-packing forces cellulose fibers into perimeter cracks, reducing wall air infiltration by up to 70% in typical pre-1970 construction.
Moisture Dynamics, Vapor Permeability, and Structural Safety
Moisture movement is the single most critical building science factor governing whether your framing stays healthy or rots over time. Standard 2×4 framing studs, exterior wood sheathing, and clapboard siding must be allowed to dry whenever water enters through wind-driven rain, flashing failures, or indoor vapor diffusion during cold winter weather.
The two insulation options manage moisture vapor using fundamentally different physical properties:
Vapor Permeability and Drying Potential
Dense-pack cellulose is vapor-permeable (typically rated well above 20 perms per inch). Moisture vapor can move through the insulation mass without becoming trapped against sensitive wood sheathing or interior wall surfaces. More importantly, cellulose possesses high hygroscopic buffering capacity—its natural wood fibers can temporarily store excess moisture, redistribute it evenly across the cavity, and release it safely outward as ambient relative humidity drops. This vapor-open design permits wall assemblies to dry naturally toward both the interior and exterior.
Injected retro-foams vary according to chemical formulation, but many aminoplast and closed-cell polyurethanes act as vapor retarders or semi-impermeable barriers. If water penetrates past exterior siding or window caps into a foam-filled bay, liquid moisture can become trapped against wood framing. Without natural airflow or high vapor permeability, trapped water can trigger rot, hidden structural decay, and indoor mold growth.
Shrinkage, Curing Water, and Off-Gassing
Aminoplast injection foams rely on water-based chemical resin mixtures. As the foam cures inside the wall cavity, this process water must evaporate over several weeks. During curing, minor material shrinkage (typically 0.5% to 3.0%) can occur. If foam shrinks away from stud edges, hairline gaps form along framing boundaries, creating thermal bypasses that lower overall thermal performance. Choosing a certified installer who maintains precise water-to-resin mixture ratios is vital to avoid cure shrinkage issues.

Settling Risks and Cavity Void Prevention
A frequent concern for homeowners considering dense-pack cellulose is the risk of gravity settling over time. Early cellulose insulation retrofits performed during the late 1970s often settled several inches, leaving uninsulated air voids at the top of wall cavities. Modern installation methods have resolved this issue completely.
When cellulose is installed at a verified density of 3.5 to 4.0 pounds per cubic foot, interlocked wood fibers lock together under intense friction. The lateral force exerted against cavity surfaces prevents the material column from settling, even when subjected to constant house vibrations from passing traffic, wind loads, or door slams.
Injected foam does not settle due to gravity because it adheres directly to stud surfaces during injection. However, retro-foam faces a different challenge: shadow voids behind hidden interior obstructions like diagonal corner bracing, electrical junction boxes, or horizontal fire-blocking. Because technicians cannot see inside sealed wall assemblies, liquid foam can bridge over an obstruction, leaving empty voids directly underneath.
Preventing cavity voids with either material requires a skilled insulation technician who uses thermal imaging infrared cameras during and immediately after the fill process to confirm complete, uniform coverage across every framing bay.
Installation Logistics: Exterior Siding vs. Interior Plaster Drilling
Retrofitting exterior walls requires creating access points into every vertical stud bay. In standard US residential framing, stud bays are spaced 16 inches or 24 inches on center. Window frames, door openings, and corner posts create additional narrow cavities that each require individual drilling access.
Exterior Access Methods
Most homeowners elect exterior installation to keep construction dust, noise, and equipment out of living spaces. Exterior access processes depend on your home’s siding material:
- Vinyl and Aluminum Siding: Installers unhook individual siding courses, drill 2-inch access holes through underlying wood sheathing, pack or inject the insulation, install plastic or cedar plugs, seal the plugs, and snap the siding back into original position. Done correctly, the job leaves no visible traces.
- Wood Lap Siding: Technicians either temporarily remove clapboards or drill directly through wood siding. Once cavities are filled, holes are sealed with tight-fitting wooden plugs, sanded flat, and primed for paint touch-ups.
- Stucco and Brick Veneer: Brick cladding requires drilling through mortar joints (using smaller 5/8-inch to 1-inch holes for retro-foam injection nozzles). Cellulose usually requires 2-inch holes, making brick or stucco cellulose retrofits more labor-intensive to patch seamlessly.
Interior Access Methods
If exterior cladding cannot be safely removed or drilled—such as historic architectural stone, delicate custom tile, or delicate historic wood siding—contractors drill access holes directly through interior plaster or drywall surfaces. While interior access guarantees clear visibility, it requires moving furniture, laying protective plastic sheeting, patching wallboard compound, sanding, and repainting room walls after installation completes.
Comprehensive Cost Breakdown and Installation Pricing
When evaluating current market pricing, homeowners must evaluate both material expenses and total labor required for drilling, blowing, patching, and cleaning up. Total project investments depend heavily on home height, wall area, cladding type, and local labor rates.
| Cost Factor | Dense-Pack Cellulose | Injected Retro-Foam |
|---|---|---|
| Material & Labor Cost (per sq ft) | $2.25 – $3.75 | $3.50 – $5.50 |
| Average 1,800 sq ft Home Total Investment | $3,200 – $5,500 | $5,000 – $8,500 |
| Access Hole Drilling & Plugs | Included in standard estimate | Included in standard estimate (smaller holes) |
| Interior Restoration Costs (if required) | $1,000 – $2,500 (drywall patch & paint) | $800 – $2,000 (smaller hole repair) |
On average, an injected retro-foam installation costs roughly 35% to 50% more upfront than a dense-pack cellulose retrofit for identical wall square footage. This cost premium stems from higher chemical material prices, specialized pump rigs, and proprietary license fees associated with franchised foam networks.
Calculating Real-World Retro-Foam Wall Insulation Payback
Determining your true return on investment requires examining local utility rates, primary heating fuels, regional heating degree days (HDD), and baseline building air leakage. Homes located in colder northern climates (US Climate Zones 5 through 7) utilizing heating oil, propane, or electric resistance heat enjoy the fastest capital payback.
Consider a baseline scenario for a 1,800-square-foot two-story home constructed in 1965 with hollow 2×4 exterior walls located in Climate Zone 5 (e.g., Chicago, Cleveland, or Boston) heated by natural gas:
- Baseline Annual Space Conditioning Bill: $2,400
- Estimated Energy Reduction (Exterior Wall Insulation Upgrade): 18% to 28%
- Annual Direct Utility Savings: $450 to $650 per year
Using these benchmark financial metrics, we can compare payback calculations across both insulation options:
Dense-Pack Cellulose Financial Analysis
- Upfront Installation Investment: $4,200
- Inflation-Adjusted Annual Energy Savings: $525
- Estimated Simple Payback Period: 7.0 to 8.5 years
- 15-Year Net NPV Financial Benefit: Positive $3,500+
Injected Retro-Foam Financial Analysis
- Upfront Installation Investment: $6,800
- Inflation-Adjusted Annual Energy Savings: $580 (reflecting a 10% thermal efficiency bonus from higher R-value and full air sealing)
- Estimated Simple Payback Period: 11.0 to 13.0 years
- 15-Year Net NPV Financial Benefit: Positive $1,800+
When calculating your personalized payback, factor in energy efficiency tax incentives and utility rebates. Federal tax incentives under the Inflation Reduction Act (Section 25C) offer homeowners tax credits covering 30% of insulation project costs (up to a $1,200 annual limit). Local electric and gas utility programs frequently offer additional direct rebates between $500 and $1,500, shortening simple payback periods significantly.
Fire Resistance, Acoustic Control, and Indoor Environmental Quality
Beyond lowering energy bills and managing moisture vapor, adding sidewall insulation directly impacts everyday room acoustic comfort, fire safety, and indoor air quality.
Fire Safety Performance
Both dense-pack cellulose and quality retro-foams provide valuable fire protection when installed inside sealed wall cavities:
- Dense-Pack Cellulose: Heavily treated with fire-retardant borate compounds, cellulose achieves a Class A flame spread rating. Packed tightly inside wall bays, dense cellulose starves fires of oxygen, slowing flame spread through structural framing.
- Cementitious & Aminoplast Foams: Cementitious retro-foams are non-combustible. They will not ignite, melt, or produce toxic smoke emissions even when exposed directly to extreme flame temperatures, making them exceptional fire-stops in older wood-framed structures.
Acoustic Isolation
Uninsulated stud cavities act like acoustic amplifiers for exterior street traffic, lawn equipment, and neighbor noise. Both retrofits deliver dramatic acoustic dampening improvements:
- Dense-Pack Cellulose: Exceptional at dampening low-frequency sound waves (such as heavy truck engine rumble and deep bass) due to its heavy physical mass and fibrous density.
- Injected Retro-Foam: Highly effective at sealing out high-frequency noise (such as voices, sirens, and wind noise) by filling tiny cracks where sound leaks around framing members.
Key Decision Framework: Which Insulation Method Belongs in Your Walls?
To choose between dense-pack cellulose and injected expanding retro-foam, evaluate your home’s framing structure, budget, and local climate conditions against this selection guide:
Choose Dense-Pack Cellulose If:
- Upfront ROI Is Your Main Metric: You want lower installation costs, strong energy savings, and a simple project payback period under 8 years.
- Your Home Has Breathable Historic Cladding: You own an older home with original wood lap siding, interior plaster walls, or cedar shingles that require high vapor permeability to dry safely.
- You Have Standard, Unobstructed 2×4 Framing: Your wall cavities are open and accessible for a flexible blowing tube to fill floor to ceiling.
- You Prefer Eco-Friendly Building Materials: You want a recycled material made from post-consumer paper that sequesters carbon inside your home’s walls.
Choose Injected Retro-Foam If:
- You Have Hard-to-Access Exterior Cladding: Your home features brick veneer, exterior stucco, stone masonry, or fragile siding where drilling 2-inch holes would ruin the finish.
- Maximal R-Value Per Inch Is Required: You live in severe northern winter zones (Climate Zones 6 or 7) with shallow 2×4 wall framing and need maximum thermal performance per inch.
- Severe Draft Sealing Is Your Priority: Your home suffers from intense wind filtration and you want a material that creates a continuous solid air seal in every cavity.
- You Plan to Stay in Your Home Long-Term: You are comfortable accepting a longer payback horizon (11+ years) in exchange for maximum indoor thermal stability.
Common Installation Pitfalls and How to Avoid Them
Retrofitting wall insulation is a specialized process where quality control matters as much as material selection. Avoid these frequent homeowner mistakes during project execution:
- Failing to Check for Pre-Existing Moisture Problems: Insulating over active roof leaks, damaged window flashing, or gutter overflow channels traps water inside wall cavities, causing rot regardless of insulation material choice. Repair all water leaks before insulating.
- Hiring Contractors Without Wall Density Verification Tools: Low-density cellulose installations settle over time, while incorrect foam mixing ratios cause shrinkage gaps. Always hire contractors who perform core density testing or use thermal imaging during installation.
- Overlooking Knob-and-Tube Wiring Safety: Active live knob-and-tube electrical wiring should never be buried directly inside blown or injected insulation due to fire hazards. Have an electrician inspect and decommission old wiring before insulating wall bays.
- Skipping Air Sealing in Attics and Basements First: While wall insulation is vital, unsealed attic floors and basement rim joists represent massive stack-effect leakage paths. Address top-plate and basement rim joist sealing alongside wall upgrades for best total energy savings.
Step-by-Step Retrofit Project Execution Guide
Ready to move forward with your exterior wall insulation retrofit? Follow these four steps to ensure a smooth installation process:
- Schedule an Energy Assessment and Infrared Audit: Hire a certified Building Performance Institute (BPI) energy auditor to perform a blower door test and baseline thermal inspection. This pinpoints uninsulated bays and measures baseline air leakage across your home.
- Obtain Written Estimates from Certified Installers: Collect detailed project quotes specifying material density (for cellulose) or chemical resin formulas (for retro-foam), hole sealing procedures, cleanup responsibilities, and warranty coverage.
- Require Post-Installation Infrared Verification: Ensure your contractor contract mandates an infrared camera sweep immediately following installation to confirm zero unfilled cavity voids exist inside exterior wall bays.
- Apply for Utility Rebates and Federal Tax Credits: Keep all contractor invoices and material specification sheets to claim your Inflation Reduction Act Section 25C tax credit and collect local electric and gas utility rebates.
Frequently Asked Questions About Retrofit Wall Insulation
Can I install blown-in wall insulation as a DIY project?
Dense-pack sidewall insulation requires high-pressure commercial blowing equipment, specialized hoses, and experienced technique to achieve proper 3.5+ lb/cu.ft compaction density without blowing off plaster or leaving air voids. DIY rental blowers available at hardware stores lack sufficient pneumatic pressure for sidewalls and should only be used for open, horizontal attic floor blowing.
Will retrofitting wall insulation ruin my interior plaster or drywall?
No. Experienced contractors drill access holes from the exterior whenever possible, leaving interior plaster or drywall completely untouched. When interior drilling is required, technicians use specialized dust-containment shrouds, plug access holes tightly, and apply smooth drywall compound ready for primer and paint.
How do contractors know if a wall bay is fully filled?
Contractors monitor blowing machine back-pressure gauges, verify material weight per square foot installed, and conduct real-time infrared thermal camera sweeps to verify complete coverage across every wall bay during installation.
Does adding retro-foam or dense-pack cellulose cause mold?
Neither material promotes mold growth on its own. Cellulose is treated with mold-inhibiting borate minerals, while synthetic retro-foam provides zero organic food source for spores. Mold only develops if unaddressed water leaks exist inside the wall assembly prior to installation.
Final Verdict
For the majority of older US homes built with standard wood framing and historic siding, dense-pack cellulose delivers the best overall balance of thermal efficiency, moisture safety, draft reduction, and rapid financial payback. Injected expanding retro-foam serves as an excellent premium alternative for difficult masonry cladding or severe cold climate zones where maximizing thermal R-value per inch is worth a higher upfront investment.



