Water heater dielectric union corrosion repair vs replacement US standards can feel overwhelming when you are staring at a damp patch or mineral crust on top of your storage water heater. When you investigate closely, you often find that the leak originates right where your home’s copper or PEX water supply lines meet the steel nipples projecting from the top of the tank. This common point of failure is governed by basic electro-chemistry. Understanding these repair options helps you determine whether a quick fitting swap will suffice or if you need a comprehensive plumbing overhaul.
In many American homes, plumbing systems combine copper piping with steel tank connections. Without proper thermal and electrical separation, these dissimilar metals react chemically over time, accelerated by the conductive minerals dissolved in tap water. The resulting degradation destroys fittings, creates slow weeping leaks, and threatens to ruin flooring or drywall if left unchecked. Deciding how to fix the problem requires looking past the surface drip and assessing the physical condition of the tank threads, the age of the unit, and your own comfort level with intermediate plumbing repairs.
Water heater maintenance often gets neglected until something fails visibly. When a joint begins to weep, water evaporates and leaves behind crusty mineral deposits that can easily trick homeowners into thinking it is a minor, self-correcting issue. However, left unaddressed, galvanic action accelerates rapidly, eating away at threads until the joint starts leaking freely. This creates an urgent plumbing scenario that requires immediate intervention, making it vital to understand the root causes and available remedies before an emergency strikes.
Understanding Galvanic Corrosion at the Water Heater Tank
To evaluate your repair options, you first need to grasp why these leaks occur. Galvanic corrosion happens when two different metals make electrical contact in the presence of an electrolyte, which in this case is your domestic water supply. Copper supply pipes connected directly to steel water heater nipples form a miniature battery cell. The more active metal—usually the steel—sacrifices itself, corroding away while the copper remains intact.
Plumbing codes have long required measures to prevent this direct metal-to-metal contact. Manufacturers and installers traditionally use dielectric unions, which feature an insulating plastic or rubber sleeve separating the brass or copper nut from the steel nipple. However, these older-style unions are notoriously finicky. Over years of thermal expansion and contraction cycles, the internal plastic liner can deform, pinch, or fail, allowing water to bridge the gap and trigger aggressive corrosion directly on the threads.
The electro-chemical process behind galvanic degradation is relentless. Because water heater tanks are typically constructed of steel with glass linings, and home supply lines consist of copper or cross-linked polyethylene, the transition point at the top of the appliance serves as the primary battleground. The electrical potential difference between copper and steel creates a continuous flow of ions through the water, steadily dissolving the iron in the steel nipple. This process is further intensified if your municipal water supply has high total dissolved solids (TDS) or low pH levels, which act as powerful electrolytes.
Symptoms of Failing Dielectric Unions and Nipples
Spotting a failing connection early can save you from catastrophic tank failure or costly water damage. The warning signs typically progress through predictable stages:
- Crusty Mineral Deposits: White, powdery, or greenish-blue crust accumulating around the threaded nut indicates a slow, continuous micro-leak that evaporates as it forms.
- Damp Insulation or Pooling: Feeling moisture on the insulation jacket near the top of the tank or finding small puddles on top of the appliance casing.
- Rusty Water Discoloration: While rust can stem from an aging anode rod, severe corrosion on exterior nipples can sometimes flake iron oxide back into the cold or hot supply lines.
- Screaming or Banging Noises: Severe internal restriction caused by mineral buildup inside aging nipples can sometimes alter flow dynamics, creating localized water hammer or whistling sounds during high-demand usage.
- Unusual Odors or Pressure Fluctuations: Advanced mineral blockage can restrict hot water flow, leading to noticeable pressure drops when running multiple fixtures simultaneously in the home.
Recognizing these subtle red flags allows you to plan a repair on your own terms rather than scrambling to shut off water during a weekend emergency. Whenever you perform routine checks on your HVAC system or smoke detectors, take a flashlight and inspect the top of your water heater for any signs of white crusting or weeping moisture.
The Anatomy of Tank Connections: Nipples vs. Unions
When dealing with leaking connections, homeowners encounter two primary hardware configurations: traditional dielectric unions and modern dielectric nipples. Knowing the difference is crucial when planning a fix.
A traditional union consists of three separate pieces: a tailpiece soldered to your house piping, a threaded nut, and a mating tailpiece attached to the tank nipple, separated by a non-conductive gasket. A dielectric nipple, by contrast, is a single specialized pipe nipple with a plastic or polymer liner factory-pressed inside a steel tube, featuring standard NPT threads on both ends. Modern plumbing best practices increasingly favor dielectric nipples or factory-lined brass fittings because they eliminate the multi-part alignment headaches and gasket compression failures common to old-style unions.
Understanding this hardware distinction helps clarify why older installations fail so frequently. Traditional dielectric unions rely heavily on precise torque and correct gasket placement during installation. If an installer overtightens the union nut, the internal plastic sleeve can split or extrude out of position, destroying its insulating capability on day one. Modern dielectric nipples reduce installation error by moving the thermal and electrical break inside a factory-sealed steel-and-polymer assembly, offering much better longevity in residential environments.
Evaluating the Repair Path: Spot-Fixing Leaking Fittings
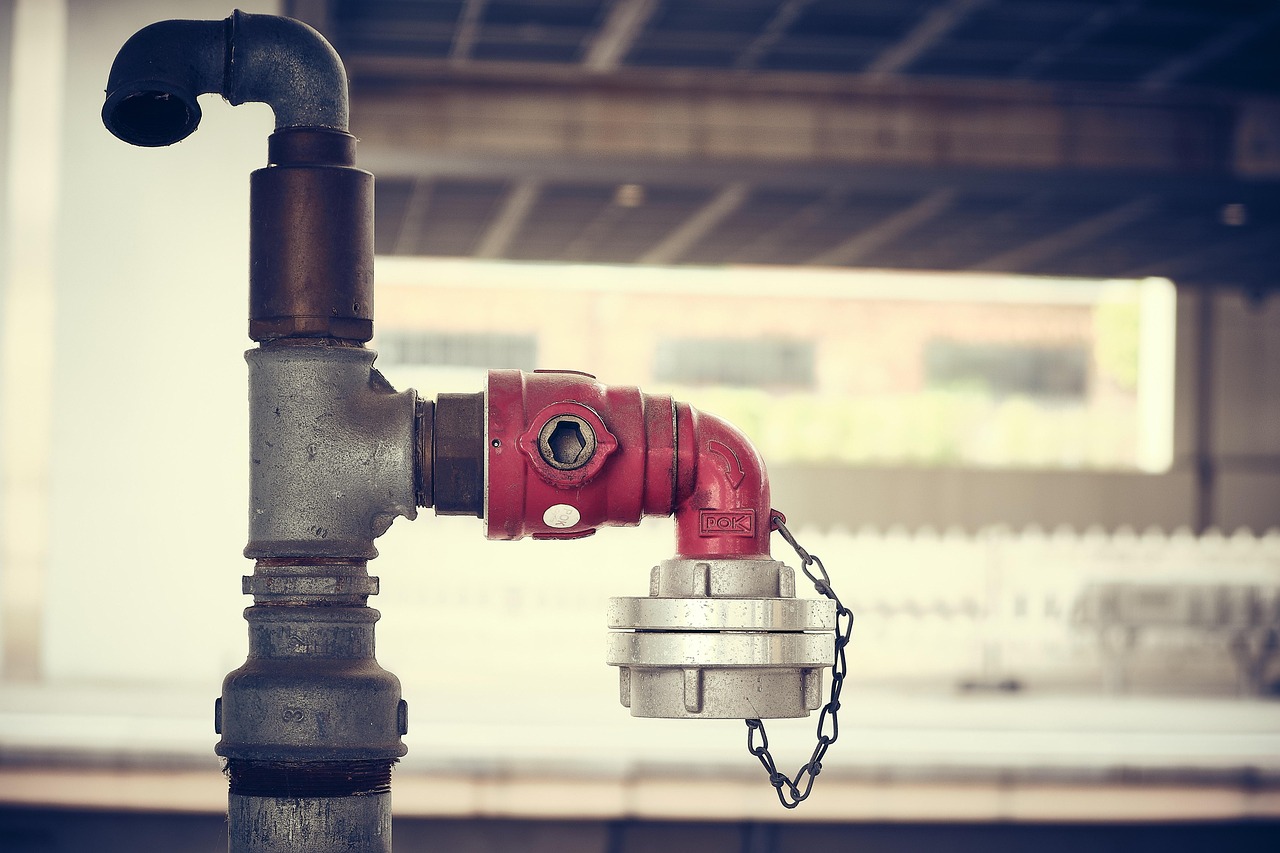
The first major strategy in our decision matrix is localized repair: replacing just the failing union or swapping out a single corroded nipple without touching the rest of the water heater setup. This approach appeals to homeowners because it minimizes labor, saves materials, and avoids disturbing older surrounding pipe joints.
To perform a localized nipple or union replacement, you must completely shut off the cold water supply to the home, turn off the water heater’s power source (gas valve or circuit breaker), and drain enough water from the tank to drop the internal level below the top connections. Once the pressure is relieved, you use backup wrenches to hold the tank spud steady while breaking loose the corroded fitting. Cleaning the female tank threads with a wire brush prepares the port for a new fitting wrapped in fresh Teflon tape and pipe dope.
However, spot repairs carry notable risks. If the external steel nipple has corroded deeply into the tank’s internal spud threads, attempting to unscrew it can strip the threads welded into the top of the glass-lined steel tank. Once those tank threads are stripped or cracked, the entire water heater is rendered useless and must be replaced immediately, regardless of its age. This risk makes careful assessment paramount before applying wrench pressure to an aged tank fitting.
Furthermore, spot-fixing a single union often leaves adjacent aging fittings untouched. If one connection has failed due to galvanic action, neighboring connections exposed to the same water chemistry and installation timeline may be right behind it. Homeowners should carefully weigh whether saving an hour on a spot repair is worth the risk of a secondary leak developing months later.
Evaluating the Replacement Path: Rebuilding the Manifold
The alternative approach is a complete manifold replacement. Instead of wrestling with a single stuck union, you cut the copper or PEX supply lines several inches above the tank, remove all old transition fittings, and build an entirely new top connection assembly using fresh brass nipples, dielectric transition check valves, or flexible corrugated copper/stainless steel water heater connectors.
This method is more labor-intensive and requires basic pipe cutting, soldering, or PEX crimping skills. Yet, it offers distinct advantages. By cutting away old, brittle copper and installing flexible connectors, you absorb future thermal expansion and seismic movement, drastically reducing stress on the tank’s welded spuds. Rebuilding the manifold also allows you to upgrade substandard materials, such as replacing old galvanized steel nipples with heavy-duty lined brass or dielectric alternatives that resist galvanic action far more effectively.
Rebuilding the entire top manifold also provides an ideal opportunity to install full-port isolation ball valves if they were missing from the original installation. Having dedicated shut-off valves directly above the water heater makes future maintenance, anode rod inspections, and ultimate tank replacement significantly easier. While the upfront investment in materials and time is higher, a newly rebuilt manifold provides peace of mind and structural integrity that spot-patching simply cannot match.
Economic Decision Matrix: Repair vs. Replacement Costs
When deciding between a localized fix and a full manifold rebuild, balancing short-term expenses against long-term reliability is essential. Consider these economic factors:
- Material Expense: A single replacement union or nipple costs under twenty dollars at any hardware store. A complete manifold rebuild involving new valves, connectors, and fittings might run between fifty and one hundred dollars in raw materials.
- Labor Time and Complexity: A simple union tightening or gasket swap takes less than an hour. A careful manifold rebuild takes two to four hours, depending on pipe material and accessibility.
- Professional Service Calls: If you hire a licensed plumber, a minor service repair call often carries a flat dispatch and labor minimum. Paying a plumber to diagnose and rebuild a failing manifold is more expensive upfront, but it usually includes a workmanship warranty that protects you if something goes wrong.
- Age of the Water Heater: Pouring money and labor into rebuilding a manifold on a twelve-year-old water heater nearing the end of its typical lifespan is rarely economical. If the tank is past its prime, investing in a new water heater makes more financial sense than saving old corroded fittings.
Analyzing these financial parameters ensures you do not throw good money after bad. If your tank is past its expected service life, spending hundreds of dollars on professional manifold repairs is rarely a sound investment. Conversely, for a relatively new unit, a comprehensive manifold upgrade is a prudent way to safeguard your home against recurring leaks.
Step-by-Step Diagnostic Framework for Homeowners
Before grabbing your pipe wrenches, run through this practical diagnostic checklist to assess your specific situation:
- Check the Installation Date: Locate the serial number on the manufacturer sticker to determine the exact age of the water heater. Units over ten years old warrant caution.
- Inspect the Severity of the Corrosion: Gently scrape away surface crust with a wire brush. If the underlying metal of the nipple is pitted, paper-thin, or weeping heavily, spot repair is risky.
- Verify Pipe Accessibility: Look at the clearance above the tank. Are there low-hanging ceiling joists or tight drywall enclosures that make cutting and soldering pipes difficult?
- Assess Your Comfort with Plumbing Tools: Do you own two heavy pipe wrenches to provide counter-torque? Using a single wrench on a tank nipple can easily twist and fracture the internal tank welds.
- Evaluate Water Quality Factors: Determine whether your home has hard water or a functioning water softener, which impacts how quickly mineral scaling and galvanic breakdown occur.
Common Mistakes to Avoid During Fitting Repairs
Homeowners tackling water heater plumbing repairs often run into avoidable pitfalls that turn minor leaks into major emergencies. Being aware of these traps can save you significant trouble:
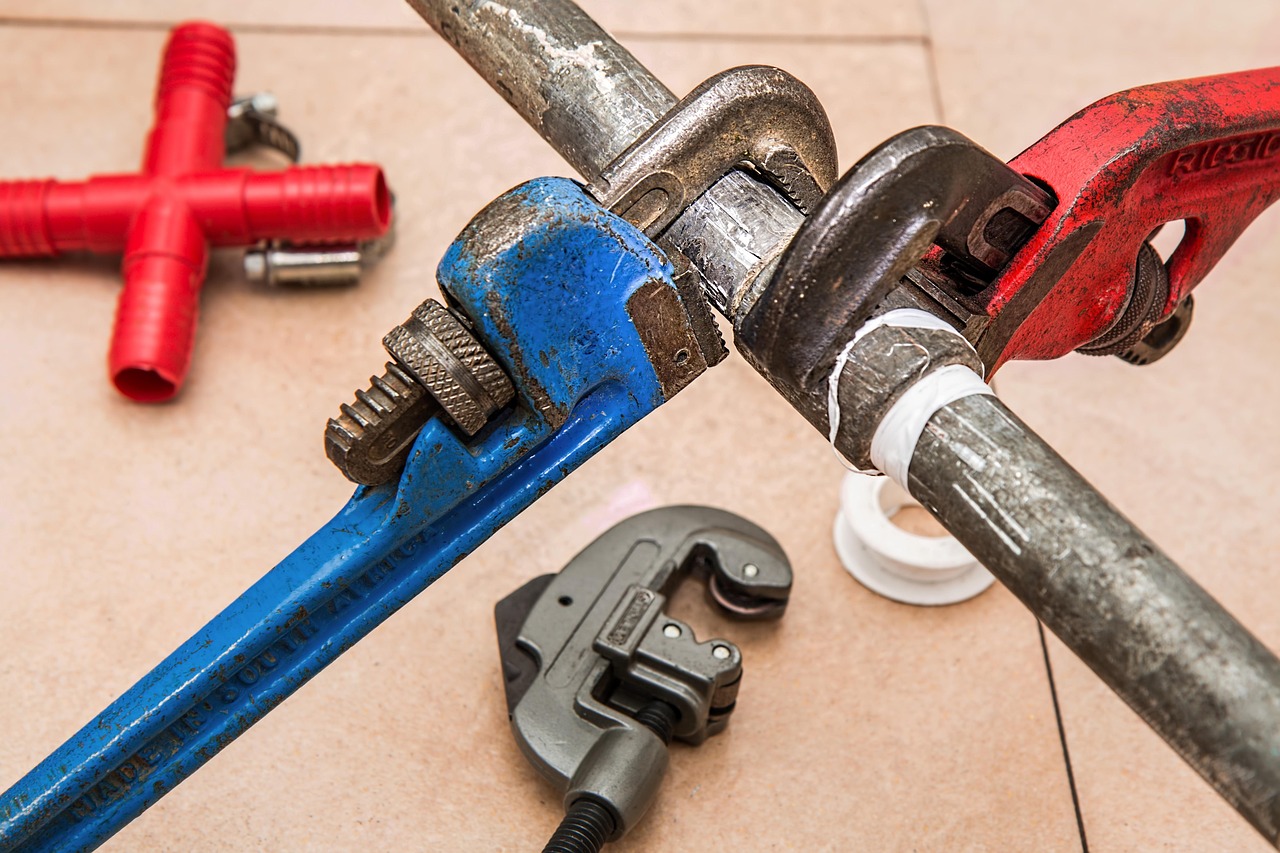
The single most dangerous mistake is applying rotational force to a tank nipple without using a backup wrench on the factory-installed tank spud. Water heater tanks are constructed of glass-lined steel with welded steel bungs. Twisting the nipple without counter-torque frequently shears the weld or cracks the glass lining, causing an immediate, unfixable tank leak. Another common error is mixing sealing compounds incorrectly. Always use high-temperature thread sealant rated for potable water, and avoid over-tightening brass or plastic fittings, which can crack under excessive torque.
Another frequent error is failing to depressurize and completely drain the upper portion of the tank before removing fittings. Even after closing the main supply valve, trapped pressure and water inside the top dome of the tank can spray hot water when a fitting is broken loose. Always open a nearby hot water faucet in the house to relieve system pressure and drain down the tank level before unthreading any components.
Preventative Maintenance to Extend Fitting Life
Once you repair or rebuild your water heater connections, taking a few proactive steps can prevent future corrosion:
Inspect your water heater fittings twice a year during routine HVAC or smoke detector checks. Catching a tiny white salt deposit early allows you to address it before rust eats through the metal. Additionally, check your home’s thermal expansion tank. If your thermal expansion tank has failed or become waterlogged, spikes in closed-loop water pressure will constantly stress your dielectric unions and pipe joints, accelerating mechanical failure and causing premature weeping leaks across your entire plumbing manifold.
Flush your water heater tank annually to remove sediment buildup. While sediment accumulation primarily affects the heating elements or burner at the bottom of the tank, reducing overall mineral concentration in your home’s water heating system helps maintain balanced system chemistry and reduces the aggressiveness of electrolytic reactions at the top connections.
Final Verdict: Which Path Should You Choose?
Choosing between a localized dielectric union fix and a full manifold replacement ultimately depends on the condition of your equipment. If your water heater is less than five years old, the tank threads are clean, and the leak is confined to a degraded rubber gasket inside a traditional union, a careful spot repair or nipple replacement is a practical, low-cost solution.
However, if your water heater is past its midpoint, the corrosion has deeply pitted the steel nipple, or your home features rigid, stressed copper piping without flexible connectors, investing the extra time and effort into a complete manifold rebuild pays off. By eliminating outdated dielectric unions in favor of modern, flexible connection strategies, you protect your home from sudden water damage and ensure your plumbing system operates reliably for years to come.