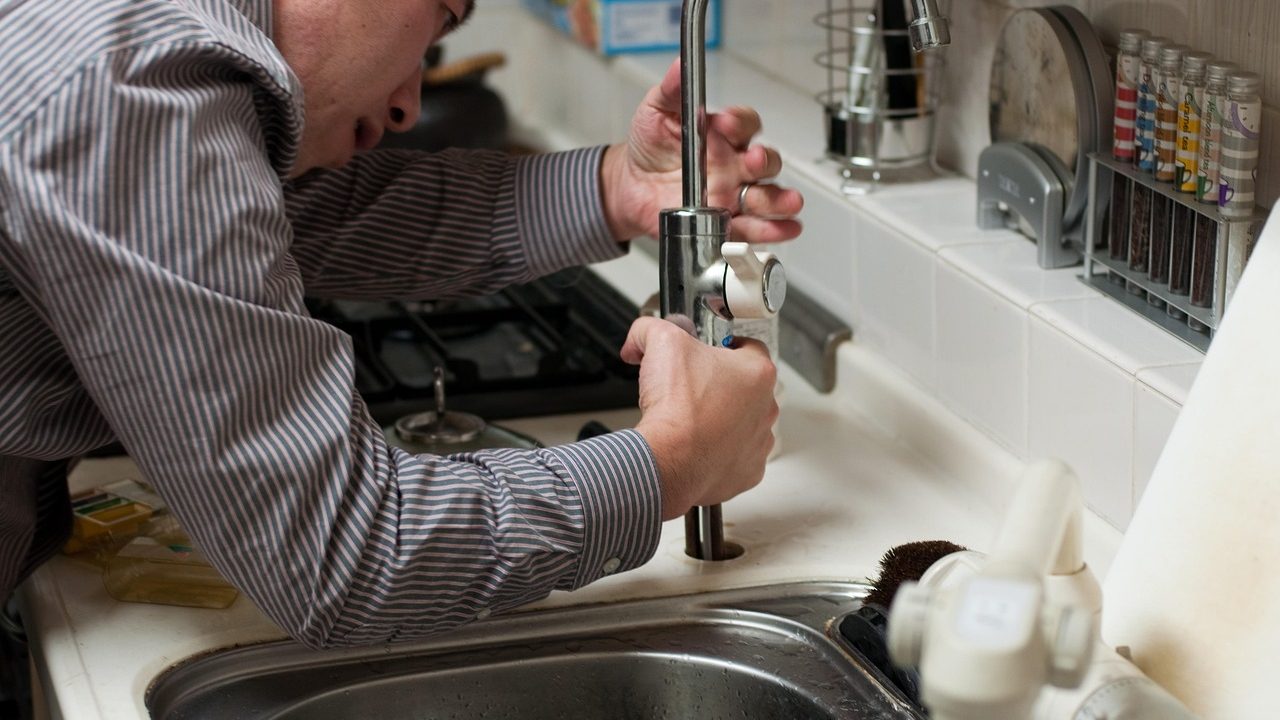
Finding a puddle under the kitchen cabinet is a common household nuisance, and the culprit is frequently the vertical tailpiece extending down from the sink strainer. When water begins to seep past the fittings, homeowners must weigh kitchen sink tailpiece repair vs replacement to determine the most practical path forward. The decision typically boils down to whether a localized component fix—such as swapping out a hardened rubber washer—will hold up, or if the entire modular PVC assembly is too degraded, misaligned, or warped to salvage.
While a quick gasket replacement costs just a few dollars and takes minutes, it may prove ineffective if the underlying PVC pipes have warped or if the flanged tailpiece itself has corroded or cracked. Conversely, replacing the entire slip-joint trap assembly demands more time, precise measuring, and careful alignment, but it eliminates multiple potential failure points at once. This guide provides a structured decision framework to help you diagnose the root cause of your under-sink leak, evaluate material wear, and choose the right approach for your kitchen plumbing.
Anatomy of a Kitchen Sink Drainage Assembly
Before pulling apart PVC fittings, it helps to understand how modern residential sink drainage is put together. Most standard kitchen setups—whether single or double basin—rely on a modular system of tubular slip-joint fittings made of PVC or polypropylene. Water exits the sink strainer basket through a vertical pipe called the tailpiece. In double-basin sinks, a continuous waste tee or baffle tee combines the two streams into a single vertical tailpiece.
From there, the tailpiece drops into a P-trap, which holds a small pool of standing water to block sewer gases from entering the kitchen. The P-trap connects via an adjustable slip-joint elbow to the wall bend, which passes through a sanitary tee into the main drainage stack behind the wall. Every connection point in this chain relies on three elements: a flanged pipe end, a plastic slip-joint nut, and a tapered compression washer.
When a leak occurs, it almost always originates at one of these slip-joint connections. Understanding which specific part has failed dictates whether you can get away with a targeted repair or if you need to buy a complete replacement kit from the hardware store.
To deepen your understanding of under-sink drainage, it is also helpful to recognize how gravitational flow governs the entire system. Unlike supply lines, which operate under high pressure from municipal water mains or wells, drain lines are gravity-fed. This means every inch of piping downstream from the sink strainer must maintain a continuous, uninterrupted downward slope toward the main vertical stack. If a fitting is improperly torqued or if a slip-joint washer is pinched, water does not spray out violently; instead, it weeps, trickles, or pools slowly around the base of the cabinet floor. Recognizing this subtle dynamic explains why even a tiny, seemingly insignificant drip can point to a systemic alignment or structural issue rather than a random fluke.
The Case for Localized Repair: Slip-Joint Washer Swaps
When water drips exclusively from a single connection nut, a localized repair is usually the first line of defense. Slip-joint washers—typically made of rubber, polyethylene, or nylon—are engineered to compress against the pipe when the slip-joint nut is tightened by hand and given a quarter-turn with a pair of channel-lock pliers.
Over the years, exposure to hot water, harsh dish detergents, and chemical drain cleaners causes these washers to harden, flatten, and lose their elasticity. Once rubber loses its memory, it can no longer maintain a watertight seal against thermal expansion and contraction cycles. Replacing a flattened washer is straightforward:
- Place a bucket and towels underneath the work area to catch trapped water.
- Loosen the slip-joint nut holding the leaking connection.
- Slide the nut down the pipe and pry out the old, degraded washer.
- Slip a new tapered washer over the pipe, ensuring the tapered end faces toward the receiving fitting.
- Hand-tighten the nut, then snug it gently with pliers. Never overtighten plastic slip-joint nuts, as this strips the threads or crushes the washer out of alignment.
The primary advantage of a localized repair is speed and minimal cost. A replacement washer costs less than a dollar, and the job requires no pipe cutting or measuring. However, this approach only works if the mating surfaces are completely clean and undamaged. If the tailpiece is scratched, out-of-round, or thin from wear, a new washer will still leak.
Furthermore, when executing a localized repair, it is crucial to inspect the condition of the slip-joint nut itself. Over years of service, plastic nuts can develop microscopic stress fractures, particularly if they were previously tightened with excessive force. If you notice any hairline cracking along the exterior ridges of the nut, do not attempt to reuse it simply because you are only swapping the washer. Replacing the nut alongside the washer adds virtually no cost and prevents an immediate callback to the same joint due to a fractured housing.
The Case for Full Replacement: Modular PVC Trap Assemblies
There comes a point in the lifecycle of under-sink plumbing where patching individual components becomes a game of diminishing returns. If you replace a washer only to find the leak has migrated to a different nut, or if the PVC piping feels brittle and chalky to the touch, a complete overhaul is usually the more pragmatic choice.
Modular PVC trap assemblies are inexpensive—typically running between ten and twenty dollars for standard kits—and provide an entirely fresh network of pipes, nuts, and washers. Replacing the entire assembly makes economic and structural sense under several distinct conditions:
- Material Degradation: Older PVC or thin-wall polypropylene can become brittle, discolored, and structurally compromised after decades of exposure to hot water and household chemicals.
- Stripped or Cracked Nuts: Overtightened plastic nuts frequently crack along the internal threads. If a nut will no longer bite or hold tension, replacing the pipe section is mandatory.
- Persistent Misalignment: If previous plumbing installations forced pipes together at an unnatural angle, constant lateral stress will continuously warp washers and cause chronic weeping leaks.
- Corrosion on Metal Components: In older homes featuring brass or copper tailpieces connected to PVC traps, galvanic corrosion and thinning metal walls make patching unreliable.
Starting fresh with a complete modular kit ensures that all threads match perfectly and all washers are fresh, resilient, and correctly seated.
Another major advantage of a full assembly replacement is the opportunity to upgrade outdated or poorly designed continuous waste configurations. Many older homes feature rigid brass or mismatched plastic tailpieces that make snaking the drain or cleaning the trap unnecessarily difficult. Modern modular kits feature smooth, uniform interior walls that resist grease buildup and slip-joint connections that can be easily disassembled by hand without specialized tools. By spending an extra twenty to thirty minutes on a complete replacement, you eliminate hidden points of failure and modernize your entire under-sink drainage infrastructure in a single afternoon.
Economic Decision Matrix: Repair vs. Replacement
To decide whether to repair or replace your kitchen sink tailpiece, evaluate your specific situation against four core criteria: material integrity, alignment stress, labor investment, and recurrence risk.
1. Material Integrity and Wall Thickness
Inspect the vertical tailpiece and trap with a flashlight. Look for scratches, hairline cracks, or thin spots caused by scouring pads or abrasive cleaners stored under the sink. If the plastic flexes easily under finger pressure or shows deep scoring where slip-joint nuts have bit into the wall, a localized washer swap will not hold. Replace the damaged components.
2. Plumbing Alignment and Stress
Check whether your tailpiece lines up straight down into the P-trap inlet. If the wall stub-out is slightly too high, too low, or offset to the left or right, previous installers may have cranked the slip-joint nuts down hard to force a connection. Forced alignment places constant shear stress on washers. If your current layout suffers from chronic misalignment, buying a modular kit with telescoping slip-joint extensions allows you to rebuild the system without lateral strain.
3. Time and Labor Overhead
A simple washer swap takes roughly ten minutes and requires only a bucket and pliers. Replacing an entire trap assembly takes 30 to 45 minutes, may require a hacksaw or PVC cutters to trim tailpieces to length, and requires cleaning out the wall connection. While replacement takes more effort, it saves you from crawling back under the sink three weeks later when an adjacent, equally old fitting fails.
4. Cost-Benefit Breakdown
Direct material costs for a washer are negligible, whereas a complete modular trap kit costs about as much as a fast-food meal for two. Because plumbing failure risks cabinet floor rot, ruined cleaning supplies, and mold growth, investing fifteen extra minutes and a few extra dollars in a full replacement is often the safer financial bet if your under-sink hardware is more than ten years old.
To formalize this decision in your own mind, ask yourself a simple diagnostic question: How many times have you serviced this specific drainage run in the past two years? If this is the first time a leak has appeared after a decade of trouble-free operation, a localized washer replacement is almost certainly the correct, efficient choice. However, if you have already tightened nuts, added silicone tape, or swapped washers on adjacent joints within the last twelve to eighteen months, the material lifespan of the entire assembly has expired. In that scenario, continuing to patch individual components is a false economy that ultimately wastes both time and money.
Common DIY Mistakes to Avoid
Whether you choose a localized repair or a full modular swap, avoiding a few classic under-sink plumbing errors will save you from repeat leaks and frustrating callbacks.
- Incorrect Washer Orientation: The tapered edge of a slip-joint washer must always point toward the interior of the receiving fitting or nut. If installed backward, the compression seal fails instantly.
- Overtightening Plastic Nuts: It is a common misconception that plastic plumbing fittings need to be wrenched down as tight as possible. Overtightening distorts the washer, strips the plastic threads, and leads to immediate failure. Hand-tighten firmly, then add only a modest quarter-turn with pliers.
- Ignoring Pipe Depth: When assembling slip-joint traps, ensure the pipes slide far enough into the slip-joint fittings to maintain solid engagement. A pipe that barely enters the slip-joint nut will slip out under water weight.
- Relying on Thread Seal Tape or Pipe Dope: Slip-joint connections do not seal via the threads; they seal via the compression washer inside the nut. Applying Teflon tape or pipe joint compound to slip-joint threads is ineffective and often hinders proper nut tightening. Thread seal tape is reserved exclusively for tapered pipe threads, such as threaded metal adapters or male pipe adapters screwed directly into wall fittings.
Another frequent oversight involves failing to flush out the debris accumulated inside the sink strainer housing or tailpiece flange before installing new gaskets. When you disassemble old PVC fittings, scale, soap scum, and mineral deposits often collect around the rim where the tailpiece meets the sink basket strainer. If you do not thoroughly clean these mating surfaces with a wire brush or abrasive pad, the new washer will seat unevenly over the grit, creating an immediate leak channel. Taking two minutes to clean every mating surface ensures a completely smooth seal.
Step-by-Step Guidance for a Full Trap Assembly Replacement
If your evaluation points toward replacing the entire assembly rather than a simple tailpiece repair, follow a systematic workflow to ensure a clean, leak-free installation.
Start by shutting off the water supply to your kitchen faucet—not strictly necessary for drain work, but it prevents accidental spills if you bump supply lines while working. Clear everything out from under the cabinet and lay down a heavy towel or shallow plastic bin to catch residual gray water trapped inside the P-trap.
Loosen the slip-joint nuts starting from the top tailpiece down to the wall bend. Slide the old P-trap off, empty the remaining water into your bucket, and unscrew the wall adapter nut if you are replacing the entire run back to the wall. Clean any debris, soap scum, or old washer fragments from the male threads protruding from the wall.
Dry-fit your new modular PVC trap assembly before tightening anything down. Measure the vertical tailpiece coming down from the sink basket. In most cases, standard tailpieces are too long and must be trimmed with a hacksaw or PVC cutter to align properly with the P-trap inlet. Ensure all horizontal runs maintain a slight downward slope—at least one-fourth inch of fall per foot—toward the wall drain to prevent slow drainage or standing water backups.
Slide new slip-joint nuts and tapered washers onto each pipe section in the correct order. Insert the pipes into their respective fittings, ensuring proper depth and alignment without lateral twisting. Hand-tighten all nuts securely, followed by a light snug with pliers. Once the assembly is complete, fill both kitchen sink basins with water and pull the stoppers simultaneously. This high-volume discharge test puts maximum hydrodynamic pressure on your new seals, allowing you to check for weeping drips with a piece of dry toilet paper wiped along the underside of every joint.
Executing this replacement methodically ensures that you do not miss hidden alignment flaws. If you notice that the wall bend is angled slightly downward or upward, adjust the swing of the P-trap left or right rather than forcing the pipe to bend. Modern modular PVC kits are designed with rotational flexibility precisely to accommodate minor variations in wall stub-out heights and offsets. Respecting this design flexibility prevents unnecessary stress on the compression washers and guarantees a dry cabinet for years to come.
Long-Term Maintenance and Prevention
Once your kitchen sink drainage is secure, a few simple maintenance habits will extend the lifespan of your slip-joint fittings and prevent premature leaks.
Avoid dumping harsh chemical drain cleaners down your sink to clear clogs. Highly caustic or acidic chemicals generate intense heat as they react with organic buildup, which can warp thin-walled PVC pipes and degrade rubber washers prematurely. Instead, rely on a physical P-trap cleanout—placing a bucket underneath, unscrewing the cleanout plug or slip joints, and clearing hair and grease manually—or use a mechanical hand auger.
Periodically inspect the under-sink cabinet during routine cleaning. Because slow drips often evaporate before forming a large puddle, running your hand along the underside of the P-trap and tailpiece every few months lets you catch moisture early before it damages subfloor cabinetry. By understanding the balance between localized repair and full modular replacement, you can maintain a reliable, dry kitchen plumbing system for years to come.
In addition to avoiding harsh chemicals, consider running a basin full of hot tap water mixed with mild dish soap down the drain once a week. This routine flush helps dissolve minor grease accumulations before they solidify inside the P-trap or along the horizontal wall bend. Combined with semi-annual physical inspections of your slip-joint nuts, this proactive approach ensures that minor component wear never escalates into major water damage.