

When an aging outdoor living space begins to show its age—splintering boards, loose fasteners, or a spongy feel underfoot—homeowners face a major maintenance dilemma. Undertaking a deck board replacement vs complete rebuild is rarely a simple aesthetic choice; it is primarily a structural and economic evaluation. Choosing the wrong path can lead to wasted money, ongoing safety hazards, or tearing down framing that still has years of useful service left.
To make the right call, you need to look past the surface boards and inspect the hidden skeleton of the structure: the ledger board, posts, beams, and joists. This guide walks you through the inspection process, the engineering lifespans of various lumber types, the financial realities of resurfacing versus starting from scratch, and the critical safety signs that turn a simple repair job into a mandatory teardown.
Anatomy of an Outdoor Wooden Deck: Surface vs. Substructure
A standard residential deck consists of two distinct zones: the wearing surface and the structural load-bearing system. Understanding how these two components interact is essential when considering deck board replacement vs complete rebuild projects.
The wearing surface includes the visible floorboards, railings, stairs, and surface trim. These elements take the direct brunt of ultraviolet radiation, heavy rain, foot traffic, and snow accumulation. Because they are fully exposed to the elements, surface boards naturally degrade faster than the framing underneath. It is entirely normal for surface boards to cup, warp, or splinter after a decade or two while the heavy lumber supporting them remains structurally sound.
Conversely, the substructure consists of the ledger board attached to the house rim joist, vertical support posts, horizontal beams, and parallel floor joists. This framing carries the weight of the deck, furniture, and occupants, transferring those loads safely down to the footings in the ground. Because framing lumber is often thicker and sometimes less exposed to direct sun, it can outlast the surface boards—provided water management and flashing details were correctly installed during original construction.
Understanding this separation of powers is vital. When surface boards fail, they present an obvious visual warning. When substructure framing fails, the warning signs are frequently hidden from view until a major structural shift or collapse occurs. This makes diagnostic work mandatory before making any material purchases.
The Wooden Deck Framing Lifespan Reality Check
Before purchasing new surface boards, you must evaluate the remaining lifespan of your framing. The longevity of wooden deck framing depends heavily on lumber species, preservative treatments, climate, and initial construction practices.
Standard pressure-treated southern yellow pine framing typically lasts between 15 and 25 years, depending on moisture exposure and maintenance. Untreated softwoods or older installations lacking proper flashing may begin to fail in under a decade. Hardwoods like ipe or high-grade cedar framing can last 30 years or more, but they are rarer in standard residential structural framing.
When assessing wooden deck framing lifespan, pay close attention to moisture traps. The points where joists make contact with beams, where posts meet footings, and where the ledger board attaches to the house are ground zero for wood decay fungi. If these critical junctures show signs of advanced softening, a simple board replacement will not solve your underlying structural problem.
Furthermore, climate plays an outsized role in timber degradation. Decks built in humid, wet southeastern or pacific northwestern climates experience accelerated fungal growth compared to those in arid southwestern states. Freeze-thaw cycles in northern regions can also force moisture deep into fastener holes, splitting timber from the inside out over multiple winters.
Ledger Board Engineering and Fastener Upgrades
The ledger board is the single most critical structural element of an attached deck. It ties the entire elevated platform to the rim joist of the house. In older construction, builders frequently relied on standard steel nails or undersized lag screws to secure the ledger, practices that modern building codes strictly prohibit.
When evaluating whether to resurface your deck, examine how your ledger board was fastened. If it is held in place by nails rather than code-approved through-bolts or heavy-duty structural wood screws, or if there is no metal flashing diverting rainwater away from the house siding, your substructure does not meet modern safety standards. Simply screwing new composite or wood deck boards onto an improperly fastened ledger board leaves your home vulnerable to a catastrophic pull-away failure.
Upgrading a ledger board during a surface replacement project is technically possible, but it often requires removing indoor drywall or siding to access the interior rim joist from inside the basement or crawlspace. If your ledger shows signs of rot, water staining, or improper fastening, budget for a complete rebuild or factor in the extensive labor required to properly retrofit structural tension ties and flashing.
How to Inspect Your Deck Substructure
Never rely on a visual scan from a standing position. A thorough inspection requires getting down on your hands and knees with a flashlight and an ice pick or screwdriver.
Start at the ledger board, which is the most common point of catastrophic deck failure. Look for missing metal flashing, water stains on the interior wall inside the basement or crawlspace, and any gaps opening between the house and the deck framing. A ledger board that is pulling away from the house due to rusted or inadequate fasteners cannot be saved by simply screwing down new surface boards.
Next, examine the joists from underneath. Check the tops of the joists where surface board fasteners penetrate. Water frequently travels down screw shanks, pooling inside the joist top and causing hidden internal rot. Push the tip of a screwdriver or an ice pick gently into the wood at potential trouble spots. If the tool sinks more than an eighth of an inch into the wood with minimal pressure, the member has lost its structural integrity and requires replacement.
Finally, inspect the posts and beams. Posts set directly into concrete footings without standoff brackets are notorious for rotting from the inside out. Look for splitting, checking, or fungal growth around the base of every vertical support. Check for plumb posts using a long level; any noticeable lean indicates shifting footings that demand professional engineering assessment.
Joist Sistering and Structural Reinforcement Techniques
During your substructure inspection, you may encounter isolated areas where joists show minor checking, slight surface splitting, or localized water softening near fastener holes, while the rest of the framing remains rock solid. In these scenarios, structural engineers frequently recommend a technique known as joist sistering.
Sistering involves placing a new, identically sized pressure-treated joist directly against the compromised existing joist and fastening them together using a specified pattern of structural bolts or timber screws. This reinforces the load-bearing path without requiring a full teardown.
However, sistering has clear limitations. You can only sister joists if the ends of the framing members—where they attach to the ledger and the beam—are completely sound. If rot has compromised the structural bearing points at either end of the joist, sistering offers no structural benefit because the weight cannot be transferred safely to the supports. Knowing when to sister a joist versus when to scrap the entire frame requires careful judgment and strict adherence to local building standards.
Resurfacing an Old Deck: Costs and Criteria
If your substructure passes inspection with flying colors—meaning the framing is square, rigid, free of rot, and built to current building code standards—resurfacing an old deck is a highly viable, cost-effective option.
Resurfacing involves tearing off the old surface boards, inspecting and reinforcing the existing joists with supplemental blocking or joist tape, and installing fresh decking. This approach saves significant labor hours and disposal fees associated with knocking down a massive wood frame.
However, resurfacing comes with strict engineering caveats. You cannot simply install modern composite decking onto old framing without verifying that your joist spacing meets manufacturer specifications. While traditional 2×6 wood decking could span 24 inches on center in older builds, most modern composite boards require joists spaced strictly at 16 inches on center (or even 12 inches for diagonal patterns). If your old framing has wider joist spacing, resurfacing with composites will result in an unacceptable, bouncy surface that sags under foot traffic.
Additionally, consider fastener compatibility. Older framing may feature corroded nails or screws that must be completely removed or driven flush before new deck boards can be laid down smoothly across the joist field.
When a Complete Teardown and Rebuild Is Mandatory
Sometimes, trying to save money through resurfacing is a false economy. You must opt for a complete teardown and reconstruction under several specific conditions:
- Extidespread Structural Rot: If more than 20% to 30% of your joists, beams, or posts show internal decay, the cost of sistering or replacing individual framing members exceeds the labor savings of keeping the frame.
- Outdated Building Codes: Older decks were often built without proper diagonal bracing, post-to-beam connectors, or heavy-duty ledger tension ties. Bringing an old frame up to modern building code standards often requires dismantling it anyway.
- Sagging or Out-of-Level Framing: If the structure has settled unevenly due to shifting footings or undersized beams, trying to install new straight boards over a warped frame is practically impossible.
- Switching Materials: If you are transitioning from lightweight wood to heavy capped composite decking, your existing framing must be engineered to handle the substantial dead-load increase.
Recognizing these conditions early prevents you from investing money into a surface overhaul that sits atop an inherently flawed structural foundation.
Economic Comparison: Resurfacing vs. Reconstruction
Evaluating resurfacing an old deck cost against a total rebuild requires looking at both material and labor inputs. Resurfacing eliminates the massive labor effort required to pour new footings, set new posts, cut complex stair stringers, and haul away a heavy timber skeleton.
On average, a simple surface replacement utilizes roughly 40% to 50% of the total budget that a full rebuild would demand, primarily because the heavy structural heavy-lifting is already done. However, this economic advantage disappears instantly if you begin the project assuming a simple resurface, only to discover halfway through that half the joists are rotten and must be replaced piece by piece.

Unforeseen structural repairs during a resurfacing project can quickly push total expenses close to the cost of a clean-slate rebuild. This is why a thorough pre-construction inspection is non-negotiable. If your framing is older than 15 years and has weathered multiple wet seasons without proper flashing, budget conservatively or lean toward a full reconstruction to avoid mid-project budget overruns.
Furthermore, factor in long-term maintenance costs. While a full rebuild carries a higher upfront capital investment, it resets the clock on your entire outdoor asset, giving you decades of worry-free enjoyment under modern warranties.
Permitting, Code Compliance, and Grandfather Clauses
Many homeowners assume that swapping deck boards is purely cosmetic and requires no interaction with municipal building authorities. However, local building departments have varying interpretations of maintenance versus alteration.
In many jurisdictions, if you remove structural surface boards or change the decking material type (such as moving from wood to composite), the local municipality may require a building permit. Furthermore, older decks often benefit from legal ‘grandfather’ clauses, meaning they were built legally under past codes. The moment you alter significant portions of the structure or undertake a complete rebuild, the entire deck must be brought up to current International Residential Code (IRC) standards.
Current standards often mandate deeper concrete footings, post-to-beam post caps, hurricane ties on every joist, and specific ledger attachment hardware. Failing to pull required permits or ignoring current code requirements can complicate future home sales, invalidate homeowner insurance claims in the event of an accident, or force costly retrofits down the road.
Common Mistakes in Deck Evaluation
Homeowners often make critical errors when assessing their outdoor structures. Avoiding these common missteps will save you from costly headaches:
Assuming paint hides all sins: Thick coats of paint or solid-color stain can mask severe wood rot underneath, making compromised framing look healthier than it actually is.
Ignoring fastener corrosion: Old steel nails rust away inside framing over time. If your deck is held together by corroded fasteners that pop up or snap off easily, the structural connections are compromised regardless of how solid the lumber looks.
Skipping local building permits: Even if you are just replacing surface boards, some local municipal building departments require permits if you alter structural components or change the footprint. Always verify local regulations before starting work.
Failing to account for drainage: Water accumulation is the primary enemy of outdoor timber. Failing to install self-adhering butyl joist tape during a resurfacing project guarantees that moisture will attack the tops of your old joists within a few short years.
Making Your Final Decision
To finalize your strategy between deck board replacement vs complete rebuild, use this straightforward decision matrix:
- Check the age: If the frame is under 15 years old and was built with pressure-treated lumber and flashing, lean toward resurfacing.
- Perform the pick test: If structural joists resist a screwdriver and show no sagging, your bones are good.
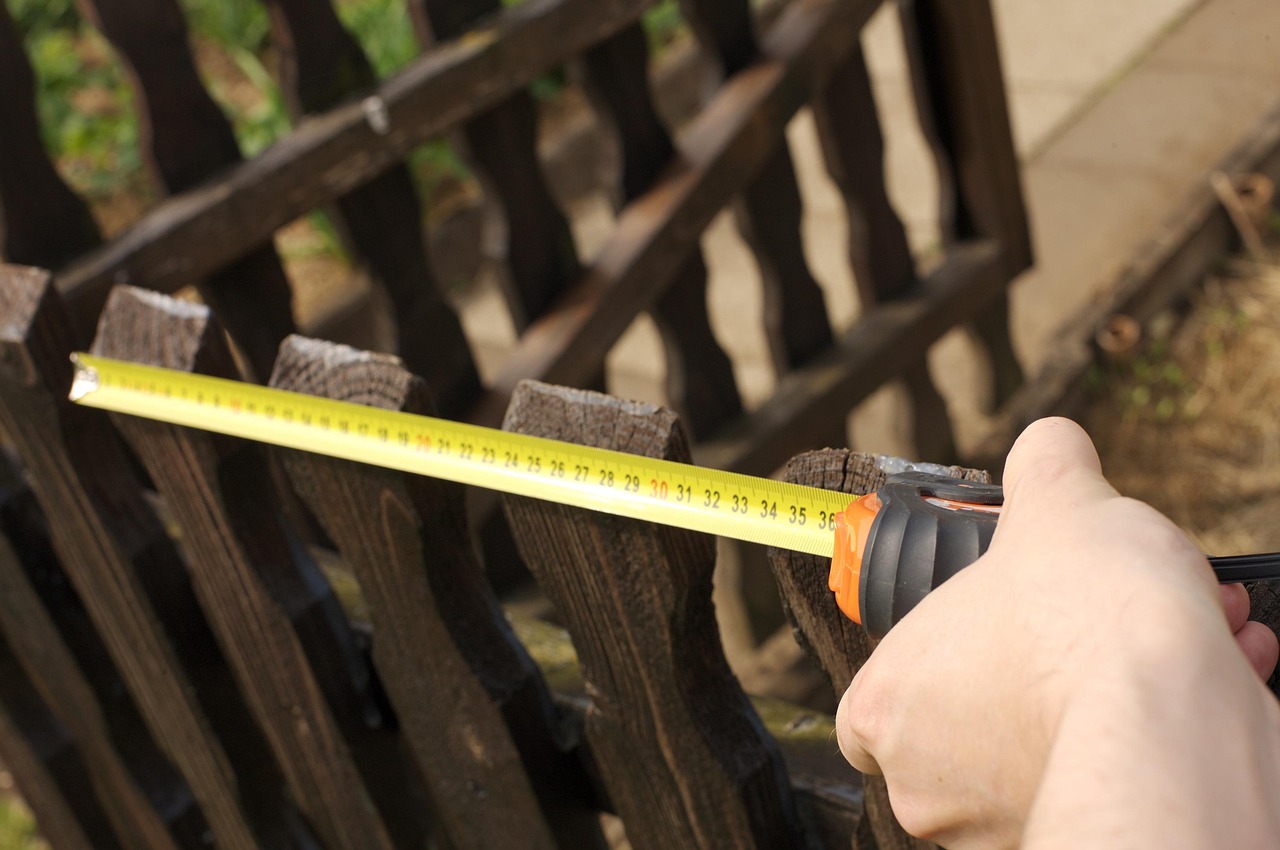
- Verify joist spacing: Measure your joist spacing to ensure it matches the requirements of your chosen new decking material.
- Consult a professional: When in doubt, hire a licensed structural contractor or home inspector to evaluate load paths and ledger attachment safety.
By prioritizing structural safety over aesthetic shortcuts, you ensure that your outdoor living space remains a safe, stable asset for your home for years to come.



