

Exterior home maintenance requires a delicate balance between aggressive cleaning power and material preservation. When dirt, pollen, spider webs, and green mildew coat your exterior walls, figuring out how to clean vinyl siding properly becomes a top priority for annual spring or autumn upkeep. While it is tempting to rent a high-powered industrial pressure washer and blast away years of neglect in an afternoon, doing so often results in cracked panels, water trapped behind vapor barriers, and warped locking channels. A methodical soft-washing approach yields far superior results without risking structural damage.
Vinyl siding is durable, low-maintenance, and designed to withstand decades of weather fluctuations, but its thin polymer construction has clear physical limitations. High-pressure streams can easily breach the overlapping seams where panels lock together, driving moisture into insulation and framing. This comprehensive guide walks you through the entire maintenance process, outlining safe detergent formulations, appropriate garden hose accessories, and systematic cleaning patterns that protect your investment.
Understanding Vinyl Siding Construction and Risks
Before spraying a single drop of water on your house, understanding how vinyl siding is installed helps explain why gentle cleaning methods are mandatory. Vinyl panels are intentionally hung loosely on exterior walls using slotted nailing hems. This slack allows the material to expand and contract freely as outdoor temperatures swing between freezing winter lows and scorching summer afternoons. Because the panels are not rigidly fixed to the sheathing, they rely on interlocking bottom edges to stay secure.
When an inexperienced cleaner aims a 3,000 PSI pressure washer directly at an upward angle against these walls, the pressurized water jet slips right beneath the locking channels. Once moisture enters this cavity, it can saturate the underlying plywood, foster mold growth, and rot structural framing long before visible signs appear on the exterior. Furthermore, excessive water pressure can dent aluminum trim, shatter old window glass, and strip caulking around frames. Soft washing eliminates these hazards by relying on safe chemical dwell times rather than mechanical force to dissolve grime.
Temperature also plays a critical role in how vinyl behaves during a cleaning session. On extremely cold days, vinyl becomes brittle and is much more prone to cracking under impact from ladders or aggressive scrubbing tools. Conversely, on scorching summer afternoons, high surface temperatures can cause soap solutions to dry almost instantly upon contact, baking a hazy film onto the panels that requires secondary washing to remove. Planning your maintenance routine during mild spring or autumn mornings provides the ideal climate window for successful washing without thermal complications.
Gathering the Right Tools and Safety Gear
Successful exterior maintenance depends heavily on having the correct equipment ready before you start working. Avoid improvising with harsh industrial solvents or abrasive scrub pads that can scratch the low-gloss textured finish of modern vinyl panels. Your preparation checklist should include:
- A standard garden hose with a reliable shut-off valve and adjustable spray nozzle capable of producing a steady fan pattern.
- A low-pressure pump sprayer (1- to 2-gallon capacity) or a downstream chemical injector if using a pressure washer solely for rinsing at safe PSI levels.
- A soft-bristled extension brush with a non-scratch head, preferably featuring flagged bristles that hold soapy water effectively without abrading the polymer surface.
- Mild dish soap, oxygen bleach, or specialized biodegradable vinyl siding cleaner.
- Standard household white vinegar for tackling organic mildew spots and mineral water rings.
- Rubber chemical-resistant gloves, protective eye goggles, and old clothing that can tolerate cleaning splashes and bleach droplets.
- A sturdy, OSHA-compliant ladder with wide rubber feet, secured firmly on level ground if working on upper stories or gable peaks.
Take time to inspect your work area before mixing solutions. Close all windows tightly, turn off exterior electrical outlets at the breaker panel if they lack weatherproof covers, and pull patio furniture, planters, or decorative lawn items away from the immediate work zone to create an unhindered perimeter.
Preparing Your Landscaping and Exterior Surfaces
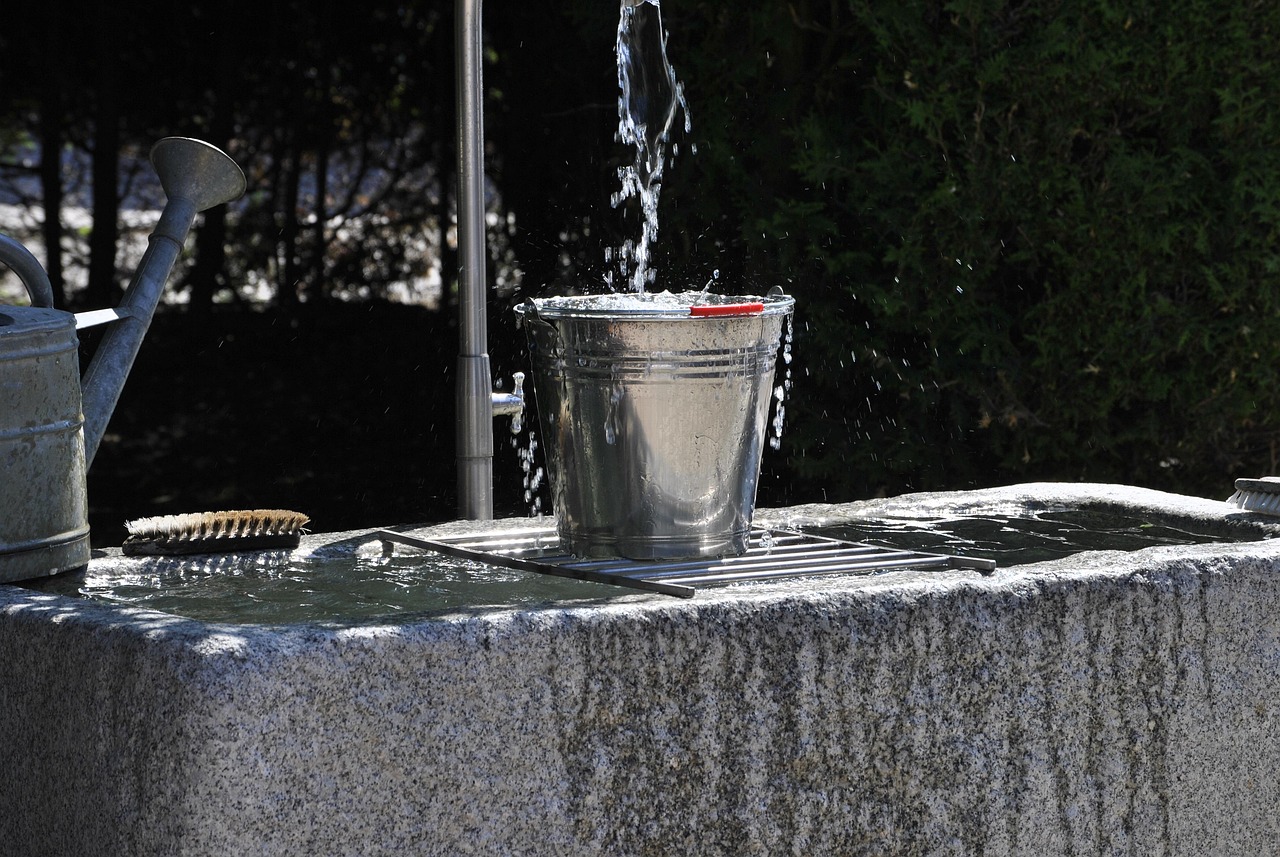
Even eco-friendly cleaning detergents and mild bleach solutions can damage delicate landscaping, scorch hostas, and discolor prized flower beds if applied carelessly. Taking ten minutes to prep your yard saves hours of frustration later. Start by thoroughly soaking all shrubs, grass, and perennial gardens surrounding the perimeter of the house with plain water before any cleaning agents touch the walls. Wetting the soil and foliage dilutes any accidental runoff that drips down during the washing process.
For delicate plants, climbing vines, or prized rose bushes situated directly against the foundation, drape them in heavy-duty plastic sheeting or canvas drop cloths. Be sure not to leave plastic draped over plants in direct sunlight for extended periods, as trapped heat can damage the foliage just as quickly as chemical exposure. Once your washing session concludes, rinse the landscaping a second time for several minutes to flush away residual soap or cleaning chemicals. Taking these preventive steps ensures your lawn survives your seasonal maintenance routine unscathed.
In addition to protecting plant life, inspect your window screens, outdoor light fixtures, and security cameras. While most exterior fixtures are rated to withstand rain, high-pressure spray or direct chemical contact can compromise rubber gaskets or seep into electrical housings. Remove fragile decorative items, roll up garden hoses stored against the house, and cover exterior dryer vents with temporary plastic bags secured by painter’s tape to prevent water from entering your ductwork.
Choosing the Right Cleaning Solution
Commercial hardware stores stock countless exterior cleaning formulations, but simple mixtures often work best for residential vinyl. For general dirt and road dust accumulation, a basic solution of warm water mixed with a mild dishwashing liquid or specialized biodegradable house wash is completely sufficient. Combine one gallon of water with a quarter cup of mild detergent in a bucket or pump sprayer.
For a reliable homemade alternative that cuts through heavy grime without toxic fumes, mix one-third cup of powdered laundry detergent, two-thirds cup of powdered household cleaner (like TSP substitute), one quart of liquid laundry bleach, and one gallon of water. Alternatively, an eco-friendly mix of white vinegar and warm water (a 30/70 ratio) cuts through light mineral deposits and surface dust safely.
If your home sits in a heavily shaded, humid microclimate that encourages organic growth, you will need a specialized approach to vinyl siding mildew removal. Mix one part standard household liquid chlorine bleach with four parts water for stubborn black or green stains. Always test your cleaning solution on a small, hidden patch of siding—such as behind a downspout or inside a garage alcove—to confirm it does not interact negatively with your specific panel finish or chalking pigments. Never mix bleach with ammonia, vinegar, or other household cleaners, as this creates toxic, hazardous chlorine gas.
Step-by-Step Washing Technique
With your equipment staged, landscaping protected, and solution mixed, you are ready to begin the active washing phase. Work systematically from the bottom up when applying solutions, and from the top down when rinsing. This counterintuitive rule prevents streaking; if you apply detergent from the top down, dry patches absorb the cleaner unevenly before you can rinse them.
- Saturate a manageable ten-by-ten-foot section of the wall with your garden hose to cool the surface and prep the pores of the vinyl.
- Apply your detergent solution using a pump sprayer or soft-bristled brush, starting at the bottom and working upward across the horizontal lap lines.
- Allow the cleaning solution to dwell on the surface for five to ten minutes. Do not let the soap dry completely on the vinyl, as this leaves stubborn films and hazy streaks.
- Gently agitate stubborn dirt spots, pollen rings, or bird droppings using your soft-bristled extension brush, employing light circular motions. Avoid scrubbing aggressively, which can alter the factory sheen of the panel.
- Rinse the section thoroughly with clean water from your garden hose, working from the top down to chase all soap residue and loosened debris downward toward the ground.
Move methodically around the perimeter of the house, completing one side at a time before advancing to the next. Rinse your ladder placement areas frequently to prevent slipping on soapy concrete or wet grass. Take frequent breaks on large multi-story homes to maintain steady physical footing and avoid fatigue.
Addressing Stubborn Stains and Mildew
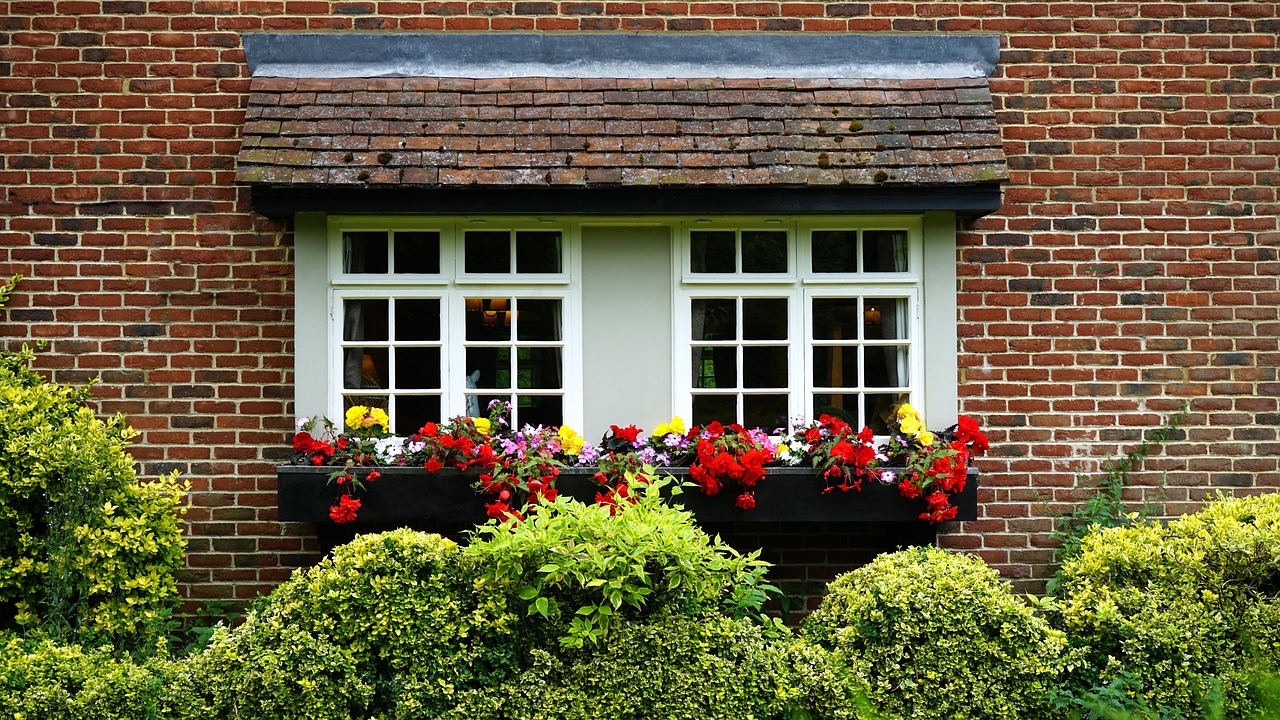
While general washing handles seasonal dust, certain areas require targeted treatment. North-facing walls, deeply shaded alcoves, and surfaces near dense tree canopies frequently trap moisture, creating ideal conditions for fungal spores. When dealing with persistent vinyl siding mildew removal, patience matters more than muscle. If a standard soap wash leaves black spots behind, reapply your water-and-bleach solution directly to the affected areas using a sponge or soft brush.
Allow the bleach mixture to sit undisturbed for ten to fifteen minutes, keeping the surface damp so the active agents can break down organic root systems. Never use wire brushes, steel wool, or abrasive scouring pads to scrub mildew away; these tools permanently gouge the soft plastic surface, leaving rough marks that attract dirt even faster in the future. Once the stains fade, rinse the area generously with clean water.
For stubborn grease, soot from nearby barbecue grills, or localized tar splatters, avoid harsh lacquer thinners or acetone, which melt vinyl instantly. Instead, apply a small amount of rubbing alcohol on a clean white cloth and gently wipe the affected spot before rinsing immediately.
Water pressure management remains a critical safety factor when dealing with textured siding profiles. If you choose to use a pressure washer exclusively for the final rinsing stage, keep the nozzle at least three feet away from the wall. Always maintain a perpendicular spraying angle—never spray upward or at a sharp diagonal angle into the horizontal lap joints. Adhering to these mechanical boundaries prevents water infiltration, warped panels, and expensive framing repairs.
Common Mistakes to Avoid When Washing Vinyl Siding
Even well-intentioned homeowners can run into trouble if they fall into common maintenance traps. Recognizing these pitfalls before you begin ensures a smooth cleaning process:
- Using Unregulated Pressure: Cranking a pressure washer above 1,500 to 2,000 PSI or holding the wand too close to the wall is the leading cause of cracked vinyl and water damage.
- Skipping the Pre-Rinse: Applying cleaning chemicals to dry, sun-baked siding causes the solution to flash-dry, creating stubborn chemical stains that are difficult to remove.
- Ignoring Chemical Safety: Failing to wear rubber gloves and eye protection when handling bleach solutions can lead to skin irritation or accidental eye exposure.
- Forgetting to Rinse Landscaping: Neglecting to soak plants before washing and rinse them thoroughly afterward results in scorched leaves and dead perennial beds.
- Scrubbing Too Hard: Using abrasive scouring pads or stiff wire brushes permanently scratches the protective exterior finish of the vinyl panels.
By keeping these operational errors in mind, you protect both your home and your landscaping from accidental harm.
Frequently Asked Questions About Vinyl Siding Maintenance
How often should I clean my vinyl siding? For most suburban homes, washing the exterior once a year—preferably in the spring after pollen season settles or in the autumn after tree leaves drop—is sufficient to maintain curb appeal and prevent mildew accumulation.
Can I use chlorine bleach on my siding? Yes, diluted chlorine bleach (mixed one part bleach to four parts water) is safe and highly effective for killing mildew and mold. Always rinse thoroughly and protect nearby plants.
Will a pressure washer ruin vinyl siding? A pressure washer can easily crack vinyl, force water behind locking channels, and damage trim if the pressure exceeds safe limits (under 1,500 PSI) or is sprayed at an upward angle.
How do I remove rust stains from vinyl siding? Rust stains from nails or outdoor fixtures can be treated with a specialized commercial rust remover designed for vinyl or a mild solution of oxalic acid, followed by immediate rinsing.
Post-Cleaning Inspection and Maintenance
Once the entire exterior of your house has been washed and thoroughly rinsed, take a step back and perform a comprehensive visual inspection. Look closely at the locking channels, window trim, and corners while the siding is still slightly damp. Check for loose panels, cracked nail fins, or gaps where caulk has deteriorated around window frames and utility penetrations.
Make a note of any structural repairs required before the next seasonal change. Replacing a cracked panel or reapplying exterior-grade polyurethane caulk takes minimal effort when caught early. Allow the siding to dry completely in the sun before reinstalling decorative shutters, hanging seasonal wreaths, or pushing patio furniture back against the exterior walls. Regular annual maintenance keeps your home looking polished while maximizing the structural integrity of your exterior envelope for years to come.



