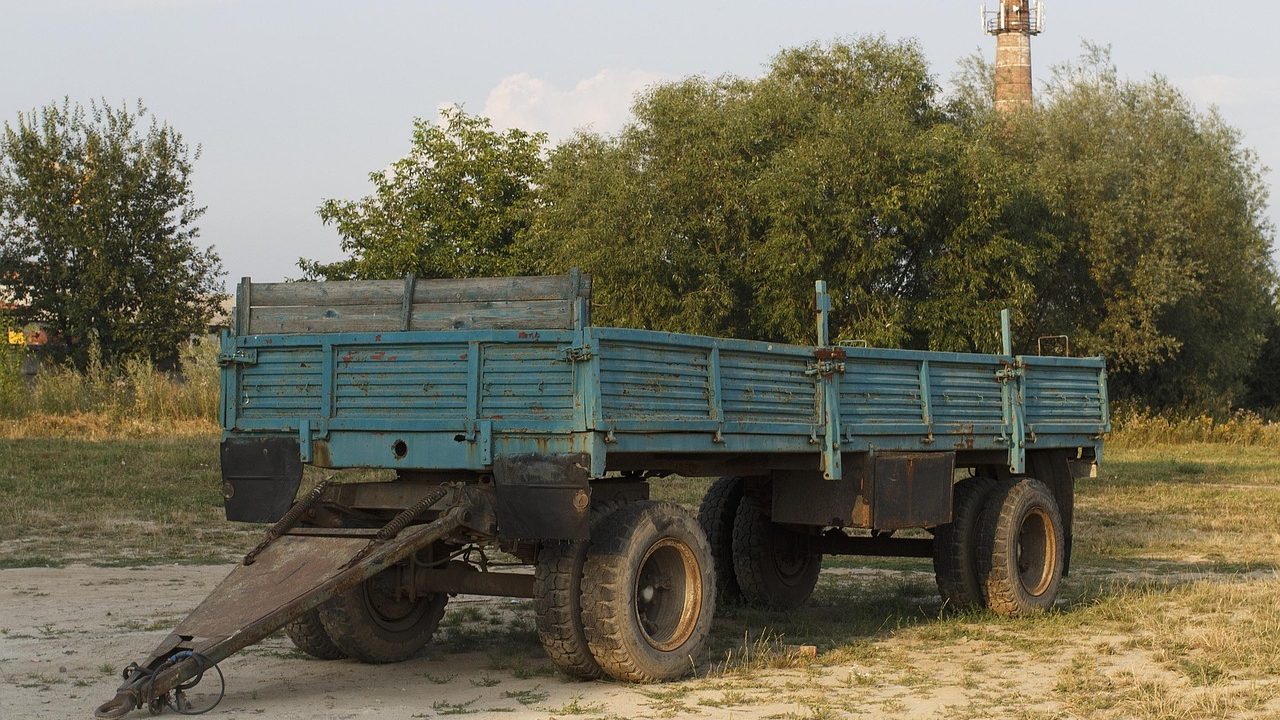
When you run an independent contracting business, landscaping service, or mobile repair outfit, your transport equipment is as critical as your hand tools. Purchasing a used commercial cargo trailer buyer guide approach is essential for any business owner looking to scale up transport capacity without absorbing the steep depreciation hit of a brand-new showroom unit. However, the pre-owned market is filled with former rental units, neglected construction haulers, and trailers suffering from structural fatigue.
Evaluating a used enclosed trailer requires looking past a fresh coat of white or black spray paint on the exterior aluminum skin. Structural integrity lives beneath the floorboards, inside the steel frame rails, and within the wheel assemblies. This guide walks you through a systematic inspection framework covering the physical frame, suspension components, flooring materials, electrical systems, and legal compliance factors to ensure your next trailer purchase supports your business rather than draining its cash flow.
Furthermore, acquiring a commercial trailer demands a strict analytical mindset. Unlike personal utility trailers that sit in a suburban driveway for months between weekend gardening runs, commercial trailers often log thousands of highway miles annually, endure overloading, and face harsh weather conditions without the benefit of indoor storage. A professional evaluation protects you from inheriting someone else’s deferred maintenance, structural defects, and legal liability. By understanding the specific failure points of enclosed haulers, you can negotiate from an informed position and select a unit that will remain productive for years.
Understanding the Commercial vs. Consumer Grade Difference
Before examining specific mechanical components, you must determine whether the trailer you are evaluating was built for heavy-duty commercial use or light-duty weekend recreation. Consumer-grade trailers typically feature lighter-gauge steel tubing, single axles, thinner aluminum siding, and lower gross vehicle weight ratings (GVWR). Commercial-grade units, conversely, are engineered for daily deployment, highway speeds, and heavy point loads.
Commercial cargo trailers generally feature structural steel tube frames—often 3-inch by 2-inch main rails or larger—along with heavier wall studs and roof bows spaced on 16-inch centers rather than 24-inch centers. When evaluating a used commercial cargo trailer buyer guide principles dictate that you verify the manufacturer’s data plate. Look for brands known for commercial durability, check the VIN structure, and confirm that the GVWR matches your actual hauling payload requirements plus the weight of the gear inside.
In addition to framing differences, commercial units frequently incorporate upgraded exterior lighting packages, heavy-duty ramp doors with integrated spring-assist systems, thicker exterior aluminum skins (such as .030 or .040 gauge instead of thin .024 metal), and commercial-grade door latches and hinges. When inspecting a candidate trailer, look for corner gussets and frame reinforcements around the door openings. Consumer models often flex severely at the rear door frame when traveling over uneven terrain, leading to jammed doors and cracked side skins over time. A true commercial frame resists this torsional twist, maintaining square alignment even when parked on uneven job sites.
Structural Frame Inspection: Rust, Cracks, and Welds
The foundation of any enclosed cargo trailer is its steel frame. Whether the chassis uses an A-frame tongue, a straight-channel main frame, or a drop-axle configuration, the steel must remain structurally sound. Surface rust is common and easily remedied with wire brushing and rust-inhibitive paint, but pitting, flaking, and structural cracking demand immediate caution.
Crawl underneath the trailer with a high-powered flashlight and an inspection hammer or heavy screwdriver. Tap along the main frame rails, tongue assembly, and crossmembers. A dull thud combined with flaking metal indicates deep internal corrosion or rot from road salt and moisture. Pay close attention to the coupler area and the tongue junction, as these zones absorb continuous dynamic stress during acceleration, braking, and tight cornering. Any hairline cracks radiating outward from factory welds mean the frame has been overstressed or overloaded.
It is also critical to inspect the underside coating or undercoating applied by the factory. Many commercial trailers receive an application of rubberized undercoating or protective paint to shield the steel from road debris and moisture. However, if this coating begins to bubble, crack, or peel away from the metal, it often traps moisture underneath, accelerating rust formation out of sight. Probe any bubbled undercoating with a scraper to check the condition of the bare steel beneath. If the metal has oxidized to the point of structural thinning, budgeting for professional frame reinforcement or passing on the trailer entirely becomes necessary.

Axles, Suspension, and Weight Limits
The running gear is where neglected maintenance becomes expensive. Enclosed cargo trailers typically rely on either leaf spring suspensions or rubber torsion axles. Each system wears differently and requires distinct inspection criteria.
Leaf spring assemblies feature stacks of steel arcs bound by a center bolt. Over years of heavy hauling, these springs can flatten, invert, or snap entirely. Inspect each leaf for deep rust scaling, shifting plates, and wear at the nylon bushings or equalizer bars. If the trailer sits noticeably lower on one side or the tires show uneven inner-shoulder wear, the axle may be bent or the leaf springs are completely shot.
Torsion axles, which utilize rubber cords inside a square tube to absorb shock, offer a smoother ride but cannot be easily repaired when worn out. A dead torsion arm will point downward at an extreme angle when unloaded, resulting in zero suspension travel. Always verify the axle rating against the trailer’s GVWR. A tandem-axle trailer rated for 7,000 pounds should feature two 3,500-pound axles equipped with functional hubs and bearings that have been recently repacked with high-temperature grease.
When assessing suspension health, pay attention to the shackle straps, spring hangers, and U-bolts holding the axle tubes in place. Worn-out nylon or brass bushings in the leaf spring eyes create clunking noises and sloppy tracking during transit, causing the trailer to wander behind your tow vehicle on the highway. Replacing spring bushings and U-bolts is an inexpensive afternoon project, but a cracked axle beam or a completely seized torsion arm requires complete replacement of the axle assembly, which can easily cost several thousand dollars in parts and specialized labor.
Floor Decking Rot and Wall Integrity
Water intrusion is the silent killer of enclosed trailers. Because cargo boxes are sealed containers, any roof leak, unsealed seam, or door gasket failure allows moisture to accumulate inside the wood flooring and wall studs without immediately evaporating.
Inspect the interior plywood floor decking with extreme care. Look for dark water stains, swelling along the edges, and soft spots where heavy equipment wheels have compressed the wood over time. Poke suspected areas with a pocketknife blade; if the wood fibers yield easily or crumble, the subfloor has rotted and will require complete replacement. Exterior-grade plywood or marine-grade plywood floors are standard, but replacing a full deck is labor-intensive and costly.
Check the interior wall liner as well—whether it is lauan plywood, white vinyl-faced panels, or corrugated metal. Warped wall panels often indicate that moisture has entered the wall cavity, leading to rust on the interior steel wall studs. Furthermore, lifting any rubber floor mats or tool storage boxes installed by the previous owner is vital, as moisture frequently gets trapped underneath these coverings, accelerating wood rot without showing visible signs from above. Ensure that the crossmembers supporting the floor from underneath are not rusted through where they meet the plywood fasteners.
Roof Seams, Vents, and Exterior Panels
Aluminum skin on enclosed trailers provides weather protection, but the seams where the roof meets the sidewalls are vulnerable points for leaks. Inspect the exterior roof wrap and corner caps for cracked or peeling lap sealant. Modern trailers use high-grade self-leveling sealants, while older units relied on butyl tape and putty that dries out and cracks under ultraviolet exposure.
Look at the roof panels themselves from a ladder or an adjacent loading dock. Tree branches, low-hanging wires, and hail can dent or puncture thin aluminum roof sheets. Even small pinholes will funnel rainwater directly into your cargo during a highway downpour. Check all roof vents, cable glands, and ladder racks to ensure they were installed with proper gaskets and waterproof sealant rather than excessive amounts of silicone caulk.
In addition to the roof, inspect the exterior aluminum skin for buckling, dents, or loose rivets. Oil canning—where the aluminum sheet ripples or flexes inward and outward under wind pressure—can indicate that the interior wall studs have loosened or that the trailer has suffered structural twisting. Examine the trim pieces around the doors and wheel wells to ensure they are securely fastened and sealed against driving rain. Addressing compromised roof seals immediately after purchase is essential to protecting your business inventory, tools, and equipment from moisture damage.

Brakes, Tires, and Safety Compliance
A used cargo trailer must stop safely under a heavy load. Most tandem-axle commercial trailers and many heavier single-axle units feature electric brakes on at least one or both axles. Ask the seller to demonstrate that the trailer brakes engage when you depress the manual lever on your tow vehicle’s in-cab brake controller.
Inspect the brake drums, backing plates, and internal magnets for excessive scoring or heavy rust. If the trailer has been submerged in saltwater during boat hauling or coastal use, the internal brake components may be completely seized. Furthermore, test the breakaway system—the small battery box and lanyard mounted on the tongue. Pulling the pin should immediately lock the trailer wheels; if the battery is dead or missing, the system is non-compliant and non-functional.
Tire condition is another major negotiation point. Look at the Department of Transportation (DOT) date code stamped on the sidewall—a four-digit number indicating the week and year of manufacture. Trailer tires degrade from UV exposure and sitting static long before the tread wears out. Any tire older than six years should be replaced immediately, regardless of remaining tread depth, to prevent catastrophic highway blowouts.
Additionally, check the wheel bearings for play and proper lubrication. Jack up each wheel, grab the tire at the 12 o’clock and 6 o’clock positions, and rock it back and forth. Excessive play indicates worn bearings or loose castle nuts that require immediate repacking or replacement. Confirm that all running lights, turn signals, brake lights, and license plate lamps operate correctly through the standard 7-way plug, as corroded wiring harnesses are a frequent source of electrical headaches on pre-owned trailers.
Paperwork, Titles, and Bill of Sale Verification
Securing a clean title is just as important as verifying mechanical health. Trailer titling laws vary significantly by state. Some states require titles for all trailers regardless of weight, while others register utility and cargo trailers using only a bill of sale or registration card for lighter models.
Before exchanging funds, verify that the Vehicle Identification Number (VIN) stamped on the trailer’s tongue frame matches the VIN printed on the title or registration document exactly. Check for active liens, salvage branding, or state-specific registration holds. If a seller cannot produce a verifiable title or proof of ownership in their name, walk away from the deal immediately to avoid purchasing stolen property or inheriting registration nightmares at the DMV.
It is also prudent to request maintenance records, receipts for recent axle or tire replacements, and any original manufacturer manuals if available. For businesses purchasing equipment through company financing or writing off business assets for tax purposes, clear title documentation is mandatory. Ensure the bill of sale lists the correct purchase price, VIN, make, model, and year, along with the printed names and signatures of both buyer and seller to maintain a clean paper trail for your accounting department.
Negotiation and Final Pre-Purchase Checklist
Armed with a thorough mechanical inspection, you are ready to evaluate pricing fairly. Factor in the cost of immediate maintenance items—such as new tires, fresh wheel bearing grease, roof resealing, or a new breakaway battery—into your initial offer. A used commercial cargo trailer may be priced attractively, but spending $1,000 on parts and labor immediately after purchase quickly eliminates the savings of buying pre-owned.
Review this final pre-purchase checklist before finalizing the transaction:
- Frame rails and tongue checked for deep rust, pitting, or structural cracks.
- Leaf springs or torsion axles verified for proper ride height and weight capacity.
- Floor decking inspected for water rot, soft spots, and structural sag.
- Roof seams and vents checked for failing sealant and prior leak damage.
- Electric brakes, wiring harness, lights, and breakaway switch tested.
- Tire age checked via DOT codes to ensure rubber is safe for highway speeds.
- Trailer VIN verified against clean ownership documents and state paperwork.
By taking a disciplined, methodical approach to inspecting pre-owned haulers, you can secure a durable commercial trailer that serves your small business reliably for years to come. Taking the extra time during the pre-purchase evaluation phase safeguards your capital, ensures compliance with highway safety standards, and provides complete peace of mind when hauling expensive tools and equipment to job sites across the country.