Transitioning to a sit-to-stand workstation offers great ergonomic benefits, but it introduces a distinct mechanical challenge for your wiring. Every time you raise your desktop, gravity, tension, and friction put stress on your power cords, data lines, and monitor cables. Without a proper plan, pulling or straining can dislodge plugs, damage ports, or pull expensive electronics off the edge of your work surface. Achieving a clean, reliable under desk cable management raceway setup is the single most effective way to eliminate these risks while keeping your home office tidy.
Many remote professionals buy a standing desk, plug everything into a wall outlet, and let the excess cord length pool loosely on the floor or hang in loose loops underneath. This approach invites trouble. Dangling wires catch on chair casters, trap dust, and present a persistent tripping hazard. More critically, floor-pooled cords create a dangerous bottleneck when the desk rises: the desk lifts, but the cables remain anchored to the floor, pulling tight until something unplugs or breaks. Building a dedicated under-desk raceway system solves this by anchoring your distribution hub and routing channels directly to the moving desktop, ensuring your entire electronics ecosystem moves as a single, unified unit.
Understanding Standing Desk Cable Dynamics
Before you attach a single bracket or adhesive strip, it helps to understand how height adjustments affect your hardware. A standard sitting-to-standing transition often spans 15 to 20 inches of vertical travel. If your desktop starts at 28 inches and rises to 48 inches, every cable connecting the floor to the desk must have at least 20 inches of extra slack to accommodate the movement without tension.
However, simply leaving 20 inches of loose slack hanging down creates an unsightly, chaotic nest of wires. The goal of an under-desk raceway and bracket system is to capture that necessary slack *above* the danger zone. By mounting your power strip directly to the underside of the desk, every device plugged into that strip travels upward with the desktop. The only cable that experiences actual dynamic tension is the single primary power cord running from the desk’s power strip down to the wall outlet.
Managing that single floor-to-desk drop is the crux of successful standing desk cord management. By treating the desk surface as a self-contained power island, you isolate the complex web of device wires from the room’s fixed architecture. Only one heavy-duty cord needs to flex and slide as you change positions, and you can control that single line using flexible spines, braided sleeves, or magnetic guides.
Furthermore, evaluating how different cable types respond to constant movement is essential. Thick power cables feature heavy copper shielding that resists bending, whereas thin USB-C or HDMI cables can develop internal wire fatigue if bent too sharply around tight corners or brackets. Designing your raceway path with generous turning radiuses prevents internal wire fracturing over months of repetitive lifting and lowering.
Gathering the Right Hardware and Tools
A successful installation depends on choosing durable hardware rated for daily movement. Flimsy plastic strips or weak adhesive tape will eventually fail under the constant vibrational hum of motorized desk legs and repeated height adjustments. When planning your layout, look for components that offer mechanical fastening options alongside adhesive backups.
- Metal or Rigid PVC Raceway Channels: Choose enclosed or semi-enclosed raceways that screw directly into the wood or composite desktop. Metal channels offer superior durability and won’t warp over time.
- Under-Desk Power Strip Bracket: Select a clamp-on or screw-mounted metal bracket designed to hold a standard surge protector securely against the underside of the table.
- Flexible Cable Spine or Sleeve: A vertebrae-style spine or a braided mesh sleeve is essential for guiding the single main power drop from the floor up to the desktop.
- Heavy-Duty Mounting Screws and Pilot Bits: Always check your desktop thickness before screwing into it. Most standing desk tops are between 3/4-inch and 1-inch thick, requiring short wood screws to prevent poking through the top surface.
- Zip Ties and Adhesive Cable Anchors: Useful for dressing loose adapter bricks and keeping power cords flush against the raceway interior.
Beyond these primary items, having the right hand tools makes the job much smoother. A power drill with a variable clutch prevents you from stripping screw heads or cracking composite desktop materials. A stubby screwdriver or right-angle drill attachment is invaluable if you are working beneath an assembled desk without flipping it upside down. Finally, a roll of painter’s tape helps you temporarily hold channels in place while you test positioning and mark screw locations.
Planning Your Layout Before You Mount
Rushing straight into screwing brackets into your desktop usually leads to regrets. Take twenty minutes to map out your layout before touching a drill. Unplug your peripherals, clear off your desktop if possible, and flip the desk upside down if you are assembling it from scratch. If the desk is already heavy and in place, working from underneath requires patience, a flashlight, and a short screwdriver or right-angle drill attachment.
Identify where your heavy power bricks reside. Laptops, monitors, and audio interfaces all feature bulky AC adapters that won’t easily fit inside a narrow wire channel. Plan to house these heavier bricks in a dedicated under-desk tray or basket, while lighter USB cables, display cords, and peripheral wires run through your main raceway channels.
Map out the shortest, cleanest paths from your monitor arms and laptop dock toward the rear edge of the desk where your raceway will sit. Keeping channels positioned toward the back center or rear corner of the desk keeps wiring out of sight while providing easy access if you need to swap a plug later.
Installing the Under-Desk Power Strip Bracket
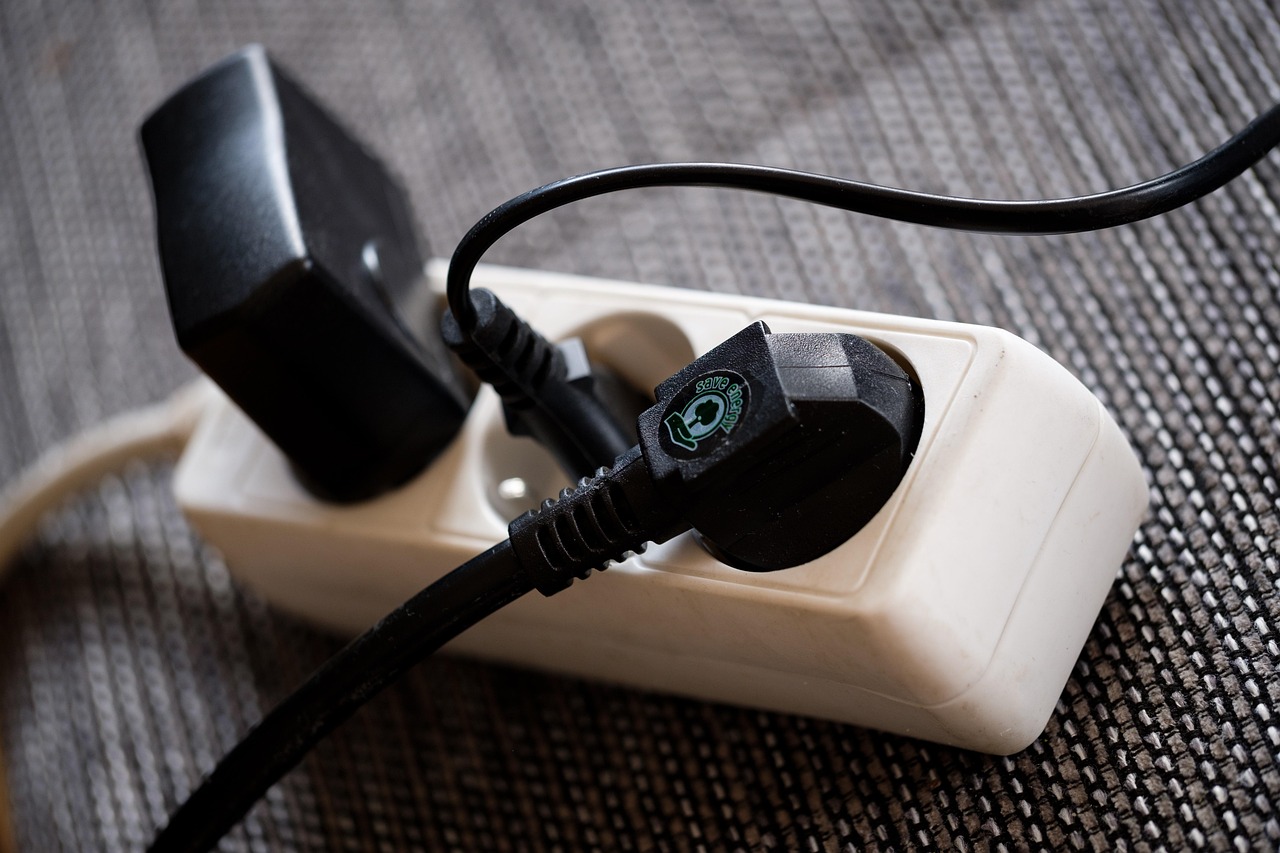
The anchor of your entire system is the power strip. If your surge protector hangs loose or slips out of place, your entire cord ecosystem becomes vulnerable. Mounting the power strip directly to the underside of the desk transforms your setup from a chaotic bundle of extension cords into a clean, integrated power distribution hub.
Begin by holding your power strip bracket against the underside of the desk in your chosen location. Ensure it sits far enough back to remain invisible from a normal seated viewing angle, but close enough that your monitor and laptop power cords can reach it without straining. Mark your screw holes with a pencil or an awl.
If your desktop is solid wood or high-density particleboard, drill pilot holes that are slightly narrower than your mounting screws. This prevents the wood from splitting and makes driving the screws much easier, especially when working upside down or at an awkward angle. Secure the bracket firmly, then snap or slide your surge protector into place. Plug the surge protector into the wall outlet, leaving enough slack in the wall cord to accommodate the desk’s highest elevation point without pulling the plug tight.
It is also smart to consider surge protector features specifically suited for remote work desks. Look for units that include built-in USB charging ports to reduce wall-wart clutter, and ensure the surge protector features an integrated circuit breaker and robust joule rating to protect sensitive computers against unexpected power spikes.
Mounting the Cable Raceway Channels
With your power source secured, you are ready to install the primary wire containment channels. Cable raceways come in various designs, including snap-on covers, hinged doors, and open-slot troughs. Hinged or snap-on raceways are ideal for standing desks because they completely enclose the wires, preventing them from falling out when the desk vibrates or tilts slightly during height adjustments.
Hold the raceway channel against the underside of the desk, running parallel to your rear edge or directly behind your monitor stand. If the raceway includes double-sided foam tape, peel the backing and press it firmly against the clean wood surface to hold it temporarily in place. Do not rely solely on adhesive tape for long-term support under a moving desk; vibration and gravity will eventually cause tape to sag.
Drive wood screws through the pre-drilled holes inside the raceway channel to anchor it permanently to the desk. Space your screws evenly—about every 10 to 12 inches—to ensure the entire length of the channel stays flush against the surface. Once the main channel is secure, route your excess cord lengths into the trough, gently coiling longer cables into neat loops before tucking them inside.
When bundling excess cords inside the raceway, avoid tying them into tight, constricted loops. Loose, gentle folds preserve cable flexibility and reduce electromagnetic interference between parallel power and data lines, keeping your audio and video signals clean.
Managing the Vertical Drop to the Floor
The most vulnerable part of any standing desk installation is the vertical span between the floor and the moving desktop. When your desk is in the sitting position, extra cable length has to go somewhere. If you simply let it coil on the floor, your chair wheels will roll over it, and feet will kick it. If you pull it too tight, raising the desk will yank the plug right out of the wall.
To solve this, use an articulating cable spine or a flexible braided sleeve attached securely to the back edge of the desktop and weighted near the floor. An articulating spine acts like a plastic vertebrae column, bending smoothly in one direction as the desk moves up and down. It keeps all your power and data lines bundled together inside a clean vertical column that compresses when you sit and extends when you stand.
Anchor the top collar of the spine directly beneath your raceway output point, and let the lower end rest near the floor outlet. Ensure that the single main power cord feeding your desk’s power strip runs safely down through this spine. This eliminates loose loops and protects the wiring from accidental snags by office chairs, vacuum cleaners, and foot traffic.
For those using a braided sleeve instead of an articulating spine, adding a small weighted base or securing the bottom of the sleeve to a heavy furniture leg prevents the fabric from drifting into walking paths or tangling in chair bases as the desk shifts heights.

Common Mistakes in Standing Desk Cable Management
Even experienced DIYers occasionally run into issues when setting up a new ergonomic workstation. Avoiding these common pitfalls will save you from future headaches and hardware damage:
- Skipping the Maximum Height Test: Always raise your desk to its absolute highest setting *before* securing your final zip ties. Check every single cord to ensure there is zero pulling force on ports or adapters at maximum elevation.
- Overloading Adhesive Tape: Double-sided tape is great for temporary alignment, but heat, humidity, and desk vibrations will cause it to fail. Always back up adhesive raceways with mechanical screws.
- Cramming Bulky Power Bricks into Narrow Raceways: Standard wire channels are designed for thin USB and display cables, not giant laptop power blocks. Use a wire basket or under-desk hammock for heavy bricks, and reserve raceways for thinner cords.
- Tying Moving Leg Parts Together: Never route cables across the motorized crossbar or attach wires to parts of the frame that telescope or rotate. All cords must remain strictly attached to the stationary underside of the desktop until they drop vertically down the spine.
Another frequent oversight is ignoring peripheral placement changes. If you frequently unplug your laptop to work in different rooms, ensure your dock’s connection cable has enough accessible slack resting on top of the desk so you are not constantly fishing for a dropped connector behind your monitor stand.
Maintaining and Troubleshooting Your Setup
Once your setup is complete, take your desk through a full range of motion several times. Slowly lower it to minimum height while watching the cables inside the raceway and the vertical spine to ensure nothing pinches or binds. Then, raise it to maximum height, listening and looking for any tension points.
Over the first few weeks of daily use, check your connections periodically. Thermal expansion from power adapters and the physical vibration of motor gears can occasionally cause plugs to wiggle loose. Keeping your cables neatly organized in a raceway makes troubleshooting remarkably easy; if a monitor flickers or a USB hub drops connection, you can trace the single bundled line instantly rather than hunting through a tangled mess on the floor.
If you eventually need to add a new device, such as a desktop microphone or an external hard drive, open your hinged raceway or feed the new line down your vertical spine without disturbing your existing bundles. Maintaining this organized ecosystem ensures your home office remains professional, adaptable, and completely safe.
By investing a little time into a proper under desk cable management raceway setup, you protect your valuable electronics, eliminate frustrating desk snags, and create a clean, professional workspace that adapts effortlessly to however you prefer to work.