Landscape retaining walls do heavy lifting in suburban yards, holding back tons of earth, shaping sloped property, and protecting foundations from erosion. Yet many homeowners treat these structures as set-it-and-forget-it installations. Without a consistent routine outlined in a proper retaining wall maintenance guide, even professionally built walls can succumb to hydrostatic pressure, clogged drainage, and shifting soils.
Understanding how your wall functions is the first step toward keeping it stable for decades. Retaining walls fail not because the stone or block suddenly gives out, but because water management fails. When water gets trapped behind a wall, it expands, adds massive weight, and slowly pushes the structure outward. By taking a proactive approach to seasonal inspections, clearing drainage channels, and managing surface water, you can catch minor issues before they require expensive professional rebuilding.
Anatomy of a Retaining Wall: Why Maintenance Matters
Before grabbing tools, it helps to understand what is happening beneath the soil surface. A residential retaining wall is a complex system composed of several working parts:
- The Face: The visible exterior built from concrete segmental blocks, natural stone, poured concrete, or treated timber.
- The Footing: A compacted gravel base or poured concrete pad buried beneath the frost line that supports the weight of the structure.
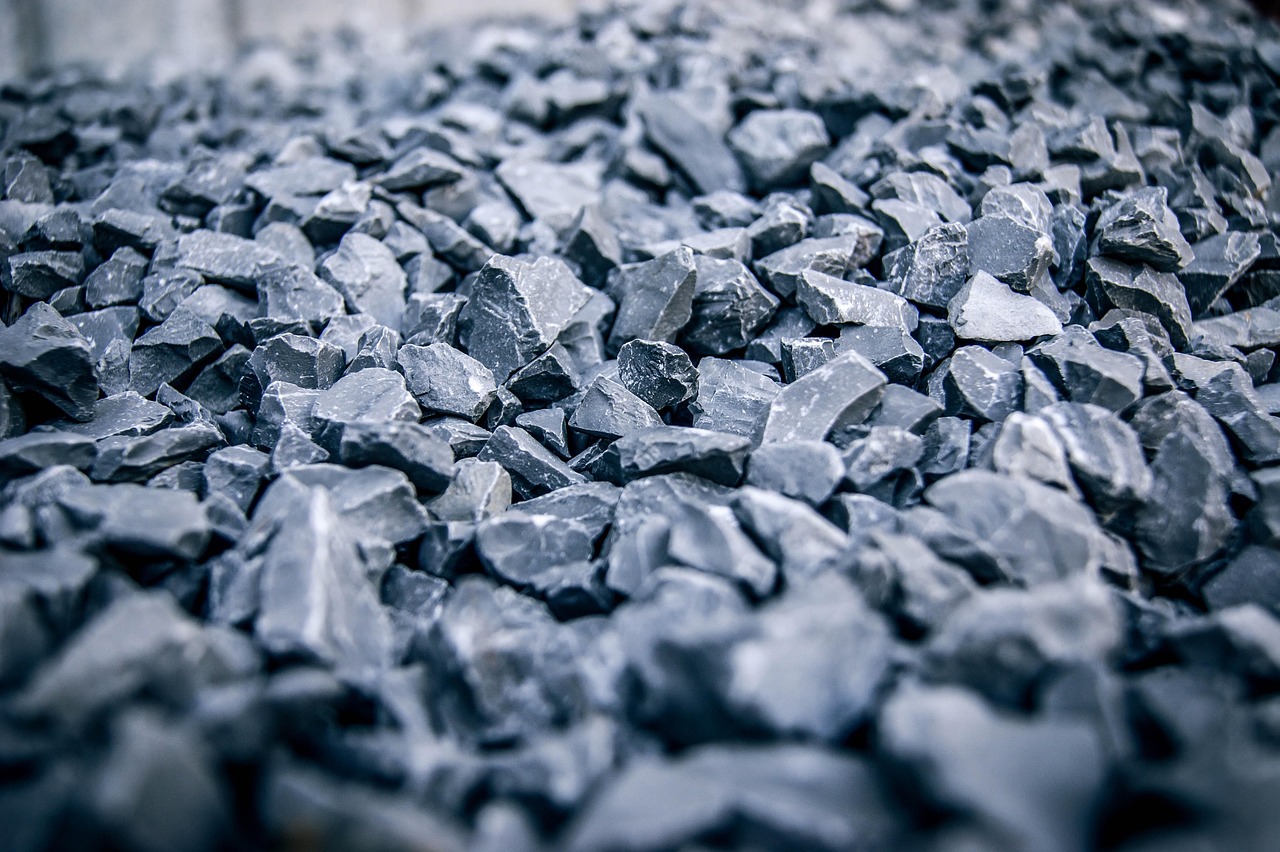
- The Backfill: Clean, angular crushed stone placed immediately behind the wall face to allow water to filter downward rapidly.
- The Geogrid: Synthetic fabric layers tied into the wall blocks and extended back into the slope to anchor the soil mass.
- The Weeping Tile: A perforated pipe running along the base of the trench that collects water and carries it safely away from the property.
When any one of these components gets compromised, the entire system is at risk. For example, if surface water flows freely behind the wall instead of running off around it, the backfill becomes saturated. Saturated soil exerts up to twice the lateral pressure of dry soil, pushing against the face and initiating a lean or bulge.
Furthermore, understanding the load distribution mechanics helps clarify why minor structural changes warrant immediate attention. Gravity retaining walls rely on their own mass to resist earth pressure, whereas reinforced walls depend on geogrid layers connecting the blocks to the stable soil matrix behind them. If erosion compromises the anchoring soil mass, the entire system loses its mechanical advantage. Recognizing these underlying vulnerabilities turns routine homeowner maintenance from a tedious chore into an essential safeguard for property value and physical safety.
Establishing a Seasonal Inspection Routine
You do not need an engineering degree to spot early warning signs of wall movement. Performing a thorough walk-through twice a year—once in the spring after the ground thaws and once in the late autumn before freezing temperatures set in—will keep you ahead of major problems.
Start by walking the entire length of the wall on both the upper and lower tiers. Look for changes in the landscape immediately behind the wall. Are there new depressions, sinking patio pavers, or standing water after a rainstorm? These indicate that soil is washing out internally or settling into voids.
Next, examine the joints and individual units. On segmental block walls, check if the capstones are loose or shifting. On mortared stone or poured concrete, look for hairline cracks, efflorescence (a white, chalky mineral deposit left by evaporating water), or spalling where the surface flakes off. While efflorescence is mostly cosmetic, it proves that water is migrating through the masonry, which requires monitoring.
Establishing a permanent record book or digital photo log during these bi-annual walkthroughs provides invaluable baseline data. Take clear, well-lit photographs of the same wall sections from identical angles during every inspection. Over the course of several years, comparing these images reveals subtle changes in alignment, mortar degradation, or block settling that might otherwise escape human memory. This systematic approach ensures small structural shifts are caught long before they trigger catastrophic failures.
How to Check Plumb Lines and Wall Tilt
One of the most critical steps in any structural assessment is checking whether the wall is maintaining its vertical alignment. All retaining walls experience some degree of settling, but excessive leaning or bulging points to structural distress.
To check for tilt, use a long spirit level or a plumb bob. Place the level flat against the face of the wall at several points along its run—near the center, at the corners, and anywhere you suspect a movement. A slight backward batter (leaning into the hillside) is often intentionally built into segmental block systems, but the bubble should remain consistent across different sections.
If you notice a section where the bubble pulls away from center, measure the deviation using a tape measure from the top edge of the wall to a plumb line dropped straight down from the crown. Document these measurements during each inspection. If the lean increases from one season to the next, the wall is actively failing and requires professional intervention.
It is also essential to differentiate between batter and out-of-plumb movement. Most engineered modular block walls are designed with a built-in setback—typically an eighth to a quarter inch per course—which gives the face a distinct backward lean toward the retained slope. This batter is a feature, not a flaw, and helps the wall resist overturning moments. However, if the wall begins to lean forward, or if the individual blocks start tilting outward independently of the stack, hydrostatic pressure or foundation settling is actively compromising the structure.
Managing Drainage and Clearing Weeping Tiles
Water is the single greatest threat to a retaining wall. If your drainage system fails, the wall will eventually follow. Most gravity and engineered walls rely on a weeping tile—a perforated corrugated plastic or PVC pipe laid in a bed of gravel at the base of the wall.
Over time, fine silts, roots, and organic debris can infiltrate the drainage pipe or clog the filter fabric wrapping the gravel backfill. Inspect the discharge outlets of your weeping tiles—usually located at the lowest corners of the wall or extending out to daylight on a slope—after heavy rainstorms to ensure water is flowing freely.
If a pipe is sluggish or blocked, you can attempt to clear it using a garden hose with a high-pressure nozzle or a plumber’s snake for minor sediment blockages. To prevent future clogs, ensure that the surface inlets and cleanout caps remain visible and unobstructed by mulch, pine needles, or decorative plants.
Additionally, inspecting the daylight discharge points requires checking for rodent nests, leaf accumulation, or crushed pipe ends. In colder northern climates, freezing standing water inside outlet pipes can form ice blockages that trap water behind the wall during early spring thaws. Installing critter guards and keeping outlet areas clear of dense overgrowth guarantees that subsurface water has an unimpeded path away from your structural installation.
Controlling Surface Water Runoff
Controlling what goes on behind and above your retaining wall is just as important as maintaining the wall itself. Surface water runoff from roofs, driveways, and upper lawns should never be allowed to cascade freely over the top of a retaining wall.
Walk your property during a heavy downpour to observe where rainwater travels. If water from your home’s gutters discharges near the top of the slope, extend the downspouts far past the reinforced soil zone using solid underground PVC pipes. Grade the soil immediately behind the wall to slope away from the structure at a minimum slope of one-quarter inch per foot for the first few feet, creating a positive watershed that directs moisture away from the backfill.
If your yard slopes steeply down toward the wall, consider installing a French drain or a swale a few feet uphill from the wall’s crest to intercept surface water before it ever reaches the reinforced soil zone.
Beyond standard gutter extensions, consider the broader topographical context of your landscape. Paved patios, concrete walkways, and asphalt driveways situated uphill from a retaining wall generate high volumes of sheet runoff during intense storms. Directing these hardscape flows away from the retaining wall via surface channels, catch basins, or permeable pavers reduces the burden on your subsurface drainage network and protects the structural integrity of the backfill zone.
Preventing Soil Washout and Stabilizing Backfill
Soil washout occurs when water finds a path through the backfill, carrying fine particles of dirt out through the gaps in the wall face or weep holes. Over time, this creates subterranean cavities that cause the surface soil above to sink and the wall to lose its foundational support.
You can prevent soil washout by ensuring proper geotextile fabric placement during construction, but existing walls can still suffer from lost fines. If you notice soil disappearing through the joints of a dry-stacked block wall, do not simply pack ordinary topsoil into the gaps. Topsoil contains organic matter and clay that hold moisture and expand when frozen.
Instead, pack washed angular crushed stone (such as #57 stone) into the gaps behind the face. The angular pieces lock together while allowing water to pass through freely. On the surface, plant deep-rooted native shrubs and groundcovers along the slope above and below the wall. Root systems knit the topsoil together, reducing surface erosion caused by wind and heavy rainfall.
When addressing persistent soil loss, verifying the integrity of the non-woven geotextile filter fabric behind the wall is critical. If older installations lacked this fabric or if the material has degraded due to UV exposure or puncture during past landscaping work, fine soils will continually migrate through the stone aggregate. While retrofitting geotextile fabric behind an existing wall is rarely feasible without dismantling the structure, deploying targeted layers of washed gravel and establishing dense groundcover root mats provides an effective alternative defense mechanism.
Material-Specific Maintenance Strategies
Different retaining wall materials require tailored maintenance approaches to maximize their lifespan:
- Segmental Concrete Block: Check for shifting capstones secured with exterior adhesive. Re-glue loose caps with a heavy-duty masonry adhesive after wire-brushing away dust and debris. Keep weed growth out of face joints, as roots can wedge blocks apart.
- Natural Stone: Inspect mortar joints for crumbling or cracking. Tuckpoint damaged mortar using a matching exterior mortar mix to prevent freeze-thaw cycles from popping stones loose.
- Treated Timber: Wood walls are susceptible to rot and insect damage. Inspect posts and timbers annually for soft spots, fungal growth, or termite tunnels. Apply a fresh coat of exterior wood preservative or stain every few years, and ensure soil is not making direct contact with vulnerable wood faces.
- Poured Concrete: Seal hairline cracks promptly with a flexible polyurethane masonry sealant to prevent water from reaching internal reinforcing steel bars (rebar), which rust, expand, and crack the concrete from within.
Each material category also reacts differently to chemical treatments and de-icing salts used during winter months. Concrete and natural stone surfaces can suffer surface scaling and pitting when exposed to harsh sodium chloride or calcium chloride ice melt products. Homeowners should opt for pet-safe, plant-safe alternatives such as calcium magnesium acetate (CMA) or plain sand to maintain slip resistance near wall caps without degrading the underlying masonry units.
Managing Vegetation and Tree Roots Near the Wall
While landscaping enhances the visual appeal of a retaining wall, certain plants can compromise its structural integrity. Large trees planted too close to a wall pose a double threat: their root systems can physically push against the backfill and blocks, and their massive water uptake and seasonal leaf drop alter moisture levels in the soil.
Keep large shrubs and trees planted at a distance equal to or greater than their mature canopy spread away from the wall structure. For ornamental plants and flower beds built into tiered walls, choose shallow-rooted perennials and grasses rather than aggressive vines whose woody stems can work their way into block joints and weeping tiles.
Furthermore, falling leaves and organic debris accumulating in terraced wall pockets can decompose into moisture-retarding humus. If allowed to pack tightly against the wall face, this decaying organic matter traps humidity and encourages moss growth, which can accelerate freeze-thaw degradation in colder climates. Routinely clearing debris from planting beds and keeping mulch levels well below the top course of blocks maintains healthy air circulation and prevents premature weathering.
When to Call a Structural Engineer
Regular maintenance can prevent most minor problems, but some structural issues require professional intervention. You should call a licensed structural engineer or a qualified landscape contractor if you observe any of the following red flags:
- A noticeable horizontal bulge or forward tilt greater than two inches across a standard wall height.
- Severe cracking running diagonally through multiple masonry units or poured concrete panels.
- Sinkholes or sudden depressions forming directly behind the wall face.
- Total collapse of a section, which often destabilizes adjacent sections due to cascading soil pressure.
Attempting to DIY a major structural failure is dangerous and often leads to more costly repairs. Professionals can utilize soil nails, helical tiebacks, or partial rebuilding techniques to restore stability safely.
When interviewing contractors or structural engineers, verify that they carry specific experience and licensing in residential geotechnical or hardscape construction. General residential builders may understand framing and foundations, but retaining wall engineering involves complex soil-structure interaction, surcharge loads from nearby driveways or pools, and specialized drainage calculations. Requesting references and examining past retaining wall remediation projects ensures your property receives expert attention.
Conclusion
A retaining wall is a vital engineering asset that requires ongoing care to protect your property from erosion and shifting earth. By committing to routine inspections, keeping drainage pipes clear of silt, and managing surface water runoff, you can prevent minor issues from turning into major structural failures. A few hours of preventative upkeep each season ensures your landscape walls remain safe, stable, and visually striking for years to come.