Juggling a personal desktop and a corporate laptop on a single home desk usually creates a daily ritual of cable swapping. Moving your mechanical keyboard, ergonomic mouse, and high-definition webcam back and forth is tedious, wears out physical ports, and disrupts your workflow. While software-based sharing tools exist, corporate security restrictions, strict firewall rules, and virtual private network (VPN) policies often block them entirely. Implementing a reliable USB peripheral switch setup provides a physical, network-independent bridge between both systems, allowing you to control two separate computers with one unified set of peripherals at the push of a button.
Hardware switch boxes operate independently of your operating systems, device drivers, and network configurations. They do not require administrator privileges to install, making them fully compliant with even the strictest corporate IT policies. However, setting up a hardware switcher successfully requires careful attention to power delivery, cable lengths, USB version compatibility, and wireless signal interference. This guide breaks down the entire process from selecting the right hardware to troubleshooting latency and connection drops.
Understanding How Hardware USB Switchers Work
At its core, a USB peripheral switch is a mechanical or electronic multiplexer. It routes data lines from a set of upstream ports (where your keyboard, mouse, and other devices plug in) to one of multiple downstream host connections (which run to your computers via USB cables). When you press the physical button on the switcher or its wired remote, an internal relay instantly switches the data pathways to the newly selected computer.
Unlike software solutions that stream input commands over your local network, a hardware switch physically disconnects the USB data lines from Computer A and reconnects them to Computer B. This direct electrical switching ensures zero input lag, full compatibility with BIOS screens during system reboots, and absolute privacy since no data packets traverse your local network or router.
Furthermore, understanding the underlying electronics helps clarify why certain switches perform better under heavy loads. Traditional mechanical switches rely on physical contacts that toggle circuits, which can occasionally wear down after tens of thousands of presses. Modern electronic switchers utilize solid-state multiplexer integrated circuits (ICs) controlled by a small microcontroller. These solid-state units provide silent, instantaneous switching without mechanical wear, making them the preferred choice for modern multi-computer desks.
When evaluating the physical architecture of these devices, it is also essential to consider how they handle data flow directionality. A USB switch does not multiplex the host computers into the peripherals; rather, it multiplexes the peripherals into the chosen host computer. Only one host computer has active data lines connected to the peripheral pool at any given moment, which inherently protects your personal machine from accessing corporate files and vice versa. This air-gapped physical separation satisfies security auditors who frown upon network-based synergy tools running background daemons on corporate endpoints.
Evaluating Switch Box Specifications: USB 2.0 vs. USB 3.0
Choosing the correct switch box depends entirely on the types of peripherals you plan to share. If your desktop setup consists solely of a standard keyboard and a basic optical mouse, a legacy USB 2.0 switch is more than sufficient. USB 2.0 switchers are inexpensive, highly stable, and rarely suffer from radio frequency interference issues.
However, modern remote and hybrid workers frequently share hardware that demands higher bandwidth. If your setup includes a 4K webcam, a high-polling-rate gaming mouse, an external solid-state drive, or a USB microphone, you need a USB 3.0 peripheral switch. USB 3.0 switch boxes provide the necessary data throughput (up to 5 Gbps) to run high-bandwidth devices without compression artifacts or stuttering video feeds. When evaluating a dual computer USB switcher, verify whether it supports USB 3.0 standard transfer speeds and check if it includes dedicated power inputs for power-hungry devices.
Another factor to consider is port count. Many standard switch boxes offer two computer inputs and four peripheral outputs, but configurations with four computers or additional USB-C ports are becoming increasingly common. Carefully audit your peripheral ecosystem before purchasing. If you have an audio interface, a document scanner, a specialized macro pad, and a printer in addition to your core input devices, a standard four-port switch might fill up faster than you expect, requiring an additional upstream hub.
Beyond basic speed ratings, examine the physical construction materials of the switcher housing. Cheap plastic enclosures can crack under heavy cable tension and offer poor electromagnetic shielding. Units built with aluminum or heavy-gauge steel chassis dissipate heat more efficiently, protect internal logic boards from static electricity discharges, and stay anchored securely on your desk rather than lifting into the air whenever a stiff braided cable pulls on them.
Managing Power Delivery and Hub Cascading
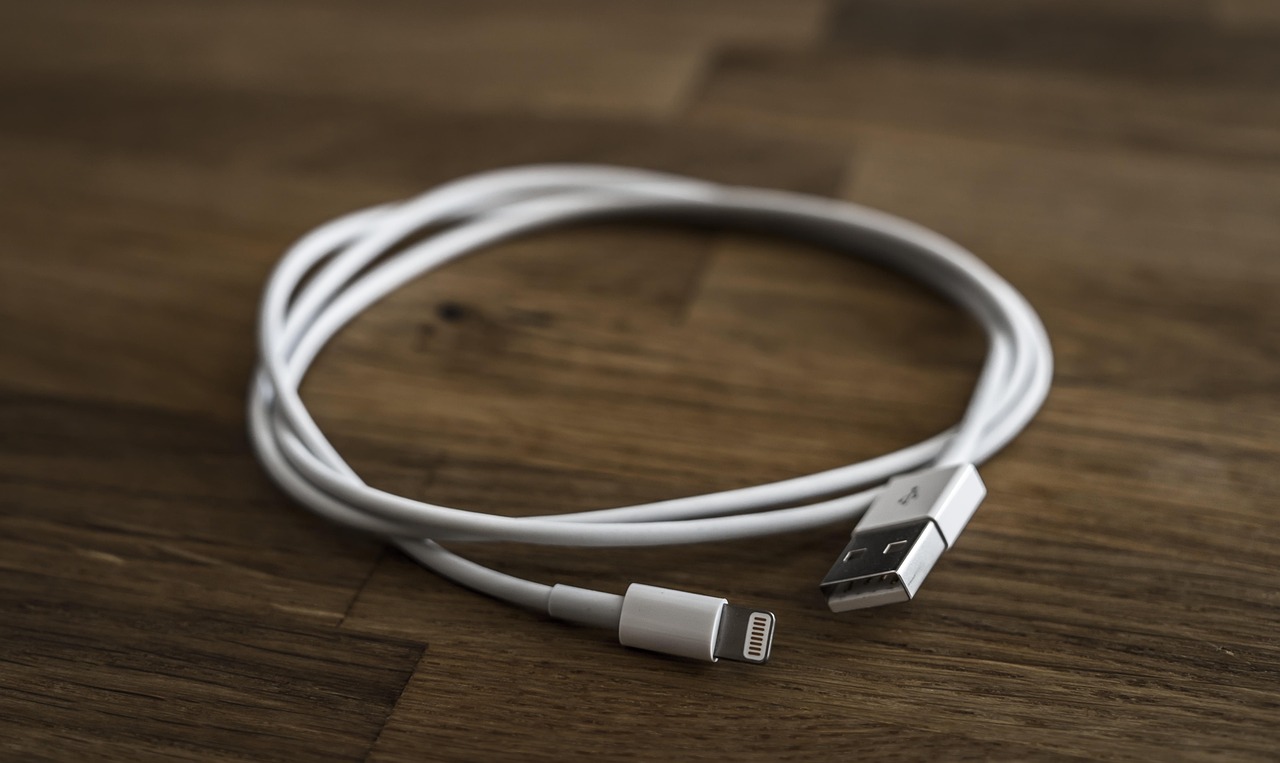
One of the most common pitfalls in a multi-computer hardware setup is underestimating power requirements. A standard computer USB port supplies a limited amount of electrical current (typically 500mA for USB 2.0 and 900mA for USB 3.0). When you route multiple devices through a single switch box, that power draw is distributed across the connected host computer’s port.
If you connect power-heavy peripherals—such as mechanical keyboards with bright RGB lighting, condenser microphones, and motorized webcams—you may exceed the host computer’s power budget, leading to random disconnects, device freezing, or error messages regarding USB over-current protection. To prevent this, look for a switch box that features an auxiliary 5V DC power input jack. Using an external power adapter ensures that power-hungry devices draw electricity from the wall outlet rather than relying entirely on your corporate laptop’s battery or motherboard headers.
Cascading hubs—plugging a secondary unpowered USB hub into a switch box port—is generally discouraged because it compounds power drop and signal degradation. If you need more ports than your switch box provides, always use a self-powered hub (one with its own wall adapter) connected to the switch’s output, or invest in a switch box that inherently supports a higher port density.
Furthermore, when using an auxiliary power supply with your USB switch, verify that the polarity and voltage match the manufacturer specifications precisely. Using an incorrect power brick can fry the logic gates inside the switcher or send unregulated voltage downstream into your expensive mechanical keyboard and corporate laptop, potentially voiding hardware warranties or causing permanent physical damage to sensitive motherboard controllers.
Planning Your Physical Desk Layout and Cable Routing
Achieving a clean, ergonomic desk layout requires strategic placement of the switch box itself. Because you will need to press the switching button frequently throughout the day, the switcher should rest within arm’s reach—either tucked beneath your monitor riser, mounted under the desk surface using double-sided mounting tape, or placed directly beside your primary keyboard.
When routing cables for your shared desk hardware setup, keep physical distance limitations in mind. Standard USB 3.0 cables are generally limited to a maximum length of 3 meters (about 10 feet) without active signal boosters. Exceeding this length can cause signal degradation, packet loss, or dropouts. Measure the distance from your peripherals to the switch box, and from the switch box to each computer, before purchasing cables. Labeling your cables with small colored stickers or cable tags before plugging them in will save you considerable frustration during troubleshooting.
Cable management also prevents physical strain on the ports. Heavy braided USB cables can pull down on lightweight switch boxes, causing them to slide across your desk or disconnect intermittently. Securing your cables with under-desk clips or zip-tie mounts relieves tension, ensuring a tidy aesthetic and long-term hardware reliability.
Another consideration during layout planning is desk ergonomics and posture. If the switch box requires you to stretch awkwardly or look away from your screens to find the button, it will introduce physical friction into your daily routine. Many high-end switchers include a wired desktop remote puck—a small button on a long cord that can be placed directly next to your mousepad while the bulky switcher box remains hidden behind your monitors or under the desk. Taking advantage of these wired remotes creates a seamless, low-effort transition between systems.
Step-by-Step Installation and Initial Configuration
Installing a hardware USB switch requires a methodical approach to ensure every device is recognized properly by both operating systems. Follow these steps to complete your initial setup:
- Power down or lock your computers: Before connecting new USB hardware, ensure your systems are accessible and stable.
- Position the switch box: Place the switcher in your chosen, easily accessible desk location.
- Connect the host cables: Plug the primary USB upstream cables from the switch box into USB ports on your personal desktop and corporate laptop. For best results, plug these directly into rear motherboard ports on desktops rather than front-panel headers.
- Connect external power (if applicable): Plug the provided DC power adapter into the switch box and connect it to a surge protector or wall outlet.
- Attach your shared peripherals: Plug your keyboard, mouse, webcam, and other devices into the downstream ports on the switch box.
- Test the connection: Switch to Computer A, verify that all devices function correctly, and check device manager or system settings to ensure drivers load properly. Then, press the switch button to transfer control to Computer B and repeat the verification process.
During this initial configuration phase, pay close attention to how each computer reacts when you toggle the switch back and forth. If either operating system throws an unrecognized device error, try moving the host cable to a different USB port on that computer. Motherboards often have primary chipset-driven USB ports alongside secondary controller ports; utilizing the primary controller ports ensures the most stable enumeration and driver loading behavior.
Mitigating 2.4 GHz Wireless Interference Issues
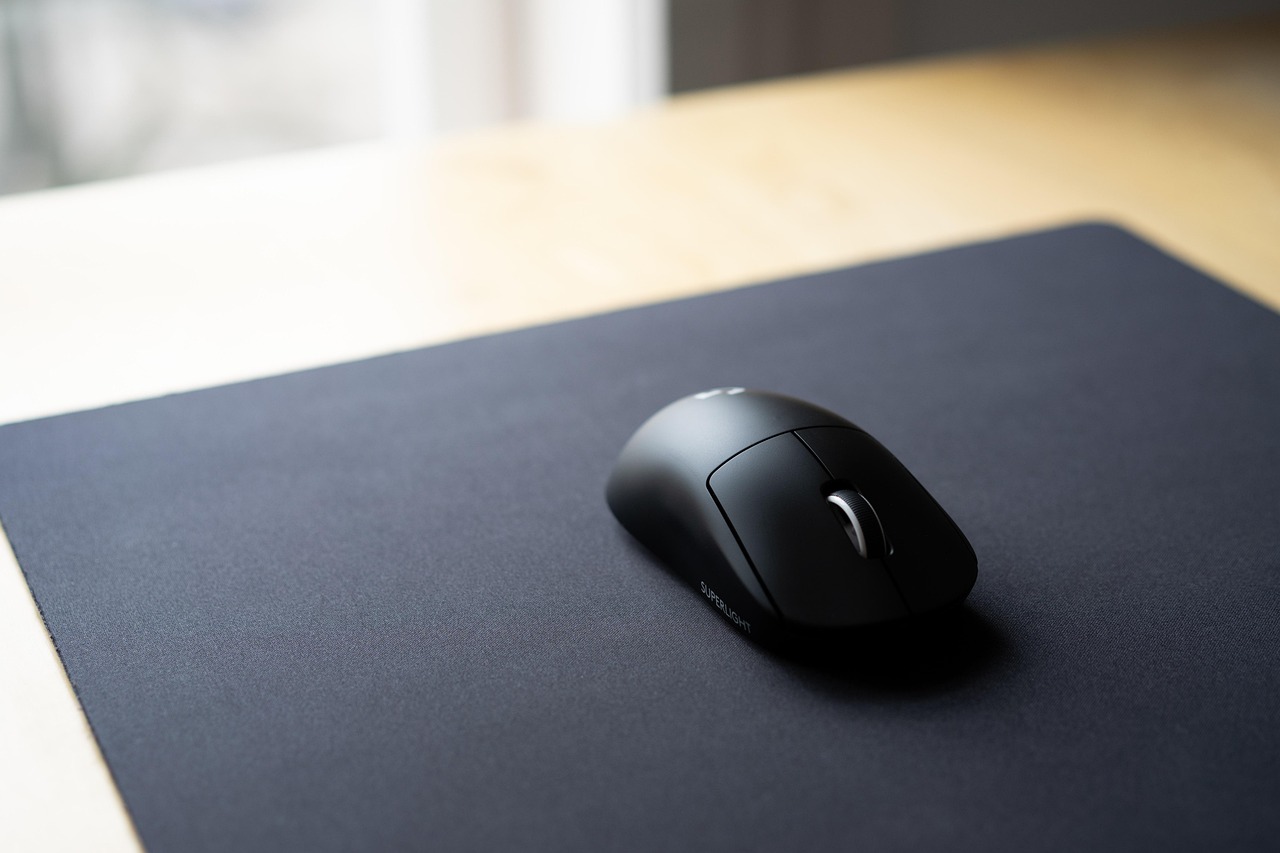
A notorious quirk of USB 3.0 architecture is that its high-speed data frequencies generate electromagnetic noise in the 2.4 GHz spectrum. If you use a wireless mouse or wireless keyboard with a USB receiver plugged directly into a USB 3.0 switch box or a nearby USB 3.0 port, you may experience erratic cursor movement, sluggish response times, or dropped keystrokes.
To eliminate this interference, use a short USB 2.0 extension cable to move your wireless receiver away from the USB 3.0 switch box and place it directly on your desktop within clear line-of-sight of your mouse and keyboard. Alternatively, many modern ergonomic keyboards and mice support dual-connectivity (Bluetooth and 2.4 GHz wireless via a dongle). Connecting your wireless input devices to your computers via native Bluetooth—while reserving the USB switch for wired peripherals, webcams, and audio gear—completely bypasses dongle interference while keeping your input devices universally accessible.
Shielding also plays a vital role here. Inexpensive, unshielded USB 3.0 cables lack the proper foil and braid layers required to contain high-frequency emissions. Investing in certified, well-shielded USB 3.0 cables significantly reduces electromagnetic radiation leakage, protecting nearby wireless peripherals from erratic behavior.
Furthermore, avoid running your USB 3.0 switch cables parallel to unshielded audio cables or power cords. Electromagnetic coupling can introduce audible hums into USB microphones and audio interfaces. Keeping data lines cleanly separated from power supplies ensures pristine audio fidelity during remote client meetings and video conferences.
Navigating Operating System Specific Quirks
Different operating systems handle sudden hardware connection and disconnection events in unique ways, which directly impacts your daily experience with a USB switch box. Windows, macOS, and Linux each manage USB re-enumeration differently when you press that physical switching button.
On Windows machines, toggling the switch typically triggers the familiar device connection chime, followed by a rapid re-establishment of driver communication. Most Windows editions handle this gracefully, though certain proprietary configuration suites (like gaming mouse software) may take a few seconds to recognize the hardware state change and sync custom macro profiles.
MacBooks and corporate macOS devices, on the other hand, can be notably more sensitive to sudden peripheral drops. If you connect an external webcam or USB microphone, macOS privacy permissions may occasionally prompt you to re-authorize the accessory if the hardware path changes unexpectedly. Ensuring that your peripheral drivers are up to date and granting persistent permissions within your system settings prevents these repetitive security prompts from interrupting your morning workflow.
Linux workstations provide deep insight into hardware switching via system logging tools. Running the command ‘dmesg -w’ in a terminal window allows you to monitor kernel messages in real time as you toggle the switch, making it easy to diagnose stubborn controller timeouts or power draw faults down to the specific USB hub address.
Advanced Integration: Combining USB Switches with HDMI KVMs
If your workflow involves sharing not only peripherals but also your primary display monitors between your personal desktop and work laptop, a standalone USB switch is only half the solution. In these scenarios, you can pair your USB switch with a dedicated multi-input monitor or an external HDMI/DisplayPort KVM (Keyboard, Video, Mouse) switch.
However, modern high-refresh-rate gaming monitors and high-resolution 4K displays often complicate traditional all-in-one KVM switches, frequently causing compatibility issues with variable refresh rates (VRR) or HDR signals. Many hybrid workers prefer a modular approach: using monitor input switching (toggling the display input via the monitor’s built-in OSD menu or a dedicated hotkey) combined with a standalone USB switch box for peripherals. This modular setup offers greater flexibility, allows you to upgrade your monitors without replacing your entire switching infrastructure, and avoids the display handshake delays common with budget KVM boxes.
When combining these systems, always maintain a clear sequence of operations. For example, switching your monitor input to your work laptop while simultaneously triggering your USB switch ensures that both your display and your peripherals transition smoothly in tandem, mimicking the convenience of a unified KVM without the hardware bottlenecks.
Additionally, modular setups protect you from single-point-of-failure scenarios. If an integrated KVM switch suffers an internal electrical fault, you lose both video and peripheral connectivity simultaneously. With a decoupled setup, a failure in your USB switch leaves your displays fully functional, allowing you to quickly troubleshoot or replace just the individual component without ripping apart your entire desk cabling architecture.
Troubleshooting Common Connection and Recognition Failures
Even with careful planning, you may occasionally encounter hardware glitches where a device fails to re-initialize after switching computers. Here are practical ways to resolve common issues:
- Webcam freezing on switch: High-definition webcams draw heavy video data streams. If a webcam fails to start after switching, open your operating system’s device manager and disable/re-enable the camera device, or use a dedicated powered USB hub upstream of the webcam.
- Delayed device recognition: Operating systems take a moment to enumerate USB devices when a connection is established. If your mouse takes two to three seconds to respond after pressing the switch button, ensure your computer’s USB selective suspend settings are disabled in your power management profile.
- Intermittent disconnects: If peripherals randomly drop out, your switch box may be drawing insufficient power. Verify that your auxiliary power adapter is firmly seated and providing stable voltage.
- Driver conflicts: Occasionally, corporate IT endpoint protection software flags rapid USB state changes as suspicious activity. If you encounter frequent driver timeouts on your work laptop, consult your IT department or check local event viewer logs to ensure security policies aren’t prematurely resetting the USB root hub.
When methodical troubleshooting fails, performing a cold reset of the entire switching ecosystem often clears lingering buffer states. Disconnect the auxiliary power adapter from the switch box, unplug the upstream USB cables from both computers, wait approximately thirty seconds to allow residual electrical capacitance to drain completely, and then reconnect everything in sequence starting with power, followed by host computers, and finally your peripheral devices.
Frequently Asked Questions About USB Peripheral Switches
To help you fine-tune your desk configuration, here are answers to common questions regarding hardware USB switchers and multi-computer setups:
- Can a USB switch share external hard drives safely? Yes, but you must ensure your operating system has fully unmounted or safely ejected the drive before pressing the switch button. Switching mid-transfer or while data is being written will cause file corruption or drive errors.
- Do USB switches support mechanical keyboards with custom software? Standard typing functions work universally across all systems. However, advanced configuration software (like RGB lighting suites or macro editors) must be installed locally on each computer if you want to modify settings on both machines.
- Will a USB switch introduce input latency while gaming? High-quality electronic hardware switches introduce virtually zero measurable input latency because they rely on direct physical multiplexing rather than packet routing.
Maintaining a Reliable Multi-Computer Workstation
A well-configured hardware USB switch transforms a frustrating multi-computer desk into a seamless command center. By investing in a quality USB 3.0 switcher with auxiliary power support, routing cables cleanly, and isolating 2.4 GHz wireless receivers from high-speed data lines, you create a robust, secure, and responsive workstation. Hardware switching eliminates the security vulnerabilities and network latency of software solutions, giving you absolute control over your personal and professional computing environments with a single physical touch.
Regular maintenance is minimal but important. Periodically check your cable connections for dust accumulation, ensure your power adapters remain cool and securely plugged into surge protectors, and keep your peripheral firmware updated. By taking these proactive steps, your dual-computer workstation will remain reliable, efficient, and frustration-free for years to come.