Managing sound across two separate computers on the same desk is one of the most frustrating technical challenges in modern home offices. If you balance a locked-down corporate laptop for Zoom calls alongside a personal desktop for deep work, local recording, or secondary communications, you have likely encountered the nightmare of audio feedback, ground hum, or constantly swapping headset cables. Implementing a robust multi device audio routing remote work setup US professionals rely on solves these issues by creating a centralized pipeline for your microphone, headphones, and computer audio feeds.
To establish a clean, broadcast-ready signal path across multiple machines, you must understand both physical hardware integration and operating system routing logic. Whether you choose hardware audio mixers, multi-client USB interfaces, or software-based virtual audio cables, this comprehensive guide covers everything required to build a rock-solid, hum-free audio workstation that keeps your daily workflow effortless and professional.
The Architecture of Multi-Device Audio Routing
Before buying hardware or running software utilities, it helps to understand the underlying technical problem. Modern operating systems assume an audio device belongs exclusively to one computer at a time. When you connect a standard USB microphone or USB headset, the host computer claims exclusive control over its digital-to-analog and analog-to-digital converters.
When you introduce a second computer to your desk setup, sharing that audio hardware usually breaks down in one of three ways:
- Physical Cable Swapping: Continually unplugging and re-plugging USB connectors causes mechanical port wear, resets operating system audio default devices mid-meeting, and interrupts your daily workflow.
- Digital Bridging Latency: Routing audio over local Wi-Fi or local area network (LAN) setups using software network protocols can introduce noticeable audio delays, echo, or packet dropouts during high-bandwidth video calls.
- Ground Loops and Analog Noise: Linking two powered computers together using standard 3.5mm analog audio cables often creates a loud, low-frequency electrical hum (a 60 Hz ground loop in North American electrical grids) caused by differing electrical ground potentials between power supplies.
A properly engineered multi device audio routing remote work setup US workstation isolates each audio path electrically and logically. This allows you to monitor audio from Computer A and Computer B simultaneously through one pair of high-quality headphones while selectively directing your main microphone signal to either machine—or both—without causing local echo loops or feedback artifacts.
Hardware vs. Software Routing Strategies
Solving multi-device audio routing comes down to two primary methodologies: pure hardware integration or software-based virtual routing. Each approach carries distinct trade-offs regarding enterprise IT security, signal latency, equipment budget, and day-to-day operational stability.
1. The Hardware Approach (Mixers & Multi-Host USB Interfaces)
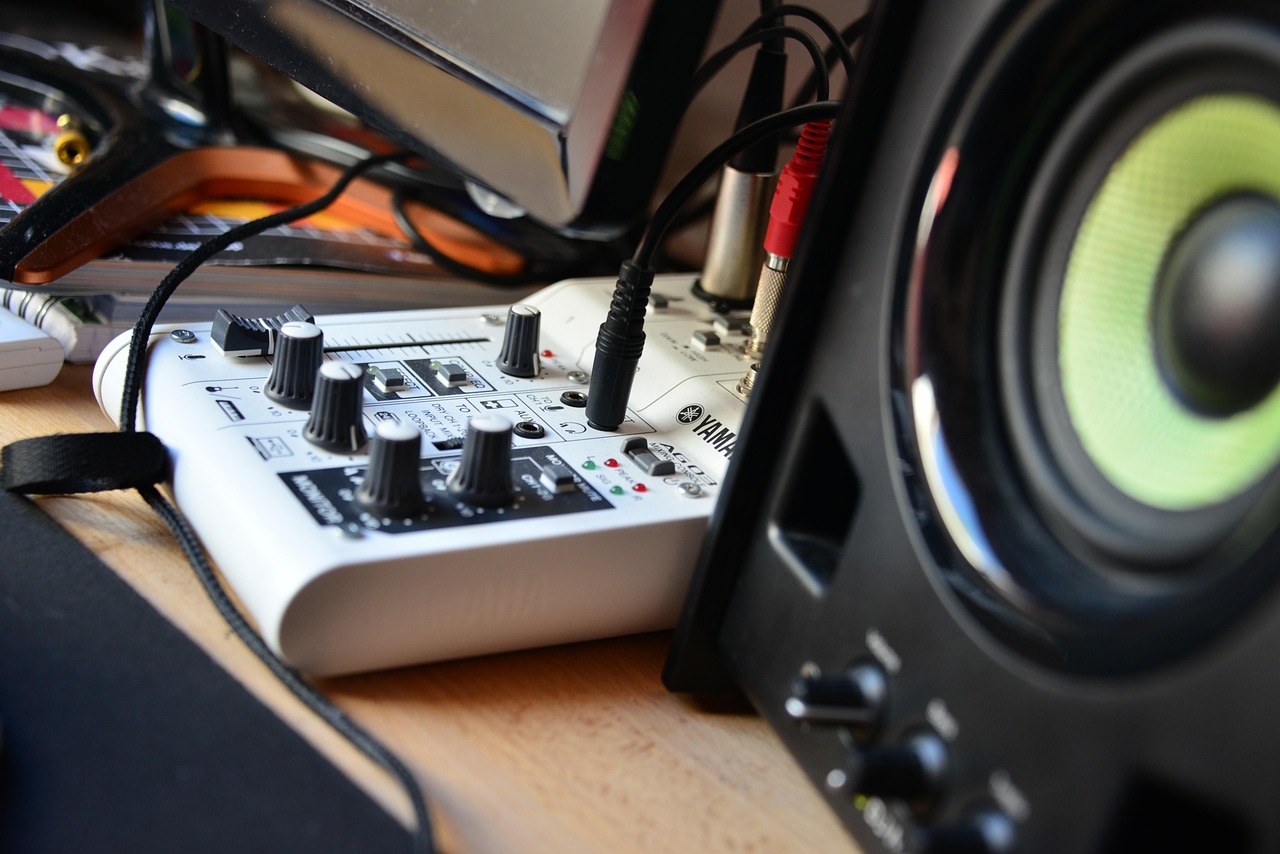
The hardware approach routes audio using physical copper cables, standalone analog/digital audio mixers, or advanced audio interfaces with multi-host capabilities. Your microphone plugs directly into the hardware unit via balanced XLR or 1/4-inch cables. The hardware unit processes the audio locally and sends independent audio feeds to each connected computer.
Pros: Zero host CPU usage, near-zero signal latency, complete operating system independence, and zero requirement to install unapproved software or custom drivers on enterprise-managed laptops.
Cons: Higher initial hardware cost, requires physical desk space, and involves managing multiple cables behind your workstation.
2. The Software Approach (Virtual Audio Cables & App Routers)
Software routing relies on virtual audio drivers installed directly on the host operating system. Applications like Rogue Amoeba’s Loopback (macOS), VB-Audio VoiceMeeter (Windows), or PipeWire/JACK (Linux) intercept application audio streams and redirect them virtually between software programs and audio hardware outputs.
Pros: Highly cost-effective, infinite routing flexibility, no extra physical boxes cluttering your desk, and granular application-level volume control.
Cons: Completely incompatible with locked-down corporate machines where administrator rights are restricted, consumes host CPU cycles, and introduces potential driver conflicts during major OS updates.
3. The Hybrid Approach (The Recommended Workstation Standard)
For most hybrid remote workers managing both a enterprise-managed laptop and a personal desktop, a hybrid model offers the ideal balance. You use a dedicated hardware interface or compact mixer to manage physical microphone inputs and hardwired computer feeds, supplemented by lightweight virtual software routing on your unrestricted personal machine for secondary audio streams like Spotify, local screen recording, or Discord communications.
Core Hardware Required for Multi-Device Audio Setup
Building a seamless multi-device setup requires selecting core equipment designed to handle multi-channel inputs and outputs simultaneously. Standard consumer headsets and basic plug-and-play USB microphones are designed for single-host connections and lack the flexible routing topologies necessary for complex multi-machine workflows.
| Hardware Component | Key Operational Function | Recommended Specs / Features |
|---|---|---|
| Multi-Host USB Audio Interface | Connects multiple computers simultaneously via dedicated USB controller ports. | Dual USB-C ports, independent internal routing software, high-gain preamps (60dB+ gain range). |
| Compact Hardware Audio Mixer | Mixes physical analog audio feeds from secondary PCs, laptops, and mobile devices. | Auxiliary sends (Aux Out/Mix-Minus capability), physical faders, balanced TRS outputs. |
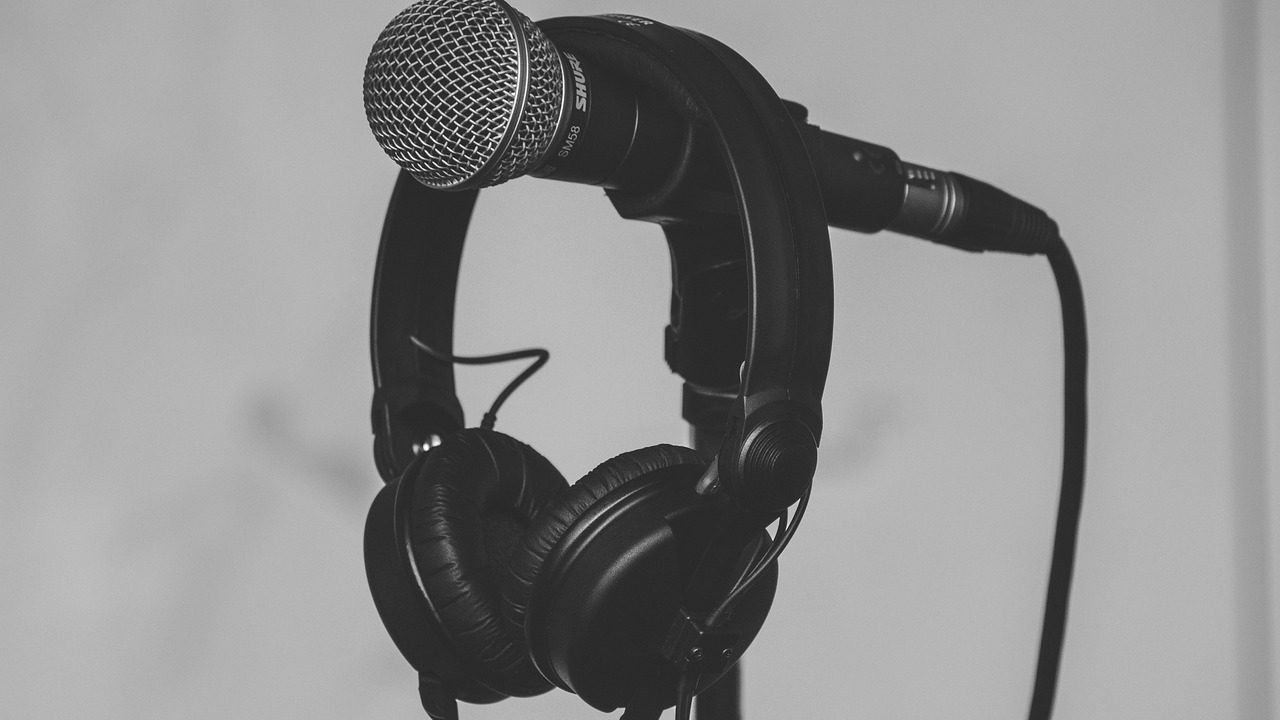
| Dynamic XLR Microphone | Captures clean voice audio while rejecting ambient room reverberation and HVAC noise. | Cardioid pickup pattern, internal capsule shock mount, standard XLR 3-pin connector. |
| Ground Loop Noise Isolator | Eliminates electrical ground loop hum across 3.5mm and 1/4-inch analog connections. | 1:1 impedance transformer ratio, balanced 1/4-inch TRS or 3.5mm line pass-through. |
| Studio Monitor Headphones | Provides neutral, accurate audio playback from all merged system feeds without spill. | Closed-back acoustic design, low impedance (32–80 ohms) for direct driver output. |
Step-by-Step Configuration: Hardware Audio Mixer Routing
Using a small hardware mixer equipped with an Auxiliary Send (Aux Send) bus allows you to build a broadcast signal path called a Mix-Minus. A Mix-Minus feed delivers all combined system audio to your corporate meeting except the caller’s own incoming signal, preventing distracting local echo loops and cross-talk during virtual conferences.
Step 1: Connect Your Main Microphone
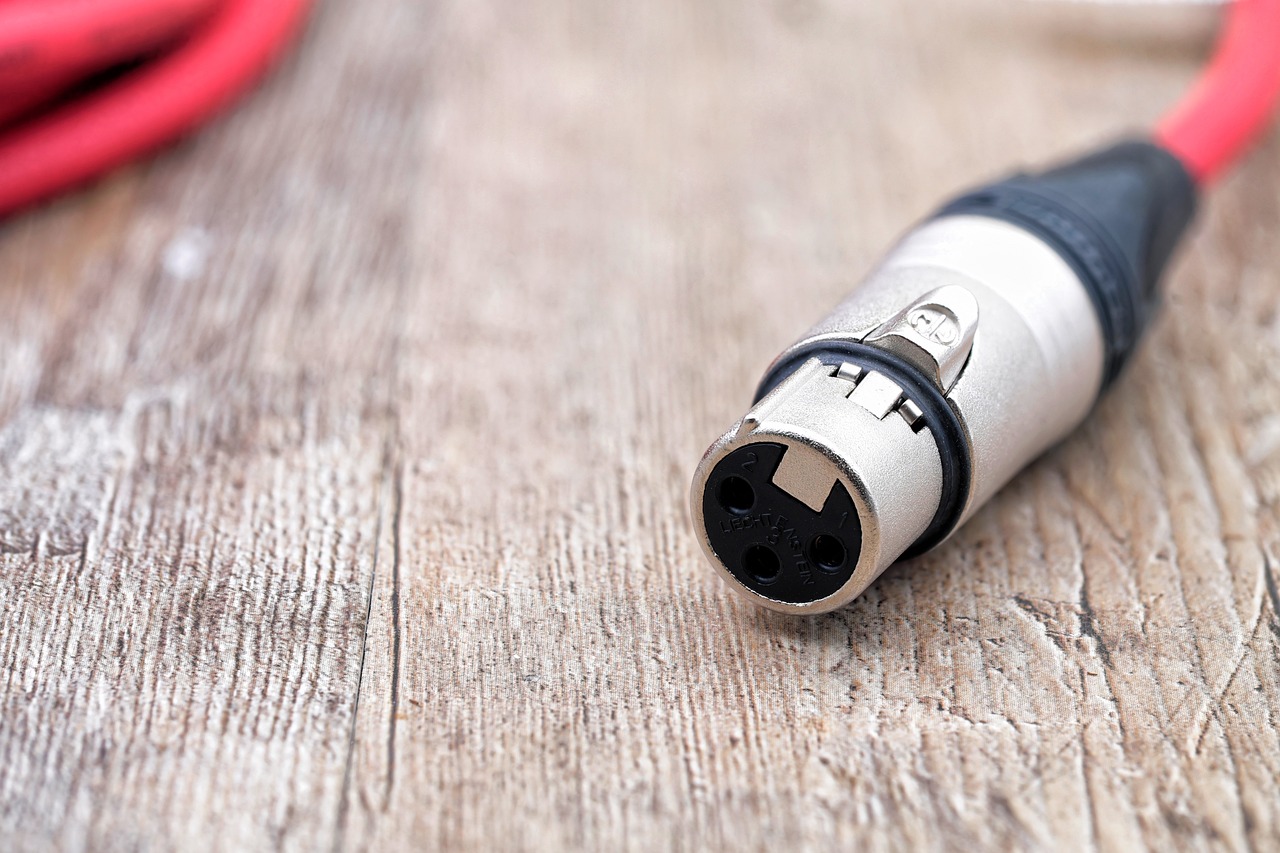
Plug your primary XLR dynamic microphone into Channel 1 of your hardware mixer using a balanced 3-pin XLR cable. Adjust the channel gain knob so your voice peaks comfortably around -12dB to -6dB on the mixer’s visual LED meters when speaking at a normal conversational volume. Keep the main channel fader at unity gain (0dB mark).
Step 2: Connect the Corporate Work Laptop
Connect your corporate laptop’s headphone jack (or a dedicated USB-C-to-3.5mm DAC dongle) to Channel 2/3 on the hardware mixer using a 3.5mm-to-dual-1/4-inch stereo breakout cable. This brings all audio from Zoom, Microsoft Teams, or Webex directly into your central mixer board so you can hear meeting participants clearly.
Step 3: Route Microphone Audio Back to the Corporate Laptop
To send your voice back into the corporate laptop as a clean microphone input without returning the meeting audio to itself, construct your Mix-Minus routing using the Aux Send output:
- Connect a balanced cable from the mixer’s
Aux Outport into a plug-and-play USB audio capture dongle connected to your corporate laptop. - Turn UP the
Aux Sendcontrol knob on Channel 1 (Microphone). This sends your voice feed directly to the corporate laptop’s audio input. - Keep the
Aux Sendcontrol knob turned completely DOWN on Channel 2/3 (Corporate Audio). This prevents incoming meeting audio from being routed back into the laptop, completely eliminating remote caller echo.
Step 4: Connect the Personal PC
Connect your personal PC to the mixer using the main USB interface cable (if utilizing a hybrid USB mixer) or line-level inputs on Channel 4/5. Connect your studio monitoring headphones directly to the mixer’s dedicated phone output jack. You can now monitor both corporate call audio and personal system sound simultaneously in real time with zero signal latency.
Step-by-Step Configuration: Dual-USB Audio Interfaces
If you prefer a clean, minimal desktop setup without multiple physical sliders, multi-host USB audio interfaces offer a compact alternative. Devices manufactured with dual USB controller ports contain internal digital signal processing (DSP) hardware that allows flexible routing between two independent host computers.
Follow this procedure to configure a dual-USB audio interface across a corporate laptop (Host 1) and a personal desktop computer (Host 2):
- Physical Connections: Connect USB Cable A to your corporate laptop and USB Cable B to your personal desktop. Connect your primary dynamic microphone to Input 1 and plug your headphones into the primary headphone jack.
- Install Routing Software on Personal PC: Open the manufacturer’s routing software panel on your personal computer (where you hold full software installation permissions).
- Configure Sub-Mix A (Corporate Feed): In the interface software routing matrix, assign Input 1 (Microphone) directly to USB Output Pair 1/2 leading to Host 1. Inside Zoom or Teams on your corporate laptop, select the interface as your default audio input and output device.
- Configure Sub-Mix B (Personal & Local Recording Feed): In the matrix, assign Input 1 (Microphone) AND USB Input Pair 1/2 (Corporate Audio) to USB Output Pair 3/4 leading to Host 2. This configuration allows your personal desktop to record both sides of a corporate call locally using applications like OBS Studio or Audacity without altering call quality on your work laptop.
Software Routing and Virtual Audio Cable Setup
When operating in environment setups where both host machines permit custom software installation, or when you need to manage multiple application audio pipelines within a single powerful workstation, virtual software routing offers incredible flexibility.
Configuring Virtual Audio Cables on Windows Operating Systems
Using virtual audio software applications such as VB-Audio VoiceMeeter Banana or Virtual Audio Cable allows you to build digital mixing channels inside Windows. Follow this logical framework to establish clean digital routing:
- Set VoiceMeeter Input as your default Windows Playback Device. All desktop audio streams (web browsers, media software, gaming feeds) now route directly into the software virtual mixer.
- Assign your physical USB Audio Interface or Microphone input as Hardware Input 1 inside the VoiceMeeter control panel.
- Assign virtual routing buses: Route
Bus A1directly to your physical audio interface headphone output for local real-time monitoring. RouteBus B1(the primary virtual output) as the virtual microphone source inside Microsoft Teams, Slack, or Zoom. - Selectively mute
Bus B1on specific virtual channels (such as personal music or browser notifications) so meeting participants hear only your clean voice.
Configuring Virtual Routing on macOS Operating Systems
Apple’s macOS manages system audio through Core Audio driver architecture, requiring specialized virtual audio device extensions to capture and route application sound. Software applications like Rogue Amoeba’s Loopback or open-source BlackHole drivers provide virtual pass-through capabilities:
- Open macOS Audio MIDI Setup and create a Multi-Output Device or Aggregate Device if you need to group distinct hardware interfaces together under one unified virtual driver.
- Launch Loopback and create a virtual device named “Meeting Master Mic”. Add your physical XLR audio interface input along with specific application sound sources (like a browser or media player) into this virtual routing device.
- Select “Meeting Master Mic” as the primary input device in your video conferencing application settings. You can now share pre-recorded presentation audio, sound effects, or video clip audio directly into your meeting stream with digital clarity.
Solving Ground Loops and Electrical Noise Issues
The moment you connect two separately powered desktop computers or laptops together using analog audio patch cables (such as 3.5mm TRS or 1/4-inch line cables), you risk introducing severe electrical hum into your monitoring path. This noise is caused by a ground loop—a voltage potential difference between the ground conductors of your separate power outlets and equipment power supplies.
How to Identify and Eliminate Ground Hum in Remote Setups
Ground loop hum manifests as a continuous, low-frequency 60 Hz buzz (or 50 Hz on European electrical standards) that often changes pitch or modulation intensity when your computer graphics card or processor undergoes heavy computing loads.
- Install Passive Isolation Transformers: Place a passive 1:1 ground loop isolator inline on any analog 3.5mm or 1/4-inch line cable running between two computers or between a laptop and an analog mixer. These isolation units transfer audio signals magnetically via internal coils while completely breaking the physical ground wire link.
- Utilize Balanced Audio Interconnects: Wherever hardware ports permit, use balanced TRS (Tip-Ring-Sleeve) or 3-pin XLR cables rather than unbalanced TS or RCA cables. Balanced line configurations use dual signal lines with inverted phase matching to actively reject ground noise and electromagnetic interference (EMI).
- Unify Workstation Electrical Outlets: Plug both computers, external displays, audio interfaces, and active studio monitors into the same heavy-duty power strip or Uninterruptible Power Supply (UPS). Ensuring a single physical ground reference point minimizes ground potential variances across your entire multi device audio routing remote work setup US workspace.
Enterprise Security and IT Compliance Considerations
Deploying a robust multi device audio routing remote work setup US remote employees rely on requires working within corporate security guidelines. Information security policies on company-issued laptops frequently restrict administrative privileges, preventing workers from installing third-party executable files, custom hardware drivers, or virtual kernel extensions.
To construct a fully compliant workstation routing rig that will not trigger automated IT security flags or violate enterprise endpoint policies, follow these key implementation principles:
1. Insist on USB Class-Compliant Hardware
Always select audio interfaces, hardware mixers, and USB DAC adapters that are fully USB Class-Compliant. Class-compliant hardware devices utilize generic, pre-installed operating system audio drivers already native to Windows and macOS core software architecture. They operate immediately upon plugging in without requiring driver installation packages or administrative rights.
2. Keep Routing Operations Processing in External Hardware
Avoid attempting to bypass endpoint protection software to force virtual audio driver installations on corporate machines. Instead, process all complex audio mixing, equalizer adjustments, noise suppression, and routing routing externally inside dedicated hardware mixers or DSP interfaces before the final signal enters the corporate laptop’s USB port. To the enterprise security system, your complex multi-machine routing rig appears merely as a standard USB headset device.
3. Maintain Hardware-Level Mute Safety
Rely on physical hardware mute buttons located directly on your mixer board or audio interface rather than depending solely on soft-mute buttons inside videoconferencing applications. Hardware-level mutes physically cut off the microphone signal circuit at the input stage, providing guaranteed privacy when stepping away from your workstation regardless of application glitches or operating system freezes.
Optimizing Audio Quality, Gain Staging, and Latency
Even the most expensive hardware routing topology will deliver subpar sound quality if signal gain staging is configured incorrectly. Proper gain staging ensures your voice remains crisp, warm, and intelligible while keeping background hiss and digital clipping distortion out of your meeting streams.
Mastering System Gain Structure
Follow this precise signal path sequence to establish proper gain staging across your multi-device workstation setup:
- Microphone Preamp Gain Stage: Speak into your microphone at your loudest typical speaking volume. Increase the gain knob on your interface or mixer channel until the signal peaks between -12dB and -6dB on your visual level meters. Never allow signal peaks to reach 0dB, which causes harsh digital clipping.
- Mixer Channel Faders and Aux Sends: Set primary mixer channel faders and auxiliary send controls to unity gain (typically designated as 0dB or indicated by a shaded notch on physical fader tracks).
- Operating System Digital Levels: On both connected computers, navigate to system sound settings and set input levels to nominal 100% (0dB digital boost). Avoid applying artificial digital gain boosts within Windows Control Panel or macOS Sound settings.
- In-App Conference Level Settings: Inside Zoom, Microsoft Teams, or Webex application settings, disable all automatic microphone gain adjustments (“Automatically adjust microphone volume”). Set the application input slider to maximum and rely entirely on physical hardware controls to manage voice level changes.
Minimizing Signal Latency and Digital Buffer Sizes
Audio latency represents the time delay between sound entering your microphone capsule and the processed audio arriving in your monitoring headphones. Delay values exceeding 20 milliseconds create a distracting echo effect that forces speakers to hesitate and stutter during natural conversation.
To preserve ultra-low latency performance across digital routing pipelines:
- Set digital buffer sizes within your audio interface driver control panel to 128 samples or 256 samples. This range balances minimal delay performance with CPU processing stability. Avoid buffer settings of 1024 samples or higher unless performing heavy post-production mixing.
- Synchronize digital sample rates across all devices and software applications. Configure both computers, internal interface settings, and conference software to 48.0 kHz / 24-bit (the standard broadcast audio resolution for digital video calls and streaming media). Mismatched sample rates (such as combining 44.1 kHz media streams with 48 kHz call feeds) force operating systems to perform real-time sample rate conversion, adding unnecessary CPU overhead and micro-stuttering artifacts.
Recommended Workstation Cable Layout and Desk Management
A structured wiring layout keeps your desk organized while protecting sensitive audio signals from electromagnetic noise induced by nearby power sources. When routing cables behind a multi-computer desk setup, execute these practical cable management strategies:
- Maintain physical separation between AC power cables and signal audio lines (XLR and balanced 1/4-inch cables). Keep power cords separated from audio lines by at least 6 inches. Where audio cables must cross AC power cords, orient them at strict 90-degree right angles to minimize 60 Hz hum induction.
- Utilize color-coded cable sleeves or color band rings on XLR connectors to identify instantly which signal line routes to your corporate laptop versus your personal workstation during mid-meeting troubleshooting.
- Secure multi-cable snakes and heavy audio interconnects to the underside of your desk frame using strain-relief clamps. Preventing heavy cables from hanging freely avoids mechanical strain on your desktop audio interface ports.
Practical Workstation Use Cases and Common Workflows
To understand how a dedicated multi device audio routing remote work setup US setup functions in daily operations, consider these common hybrid work scenarios:
Scenario A: Dual-Meeting Monitoring Without Audio Cross-Contamination
A remote professional needs to participate in a corporate quarterly review on a company-issued laptop while simultaneously monitoring a technical webinar on a personal machine. Using a hardware mixer with mix-minus routing, the user pans corporate call audio to the left ear headphone channel and personal webinar audio to the right ear channel. Microphone audio is routed exclusively to the corporate laptop via the auxiliary send bus, ensuring webinar audio never leaks into the company meeting.
Scenario B: Clean Local Meeting Recording for Transcription
A remote project manager needs to capture high-fidelity local audio recordings of project planning meetings conducted on a locked-down corporate computer. By connecting the sub-mix output of a dual-USB interface directly to a personal workstation, the user records both local voice audio and remote caller responses in pristine quality using local recording software, completely bypassing corporate software installation blocks.
Troubleshooting Common Audio Routing Issues
Even well-engineered multi-device setups occasionally encounter signal hiccups due to operating system updates or power cycling sequence errors. Use this quick reference table to diagnose and resolve common routing glitches quickly:
| Symptom | Probable Root Cause | Recommended Corrective Action |
|---|---|---|
| Persistent 60 Hz background hum in headphones. | Ground loop potential difference between connected host computers. | Install a 1:1 passive ground loop isolator on the analog audio line connecting the two devices. |
| Remote callers report hearing their own echo. | Missing or incorrectly configured Mix-Minus send bus on hardware mixer. | Turn DOWN the auxiliary send knob on the channel receiving incoming corporate call audio. |
| Microphone audio sounds robotically distorted or stuttered. | Mismatched sample rate settings across host computers or low buffer size. | Set both computers and software applications to 48.0 kHz sample rate and increase buffer size to 256 samples. |
| No audio passing to corporate conference software. | Operating system reset default USB audio device after wake from sleep mode. | Re-select the USB audio interface manually inside Zoom/Teams audio setting preferences. |
Final Testing and Operational Verification Checklist
Before launching high-stakes client calls or critical enterprise presentations on your newly configured multi-device rig, complete this comprehensive operational checklist:
- Dual System Record Check: Open local voice recording utilities on both connected computers simultaneously. Record a 15-second voice sample speaking at conversational volume. Replay both files to confirm clear audio capture without crackle, background hiss, or ground loop hum.
- Isolation & Cross-Talk Verification: Initiate a test video call on your corporate laptop while playing background audio on your personal machine. Ask your test partner to verify that your voice remains perfectly crisp and that zero background audio from your personal computer leaks into the call.
- Hardware Mute Functionality Check: Engage the physical hardware mute switch located on your audio interface or mixer channel. Observe input meter monitors inside Zoom or Teams on your corporate laptop to confirm that input levels immediately drop to absolute silence.
By implementing physical hardware signal isolation, mastering mix-minus routing logic, choosing class-compliant hardware, and adhering to disciplined gain staging practices, you build a reliable multi device audio routing remote work setup US professionals can count on every single day. This complete setup eliminates audio friction, protects corporate compliance, and delivers broadcast-quality sound across every virtual interaction.