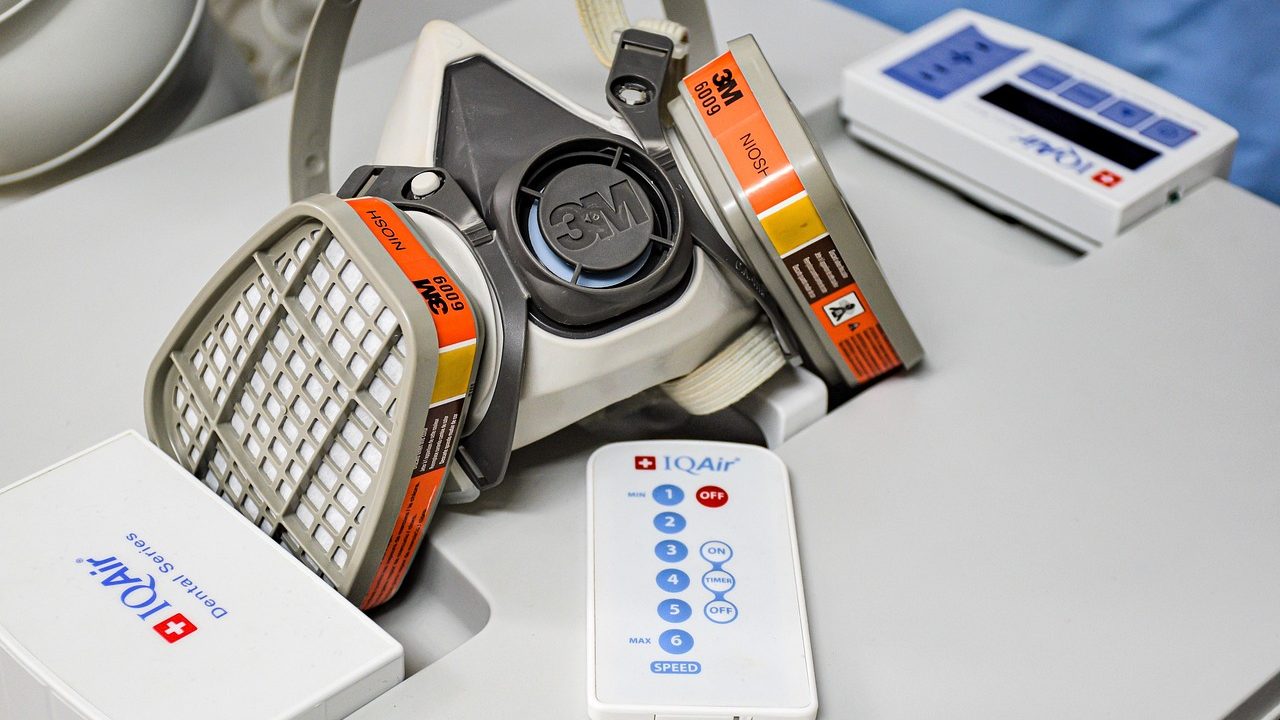
When you invest in a whole-house air purification system integrated directly into your central HVAC ductwork, you expect cleaner air in every room without needing standalone portable units in every corner. However, these powerful systems are not set-and-forget appliances. Over time, microscopic dust, pollen, pet dander, and smoke particles accumulate rapidly inside the hardware. Adhering to a strict whole house air purifier maintenance guide is essential to keep your equipment running efficiently, protect your expensive heating and cooling blower motor, and maintain optimal indoor air quality throughout your home.
Neglecting your system leads to diminished airflow, reduced particulate collection efficiency, and occasionally annoying buzzing noises from electronic collector cells arcing across heavy dust bridges. Whether your setup relies on an electronic air cleaner featuring washable aluminum plates or a multi-stage media filter box with activated carbon inserts, routine upkeep requires attention to detail. This guide walks you through the exact schedules, safe cleaning procedures, chemical considerations, and troubleshooting steps needed to service your residential air purifier correctly.
Understanding Your Whole-House Air Purification System
Before unlatching panels or pulling out internal assemblies, it helps to understand what type of whole-house air purification technology you actually have in your utility room or basement. Residential systems generally fall into two broad categories, though many modern setups combine both:
- Electronic Air Cleaners (Electrostatic Precipitators): These units use an electronic power supply board and high-voltage power pack to charge incoming particles positively. As these charged particles pass through a series of grounded and charged aluminum collector plates, the plates pull the dust out of the airstream like a magnet. Because they physically collect debris on reusable metal surfaces, these cells must be periodically washed rather than thrown away.
- Media Air Cleaners with Carbon Stages: These systems rely on deep-pleated physical filters—often rated between MERV 11 and MERV 16—alongside an activated carbon filter stage designed to adsorb odors, volatile organic compounds (VOCs), and chemical gases. The carbon stage works through molecular adsorption, binding gases inside tiny internal pores.
Electronic precipitators require periodic washing to remove the caked-on film of fine particulate matter, while media and carbon stages require scheduled physical replacement. Knowing which components are in your specific duct setup dictates your maintenance checklist, safety gear, and required cleaning supplies.
Key Components Inside an Electronic Air Cleaner
To perform proper HVAC air scrubber upkeep, you should familiarize yourself with the internal anatomy of an electronic air cleaner cabinet:
- Cabinet Access Door: Equipped with a built-in safety interlock switch that automatically cuts power to the internal high-voltage contacts when opened.
- Pre-Filter Screens: Washable aluminum mesh panels positioned on the upstream intake side that capture hair, lint, and large airborne debris before it hits the high-voltage section.
- Ionizing Section: A bank of thin metal wires (typically tungsten) that apply a high-voltage positive direct current (DC) charge to incoming microscopic dust particles.
- Collector Cell Assembly: A series of closely spaced parallel aluminum plates where alternating charged and grounded surfaces attract and trap the ionized dust particles.
- Post-Filter / Activated Carbon Stage: An optional downstream filter matrix or carbon sheet designed to capture remaining particles, smooth airflow, and neutralize residual ozone odors.
- Power Supply Box: The electronic brain housing transformer components that convert standard household alternating current (AC) into high-voltage DC needed for ionization.
Establishing a Realistic Maintenance Schedule
The biggest mistake homeowners make is waiting until an indicator light flashes or strange odors emerge before servicing their equipment. Indoor conditions vary wildly based on your geographic location, whether you have shedding pets, if anyone in the household suffers from severe allergies, and how frequently your HVAC fan runs. However, general calendar milestones help keep your air scrubber upkeep on track:
- Monthly Visual Inspection: Check your system control panel, verify that power indicator lights are green and steady, and listen for any clicking or snapping sounds indicating electrical arcing or short-circuiting.
- Every 1 to 3 Months (Electronic Cells): Wash aluminum collector plates and pre-filters, especially during peak heating or cooling seasons when your HVAC blower runs continuously. Households with multiple pets or heavy outdoor pollen counts should aim for a 30- to 45-day interval.
- Every 3 to 6 Months (Carbon Stages): Inspect activated carbon pads or canisters. Carbon loses its ability to adsorb odors over time as it saturates with household gases, cooking vapors, and off-gassing VOCs.
- Annually: Perform a deep cleaning of the internal housing, inspect high-voltage wiring terminals and contact points for dust tracking or corrosion, check door seals for air leaks, and verify proper airflow pressure drops across the duct transition.
Preparing to Service Electronic Air Cleaner Cells
If your system features electronic collector cells, washing them is the most labor-intensive part of your routine. Always prioritize safety before opening the equipment access door. Turn off the power switch located on the air cleaner power supply box, and turn off your HVAC system at the thermostat or emergency breaker switch to ensure no high-voltage electrical current is active.
Wear rubber gloves and eye protection, and work in an area where dirty water can drain easily, such as a large utility sink, a garage floor drain, or outdoors using a garden hose with a spray nozzle. Never use a high-pressure power washer, as the intense PSI will instantly warp, bend, or flatten the fragile aluminum fins inside the collector cell, permanently ruining its electrostatic charging geometry.
Step-by-Step Instructions for Washing Collector Plates
With your safety precautions set and your workspace ready, follow this systematic procedure to clean your electrostatic cells without damaging them:
- Slide Out the Assemblies: Unlatch the cabinet door, allowing the safety switch to disengage power. Carefully pull the pre-filter mesh screens and the heavy electronic collector cells straight out of the duct housing, supporting their weight with both hands so you do not bang them against the metal frame.
- Pre-Rinse Heavy Debris: Spray lukewarm water gently through the cells from back to front (opposite to normal airflow direction) to flush out loose pet hair, lint, and large dust clumps. Avoid hot water, which can melt plastic components or warp internal spacers.
- Apply a Mild Detergent Solution: Spray or submerge the cells in a solution of warm water mixed with a mild dish soap or a dedicated electronic air cleaner detergent. Avoid harsh alkaline cleaners, bleach, or ammonia, as these chemicals corrode bare aluminum, strip protective coatings, and create chemical residues that discolor metal surfaces.
- Soak and Agitate: Let the cells soak for 15 to 20 minutes to break down greasy cooking films and stubborn indoor particulate binders. If using a soak tub or utility sink, submerge the cell entirely. Use a soft-bristle brush if necessary, moving gently in the direction of the metal plates. Never scrub across the edges of the aluminum fins.
- Thoroughly Rinse: Rinse all soap residue away completely with clean water from a low-pressure hose or faucet. Soap residue left on the plates will cause immediate electrical short-circuiting, high-voltage leakage, and loud snapping noises when you turn the unit back on.
- Complete Air Drying: Stand the cells on end in a warm, well-ventilated area and allow them to dry completely for at least 24 hours. Putting damp cells back into an active HVAC duct can trip breakers, blow internal fuses, damage the power supply transformer, or cause corrosion across contact pins.
Handling Pre-Filters and Ionizing Wires
While washing the main collector plates, do not overlook the companion components that make the system function. The upstream aluminum mesh pre-filter captures larger dust particles before they hit the electronic grid; this screen can be washed right alongside the collector cells using the same soapy water rinse and low-pressure hose technique.
Next, inspect the fine ionizing wires stretched vertically across the front frame of the cell assembly. These hair-thin tungsten or stainless-steel wires impart the positive electrical charge to incoming dust. Over time, microscopic debris builds up on these wires, insulating them and dropping collection efficiency.
- Cleaning Technique: Wipe each wire gently from top to bottom with a cotton swab or lint-free microfiber cloth moistened with isopropyl alcohol. Apply minimal pressure to prevent snapping or stretching the delicate wire.
- Inspecting for Wire Damage: Check that each wire remains taut and properly seated in its spring retaining clips. A sagging wire can touch the grounded aluminum collector frame, creating an instant electrical short-circuit.
- Replacing Broken Wires: If you notice a wire is snapped, frayed, or missing entirely, do not attempt to solder or twist it together. Order an exact replacement wire kit specified by your air purifier manufacturer. Replacement wires come pre-cut with mounting hooks designed to maintain proper high-voltage electrical resistance and spring tension.
Managing Ozone Odor Buildup
A common concern among homeowners operating electronic air purifiers is the faint metallic or chlorine-like smell of ozone near supply registers. While all high-voltage electrostatic precipitators produce trace amounts of ozone during normal ion generation, a sudden increase in ozone odor is a clear symptom that your unit requires immediate cleaning and inspection.
When dust bridges build up between the grounded and charged plates, localized electrical arcing occurs. This increased electrical discharge breaks down oxygen molecules in the air stream, generating excess ozone and causing an irritating snapping or crackling noise. To eliminate this issue, pull the cells, clean them thoroughly using the steps outlined above, and ensure the drying process is 100 percent complete before reinstalling them.
Neutralizing Residual Ozone and VOCs
If you are particularly sensitive to ambient ozone odors, consider the following proactive measures:
- Install a Downstream Carbon Stage: Adding an activated carbon post-filter directly behind the electronic cell absorbs residual ozone molecules and converts them back into stable oxygen (O2) before the air enters your living space.
- Lower the Voltage Setting: Some residential electronic air cleaner power supplies feature adjustable high-voltage taps (e.g., High / Medium / Low settings). Lowering the tap voltage slightly reduces maximum charging power, which significantly cuts ozone output while maintaining adequate particulate capture.
- Check Power Supply Integrity: If the ozone smell persists after a thorough deep cleaning, inspect the solid-state power supply board for burned resistors, cracked insulation, or failing transformer blocks that may require professional HVAC service or board replacement.
Replacing Activated Carbon Filter Stages
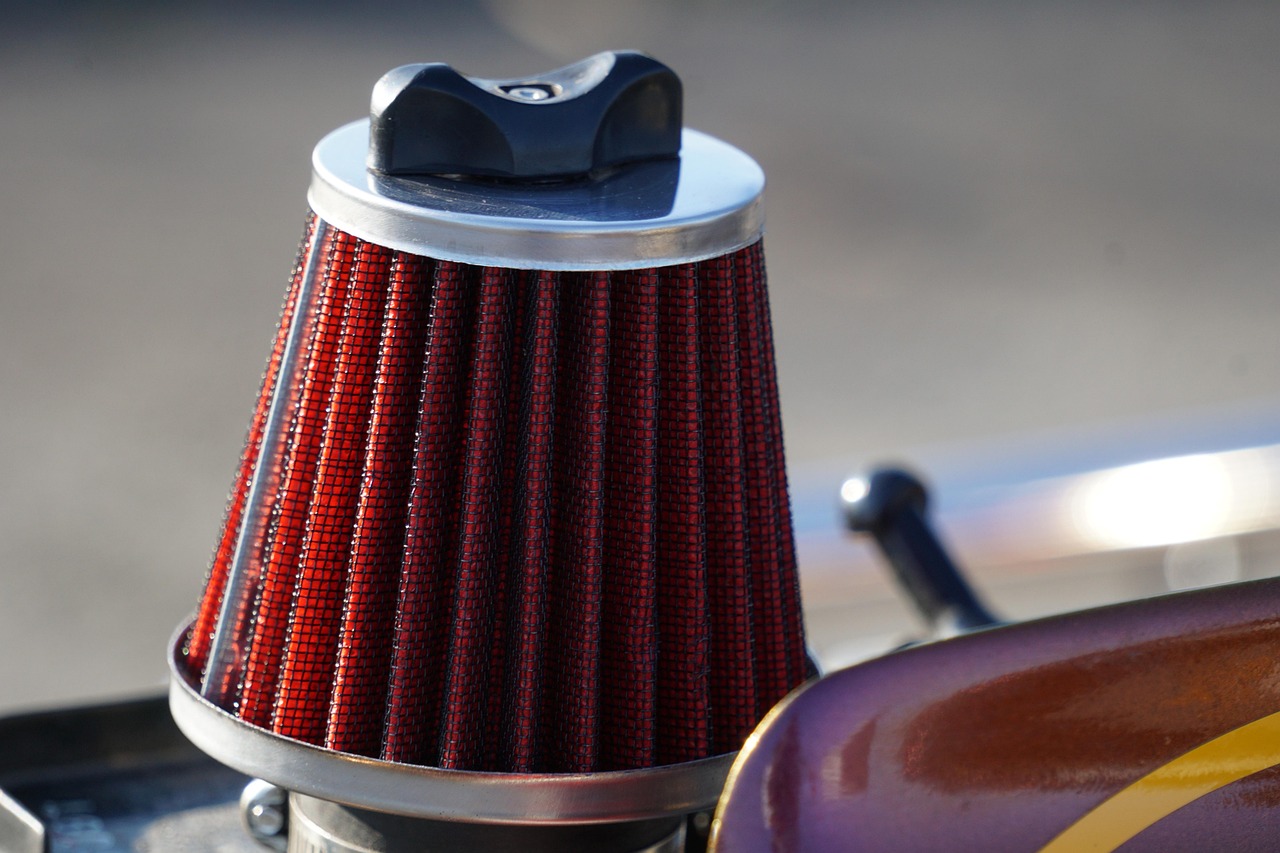
Unlike metal electronic cells that you wash and reuse indefinitely, activated carbon filter stages have a finite lifespan. Activated carbon relies on an immense network of microscopic pores that adsorb chemical molecules, cooking vapors, pet odors, and VOCs through physical attraction. Once those internal pores fill up with chemical contaminants, the carbon becomes entirely exhausted and stops neutralizing household smells.
When performing activated carbon filter replacement, follow these guidelines to keep your media stage operating efficiently:
- Turn Off Airflow: Shut down the HVAC system at the thermostat to prevent unfiltered air or loose carbon dust from circulating through your home’s ductwork during the changeout.
- Remove Spent Media: Slide out the spent carbon pad, pleated carbon media block, or granular carbon tray. Place the old filter immediately into a plastic trash bag to prevent trapped odors from off-gassing back into your service room. Dispose of it according to local municipal solid waste guidelines.
- Inspect Housing Seals: Wipe down the internal frame channel with a moist cloth to remove loose dust. Ensure foam gaskets along the top and bottom rails are intact, as gaps around the filter edge allow unconditioned air to bypass the media entirely.
- Install New Carbon Media: Slide the fresh carbon filter into position, verifying that the directional airflow arrows printed on the frame point toward the HVAC blower motor. Ensure the frame fits snugly without bowing or bending.
Wear a light dust mask if the carbon media is loose or dusty during handling. Never attempt to wash or vacuum standard household carbon filters to rejuvenate them; water ruins the physical structure of the carbon granules, and household vacuums cannot extract chemically trapped gases from microscopic pores.
Comparing Electronic Cells vs. Media Stages
Choosing or maintaining a central air purification setup often comes down to understanding the trade-offs between electronic collector cells and mechanical deep-pleated media filters equipped with carbon stages. The table below outlines key operational differences to help you plan your ongoing budget and maintenance schedule:
| Feature / Parameter | Electronic Air Cleaner (Precipitator) | Media Air Cleaner with Carbon |
|---|---|---|
| Primary Maintenance Action | Washing aluminum plates and wiping wires | Replacing filter cartridges and carbon pads |
| Service Frequency | Every 1 to 3 months | Every 6 to 12 months (Carbon: 3 to 6 months) |
| Ongoing Consumable Costs | Low (Detergent & occasional wire kit) | Moderate to High (Replacement media stages) |
| Airflow Resistance (Static Pressure) | Consistently low when kept clean | Increases steadily as filter loads with dust |
| Odor & Gas Removal Capability | Minimal (Requires optional carbon stage) | High (When paired with activated carbon) |
| Electrical Power Requirement | Requires 120V power supply connection | None (Passive physical media) |
Troubleshooting Common Whole-House Purifier Issues
Even with a rigorous maintenance routine, you may occasionally encounter operational hiccups. Knowing how to diagnose basic issues saves you expensive service call fees and keeps your indoor air quality consistent:
- Persistent Snap or Crackle Noises: Usually caused by a broken or sagging ionizing wire touching the frame, a warped collector plate touching an adjacent ground blade, or residual moisture hiding inside the insulator blocks after washing. Turn off power, allow the unit to air dry for another 12 hours, or inspect the cell for bent metal fins and straighten them using a plastic putty knife.
- Red Fault Indicator Light / Blinking LED: Indicates an electrical short-circuit, high-voltage leakage, or heavy contamination buildup. Power down the system, remove the cells, inspect for trapped foreign objects or insect webs, clean thoroughly, and re-test. If the fault light remains lit with clean, dry cells removed, the power supply board may need replacement.
- Reduced Airflow or Freezing A/C Coils: Often points to a clogged mesh pre-filter or a saturated carbon media block restricting static pressure in the return air duct. Check and clean or replace airflow restrictions immediately to prevent severe HVAC blower strain or cooling system icing.
- Complete Loss of Power: Check the equipment door latch to ensure the safety interlock switch is fully depressed by the door frame. Verify the electrical outlet or dedicated circuit breaker supplying the power box is active.
Selecting Safe Cleaning Solutions and Tools
Using improper cleaning agents on aluminum electronic collector cells can cause long-term chemical damage, reducing their efficiency and shortening their functional lifespan. Always choose cleaning products that are chemically compatible with non-anodized aluminum and high-voltage ceramic or plastic insulators.
Recommended Cleaning Supplies
- Mild Liquid Dish Detergent: Standard non-abrasive, pH-neutral dish soaps work exceptionally well at breaking down light grease and environmental dust without corroding aluminum.
- Specialized Electronic Cell Washers: Commercially available spray cleaners formulated specifically for electrostatic air cleaners quickly dissolve tough tar and smoke deposits.
- Isopropyl Alcohol (90%+ Concentration): Ideal for cleaning delicate ionizing wires, ceramic insulators, and metal contact buttons because it evaporates rapidly without leaving non-conductive films.
- Soft Nylon Brushes & Microfiber Cloths: Useful for gentle wiping along the length of aluminum plates without scratching surface coatings.
Supplies to Strictly Avoid
- Harsh Solvents & Degreasers: Strong industrial degreasers containing sodium hydroxide or potassium hydroxide attack raw aluminum, causing pitting, dark oxidation, and white powder deposits.
- Chlorine Bleach or Ammonia: These chemicals release corrosive fumes, damage internal plastics, and degrade the high-voltage electrical insulation surrounding terminal contacts.
- Abrasive Scouring Pads & Steel Wool: Scratching the aluminum plate surface creates rough spots that collect dust faster and encourage localized electrical arcing.
Frequently Asked Questions
Can I put my electronic air cleaner cells in the dishwasher?
Many manufacturers allow washing electronic collector cells on the top or bottom rack of a standard residential dishwasher, provided you take key precautions. Use a standard non-citrus, non-phosphate dishwasher detergent, turn OFF the heated dry cycle (heated drying can warp plastic insulators and deform metal plates), and run a standard normal wash cycle. Ensure the dishwasher internal arms do not hit the cells during rotation.
How do I know when my activated carbon filter is fully saturated?
Unlike particulate filters that visibly discolor or accumulate thick dust layers, activated carbon filters do not change appearance when exhausted. You will know the carbon is saturated when household odors (such as cooking smells or pet odors) persist in the air despite the HVAC fan running, or when the filter reaches the manufacturer’s recommended lifespan (typically 3 to 6 months of continuous operation).
Why does my electronic air purifier snap when the HVAC system turns on?
An occasional snap or popping sound when the blower fan kicks on is normal; it occurs when a single large particle of dust or lint passes through the ionizing wires and shorts out momentarily against a collector plate. However, continuous rapid snapping indicates caked-on dirt bridges, a bent aluminum fin, or moisture inside the cell that requires immediate attention.
Will running my HVAC air purifier year-round damage the blower motor?
No, provided you maintain the filters according to schedule. Electronic air cleaners present very low static pressure resistance to duct airflow compared to standard thick mechanical filters. As long as pre-filters and carbon stages are kept clean and free of excessive dust accumulation, running your HVAC fan continuously on “ON” mode helps maintain uniform indoor air quality without overburdening the blower motor.
Conclusion and Long-Term System Care
Maintaining your residential air purification system is a straightforward home maintenance chore that pays huge dividends in equipment longevity, lower utility bills, and everyday indoor comfort. By committing to a regular calendar for washing electrostatic collector plates, inspecting high-voltage ionizing wires, and replacing exhausted carbon stages, you keep your central HVAC system breathing freely.
Consistent preventative upkeep ensures your whole-house air purifier continues capturing fine particulates reliably season after season, protecting both your family’s respiratory health and your home’s central heating and cooling machinery. Combine these simple DIY steps with an annual professional HVAC tune-up to ensure your power supplies, duct seals, and internal airflow controls stay in peak operating condition for years to come.