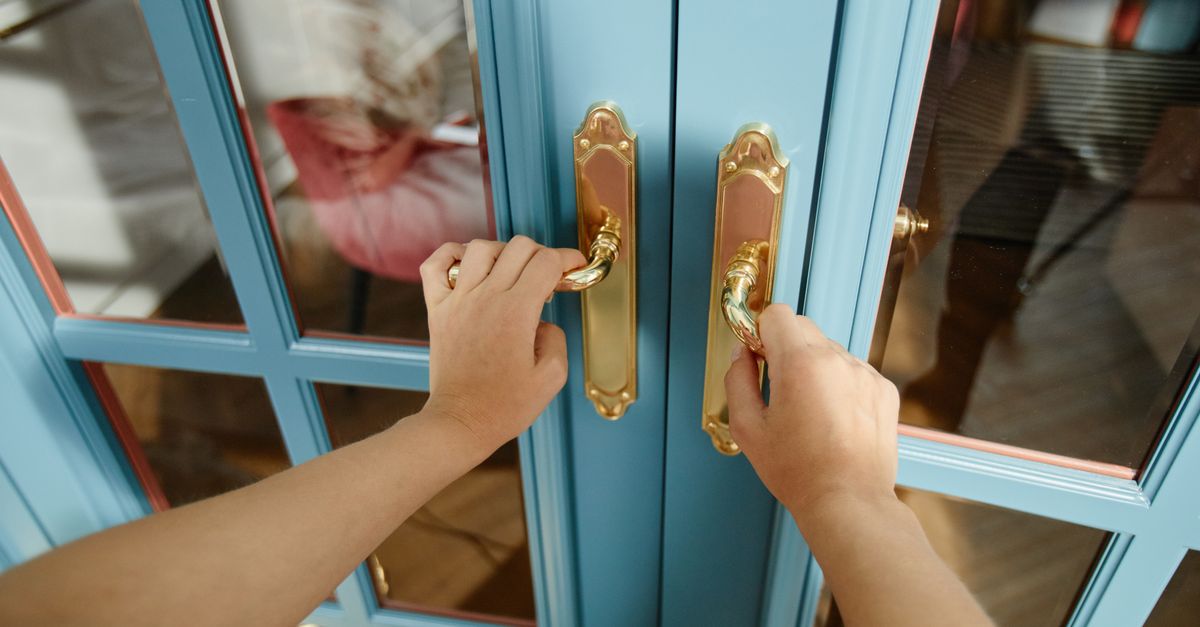
When your exterior protective barrier begins dragging, binding, or failing to latch shut, figuring out how to fix sticking storm door mechanisms can save you from a frustrating afternoon and an expensive service call. Aluminum and vinyl storm doors endure daily friction, intense temperature swings, high wind loads, and constant mechanical stress. Over time, these environmental factors cause hinges to sag, mounting screws to strip, pneumatic closers to lose their calibration, and aluminum frames to expand or contract. Fortunately, most common malfunctions do not require replacing the door or tearing out the surrounding trim. With a standard household toolkit and a methodical diagnostic approach, you can restore smooth operation and a secure latch in under an hour.
Before grabbing tools or twisting random screws, take a few minutes to diagnose the precise root cause of the failure. Storm doors rely on an interconnected system: hinges bear the weight, pneumatic or hydraulic cylinders control the swing speed and final closure force, and the latch and strike plate secure the door against the weather strip. If any single component falls out of alignment, the entire assembly binds up. Open and close the door slowly while observing where the binding occurs. Does the top corner scrape the header? Does the latch side rub against the frame before reaching the strike plate? Or does the door bounce open instead of clicking securely into place? Pinpointing the friction point directs you straight to the correct fix rather than wasting time adjusting parts that are working properly.
Evaluating Seasonal Thermal Warping and Frame Expansion
One of the most frequent catalysts for a suddenly binding entryway is seasonal temperature fluctuation. Aluminum storm doors absorb direct sunlight, especially on southern and western exposures, causing the metal to expand significantly during hot summer afternoons. Conversely, freezing winter temperatures can contract building materials, altering squareness. When thermal expansion occurs, tolerances vanish, and a door that operated smoothly all spring might suddenly scrape against the frame or refuse to close completely.
Check the margin or reveal around the entire perimeter of the door while it is gently pushed shut. A properly hung door maintains an even, parallel gap of roughly one-eighth of an inch between the door edge and the frame on all sides. If you notice the gap disappearing near the top corner opposite the hinges, the door is sagging. If the gap narrows uniformly along the entire vertical latch edge, the entire frame may be bowed or the hinges have shifted. For minor thermal binding, waiting for a cooler part of the day to make adjustments ensures you do not overcompensate for temporary expansion.
Furthermore, understanding the thermal dynamics of aluminum framing helps you determine whether a fix requires mechanical adjustment or patience. Direct solar radiation can raise the surface temperature of dark-colored storm doors by fifty degrees Fahrenheit or more above ambient air temperature. This rapid thermal loading forces the aluminum extrusion to bow outward toward the exterior. If you attempt to plane, shave, or excessively shim a door during the peak heat of the day, you risk creating a massive gap once the temperature drops at night. Always perform your diagnostic measurements during moderate morning temperatures to establish a true baseline for your door’s alignment.
Tightening and Resetting Hinge Fasteners
Sagging is the primary mechanical failure in exterior utility entries. Because storm doors are relatively heavy and cantilevered off a narrow mounting rail, the screws securing the hinge blade to the aluminum frame or door stile frequently loosen under the leverage of daily use. When these screws pull loose, the entire weight of the door shifts downward, causing the lower latch corner to drag heavily across the threshold.
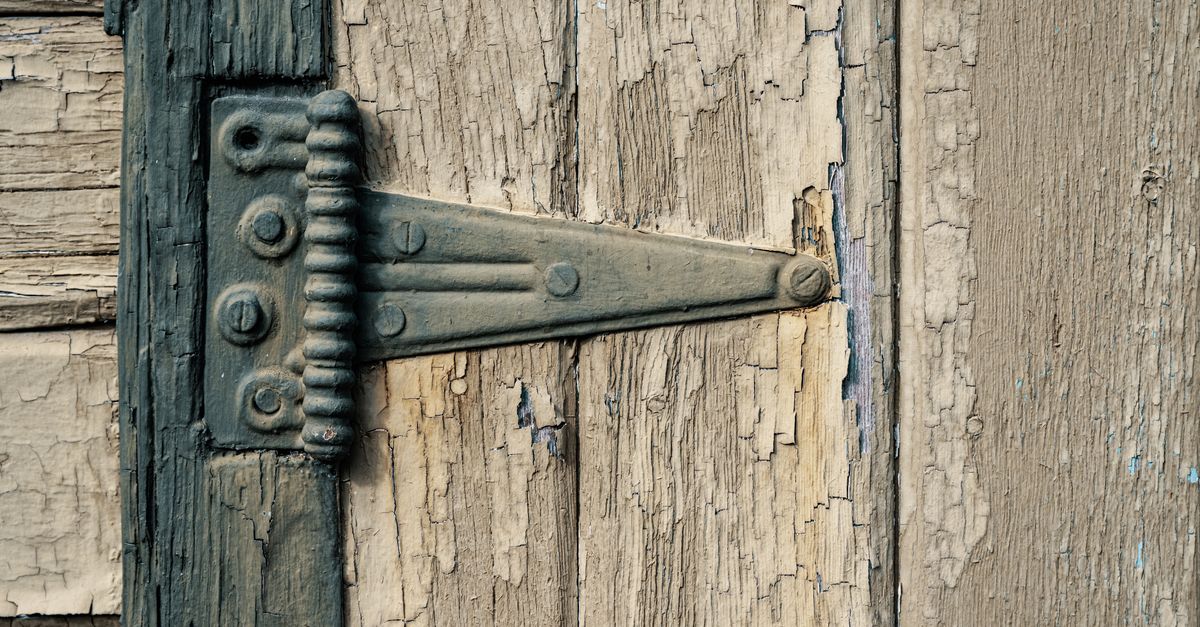
Open the door halfway and inspect every screw on both the door-side and frame-side hinge leaves. Using a manual screwdriver or a drill set to a low clutch torque, check each screw. Do not over-tighten power tools immediately, as aluminum threads strip out easily. If a screw spins freely without tightening, the hole has stripped out. To fix a stripped screw hole in aluminum or wood backing, remove the screw, insert a small piece of bare copper wire or a wooden toothpick coated in exterior-grade wood glue into the hole, and re-insert the screw. The added material provides immediate bite, allowing the fastener to anchor firmly and lift the sagging corner back into vertical alignment.
When dealing with continuous piano hinges, which are common on modern storm doors, a single loose screw can throw off the alignment of the entire hinge leaf. It is often best to back out all screws on the loose leaf slightly, realign the door perfectly within the opening using wooden wedges at the bottom corner, and then retighten the fasteners progressively from top to bottom. This ensures the load is distributed evenly across all fastening points rather than concentrating stress on the top two or three screws.
Adjusting Hydraulic and Pneumatic Closer Tension
If your door swings freely but slams violently or, conversely, stops a few inches short of closing completely, the issue lies in the pneumatic or hydraulic closer cylinder. These cylinders use internal springs and fluid or air resistance to manage momentum. Over time, seasonal temperature changes alter the viscosity of internal fluids or air pressure within the cylinder, rendering factory settings ineffective.
Locate the adjustment screw or valve at the end of the closer cylinder housing. Turning this screw alters the release rate of air or fluid, which dictates how fast the door travels during its final closing stroke. If the door is sticking or failing to latch because it lacks momentum at the very end, you need to increase the closing speed slightly. Turn the adjustment screw counterclockwise in small, quarter-turn increments, then test the door. Be careful not to open the valve too far, or the door will slam shut with enough force to damage the glass or frame. Conversely, turning the screw clockwise slows the closing action down.
Many standard models also feature a seasonal latching boost mechanism or a washer clip. If your closer has a small metal washer or clip on the shaft, sliding this clip toward the cylinder barrel holds the internal spring compressed just enough to give the door extra pushing power during the final two inches of travel, easily overcoming stiff weather stripping or minor latch resistance.
In households with dual closers—one mounted at the top and another at the bottom—balancing tension becomes even more critical. If the top closer is adjusted tighter than the bottom one, the door will twist slightly on its axis during the closing arc, causing the latch to strike high or low. Always adjust both cylinders in tandem, ensuring that their resistance curves match. If a pneumatic cylinder begins to leak oil or loses its compression entirely, attempting to refill or rebuild it is rarely cost-effective; replacement cylinders are inexpensive, highly standardized, and can be swapped out with a single clevis pin in less than five minutes.
Solving Latch and Strike Plate Misalignment
When the door closes completely and smoothly but refuses to stay shut, you are dealing with a classic latch engagement failure. A storm door latch not catching fix usually requires nothing more than shifting the strike plate on the jamb or clearing out built-up grime inside the latch mechanism.
First, inspect the strike plate mounted to the door frame. Look closely at the metal surface for shiny scratch marks or indentation lines left by the moving latch bolt. These marks reveal precisely where the bolt is striking the plate instead of sliding smoothly into the cutout aperture. If the latch hits too high or too low, loosen the two screws holding the strike plate to the frame, reposition the plate slightly up or down to match the latch trajectory, and retighten the screws securely.
If moving the strike plate vertically is not enough because the gap between the door and frame is too wide or too narrow, you may need to add a thin cardboard or plastic shim behind the strike plate. Shimming pushes the plate outward toward the latch, ensuring the bevel of the latch bolt slides deeply enough into the housing to engage the internal locking mechanism. If the latch bolt itself feels sluggish or sticky when you press the push-button handle, spray a small amount of powdered graphite or a silicone-based lubricant directly into the latch assembly. Avoid heavy petroleum oils or grease, as they attract airborne dust, grit, and pollen, eventually turning into a sticky paste that jams the internal springs permanently.
Another common culprit in latch failure is wear within the push-button handle assembly itself. Over years of use, the internal spindle or linkage connecting the exterior button to the interior latch tongue can develop excessive play. When you push the button, it may not retract the latch bolt fully, preventing a clean catch. Inspect the handle set for loose mounting bolts passing through the door face. Tightening these through-bolts often restores crisp actuation to the latch tongue.
Straightening Bent Mounting Rails and Z-Bars
On older installations or doors subjected to heavy winds, the long aluminum mounting rail—often called the Z-bar—can become bent, bowed, or pulled away from the exterior door molding. When the Z-bar bends outward, it narrows the operational clearance, causing the edge of the door to bind continuously along its height.
Examine the Z-bar running vertically along the hinge side and the latch side. If you notice a noticeable wave or gap between the rail and the wood trim, check the mounting screws securing the rail to the house. Tightening these screws can pull a bowed rail back into straight alignment. If the aluminum rail itself is physically bent from wind damage, you can gently reshape it by placing a padded block of wood against the inner flange and tapping it carefully with a rubber mallet. Take your time with this step; aluminum bends gradually and can crack if forced too aggressively.
Wind-induced torque is a major destructive force for exterior storm doors. When a strong gust catches an open door, it acts as a massive lever against the top hinge and the Z-bar header. If your door has been whipped open violently in the past, inspect the upper corner of the Z-bar frame where the header meets the side rail. If the miter joint has separated or the aluminum extrusion has sheared, you may need to drive an additional stainless steel anchor screw through the face of the Z-bar directly into the framing stud to re-establish structural integrity before attempting any fine adjustments to the door swing.
Lubricating Moving Hardware Components
Preventative maintenance prevents ninety percent of future door failures. While homeowners frequently remember to oil interior door hinges, exterior aluminum hardware is often neglected until a complete seizure occurs. Routine lubrication keeps pivot points, latch pins, and closer joints operating with minimal friction.
Open the door and inspect the hinge pins, the pivot bracket connecting the closer to the door frame, and the push-button handle mechanism. Apply a few drops of lightweight machine oil or a specialized silicone spray to each moving pivot point. Wipe away any excess lubricant immediately with a clean shop rag so it does not drip onto painted surfaces or attract dirt. For internal lock cylinders and push-button plungers, always choose a dry graphite lubricant rather than a wet spray. Dry lubricants provide frictionless movement without collecting exterior dust and moisture during rainy seasons.
It is also wise to inspect the sweep at the bottom of the door. The rubber or vinyl sweep blade frequently drags across concrete thresholds, accumulating grit that increases friction. Cleaning the sweep blade with soapy water and applying a light coat of silicone protectant keeps the material pliable and prevents it from grabbing onto stone or wood as the door swings shut.

Step-by-Step Diagnostic Troubleshooting Checklist
When faced with a stubborn door issue, working through a structured troubleshooting sequence prevents frustration and ensures you address root causes rather than symptoms. Use this checklist whenever your storm door begins acting up:
- Inspect hinge fasteners: Check every screw on both the door and frame leaves. Tighten any loose screws and repair stripped holes with wood glue and wooden anchors.
- Test closer resistance: Adjust the pneumatic cylinder valve screw to regulate final closing momentum without causing the door to slam.
- Examine strike plate alignment: Look for scratch marks on the strike plate, loosen mounting screws, and reposition or shim the plate so the latch bolt centers perfectly.
- Lubricate moving parts: Apply silicone spray or machine oil to hinge pins and closer brackets, and use dry graphite on internal latch mechanisms.
- Check frame squareness: Measure diagonal corners of the opening if binding persists, looking for structural settling or severe thermal bowing in the mounting rails.
- Assess weather stripping compression: Ensure the vinyl or rubber bulb seal around the frame is fully seated in its channel and not folded over, which creates uneven resistance against the door edge.
When to Replace Hardware Versus the Entire Door
While almost all operational issues can be resolved with adjustments, shims, or new hardware components, there are structural thresholds where repair efforts become uneconomical. If the aluminum frame of the door itself has suffered structural twisting from an extreme windstorm, or if the metal around the hinge mounting stiles has torn and shredded away from the core, attempting to re-anchor screws will fail because there is no sound material left to grip.
Similarly, if your closer cylinders are leaking hydraulic fluid continuously despite replacement seals, or if older handles and internal latches are heavily corroded by coastal salt air, replacing the specific hardware kit is usually faster and more reliable than trying to service worn-out parts. Fortunately, universal storm door replacement hardware kits are inexpensive and widely available at any hardware store or home center, allowing you to upgrade your entry system’s performance without purchasing an entirely new door unit.
When evaluating whether to replace hardware or upgrade the entire door, consider the age of the unit and the condition of the glass panels or insect screens. If multiple components are failing simultaneously—such as stripped hinge stiles, a corroded lock set, and a warped frame—investing in a new pre-hung storm door unit is often more sensible than buying piecemeal replacement parts that may not align perfectly with aged, modified mounting holes.
Conclusion and Ongoing Maintenance
Maintaining a smooth-operating exterior storm door requires very little time once you understand how the interlocking mechanical systems function. By periodically inspecting hinge screws, tweaking pneumatic closer tension to account for seasonal weather shifts, and keeping latch bolts clean and lubricated, you can eliminate annoying dragging and sticking before it causes permanent damage. Addressing these minor alignment tasks proactively ensures your entry remains weather-tight, secure, and easy to operate year-round.
Make it a habit to audit your storm door hardware twice a year—once in the spring as temperatures rise and once in the late autumn before freezing weather sets in. This seasonal routine takes only a few minutes but dramatically extends the lifespan of your door, protecting your primary entry door from the elements while ensuring seamless daily operation for everyone in your household.