
When analyzing your cast iron radiator valve packing repair vs replacement cost US project, understanding whether to repack a stem or replace the entire valve assembly is essential for home maintenance. A weeping radiator valve can quickly ruin refinished hardwood floors, stain plaster ceilings below, and compromise overall boiler operating efficiency. For homeowners occupying historic housing stock across the Northeast, Midwest, and Mid-Atlantic, heavy cast iron radiators remain the gold standard for comfortable, radiant heat. However, as these systems age past six or seven decades of continuous thermal service, the heavy brass valves controlling the flow of steam or hot water inevitably develop leaks around their operating stems or ground union joints.
Homeowners faced with a leaking radiator valve quickly encounter a central dilemma: should you attempt a low-cost, non-invasive valve stem repacking using graphite cord, or pay for a full brass valve body replacement? While repacking an existing valve stem is an economical repair that preserves original hardware and avoids disturbing fragile cast iron threads, a full replacement yields a brand-new internal sealing seat but comes with substantially higher professional plumbing fees and structural risk. This comprehensive guide evaluates the physical mechanics, technical procedures, material expenses, contractor pricing models, and risk parameters necessary to make the best decision for your home heating system.
Anatomy and Physics of Heavy Cast Iron Radiator Valves
To diagnose why a valve is leaking and select the correct repair strategy, you must first understand how traditional heavy-pattern radiator valves are constructed and how they interface with cast iron radiator sections. Radiator supply valves are heavy brass or bronze angle valves installed between the incoming floor riser pipe and the bottom hub tapping of a radiator. While modern residential plumbing relies heavily on thin-walled copper or PEX tubing with lightweight press fittings, vintage steam and hydronic radiator valves are massive, thick-walled castings designed to withstand decades of high thermal expansion, aggressive chemical water conditions, and physical movement.
The valve connects to the radiator using a specialized two-part fitting called a radiator union and spud. The spud is a tapered male brass nipple that threads directly into the internal iron threads of the radiator section tapping. The opposite end of this spud features a ground-joint brass face that mates against a matching concave seat inside the main valve body. A large, heavy hexagonal union nut pulls these two brass faces together to create a watertight and steam-tight metal-to-metal seal without requiring soft gaskets or rubber O-rings.
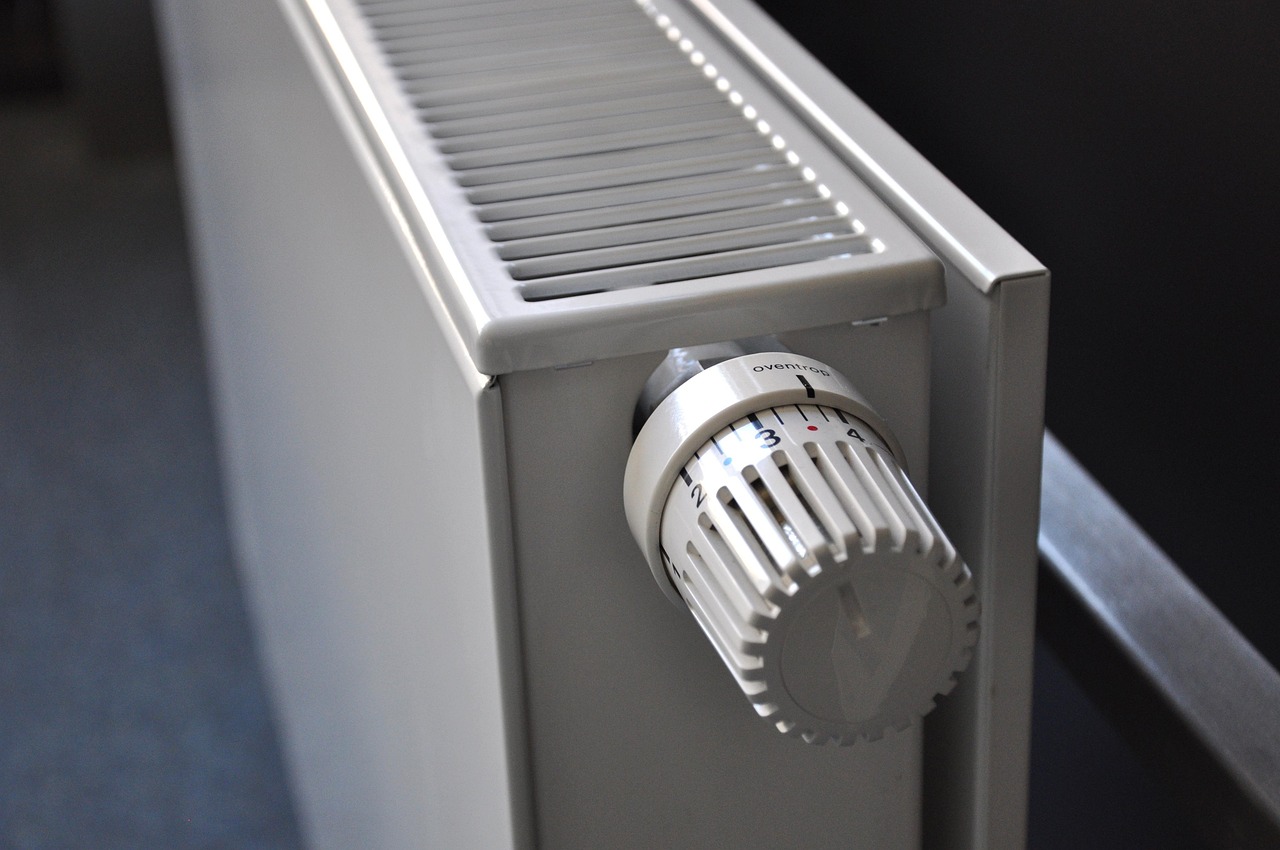
Inside the main brass valve housing sits a threaded solid metal stem attached to a top handwheel made of hardwood, phenolic resin, or molded Bakelite. When you turn the handwheel, the threaded stem travels down, pressing a renewable composition washer or solid brass disc against a raised metal seat inside the flow channel to shut off steam or water entry. Where this rotating metal stem exits the top of the stationary brass valve body, a watertight barrier is necessary to prevent pressurized water or expanding steam vapor from escaping into the room along the stem threads. This critical seal is formed by the packing gland assembly.
The packing assembly consists of a recessed chamber (the packing gland) machined into the top of the valve body around the central shaft, a soft ring of compressional packing material wrapped within the chamber, and an upper hexagonal packing nut. When the packing nut is threaded down onto the valve body, it exerts intense downward vertical force, forcing the soft internal packing material to deform laterally outward against the smooth brass stem and inward against the inner wall of the gland cavity. This tight mechanical compression creates a seal that prevents fluid leakage while still allowing the shaft to turn smoothly when adjusted.
Why Radiator Valves Leak: Stem Leaks vs. Union Leaks
Radiator valve leaks generally originate from two distinct physical locations: the valve stem packing nut or the valve body union joint. Identifying the exact source of water or escaping steam dictates whether a simple repacking job will solve the problem or if a full valve body teardown is necessary.
1. Valve Stem Packing Leaks
Stem leaks appear directly at the top of the valve body, beneath the handwheel. Over decades of heating cycles, the internal packing material—historically made of cotton fibers impregnated with graphite grease, asbestos fibers, or braided Teflon string—gradually dries out, shrinks, crystallizes, or wears down from physical friction as the valve is turned on and off. As the packing loses its elasticity and volume, microscopic pathways open up between the shaft and the packing wall.
In single-pipe or two-pipe steam systems, steam vapor escapes through these gaps during the boiler firing cycle, condensing into water drops on top of the valve body and running down the outer brass housing onto the floor. In hydronic (hot water) systems, static system pressure (typically 12 to 18 PSI cold, rising higher when hot) forces water out along the stem continuously, producing a steady drip regardless of whether the boiler burner is currently firing. Stem leaks are almost always repairable by tightening the packing nut or repacking the gland with fresh graphite cord.
2. Union and Tailpiece Spud Leaks
Union leaks manifest lower down on the valve assembly, precisely where the large horizontal union nut connects the valve body to the tailpiece spud threaded into the radiator section. Unlike stem leaks, union leaks originate from the mechanical brass-to-brass ground joint connection rather than compressed string cord.
These leaks develop when structural settling of the house floor causes the floor riser pipe to shift out of alignment, putting extreme angled tension on the union connection. Alternatively, decades of aggressive water chemistry can cause dezincification or chemical pitting across the smooth brass mating faces, preventing them from seating tightly together. Tightening the large union nut with a pipe wrench sometimes realigns and seals a leaking union, but if the brass faces are deeply pitted or the spud threads inside the radiator hub have rusted through, simple packing maintenance will not stop the leak. In such cases, full valve and spud replacement becomes mandatory.
Option 1: Radiator Valve Stem Repacking (Detailed DIY Procedure)
Stem repacking is an exceptionally cost-effective, non-invasive repair method designed to renew the internal stem seal without unscrewing the valve body from the radiator or floor supply line. Because the solid brass valve body stays undisturbed on the iron radiator, repacking eliminates the major physical risks of snapping rusted floor pipes or cracking brittle cast iron radiator tappings.
Required Tools and Materials
To repack a traditional radiator valve stem properly, gather the following tools and supplies:
- Graphite or Valve Packing Cord: 3/32-inch or 1/8-inch braided graphite packing string or valve stem packing cord. Graphite cord is ideal for high-temperature steam and hot water applications because it remains pliable and lubricates the stem shaft during movement.
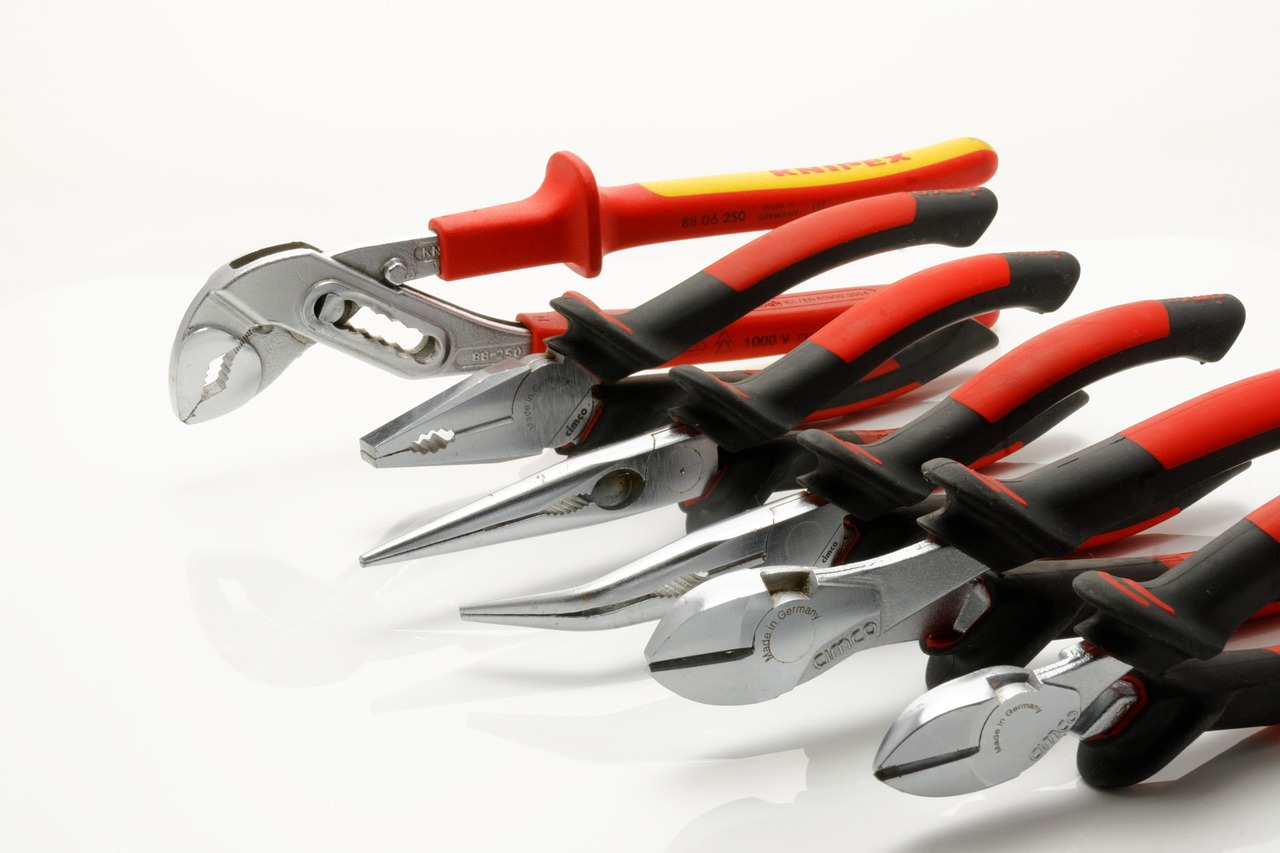
- Adjustable Wrenches: Two high-quality smooth-jaw adjustable wrenches (10-inch or 12-inch) or soft-jaw pipe wrenches. Smooth jaws prevent rounding or marring the antique hexagonal brass packing nut.
- Penetrating Oil: High-performance penetrating solvent (such as Kroil or PB Blaster) to dissolve rust and oxidation on handwheel screws and stuck packing nuts.
- Precision Pick Tools: Dental picks, small awls, or narrow pocket screwdrivers for digging brittle, century-old packing debris out of the narrow gland cavity.
- Wire Brush and Fine Emery Cloth: For polishing surface oxidation, scale, and old debris off the exposed brass stem shaft before installing new packing.
- Rags and Drop Cloths: Heavy painter’s canvas drop cloths and absorbent rags to protect hardwood flooring and carpets from residual dirty boiler water or penetrating oil drips.
Step-by-Step Repacking Execution
Executing a valve repacking requires deliberate, precise mechanical steps to guarantee a durable, leak-free seal:
Step 1: System Isolation and Depressurization
Never attempt to loosen a packing nut while the heating system is under pressure or actively operating. For steam systems, turn off the boiler electrical service switch and wait until the system boiler pressure gauge drops to zero PSI and the radiator feels completely cool to the touch. For hydronic hot water systems, shut off power to the boiler and circulator pumps, close the main water feed valve, and drain water from the specific heating zone until the water level drops below the level of the target radiator valve.
Step 2: Handwheel Removal
Apply a few drops of penetrating oil to the central retaining screw located on the top face of the handwheel handle. Allow the oil to soak for 10 minutes. Select a flathead or Phillips screwdriver that precisely fits the screw slot to prevent stripping the vintage head. Unthread and remove the screw. Carefully pull the handwheel straight up off its square stem shaft. If the wheel is frozen onto the shaft, position a small wooden block against the underside of the wheel hub and tap it gently upward with a light mallet to pop it free without shattering brittle antique wood or Bakelite.
Step 3: Loosening and Backing Off the Packing Nut
Place one wrench on the main body of the valve to act as a hold-back wrench, preventing the valve body from turning or twisting on the floor riser pipe. Place your second wrench on the hexagonal packing nut at the top of the valve casing. Turn the packing nut counterclockwise to break it free, then thread it up the stem shaft as far as it will travel to expose the recessed packing gland cavity beneath.
Step 4: Digging Out the Old Packing Material
Using a dental pick or small precision screwdriver, carefully pick and scrape out all of the hardened, degraded, black packing material packed inside the annular space between the central stem shaft and the brass gland wall. Clean out all petrified string and dust down to the solid brass floor of the gland cavity. Use fine emery cloth or a small wire brush to polish any dark tarnish or mineral scale off the smooth brass stem shaft so the new packing slides effortlessly without catching.
Step 5: Wrapping and Installing New Graphite Cord
Take your spool of 1/8-inch graphite packing string and wrap it around the central stem shaft in a strict clockwise direction (the same direction you turn the packing nut to tighten it). Wrapping clockwise ensures that as the packing nut threads down onto the gland, its rotation naturally tightens the spiral cord rather than unravelling it. Wrap the string around the stem three to five complete turns, filling the gland cavity almost flush with the top lip. Cut the cord cleanly with a utility knife.
Step 6: Compression and Final Adjustment
Push the graphite string down firmly into the gland recess using a flat-head screwdriver or small blunt drift. Lower the hexagonal packing nut down over the stem and thread it onto the valve body by hand to ensure threads engage cleanly without cross-threading. Secure the valve body with your hold-back wrench and tighten the packing nut clockwise with your second wrench until you feel firm, solid mechanical resistance. Reinstall the handwheel handle and tighten its top retaining screw.
Step 7: Testing Under Operating Temperature and Pressure
Restore power to the boiler, open water feed supply valves, and bring the heating system up to full operating temperature and working pressure. Carefully monitor the repacked valve stem as steam enters the radiator or hot water recirculates. If you observe a faint wispy plume of steam or tiny water droplet weeping past the packing nut, place your wrench on the packing nut and tighten it an additional quarter-turn clockwise until the weeping stops completely. Avoid over-tightening to the point where the handwheel becomes impossible to turn by hand.
Option 2: Full Radiator Valve Body Replacement (Risks and Process)
When an original brass valve body suffers from severe physical damage—such as hairline freeze cracks in the outer casting, severe internal seat erosion, stripped stem threads, or a completely seized internal gate—stem repacking will not resolve the issue. In these scenarios, complete valve body replacement is required. Replacing a heavy radiator valve involves disconnecting the old valve body, extracting the original tailpiece spud from inside the radiator section tapping, and installing a new modern heavy-pattern angle valve.
Severe Physical Risks of Full Valve Replacement
Replacing a complete radiator valve assembly carries substantially higher technical complexity and physical risk than routine stem repacking. Homeowners and technicians face several major obstacles during full replacement:
- Radiator Section Cracking: The spud nipple connecting the valve to the radiator section has typically resided inside the threaded cast iron hub tapping for 75 to 100 years. Over that century, galvanic corrosion and rust bonding expand the iron, seizing the spud threads with tremendous force. Unscrewing a seized spud requires immense torque using specialized internal spud wrenches. Applying excessive mechanical leverage to a vintage cast iron radiator hub can split or snap the brittle cast iron section, rendering the entire radiator unusable and turning a minor valve replacement into a multi-thousand-dollar emergency radiator section replacement.
- Floor Riser Pipe Shear: Below the floorboards, black iron floor supply risers may be heavily rusted and thin-walled. Applying heavy counter-torque on the valve body with large pipe wrenches can twist, snap, or shear the threaded pipe nipple beneath the floorboards, requiring floorboard demolition to access and repair broken piping in ceiling spaces below.
- Dimensional Mismatches (Lay-Length Variations): Modern brass angle valves manufactured today do not always share identical center-to-end dimension specifications (known as