When your veterinarian prescribes post-operative eye protection, following a reliable dog recovery visor training guide is essential for your pet’s comfort. The traditional plastic cone of shame is often the default expectation, but standard Elizabethan collars can significantly impair a dog’s sensory experience. They block peripheral vision, muffle household sounds, and act like giant satellite dishes that amplify everyday noises. For an animal already disoriented by anesthesia, surgery, or impaired vision, a rigid plastic cone can trigger intense panic. This is why many pet owners look for alternatives, turning to transparent recovery visors or soft e collars designed to protect the face while preserving spatial awareness.
Successfully transitioning your pet to a protective visor involves more than simply strapping it on and hoping for the best. Forcing the gear onto an unprepared dog can lead to frantic thrashing, potential injury to healing ocular tissues, and a lifelong aversion to safety equipment. Implementing a proper training protocol transforms the visor from a terrifying constraint into a neutral, manageable accessory. By relying on positive reinforcement, systematic desensitization, and patient handling, you can help your dog navigate the healing process with minimal stress.
Understanding the Challenges of Ocular Recovery Gear
Eye surgeries and corneal ulcer treatments require absolute compliance. If a dog paws at their face or rubs their eyes against furniture, the delicate sutures can rupture, leading to catastrophic healing setbacks or permanent vision loss. Yet, compliance is difficult to achieve when the protective device itself causes panic. Traditional cones create a sensory deprivation chamber. Dogs rely heavily on side vision and body language to interpret their environment; blocking this input makes even walking across a familiar living room feel perilous.
Transparent recovery visors alleviate some of these issues by allowing light and shapes to pass through the barrier. Even so, the physical presence of an apparatus around the head and snout introduces unfamiliar tactile sensations. The visor changes how your dog interacts with doorframes, dog beds, water bowls, and family members. Understanding these spatial adjustments helps you anticipate where your dog will struggle. A comprehensive approach must account for not just getting the visor on the head, but living comfortably with it day and night for two weeks or more.
Furthermore, behavioral responses to headwear vary drastically depending on breed temperament, previous handling history, and age. Sensitive herding breeds, for instance, may fixate on the subtle reflections or movements of the transparent plastic, while independent hounds might simply treat the visor as an obstacle to be bypassed. Recognizing your individual dog’s baseline stress signals—such as lip licking, yawning, stiffening of the body, or whale eye—ensures you can pause training before frustration escalates into outright panic.
Selecting the Right Protective Equipment
Before beginning any habituation schedule, ensure you have selected the correct piece of equipment for your dog’s specific needs. Not all cone alternatives are created equal. Soft fabric e collars are comfortable for neck wounds or minor skin infections, but they often lack the structural rigidity required for true ocular protection. If a dog can bend a soft collar backward or collapse it against their eye while rubbing on the carpet, it fails its primary purpose.
A dedicated recovery visor typically features a semi-rigid, clear polycarbonate or heavy plastic brim attached to a comfortable, well-padded fabric head harness. It extends outward past the nose, acting as a shield. When choosing a model, verify that the visor extends at least an inch beyond the tip of your dog’s nose. Check the weight distribution as well; heavy visors can strain cervical muscles in smaller breeds. Ensure the attachment points around the neck or collar loops are secure so the dog cannot pry the visor off with their paws.
In addition to physical dimensions, examine the ventilation and breathability of the head harness. Dogs regulate body temperature in part through panting and heat dissipation around the head and ears. A bulky, ill-fitting fabric band can trap excessive heat, leading to skin irritation or dampness around the ears, which can secondary cause ear infections. Look for lightweight, moisture-wicking materials that allow adequate airflow while remaining securely anchored during sudden head shakes.
Phase One: Introducing the Visor Without Wearing It
The foundation of any successful desensitization plan is neutral exposure. If the first time your dog sees the visor is when you pin them to the floor to force it over their head, they will instantly associate the object with restraint and fear. Instead, begin training days before the scheduled surgery if possible, or take things extremely slowly if the medical event was sudden.
Start by placing the visor on the floor in a neutral area, such as the living room rug. Toss high-value treats—like small pieces of boiled chicken or freeze-dried liver—near and eventually on the visor. Allow your dog to approach, sniff, and investigate the object at their own pace. Do not force them closer. Every time your dog interacts with the visor voluntarily, mark the moment with a cheerful verbal marker like “Yes!” and deliver a treat. The goal is to establish a positive emotional response, teaching your dog that the presence of the visor predicts good things.
Take multiple short sessions over the course of twenty-four to forty-eight hours to build this foundation. If your dog approaches with a loose, wiggly body and readily accepts food near the object, you can gently slide the visor closer to them during subsequent repetitions. Never rush this phase; laying a solid psychological groundwork drastically reduces the likelihood of defensive reactions once the visor is placed near or on the head.
Phase Two: Luring and Muzzle Conditioning Principles
Once your dog readily approaches the visor and shows no signs of avoidance, incorporate luring techniques borrowed from traditional muzzle conditioning. Many dogs fear headwear because it restricts their muzzle or requires plunging their face into an enclosed space. You can overcome this by turning the visor into a target.
Hold the visor in one hand, positioning the opening facing your dog. With your other hand, hold a treat directly behind the visor opening. Encourage your dog to place their nose through or into the designated area to reach the food. Do not clip or fasten anything yet. Allow your dog to pull their head back out immediately after taking the treat. Repeat this exercise ten to fifteen times per session across multiple short sessions a day. You want your dog to view putting their face near the visor as an active choice rather than a trap.
As your dog becomes comfortable sliding their nose through the opening, gradually increase the duration they spend with their snout inside the barrier before receiving the treat. You can ask them to hold position for two or three seconds while you feed a rapid sequence of small treats through the visor structure. This reinforces that remaining near the opening yields a continuous stream of high-value rewards, cementing the association between the visor and positive outcomes.
Phase Three: Securing the Harness for Short Intervals
When your dog willingly inserts their nose into the visor to retrieve treats, you are ready to test the fastening mechanism. Choose a quiet moment when your dog is relatively calm—perhaps after a long walk or a play session, provided your vet has cleared them for activity. Slide the visor into position and secure the straps gently.
Keep the initial duration extremely brief: literally two to three seconds. Immediately feed a succession of high-value treats while the visor is secured, then unbuckle and remove it before the dog shows any signs of distress. This creates a powerful rule: wearing the visor means treats rain down, and it comes off almost immediately. Gradually extend the duration from three seconds to ten seconds, then thirty seconds, and eventually a few minutes, always pairing the time with positive interaction.
Distraction is a powerful tool during these early fastening trials. Engage your dog in obedience training, gentle interactive play, or hand-feeding high-value meals while the visor is secured. When their brain is actively focused on working for rewards or engaging with you, they are far less likely to notice or panic over the novel tactile sensation of the head harness.
Navigating the Indoor Environment
Once your dog can wear the visor indoors for five to ten minutes without attempting to claw it off, you must help them adapt to the physical realities of the device. Because the visor alters spatial dimensions, dogs frequently bump into walls, chair legs, and doorframes during the first few hours. This accidental slamming can startle a sensitive dog and cause a sudden panic attack.
Supervise your dog closely during their first few unassisted walks around the house. Use verbal guidance and treats to lead them away from tight corridors or cluttered rooms. Practice walking through wide doorways together. If your dog gets stuck, calmly guide them backward rather than pulling them forward, which can jam the visor against the wall and increase frustration. Creating clear pathways by temporarily rearranging furniture can prevent unnecessary collisions while your dog builds muscle memory for their new dimensions.
It is also helpful to monitor how other household pets react to the visor. Cats and other dogs may be startled by the reflective, wide profile of the visor, leading to unexpected tension or growling. Keep initial multi-pet interactions supervised and calm until all animals in the household become accustomed to the dog’s altered appearance and movement patterns.
Managing Eating, Drinking, and Sleeping
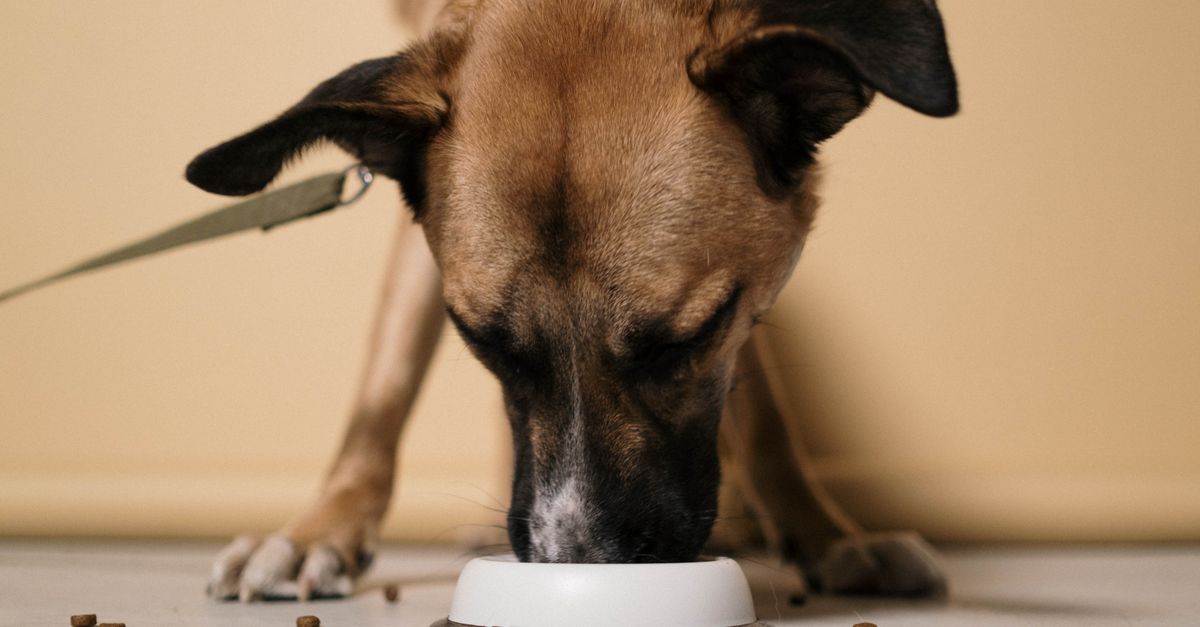
Living with a recovery visor requires practical adjustments to your dog’s daily routine. Eating and drinking can become awkward if bowls are too narrow or deep. Wide, shallow ceramic or stainless steel bowls are essential during this period. Test whether your dog can reach the bottom of their food bowl without the edge of the visor striking the rim and pushing the bowl away. If necessary, elevate the bowls slightly on a stable stand.
Sleeping arrangements also require attention. Rigid visors can make curling up difficult because the brim hits the floor or dog bed edge, tilting the head into an uncomfortable position. Provide flat, supportive orthopedic beds rather than high-bolstered donut beds that force the neck into awkward angles. Some dogs prefer sleeping with their head resting on a folded towel or low pillow that supports the visor evenly, keeping the cervical spine aligned during rest.
Hydration monitoring is equally critical. Because some dogs find drinking awkward initially, they may drink less water than normal. Consider adding a splash of low-sodium chicken broth or warm water to their kibble to boost daily fluid intake, and check water bowls frequently to ensure they remain accessible and clean.
Troubleshooting Common Behavior Hurdles
Even with careful preparation, setbacks happen. Understanding how to troubleshoot common behavioral hurdles keeps the recovery process on track without damaging your bond with your pet. If your dog freezes in place like a statue and refuses to move the moment the visor is secured, do not drag them. Instead, use an enthusiastic voice, clap your hands gently, and use a high-value treat as a moving lure to encourage forward motion. Movement helps dissipate the freeze response.
If your dog engages in frantic pawing at the visor face, interrupt the behavior with a basic obedience cue they already know, such as “sit” or “touch,” and reward compliance. This redirects their cognitive focus away from the frustration. Never punish your dog for panicking or trying to remove the gear; punishment only validates their fear and makes future handling more difficult. If anxiety persists despite slow habituation, consult your veterinarian about temporary calming supplements or prescription anxiolytics suited for the healing period.
Owners should also watch for attempts to scrape the visor against outdoor surfaces, carpets, or walls. While mild rubbing may occur as the dog tests boundaries, persistent scraping can dislodge the visor or scratch the clear plastic, impairing visibility. If scraping becomes chronic, review your fitting adjustments and ensure the head harness is not causing localized itching or skin discomfort beneath the straps.
Maintaining the Visor and Monitoring the Healing Eye
Hygiene is a critical component of successful visor use. Because the clear plastic sits close to the face, dust, smudges, and moisture from breathing or eye discharge can accumulate on the interior surface, further obscuring your dog’s vision. Clean the visor daily with a mild, pet-safe soap and warm water, drying it thoroughly before putting it back on your dog. Avoid harsh chemical cleaners or abrasive scouring pads that scratch the plastic and create a cloudy, distorted view.
Simultaneously, use the visor removal moments—such as supervised feeding or cleaning sessions—to inspect the surgical site carefully. Check for any signs of worsening redness, abnormal swelling, greenish-yellow discharge, or persistent squinting. The visor is a protective management tool, not a cure; it buys your dog safe time while veterinary medications do their work. If you notice any sudden changes in the eye or if your dog manages to slip out of the visor repeatedly, contact your veterinary clinic immediately to adjust your recovery strategy.
Remember that the typical post-operative recovery window for ocular surgeries spans ten to fourteen days. Maintaining consistent supervision, keeping the visor clean, and adhering strictly to your veterinarian’s medication schedule ensures the best possible clinical outcome. When the recovery period finally ends, celebrate by phasing the visor out gradually, allowing your dog to return to normal activities with healthy eyes and a preserved sense of trust.
Conclusion
Helping your dog adjust to a recovery visor after eye surgery requires patience, empathy, and a commitment to gradual conditioning. By moving away from stressful forced applications and embracing positive reinforcement, you protect your dog’s physical health and emotional well-being simultaneously. Taking the time to introduce the equipment properly, adapt your home environment, and manage daily tasks like eating and sleeping ensures a smooth, complication-free healing process. With your steady guidance, your dog will navigate the recovery period safely and return to full health with confidence.