When lights flicker unexpectedly or heavy household appliances repeatedly trip breakers, many homeowners assume the fix is a quick breaker swap. However, opening the service enclosure frequently uncovers a deeper structural issue: localized arcing, scorched wire insulation, or severe pitting along conductive bus tracks. When evaluating electrical sub panel bus bar repair vs replacement US standards dictate that homeowners look beyond temporary patches and address root causes to protect against property fire risks.
A sub-panel acts as a crucial downstream power hub, drawing electricity from the main service entrance panel and distributing it to high-demand branch circuits like kitchen remodels, workshops, heat pumps, or electric vehicle charging stations. When the central bus bars inside that sub-panel suffer from corrosion, loose mechanical connections, or long-term circuit overloading, the structural integrity of the metal degrades. Deciding whether to replace localized internal components or swap out the entire panel box requires analyzing National Electrical Code (NEC) mandates, hardware availability, safety risks, and lifetime project expenses.
Understanding the Role of the Sub-Panel Bus Bar
To make an informed decision between bus bar repair and complete panel replacement, you must first understand how electrical current flows through a residential sub-panel enclosure. Power travels from the main service panel along heavy feeder conductors, landing directly on main lugs or a main feeder breaker inside the sub-panel. From those entry points, electricity energizes two thick metal tracks mounted vertically along the rear insulated backboard: the bus bars.
Manufactured from solid electrical-grade copper or tin-plated aluminum, these bus bars feature stabs or contact fingers that extend outward. Individual circuit breakers snap or bolt firmly onto these stabs. Spring-loaded clips or mechanical clamps on the back of each breaker grip the bus bar stabs, establishing the high-pressure mechanical bond needed to draw power into branch circuit wires and out to wall outlets, light fixtures, and dedicated appliances.
Because the bus bar is the sole distribution highway for all branch circuits attached to it, any surface defect, oxidation, or mechanical looseness directly degrades electrical continuity. When physical contact between the breaker clip and the bus bar stab loosens, electrical resistance jumps drastically. This elevated resistance generates localized heat, accelerating thermal breakdown and risking electrical fire hazards across the entire panel enclosure.
Root Causes of Sub-Panel Bus Bar Burnout
Bus bar damage rarely occurs overnight without underlying technical drivers. It is almost always the cumulative outcome of mechanical fatigue, environmental moisture, or installation errors over years of service. Pinpointing the root cause is critical: replacing parts without resolving the underlying fault will simply ruin the new components.
1. Chronic Circuit Overloading and Thermal Stress
Every sub-panel bus bar is rated for a specific continuous current capacity, such as 60, 100, or 125 amps. Operating multiple high-draw appliances continuously near maximum rating causes the metal bus stabs to heat up and expand. Over hundreds of thermal heating and cooling cycles, this expansion weakens the spring tension inside circuit breaker contact jaws, creating a looser connection that further increases operating temperatures.
2. Loose Breaker Connections and Micro-Arcing
When a circuit breaker fails to seat tightly against a bus bar stab, a microscopic air gap forms between the metal contact surfaces. Electrical current bridges this gap by creating a continuous electrical arc. Temperatures inside a sustained electrical arc can exceed 2,000 to 3,000 degrees Fahrenheit, rapidly melting anti-corrosive coatings, pitting the solid bus bar metal, and charring the plastic breaker enclosure.
3. Incompatible or Mis-Matched Circuit Breakers
A common mistake in DIY electrical modifications or unqualified handyman repairs is installing circuit breakers from non-approved manufacturers. While a breaker made by one brand might physically click into another brand’s panel, its contact finger width, stab depth, and spring tension rarely align with manufacturer tolerances. This mechanical mismatch leads to inadequate contact pressure, severe localized resistance, and eventual bus bar meltdown.
4. Environmental Moisture and Galvanic Corrosion
Sub-panels located in unconditioned basements, attached garages, crawl spaces, or exterior walls are vulnerable to ambient humidity, condensation, and water intrusion. When aluminum bus bars encounter moisture without protective anti-oxidant paste, or when dissimilar metals touch without proper isolation, galvanic oxidation forms a heavy layer of white aluminum oxide or green copper carbonate. These corrosion layers are highly non-conductive, driving up operating resistance and localized heat.
The Technical Difference Between Repair and Replacement
In the US electrical trade, “repairing” a bus bar does not involve filing down scorched metal, applying conductive solder, or grinding off rust inside an existing box. Under modern safety standards, repairing a bus bar unit strictly means replacing the complete internal bus assembly—often referred to as the panel interior, bus stack, or interior core—while leaving the outer sheet-metal enclosure box and wall-anchored conduit intact.
By contrast, full sub-panel replacement requires disconnecting all incoming feeder lines and branch circuit cables, removing the metal enclosure box entirely from the wall framing, mounting a brand-new panel enclosure, and re-routing and re-terminating every single circuit according to modern code mandates.
The table below summarizes the key technical, structural, and regulatory distinctions between bus bar interior repair and full sub-panel replacement:
| Evaluation Factor | Bus Bar Interior Repair | Full Sub-Panel Replacement |
|---|---|---|
| Scope of Work | Replaces interior bus stack and damaged breakers while retaining the existing enclosure box. | Removes entire enclosure box; installs new panel, bus core, neutral/ground bars, and breakers. |
| NEC & UL Compliance | Requires factory-certified OEM interior assemblies matching exact panel model number. | Fully compliant with modern UL safety standards and current National Electrical Code releases. |
| Structural Disruption | Minimal; avoids cutting open surrounding drywall, tile, or masonry around flush-mount boxes. | Moderate to high; requires wall opening, wire extension, and conduit adjustments. |
| Future System Capacity | Limited to original physical breaker space count and enclosure ampacity ratings. | Maximizes expansion capacity for modern home additions, heat pumps, and EV chargers. |
| Expected Lifespan | Restores original operational limits; existing enclosure chassis age remains unchanged. | Resets service life for 25 to 30+ years with modern factory warranties. |
National Electrical Code Standards and Safety Compliance
All structural electrical modifications in the United States must adhere to the National Electrical Code (NEC), established by the National Fire Protection Association (NFPA) and enforced by local municipal code inspectors. When considering an electrical sub panel bus bar repair vs replacement US regulations establish strict boundaries regarding equipment modifications and listing compliance.
UL Listing and Mandatory Equipment Instructions (NEC 110.3(B))
NEC Section 110.3(B) states that equipment labeled or listed by a nationally recognized testing laboratory—such as Underwriters Laboratories (UL)—must be installed and used strictly in accordance with the manufacturer’s certified instructions. Electrical panels are submitted, tested, and listed as complete, integrated unit assemblies.
Filing down pitting on a bus bar, machining custom copper contact strips, or retrofitting non-certified third-party bus parts invalidates the UL listing of the entire enclosure. If a panel modified in this unauthorized manner suffers an electrical fire, insurance underwriters may deny property damage claims due to unlisted structural alterations. Consequently, any compliant “repair” must use factory-authorized original equipment manufacturer (OEM) replacement interiors engineered specifically for that panel model chassis.
Retrofit Interiors vs. Obsolete Equipment Limits
Major electrical manufacturers (such as Square D, Eaton, Siemens, and Leviton) manufacture engineered retrofit interiors designed to update specific legacy commercial or residential enclosures. However, these retrofit kits are typically restricted to standardized modern panel dimensions. For older residential sub-panels or discontinued product lines, sourcing an officially listed replacement interior core is often impossible, leaving full panel replacement as the only code-compliant path forward.
Working Space Clearances and Neutral Isolation (NEC 110.26 and 250.32)
Modern code rules require clear working space around all electrical enclosures: a minimum width of 30 inches, a depth clearance of 36 inches in front of the panel, and at least 6.5 feet of headroom. Furthermore, NEC Section 250.32 mandates that sub-panels must maintain strict isolation between grounded neutral conductors and equipment grounding conductors. When repairing or replacing sub-panel interiors, an electrician must verify that the neutral bus bar is floating (insulated from the metal enclosure box) and connected via a separate 4-wire feeder system.
When Bus Bar Repair Is a Viable Option
While complete panel replacement is often the cleanest solution, localized interior bus bar repair remains a cost-effective and practical route under specific, controlled circumstances:
- Active, Modern Product Lines: The sub-panel is manufactured by a major brand currently in active production (e.g., Square D QO or Homeline, Eaton BR or CH, Siemens PL or ES series), allowing local supply houses to supply genuine OEM replacement interiors quickly.
- Undamaged Outer Enclosure Chassis: The existing metal enclosure box is structurally sound, square, free of water rust, and positioned in full compliance with current NEC working space clearance requirements.
- Isolated Surface Scratches or Single-Stab Damage: Thermal arcing is confined to a single breaker stab location, and identical factory replacement interiors can be swapped in without modifying enclosure wall mounts or conduit entries.
- High Wall Restoration Costs: The existing sub-panel is flush-mounted inside finished drywall, custom cabinetry, or structural masonry, where removing the steel box would require thousands of dollars in surrounding carpentry and drywall repairs.
When Full Sub-Panel Replacement Is Mandatory
In many residential service calls, attempting to repair an existing bus bar assembly is either physically impossible, financially impractical, or direct non-compliant with modern safety codes. Full replacement is necessary when facing any of the following conditions:
1. Widespread Thermal Degradation and Resin Destruction
If severe electrical arcing has charred large sections of the non-conductive phenolic backboard, melted bus support insulators, or warped multiple breaker mounting tracks, the structural core is ruined. Replacing individual components cannot guarantee structural stability under load.
2. Presence of Recalled or Hazardous Legacy Equipment
If the sub-panel is an obsolete model known for design defects—such as Federal Pacific Electric (FPE) Stab-Lok, Zinsco/Sylvania, or specific older Challenger panel lines—attempting a bus bar repair is unsafe. FPE panels feature documented breaker failure modes, and Zinsco bus bars use an aluminum alloy highly prone to melting and fusing with breakers. Modern trade standards dictate complete replacement of these hazardous panels regardless of localized repair availability.
3. Water Penetration and Corrosive Sludge
When moisture enters a sub-panel box via service conduits or foundation leaks, it leaves behind rust along the metal chassis, corroded ground terminals, and heavy oxidation across all bus bars. Replacing only the bus stack leaves active rust inside the cabinet, which will degrade new components. The water source must be corrected and the entire panel box replaced.
4. Upgrading Capacity for Modern High-Demand Loads
If your household is adding heavy electrical loads—such as Level 2 EV charging stations, variable-speed heat pumps, tankless water heaters, or induction cooktops—an older 60-amp or 100-amp sub-panel with limited breaker spaces will be inadequate. Full panel replacement allows you to upgrade to a 125-amp or 200-amp sub-panel with expanded breaker physical capacity and plug-on neutral bus capability.
Economic Analysis: Comparing Upfront and Long-Term Costs
When evaluating localized bus bar repair versus a full sub-panel swap out, homeowners must evaluate immediate equipment pricing against long-term operational value and labor intensity.
On paper, purchasing an interior bus replacement kit appears significantly cheaper than buying a full replacement panel package with all-new breakers. However, standalone factory-authorized interior cores can carry high distributor markups relative to mass-produced, high-volume complete panel kits. Additionally, electrician labor rates heavily influence the final cost profile.
Searching for rare replacement parts, dismantling an older panel chassis, and adapting interior mounts often requires substantial billable labor time. If an electrician spends hours modifying legacy hardware on-site, total labor charges can equal or exceed the cost of mounting a brand-new panel. Furthermore, investing money into a 30-year-old panel chassis leaves you with aging enclosure hardware, whereas installing a new sub-panel resets the service lifespan of that distribution node for another three decades.
Evaluating Legacy Fuse Boxes and Modern Safety Standards
Homeowners addressing older residential distribution boxes should note that legacy fuse blocks and first-generation breaker boxes lack integrated arc-fault and ground-fault protection features. Modern building codes mandate Arc-Fault Circuit Interrupter (AFCI) protection on most residential branch circuits to detect micro-arcing before it ignites surrounding building materials.
Legacy bus bar designs lack the neutral bus bar alignment required for plug-on neutral AFCI breakers, requiring electricians to wire bulky pigtail neutrals manually. In many cases, older sub-panels simply lack the physical wire-bending space required by modern NEC rules to house modern electronic safety breakers safely. Replacing the obsolete assembly with a modern load center provides immediate compatibility with advanced AFCI/GFCI dual-function breakers, dramatically improving residential fire safety.
Step-by-Step Decision Matrix for Homeowners
If you suspect bus bar damage in your home’s sub-panel, use this step-by-step evaluation procedure to work effectively with a licensed, insured electrician:
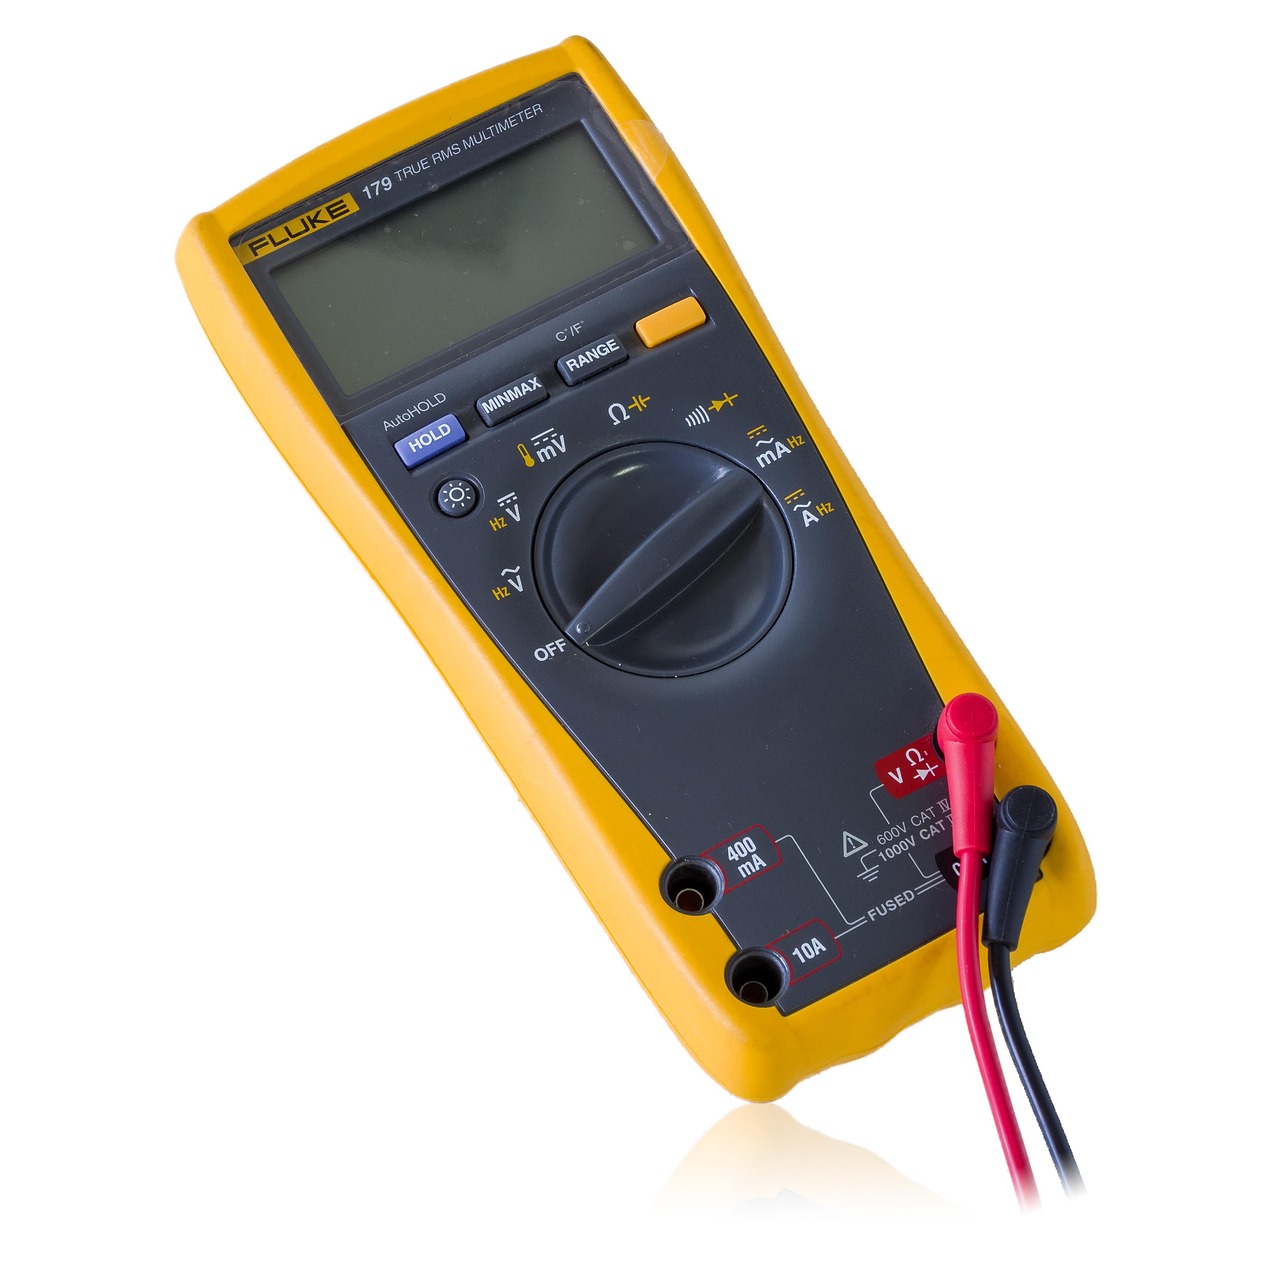
- Schedule a Professional Inspection and Thermal Imaging Scan: Have a qualified electrical contractor remove the panel dead-front cover, perform visual checks, and use thermal imaging cameras under load to detect hidden resistance points and localized overheating.
- Identify Panel Manufacturer and Specific Model Number: Locate the manufacturer label stuck to the inside door or panel sidewall. Check whether the unit belongs to an active product lineup or an obsolete series like FPE, Zinsco, or Challenger.
- Verify Availability of Factory OEM Replacement Interiors: Ask the electrician to check local electrical distributors for certified OEM interior replacement kits matched directly to your panel chassis model.
- Inspect Structural Enclosure Conditions and NEC Working Space: Verify that the outer metal enclosure is free of rust, squared properly, and positioned with proper 30×36-inch clearance.
- Compare Detailed Contractor Estimates: Review itemized quotes comparing labor, materials, and permit costs for an interior bus replacement against a complete panel replacement. Determine whether the cost savings of retaining the old box outweigh the benefits of a complete system reset.
Common Diagnostic Mistakes to Avoid
Homeowners attempting to troubleshoot panel issues often fall into common pitfalls that escalate simple repairs into hazardous situations. Avoid these frequent mistakes when assessing sub-panel health:
- Filing Down Pitted Bus Stabs: Sanding or filing pitted bus metal removes anti-corrosive plating, exposing bare aluminum or copper to rapid oxidation, creating worse overheating over time.
- Over-Torquing Breaker Terminal Screws: Over-tightening wire terminals or breaker lug clamps strips threads and stresses internal bus mountings, introducing mechanical misalignment.
- Ignoring Minor Breaker Buzzing: A buzzing sound from a sub-panel under load indicates active electrical arcing or high resistance. Treating it as normal operation risks sudden bus burnout.
- Swapping Breakers Without Bus Scans: Snapping a brand-new breaker onto a charred or pitted bus stab damages the new breaker’s contact jaws within days, leading to repeated failure.
Frequently Asked Questions
Can I replace a sub-panel bus bar myself?
Sub-panel bus bar replacement requires working directly near high-voltage feeder lines coming from the main panel. Incorrect torque settings, improper neutral isolation, or unlisted equipment choices pose severe fire and shock risks. DIY repair is strongly discouraged; hire a licensed electrician who can secure proper municipal permits and utility disconnects.
How long does it take to replace a sub-panel bus bar vs full panel?
A direct OEM interior bus stack replacement typically takes 2 to 4 hours of active electrician labor if the replacement assembly fits the chassis perfectly. Replacing a full sub-panel box—including disconnecting all branch circuits, installing the new cabinet, and re-terminating wires—usually takes 4 to 8 hours depending on circuit count and wall finish complexity.
Does insurance cover bus bar burnout?
Homeowners insurance coverage depends on the root cause of damage. If the bus bar burnout resulted from a sudden covered event—such as a direct lightning strike or power surge—insurance may cover repair or replacement costs. However, damage caused by gradual wear and tear, lack of maintenance, or illegal unlisted panel modifications is typically excluded from coverage.
Summary: Choosing the Right Path for Your Home
Addressing an electrical sub panel bus bar repair vs replacement US decision requires balancing immediate repair savings against long-term fire safety, NEC code compliance, and future power expansion needs. While localized bus bar interior replacement offers a viable fix for modern, undamaged enclosures with readily available OEM parts, full sub-panel replacement remains the gold standard for older, obsolete, or heavily charred installations.
Partnering with a qualified, licensed electrical contractor ensures that your panel upgrades use certified UL-listed hardware, satisfy local building permits, and deliver reliable power distribution to your home for years to come.