When the first chilly autumn evenings arrive, turning on your direct-vent gas fireplace is one of the quickest ways to make your living space feel comfortable. However, before you strike a flame or click your remote control for the season, taking time to complete a thorough gas fireplace annual inspection guide routine is essential for safety, efficiency, and indoor air quality. While direct-vent gas fireplaces are remarkably convenient compared to traditional wood-burning hearths, they are still complex gas appliances that demand respect, routine maintenance, and careful observation.
Ignoring basic upkeep can lead to frustrating operational failures on the coldest nights of the year, premature wear on expensive internal components, or worse, venting issues that risk carbon monoxide exposure. Fortunately, many foundational inspection and cleaning tasks are well within the skill set of a careful suburban homeowner. By following a structured process to check your system, clean the specialized glass panels, and verify pilot light reliability, you can ensure your hearth operates safely all winter long.
Understanding Your Direct-Vent Gas Fireplace System
Before you pick up a screwdriver or a cleaning cloth, it helps to understand how your specific heating appliance operates. Direct-vent gas fireplaces are sealed combustion systems. Unlike traditional masonry fireplaces that pull conditioned air from your living room to feed the fire and exhaust smoke up an open chimney, a direct-vent unit uses a specialized coaxial pipe system—a pipe within a pipe—that vents directly through an exterior wall or roof.
The outer pipe draws fresh air from the outside directly into the sealed firebox to support combustion, while the inner pipe expels exhaust gases outdoors. This sealed design protects your indoor air quality and prevents the fireplace from drawing cold drafts through your house. However, because the system is completely sealed behind a heavy pane of glass ceramic, any failure in the gaskets, venting path, or ignition components can quickly compromise how the unit functions.
An annual inspection allows you to catch minor issues—such as a cracked gasket, a soot-covered burner port, or a weak thermocouple—before they escalate into expensive emergency repairs or safety hazards. Always start your inspection by turning off the gas supply valve and ensuring the fireplace has been completely turned off and cooled down for at least several hours.
Essential Tools and Safety Gear
Gathering the right supplies before you begin will make your annual maintenance session much smoother and prevent accidental damage to delicate components. Because gas fireplaces feature specialized materials, standard household cleaners and tools are often inappropriate.
Here is what you will need to complete your walkthrough:
- Soft, lint-free microfiber cloths
- Approved gas fireplace glass cleaner (never use standard window cleaners with ammonia)
- A soft-bristled nylon brush or clean paintbrush for dusting burners and logs
- A flashlight or headlamp for inspecting tight corners
- A digital multimeter for testing millivolt outputs on safety valves and thermocouples
- Heavy-duty work gloves (useful when handling ceramic logs and heavy glass assemblies)
- A small drop cloth or old towels to protect your flooring
Never use abrasive scouring pads, steel wool, or harsh chemical sprays on your fireplace glass. Ceramic glass and specialized coatings can scratch easily, and abrasive residues can bake permanently onto the surface the next time the burner is fired up.
Step 1: Inspecting the Exterior and Venting Path
Your inspection should always begin from the outside of your home, where the direct-vent termination cap is located. Over the spring and summer months, outdoor debris, bird nests, wasp hives, and overgrown shrubs can obstruct the intake and exhaust vents.
Walk to the exterior wall or roof penetration point where your fireplace vents. Check the termination cap to ensure it is completely clear of leaves, spider webs, and plant growth. Maintain a clearance of at least three feet around the vent opening. Inspect the metal housing for signs of rust, corrosion, or physical damage caused by falling branches or severe weather. If the vent cap is loose or damaged, it must be repaired or replaced immediately to prevent exhaust gases from leaking back into the building envelope.

Next, move indoors and examine the wall switch, remote control transmitter, and any visible sections of gas piping near the fireplace unit. Check the remote control batteries, replacing them with fresh alkaline batteries to prevent corrosion. Ensure that the emergency shut-off valve—usually located on the wall nearby or beneath the firebox—turns smoothly and is accessible in an emergency.
Step 2: Safely Removing and Cleaning Glass Ceramic Panels
Over time, the high heat inside a gas fireplace bakes microscopic dust particles, indoor aerosols, and residue from the manufacturing process onto the inner surface of the glass panel, creating a hazy, white film. Cleaning this glass not only restores the visual warmth of the flames but also prevents the residue from etching permanently into the ceramic material.
Begin by removing the decorative outer frame, louvers, or safety screen according to your manufacturer’s specific instructions. Most modern direct-vent units secure the glass assembly using spring-loaded clips, latches, or screws at the top and bottom. Support the heavy glass frame securely with both hands as you release the final latches.
Carefully lift the glass panel away from the fireplace frame and set it down gently on a soft, flat surface, such as a carpeted floor covered with a thick blanket or towels. Never place hot or warm fireplace glass directly onto a cold tile or concrete floor, as the thermal shock can shatter the panel instantly.
Inspect the fiberglass or ceramic rope gasket running around the perimeter of the glass frame. This gasket creates the airtight seal necessary for safe direct-vent operation. If the gasket is flattened out, frayed, torn, or missing chunks, replace it before reassembling the unit. A compromised gasket allows combustion gases to escape into your living space.
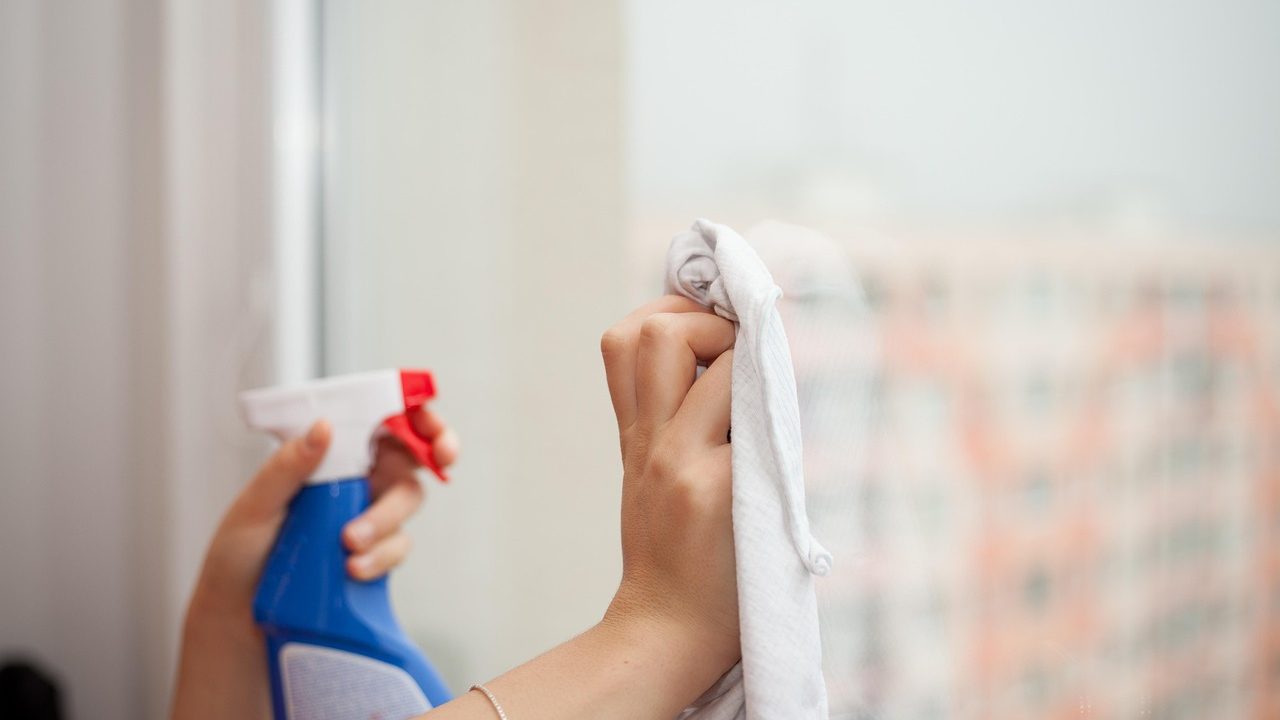
Apply an approved gas fireplace glass cleaner directly to your microfiber cloth—never spray liquid directly onto hot or warm glass, and avoid getting cleaner on the gasket material. Wipe down both sides of the glass to remove stubborn white hazing and soot. Buff the surface with a dry, clean microfiber cloth until it is completely streak-free.
Step 3: Handling and Inspecting Ceramic Logs
Inside the firebox, your gas fireplace features artificial logs made of refractory ceramic or fiber materials designed to glow and radiate heat. While these logs are durable, they are also brittle and can chip or crack if handled roughly.
Before removing the logs for cleaning or burner access, take a clear photograph with your smartphone. This simple step provides an infallible reference guide when it is time to put everything back together. Incorrect log placement is the number-one cause of excessive soot production and poor flame aesthetics in gas fireplaces.
Wearing work gloves, carefully lift each log out of the firebox and place them on a soft surface. Use a soft-bristled brush to gently sweep away any accumulated dust, spider webs, or loose debris from the log surfaces. Inspect each log closely for deep cracks, structural fractures, or crumbling edges. If a log is severely damaged, order an exact OEM replacement from your manufacturer rather than attempting to glue it together with standard adhesives, which can release toxic fumes when heated.
While the logs are removed, vacuum the bottom of the firebox and inspect the burner ports. Use your brush to clear out any dust or insect nests clogging the burner holes. Ensure the burner aligns properly with the pilot assembly.
Step 4: Testing Pilot Ignition Switches and Safety Controls
The pilot light and its associated safety control valve form the beating heart of your gas fireplace. Whether your unit utilizes a traditional standing pilot system or an intermittent electronic ignition (IPI) system, verifying its operation is a critical part of your annual maintenance routine.
For standing pilot systems, the pilot flame should burn a steady, crisp blue color with a slight yellow tip, enveloping approximately the top third of the thermocouple or thermopile bulb. If the flame is lazy, lifting off the pilot hood, or burning entirely yellow, it indicates a dirty pilot orifice or insufficient gas pressure, which requires professional servicing.
Test the thermocouple or thermopile using a digital multimeter set to millivolts. When the pilot light has been burning for a minute, the thermocouple should generate a steady electrical current (typically between 25 and 30 millivolts for standard thermocouples, and 300 to 500 millivolts for thermopiles powering millivolt gas valves). If the reading falls significantly below these thresholds, the safety switch may be failing, which will cause the main burner to shut off unexpectedly.
For electronic ignition systems, check the spark igniter electrode for carbon buildup, corrosion, or excessive gap spacing. Clean the electrode tip gently with fine emery cloth if necessary. Test the ignition sequence by turning on the wall switch or remote; the igniter should spark reliably and light the burner within a few seconds without delayed ignition or popping sounds.
Step 5: Reassembling and Performing the Final Burn Test
Once you have thoroughly cleaned the glass panel, cleared the burner ports, and verified your ignition components, you are ready to reassemble the fireplace. Refer back to the reference photograph you took earlier to position each ceramic log precisely onto its designated locating pins or brackets on the burner tray.
Never force a log into a position where it does not fit naturally, and ensure that no logs are placed directly across the primary flame ports in a way that causes flame impingement. Flame impingement—where flames strike a log directly—creates incomplete combustion, resulting in black soot stains on the glass and potentially dangerous carbon monoxide generation.
Carefully hook the glass panel back onto the fireplace frame, secure all spring latches or mounting screws evenly, and reinstall the outer decorative screen or louvers. Turn the gas supply valve back to the open position.
Ignite the fireplace and let it run for 15 to 20 minutes with the windows cracked slightly to air out any residual cleaning product odors. Observe the flames carefully. They should transition from a bright yellow flame to a natural, dancing amber appearance as the unit reaches operating temperature. Check the edges of the glass panel for any escaping exhaust or draft leaks by passing a moistened hand or an incense stick lightly around the perimeter.
When to Call a Professional Technician
While DIY preventative maintenance goes a long way toward keeping your heating system reliable, certain warning signs require the expertise of a certified hearth technician or licensed plumber. Never attempt to service gas control valves, adjust main gas pressure regulators, or repair internal electrical wiring yourself if you encounter major red flags.
Call a professional immediately if you notice any of the following conditions:
- A persistent sulfur or rotten-egg odor near the fireplace, which indicates a potential gas leak
- Sooting that recurs rapidly on the glass or logs despite correct log placement
- Delayed ignition, where gas builds up in the firebox before finally igniting with a loud pop or shudder
- Rust or corrosion visible inside the sealed combustion chamber or venting pipes
- Pilot lights that refuse to stay lit after replacing the thermocouple or cleaning the pilot assembly
Schedule your professional service appointment early in the autumn season before heating contractors become fully booked with emergency winter repairs. Annual professional servicing typically includes a comprehensive combustion efficiency check, carbon monoxide testing, and thorough cleaning of hard-to-reach internal components.
Maintaining Your Fireplace Throughout the Winter
Once your annual inspection and cleaning are successfully completed, maintaining your gas fireplace for the rest of the winter requires very little effort. Keep the surrounding hearth area free of heavy dust, pet hair, and flammable decorations such as holiday garlands or stockings placed too close to the heat zone.
Make it a habit to wipe down the exterior glass panel every month or two during the heavy heating season using approved cleaner and a microfiber cloth. Catching light hazing early prevents stubborn baked-on deposits from forming by spring. By staying proactive with your annual inspection routine, you ensure that your gas fireplace remains a safe, cozy, and reliable centerpiece for your home year after year.