
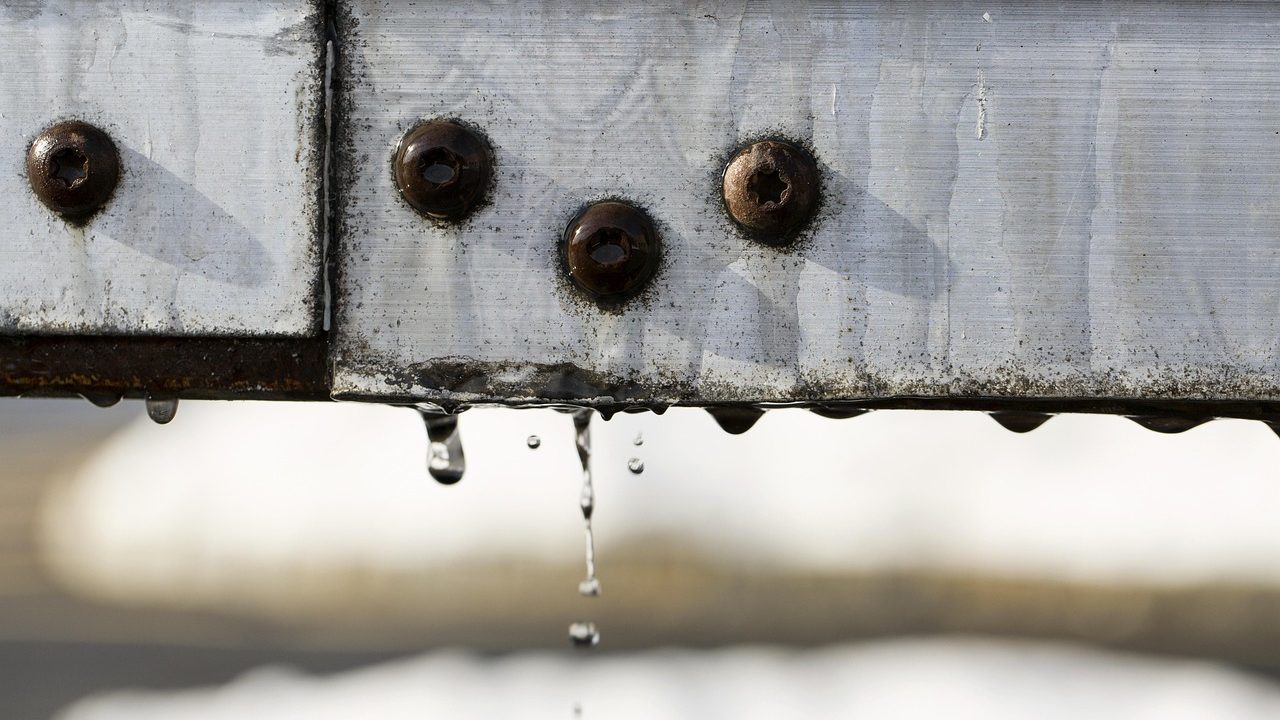
When dark water stains, soft paint, or sagging gutters appear along your home’s lower eaves, the root cause is rarely the shingles themselves. More often, water is escaping the edge of the roof deck and running backward along the underside of the overhang. Deciding how to address this issue comes down to understanding your roof drip edge flashing repair vs replacement cost US options and matching the scope of work to the actual depth of structural damage.
A quick patch using sealant or localized aluminum edge replacement can cost a few hundred dollars and take less than an afternoon. However, if water has been trickling past missing or misaligned drip edge profiles for several rainy seasons, wood decay often spreads quietly inside the perimeter fascia and sub-fascia framing. In those cases, applying fresh flashing over damaged wood creates a cosmetic cover-up that leaves structural decay unchecked. This guide outlines the mechanics of edge water control, breaks down structural diagnostic steps, compares real-world labor and material expenses, and provides an actionable decision framework for your home.
Understanding the Roofline Ecosystem: How Drip Edges Protect Fascia
The roofline edge operates under fluid dynamics that are frequently overlooked during hasty repairs. As rainwater flows down steep asphalt shingles, surface tension pulls a portion of the water downward around the shingle lip instead of letting it drop cleanly into the gutter. Without a rigid metal boundary, liquid creeps backward under the starter strip via capillary action, soaking into the unsealed edge of plywood or OSB roof decking, fascia boards, and soffits.
A drip edge is an L-shaped or T-shaped piece of non-corrosive sheet metal—typically aluminum, galvanized steel, or copper—installed along roof edges. Its primary job is simple: direct water off the roof deck directly into the gutter trough without letting moisture touch the underlying wood structures.
Building codes across most American jurisdictions (including International Residential Code section R905.2.8.5) mandate drip edge flashing on asphalt shingle roofs. Even so, millions of older homes built before strict modern enforcement either lack drip edge entirely or feature poorly tucked flashing that sits behind the gutter apron rather than over it.
When drip edges are missing or improperly installed, rainwater wicks backward directly into the wood edge. Over time, this constant dampness compromises the structural integrity of your roof edge. Understanding the mechanics of this barrier helps you see why skipping a $20 piece of flashing during a reroofing project can ultimately lead to thousands of dollars in rotted fascia and soffit framing repairs.
Symptoms of Roofline Water Infiltration and Rot
Water damage around overhangs advances in predictable stages. Identifying where your home sits along this timeline dictates whether you need a minor flashing repair or an extensive wood reconstruction project.
- Early Flashing Failure: Paint blistering or flaking on the top edge of the fascia board, minor water marks on the underside of gutters, or light surface staining along exterior soffit vents.
- Intermediate Decay: Soft wood felt along the upper 1/2 inch of fascia boards, rusty gutter mounting nails pulling free from wood, or ice dams pushing water backward over the eave in winter.
- Advanced Structural Decay: Deep, spongy rot through the entire depth of the fascia board, soft sub-fascia or rafter tail ends, sagging gutter spans, and localized internal wall leaks near top plate framing inside the home.
Addressing these signs early stops roofline water infiltration repair projects from expanding into major exterior renovations. Catching water damage while it remains confined to the metal edge or the surface layer of paint can save thousands in carpentry costs.

Evaluating Damage: Localized Patch vs. Full Perimeter Rebuild
Determining the correct path requires a hands-on physical inspection. Never rely solely on a visual check from ground level, as intact exterior paint can hide completely rotted, hollow wood underneath.
1. The Mechanical Probe Test
Set up a stable ladder along the affected eave line. Take a flat-head screwdriver or awl and firmly press it against the face and top edge of the fascia board, especially right around the gutter brackets. Soft, spongy wood that allows the tool tip to sink more than 1/4 inch without resistance indicates active decay. If the wood remains solid and dense across the entire length, full perimeter demolition is usually unnecessary.
2. Flashing Overlap Inspection
Gently slide a putty knife under the bottom edge of the bottom shingle course. The metal drip edge flange should sit flat against the roof deck plywood beneath the underlayment (along rakes) or over the underlayment (along eaves). If the metal strip sits loose, sags away from the deck, or drops water behind the rear wall of the gutter, the flashing profile must be repositioned or replaced.
3. Fascia Board Rot Mitigation Assessment
Check the structural connection where gutter hangers enter the wood fascia. If screws spin freely without gripping solid timber, water has softened the structural fibers holding your gutter system in place. When more than 25 percent of a fascia run shows wood loss, spot-repairing short flashing sections is money wasted; the wood underneath will no longer hold fasteners or remain dimensionally stable.
Evaluating Repair vs. Replacement: A Quick Comparison
Evaluating your roof drip edge flashing repair vs replacement cost US options requires looking at both short-term outlays and long-term durability. The matrix below breaks down the technical and financial trade-offs between localized flashing repairs and full perimeter fascia reconstruction.
| Project Scope | Primary Objectives | Typical Cost Range (US Avg.) | Ideal Home Scenario |
|---|---|---|---|
| Localized Drip Edge Repair | Re-securing, tucking, or swapping short sections of damaged/missing metal flashing without altering fascia. | $150 – $450 total | Solid fascia wood; isolated flashing gaps; localized gutter overflow issues. |
| Sectional Flashing & Fascia Patch | Replacing 8–16 ft sections of rotted fascia wood and installing new metal drip edge overhead. | $400 – $950 per section | Localized rot caused by clogged gutters or localized flashing misalignment. |
| Full Perimeter Fascia & Drip Edge Rebuild | Tearing down all exterior fascia/soffits, sistering damaged rafter tails, and re-flashing whole roofline. | $1,800 – $4,800+ total | Widespread wood decay across multiple elevations; older homes lacking drip edges; historic renovations. |
When analyzing costs, factor in labor regionality. In high-cost-of-living metro areas, specialty carpentry rates can push full perimeter replacements toward the upper $5,000 range, whereas rural rates remain significantly lower. Always request itemized quotes that separate metal flashing materials, lumber expenses, and labor charges.
The Technical Process of Metal Drip Edge Installation
Understanding proper installation procedures helps you evaluate contractor bids or handle minor repairs correctly. Correct flashing installation requires careful layering so gravity works with your home’s building envelope, not against it.

Step 1: Preparing the Edge and Roof Deck
Work begins by clearing away damaged materials. If fascia replacement is required, old gutters are unhooked, damaged boards are unnailed, and any rotted rafter tail wood is cut back to clean, structural timber. Solid lumber blocks are sistered alongside damaged rafter ends to create flat, square mounting surfaces for fresh nominal 1×6 or 1×8 exterior-grade fascia lumber.
Step 2: Installing the Flashing Layer Sequence
The sequence of materials along the roof edge is critical for preventing moisture intrusion:
- Eave Drip Edge First: On lower eave edges (running parallel to the ground), metal drip edge is installed directly onto the raw wooden roof deck.
- Underlayment Overlap: The waterproof membrane or felt paper is rolled down over the top flange of the eave drip edge. This ensures any condensation that forms under the shingles rolls down the underlayment and over the metal edge.
- Rake Edge Second: Along sloped rake edges (gable ends), the drip edge is installed over the underlayment membrane to prevent wind-driven rain from forcing moisture beneath the paper edges.
Step 3: Fastening and Profile Alignment
Metal drip edge should be secured with corrosion-resistant roofing nails spaced roughly 8 to 12 inches apart along the top flange. Overlapping individual metal sections requires a minimum 2-inch lap joint. Where flashing meets gutter troughs, the outer vertical leg of the metal profile should extend downward into the gutter opening, ensuring liquid drops cleanly into the channel without clinging to the fascia face.
Material Selection: Metal Profiles and Lumber Choices
Choosing durable materials for edge repairs prevents repeat failures and extends the life of your entire roof deck. Below are common material options used by residential roofing specialists across the US.
Drip Edge Flashing Metals
- Aluminum (.024″ to .032″ gauge): The most widely used option across US residential construction. It resists rust, cuts easily, and comes pre-painted in common neutral trim shades.
- Galvanized Steel (28 to 26 gauge): Extremely durable and resistant to wind deformation or ladder crushing, though cut raw edges can rust over time if unsealed.
- Copper (16 oz heavy cold-rolled): Highly durable, premium option used on historic homes or custom architectural tile/slate installations. Naturally rustproof, but significantly more expensive.
Fascia Board Materials
- Primed Exterior Spruce/Pine/Fir (SPF): Traditional, economical lumber option that requires thorough priming on all six sides (including cut ends) prior to installation.
- Cellular PVC / Composite Trim: Impervious to moisture, rot, and insect damage. Highly recommended for wet climates or low-slope eaves prone to ice damming.
- Fiber Cement Board: Rot-resistant option that holds paint exceptionally well, though heavier and more brittle during ladder-height installation.
Deep Dive into Drip Edge Profiles: C-Style, F-Style, and T-Style
Not all metal drip edge flashing profiles are built the same. Understanding the three primary structural shapes ensures you choose the correct metal geometry for your roof’s unique configuration.
1. L-Style (Hemmed Edge) Flashing
L-style drip edge features a basic 90-degree bend with a small bottom kick flange. It is commonly used on low-budget installations or older homes. While effective at guiding water away from the immediate edge, it offers limited coverage over the top edge of the fascia board. On roofs without gutter aprons, wind can still blow droplets back behind the lower leg.
2. C-Style (Gutter Apron) Flashing
C-style profiles incorporate an extended lower vertical drop that extends further down into the gutter trough. This profile is engineered specifically for eave lines where heavy water volume flows off steep roof pitches. The extended apron prevents water from surface-tension curling back underneath the roof deck, guiding high-velocity runoff directly into the center of the gutter.
3. T-Style (D-Style Metal Flashing with Drip Lip)
T-style flashing includes a built-in projection or drip lip that holds the shingle edge away from the fascia board by roughly 1/2 to 3/4 of an inch. This physical gap creates a break in surface tension, forcing falling water to snap off the metal edge and drop cleanly down. T-style drip edge is considered the industry standard for modern, code-compliant asphalt shingle roofs.
Understanding Climate Impact on Roofline Integrity
Local atmospheric conditions dictate how fast roofline water intrusion transforms into widespread structural damage. Homeowners in different US regions face distinct challenges:
Northern Climates and Freeze-Thaw Cycles
In colder regions subject to heavy snowfall, ice dams frequently form along eave edges. As heat escapes from the attic, it melts snow on the upper roof deck. This meltwater flows down until it reaches the cold overhang, where it freezes again. Without continuous, properly lapped metal drip edges and self-adhered ice-and-water shield membranes, backed-up water forces its way under shingles and rots out fascia timber within one or two winters.
Coastal and High-Humidity Zones
Coastal environments expose rooflines to constant salt air and elevated humidity levels. In these zones, standard galvanized steel flashing can rust prematurely at cut edges. High humidity also slows down wood drying times; once fascia boards absorb moisture through misaligned flashing, fungi thrive, destroying wood fibers far faster than in arid inland environments.
High-Wind and Hurricane Regions
In hurricane-prone regions, wind-driven rain moves horizontally and upward under eaves. Drip edge flashing acts as a key structural tie-down for starter shingles. Improperly fastened flashing can lift during severe windstorms, tearing away edge shingles and exposing the raw roof deck to torrential rain.
Detailed Step-by-Step DIY Patch vs. Contractor Overhaul Guide
Deciding whether to take on a roof edge repair yourself or hire a professional contractor comes down to safety, tool availability, and the height of your roofline.
When DIY Localized Repair Makes Sense
If your home is a single-story structure with easy ground access, and your screwdriver probe test confirms the fascia wood is completely firm, replacing a loose 10-foot section of metal drip edge is a manageable weekend project. DIY repairs require basic safety gear, a extension ladder, tin snips, flat roofing pry bars, and hot-dipped galvanized roofing nails.
To perform a successful patch: carefully lift the bottom course of shingles using a flat pry bar to break the sealant strip. Slide the new metal flashing flange under the underlayment (on eaves) or over (on rakes), secure it with roofing nails every 10 inches, and apply a dab of asphalt roof cement over nail heads and along shingle undersides to re-seal the tabs.
When to Call a Professional Roofing Contractor
Contractor intervention becomes necessary when work involves two-story overhangs, extensive rafter tail decay, steep roof slopes, or seamless gutter removal. Professional crews carry specialized staging, safety harnesses, and brake presses to custom-bend heavy-gauge flashing profiles on site.
When reviewing professional estimates for your roof drip edge flashing repair vs replacement cost US project, ensure the bid clearly states whether gutter detachment and re-hanging is included. Unscrupulous quotes often hide gutter removal fees as mid-project add-ons once the trim boards are already torn off.
Preventative Maintenance to Extend Roof Edge Lifespan
Once your drip edge flashing and fascia boards are repaired or replaced, proactive maintenance keeps your roofline watertight for decades. Small routine habits yield major savings down the road.
- Semi-Annual Gutter Cleaning: Clear leaves, pine needles, and debris from gutters every spring and fall. Clogged gutters allow standing water to rise above the rear wall of the trough, submerging the bottom edge of your fascia board regardless of flashing quality.
- Inspect Gutter Fasteners Annually: Check that gutter brackets and spikes remain tightly anchored into the fascia wood. Loose hangers create gaps where water can pool against the wood face.
- Trim Overhanging Tree Branches: Prune back branches within 6 feet of your roofline. Falling twigs can dent soft aluminum drip edge profiles, disrupting water flow and trapping debris.
- Monitor Paint Seals: Touch up peeling paint or caulking along wood fascia joints promptly. Sealing small seams prevents ambient moisture from soaking into wood end-grain.
Common DIY Mistakes to Avoid
Edge repairs seem simple, but small oversights can ruin an installation and lead to hidden water damage later. Homeowners should watch out for these common errors:
1. Slipping Flashing Under Shingles Without Fastening: Pushing unsecured metal strips beneath shingles without nailing them down allows wind to shift the metal out of alignment, creating gaps where water can bypass the gutter entirely.
2. Fastening Flashing Behind Gutters: Mounting the drip edge flat against the wall behind the gutter back-lip drops rainwater right between the wood fascia and the gutter frame. The vertical flange must drop into the open gutter trough.
3. Skipping Cutting and Hemming at Corners: Butt-jointing metal flashing pieces at gable peaks or corners leaves small openings where wind-driven rain can reach roof deck corners. Corners require careful miter cuts and 1-inch overlap tabs folded neatly around structural ends.
4. Painting Over Rotting Lumber: Applying fresh exterior acrylic paint over compromised fascia wood seals moisture inside the wood fibers, accelerating core decay while hiding structural damage behind an intact surface film.
Frequently Asked Questions About Drip Edge Flashing
Can I install drip edge without removing my existing shingles?
Yes. By carefully lifting the bottom edge of the starter strip shingles using a flat pry bar, you can slide the top horizontal flange of the drip edge underneath. Take care not to crack older, brittle shingles during cold weather.
Is a drip edge strictly required by building code?
In most jurisdictions following the International Residential Code (IRC), metal drip edges are mandatory on all asphalt shingle roofs. Even where local codes do not strictly enforce it, shingle manufacturers often require proper drip edge installation to maintain full warranty coverage.
Should drip edge go over or under the felt paper underlayment?
It depends on the roof edge location. Along lower eaves, drip edge goes under the underlayment paper so water running down the membrane flows over the metal. Along sloped gable rake edges, drip edge goes over the underlayment paper to keep wind-driven rain from lifting the paper edges.
How far should shingles overhang the metal drip edge?
Asphalt shingles should extend beyond the outer vertical edge of the drip edge flashing by approximately 1/4 inch to 3/4 inch. Too little overhang allows water to trickle down the metal face; too much overhang causes shingles to sag and break over time under heavy rainfall.
Final Decision Guide: What Should You Do?
When balancing metal drip edge installation cost against full perimeter structural repairs, let the physical condition of your fascia boards lead your choice:
Choose localized drip edge repair or partial replacement if your roof deck and fascia pass the mechanical screwdriver probe test, show no structural sag, and simply lack properly lapped metal profiles to keep water out of gutters.
Opt for a full perimeter fascia board rebuild if your roofline shows soft, crumbling lumber along multiple sides, hanging gutters with pulled nails, or deep mold and water stains running into interior soffit cavities. Replacing everything at once establishes a sound, fully integrated edge structure that protects your home for decades to come.



