
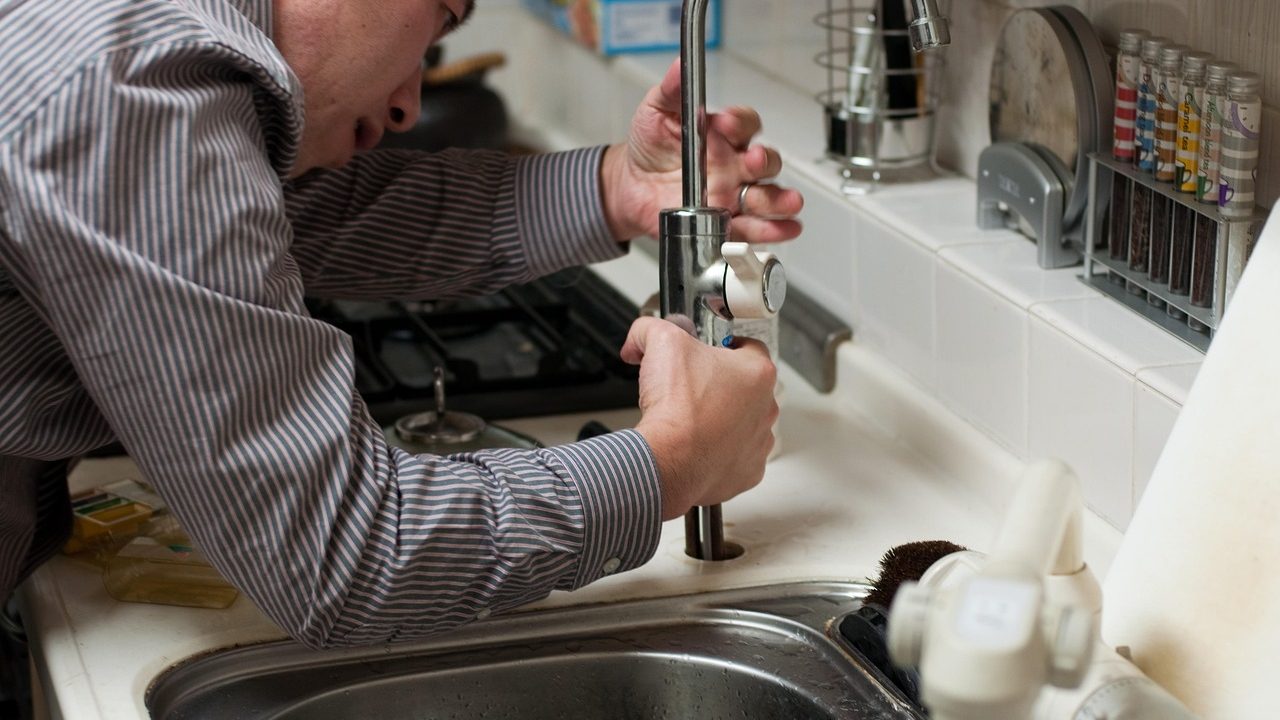
Few household annoyances rival a shower that unpredictably blasts scalding water or drops into an icy shock mid-rinse. If your shower temperature fluctuations have become a daily hazard, the root cause almost always traces back to a failing pressure-balanced shower mixing valve. When troubleshooting this issue, homeowners quickly hit a major fork in the road: should you invest time and money into a minor internal fix, or is it time for a total behind-the-wall overhaul? Evaluating shower mixing valve replacement vs repair requires looking closely at your plumbing system’s age, the specific symptoms you are experiencing, and how much drywall or tile you are willing to tear open.
Most modern residential showers rely on a pressure-balanced valve designed to automatically equalize the hot and cold water pressure. When someone flushes a toilet or runs the washing machine, the valve instantly adjusts to prevent scalding or freezing. However, these hardworking mechanical parts wear out over time. Mineral deposits from hard water build up inside the tiny ports, rubber O-rings degrade and flatten, and internal spools get stuck. Understanding how these parts fail helps clarify whether you can get away with a quick cartridge swap or if you are looking at a messy construction project.
How Pressure-Balanced Shower Valves Work
To make an informed choice about your repair strategy, it helps to understand the anatomy of your shower control. Behind your shower handle sits the valve body, which is permanently soldered or threaded into your home’s water supply pipes hidden inside the wall. Inserted directly into the center of this brass body is the mixing valve cartridge, a self-contained unit that houses a spool, ceramic discs, or balancing piston.
When you rotate the handle, you slide or rotate this internal cartridge to mix hot and cold water streams before sending them up to your showerhead. Inside the cartridge, delicate springs and rubber seals manage the precise balance. When these seals wear out, water leaks past them, causing the shower to drip constantly. When the internal spool sticks or gets clogged with calcium scale, the valve loses its ability to react to pressure drops in your home’s plumbing, leading directly to those sudden temperature spikes.
In municipal water districts with high mineral content—often referred to as hard water—dissolved calcium and magnesium ions constantly precipitate out of solution when heated. Over months and years, these minerals coat the internal sliding mechanisms of the pressure-balanced spool. When a household appliance draws water, the spool must move smoothly within its cylindrical housing to restrict the unaffected water line. If mineral crystals bind this movement, the valve reacts sluggishly or freezes entirely, producing the jarring temperature shifts that prompt emergency plumbing calls.
The Case for a Cartridge Repair
For the vast majority of homeowners dealing with inconsistent water temperatures or annoying drips, repairing the valve means replacing the removable cartridge rather than touching the heavy brass housing behind the wall. This localized anti-scald valve repair is the gold standard of plumbing service because it targets the component that actually wears out without disturbing your tile work or waterproof membranes.
A standard cartridge repair involves shutting off your home’s main water supply, removing the decorative handle and trim plate, pulling out any locking clips or retainer nuts, and extracting the old cartridge using a specialized puller tool if it has fused into place with mineral deposits. Once the old unit is out, you clean the internal chamber of the valve body and slide a new, exact-match manufacturer cartridge right back in.
The benefits of choosing a cartridge repair are significant. It is inexpensive, usually costing less than a hundred dollars in parts and tools if you tackle it yourself, or a few hundred dollars if you hire a local plumber. It requires zero drywall patching, zero tile cutting, and can typically be completed in under an hour once the water is off. For most systems under twenty years old, a simple cartridge swap completely restores smooth temperature control.
Tools and Preparation for a Successful Cartridge Swap
Before launching into a DIY cartridge replacement, assembling the correct toolset prevents frustration and structural damage. A successful project requires more than a standard screwdriver. You will typically need:
- Hex wrenches (Allen keys): Needed to loosen set screws on the decorative shower handle, often in metric or fractional imperial sizes.
- Channel-lock pliers or adjustable wrenches: For removing the retaining nut or sleeve holding the cartridge in place.
- Cartridge puller tool: Specifically designed by manufacturers like Moen or Delta to grip stubborn, calcium-bonded plastic stems without shearing them off.
- Plumber’s waterproof silicone grease: Essential for lubricating new O-rings and rubber seals so the cartridge slides smoothly into the brass housing without tearing the seals.
- A wire brush or non-abrasive scouring pad: Used to clean mineral scale out of the interior brass barrel once the old cartridge is removed.
Taking time to prep the work area by plugging the bathtub drain with a rag prevents tiny set screws or retaining clips from slipping down the waste pipe, turning a quick repair into an intensive plumbing retrieval task.
When Repair Isn’t Enough: The Case for Full Valve Body Replacement
While cartridge replacements solve most problems, there are scenarios where swapping the internal parts is simply putting a band-aid on a failing system. When you need a complete shower valve body replacement, the job becomes far more invasive, expensive, and technically demanding.
A full valve replacement requires opening up the wall behind the shower or, in homes where the back wall is a finished living space or exterior, cutting directly through the shower tile. The plumber must cut the copper or PEX supply lines, unsweep or unbolt the old brass valve body from the framing studs, secure a new valve body into place, reconnect all supply and showerhead lines, and pressure-test the new joints before closing the wall back up.
This path is rarely chosen lightly, but certain conditions make it unavoidable. If you ignore a leaking valve for too long, water can quietly seep behind the wall, rotting out wooden studs, encouraging mold growth, and destroying subfloors. In these cases, fixing the plumbing is only part of a much larger remediation project.
Key Decision Factors: Age, Brand, and Physical Damage
Deciding between a targeted repair and a full replacement comes down to a careful checklist of physical evidence and historical plumbing data. Before you grab a wrench or call a contractor, evaluate these four critical factors.
1. Availability of Replacement Cartridges
If your shower was installed in the 1970s or 1980s, finding an exact-match replacement cartridge can be nearly impossible. While major plumbing manufacturers like Moen, Delta, Kohler, and Pfister maintain excellent parts availability for decades, lesser-known or defunct brands often leave homeowners stranded. If you cannot find a matching cartridge, your only option is to cut open the wall and upgrade to a modern valve body.
2. Structural Integrity of the Brass Body
When you pull out an old cartridge, inspect the interior walls of the brass valve body using a flashlight. If you notice deep pitting, extensive mineral corrosion that cannot be cleaned out, or cracks in the brass casting itself, a new cartridge will not seal properly. Water will continue to leak around the O-rings, forcing a full body replacement.
3. Behind-the-Wall Leaks
If you notice bubbling paint on the adjacent hallway wall, damp baseboards near the bathroom, or unexplained spikes in your water bill while the shower is not in use, the leak may be originating from the solder joints or threaded connections behind the valve body rather than the cartridge face. Cartridge replacements will not fix a cracked pipe or a failing sweat joint hidden inside the wall cavity.
4. Compatibility Upgrades and Remodeling Plans
Sometimes homeowners choose a full valve replacement simply because they are already planning a bathroom remodel. If you are replacing old tile, updating your fixtures to modern matte black or brushed nickel finishes, or converting a tub-only alcove into a custom shower stall, replacing an aging valve body at the same time is smart preventive maintenance.
Brand-Specific Valve Mechanics: What to Look For
Different plumbing manufacturers design their pressure-balanced valves with distinct internal configurations, which directly impacts how difficult a repair will be.
Moen (Posi-Temp): Moen valves are famous for their cylindrical brass or plastic cartridges secured by a simple horseshoe-shaped retaining clip. While straightforward to service, Moen cartridges frequently seize inside the brass body due to mineral scaling, requiring a specialized twist-and-pull extraction tool.
Delta (Monitor series): Delta utilizes a rotating ball or a cylindrical spool-balance cartridge. Many older Delta models feature accessible front-service seats and springs that can be replaced individually without removing the entire cartridge, though modern units use a unified cartridge assembly.
Kohler (Rite-Temp): Kohler valves rely on a pressure-balancing diaphragm unit integrated into the cartridge. If a Kohler shower experiences sudden pressure drops, the internal diaphragm is often fouled by debris or calcification, necessitating a direct cartridge swap.
Cost Breakdown: Repair vs. Replacement Economics
The financial disparity between repairing a valve and replacing it entirely is stark. Understanding these cost drivers helps you budget appropriately for your plumbing project.
A DIY cartridge repair is exceptionally budget-friendly. Replacement cartridges generally cost between $35 and $90 depending on the manufacturer and whether you buy an OEM part or an aftermarket equivalent. If you hire a licensed plumber for a straightforward cartridge service, expect to pay a standard service call fee plus labor, which usually totals between $175 and $350.
Conversely, a full shower valve body replacement is a major plumbing project. Plumber labor rates for cutting walls, modifying supply lines, soldering new brass valves, and pressure testing typically range from $500 to $1,500 just for the plumbing labor and materials. When you factor in the subsequent trades required—drywall repair, waterproofing, and tile replacement—the total cost can easily climb past $2,000 depending on your local tile contractor rates and the complexity of your shower surround.
Step-by-Step Evaluation Checklist for Homeowners
Before committing to a course of action, run through this practical diagnostic sequence to pinpoint your exact problem:
- Test the pressure balance: Turn on the shower to a warm mix, then flush a nearby toilet or run a sink. If the shower temperature violently spikes or drops, your balancing spool is stuck or failing, which is usually a cartridge issue.
- Inspect for external leaks: Look closely at the handle plate. If water trickles out around the handle stem while the shower is running, the stem O-rings or cartridge seals have failed.
- Check the age of the home: If your home was built within the last 25 years and uses a major-brand plumbing fixture, start with a cartridge replacement. It has a high probability of success.
- Inspect behind the wall if accessible: If your shower valve backs up to a bedroom closet or utility room utility panel, check that access hatch. Many modern custom builds include access panels, making a full valve inspection or replacement much easier without destroying tile.
Common DIY Mistakes to Avoid
Homeowners attempting to service their own shower valves often run into predictable pitfalls that turn a simple Saturday project into an expensive emergency call to a local plumber.
The single most common mistake is forgetting to shut off the main water supply before pulling the cartridge. While some shower trims include built-in service stops, many older homes require shutting off the house main. Forgetting this step results in an indoor geyser that can flood bathrooms and ruin ceilings below.
Another frequent error is damaging the delicate brass retaining clips or failing to use a cartridge puller tool. Yanking violently on a stuck plastic cartridge with standard pliers often breaks the stem off inside the valve body, leaving a jagged piece of plastic wedged tightly in the brass housing. Removing a broken plastic core from a valve body requires immense patience and specialized extraction tools, frequently turning what should have been a quick fix into a mandatory valve replacement.
Frequently Asked Questions
Can I replace just the O-rings instead of the entire cartridge?
While some older faucet designs allowed for simple O-ring and washer replacements, modern pressure-balanced shower cartridges are sealed, factory-assembled units. Attempting to disassemble them to replace individual rubber seals is generally impractical, and replacement cartridges are inexpensive enough that a complete swap is far more reliable.
How long do shower mixing valve cartridges last?
In homes with treated municipal water, a quality cartridge typically lasts between 10 and 15 years. In areas with severe hard water, mineral buildup can shorten this lifespan to 5 to 7 years unless a whole-house water softener is installed.
Do I need a permit to replace a shower valve body?
In many municipalities, cutting open walls to alter supply piping or replacing behind-the-wall plumbing components requires a residential plumbing permit and subsequent inspection. Local building codes vary, so checking with your municipal building department before starting major wall renovations is always recommended.
Making Your Final Decision
When faced with chronic shower temperature fluctuations, always start with the least invasive diagnostic step. Remove your shower trim, inspect the cartridge, and check for brand identification marks. In roughly eighty percent of residential cases, swapping out an old, mineral-clogged cartridge for a fresh manufacturer-approved unit solves the problem completely for a fraction of the cost.
Reserve full shower valve body replacement for situations where the brass housing is physically cracked, the home’s plumbing is obsolete beyond repair, or water is actively leaking behind the waterproof membrane. By matching your repair strategy to the actual physical condition of your fixtures, you can eliminate temperature swings, protect your home from water damage, and keep your bathroom renovation budget firmly under control.



