When your tankless water heater is paired with a dedicated recirculation loop, you enjoy near-instant hot water at every faucet. That convenience relies on a quiet, hardworking network of pipes, a circulation pump, check valves, and control sensors. However, like any mechanical system in the home, this loop requires periodic attention. Performing regular tankless water heater recirculation pump maintenance ensures your equipment runs quietly, efficiently, and without unexpected breakdowns that leave you waiting in the cold.
Ignoring this maintenance can lead to common issues such as pump cavitation, thermal stagnation, backflow, and premature mechanical failure. This guide walks you through how your recirculation loop operates, how to inspect and service check valves, how to clear pesky air locks, and how to verify that your aquastat or timer controls are functioning properly.
Understanding the Anatomy of a Recirculation Loop
Before diving into maintenance tasks, it helps to understand how the loop works. A standard tankless water heater heats water on demand. When configured with a dedicated return line, a small bronze- or stainless-steel-bodied pump draws unheated water sitting in your farthest plumbing pipes back to the water heater through a dedicated return line rather than letting it sit stagnant.
This closed circuit creates a continuous loop. The pump is typically mounted near the bottom of the tankless unit, tied into the cold water inlet or a dedicated return port. Working alongside the pump is a check valve—a critical one-way gatekeeper that keeps water moving in the correct direction—and an aquastat or smart controller that dictates when the pump should run based on water temperature or programmed schedules.
In a standard installation, the main hot water supply line runs from the top of the tankless water heater through the home, branching out to showers, sinks, and appliances. At the fixture furthest from the heater, a crossover valve or a dedicated return line ties back into a separate pipe that runs all the way back to the utility room. The recirculation pump is installed on this return line. When activated, it pushes the cooler water from the return line back into the water heater’s cold inlet or dedicated return port. Understanding this directional flow is essential when troubleshooting pressure drops, temperature anomalies, or unusual pump noises.
Why Recirculation Loops Require Routine Service
Many homeowners assume that closed domestic water loops are maintenance-free because they only circulate potable water. In reality, minerals in tap water, thermal cycling, and continuous mechanical operation take a toll. Scale buildup can bind pump impellers. Check valves can become fouled with debris, allowing water to backflow into the cold lines. Furthermore, micro-bubbles can accumulate during plumbing repairs or system drain-downs, leading to noisy air locks.
Proactive service prevents these minor annoyances from turning into costly emergency plumbing visits or permanently burned-out pump motors. A clean, balanced loop also saves energy by preventing the tankless unit from firing unnecessarily due to rogue thermal feedback.
Over time, hard water minerals like calcium and magnesium precipitate out of the water, especially when the water is repeatedly heated and cooled within the loop. This mineral precipitation coats pump impellers, increases friction inside the pump housing, and can eventually seize the motor entirely. Furthermore, continuous running without proper thermal management can overheat the pump bearings, leading to premature failure that requires complete system replacement.
Essential Tools and Safety Preparations
Before opening up your plumbing lines or electrical compartments, gather the correct tools and prioritize safety. Working on residential water systems requires caution around hot water, pressurized lines, and electricity.
- Adjustable wrenches and channel-type pliers
- A digital multimeter for electrical checks
- A bucket and clean towels for residual water spillage
- Replacement Teflon tape or pipe thread sealant (pipe dope)
- Work gloves and safety glasses
Always unplug the recirculation pump and turn off the electrical power supply to your tankless water heater at the circuit breaker before touching wiring or control boards. If you are opening up water lines, shut off the main water supply to the home or isolate the water heater using its service valves.
Safety should always take precedence when dealing with plumbing and electrical integrations. Tankless water heaters draw significant amperage, and their internal components remain hot long after the unit stops firing. Always verify that power has been completely cut using a non-contact voltage tester before touching any terminal blocks, relays, or hard-wired connections. Keep a supply of clean rags and a sturdy bucket handy, as even after closing isolation valves, trapped water within the horizontal and vertical pipe runs will spill out when unions or valve bodies are loosened.
Inspecting and Testing Check Valves for Backflow
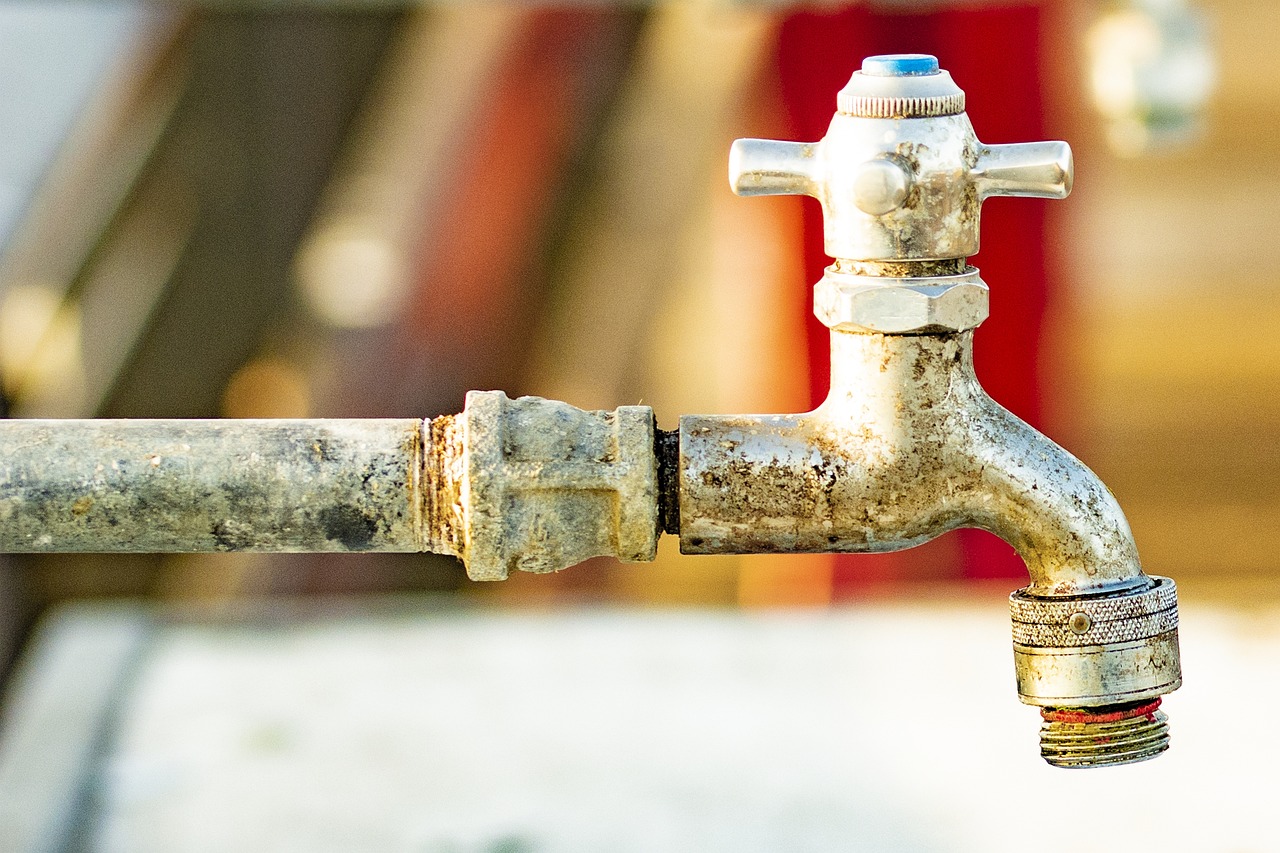
The check valve is arguably the hardest-working component in your recirculation loop. Its sole job is to permit water flow in one direction—from the return line into the water heater—while instantly slamming shut when the pump turns off to prevent hot water from migrating backward into the cold water supply lines.
When a check valve fails or gets stuck open, you might notice strange symptoms. For example, your cold water taps might run lukewarm or warm for the first few seconds because hot water has bled backward into the cold pipes. Alternatively, thermal siphon loops can form, causing the pump to run continuously or heat to dissipate needlessly.
To inspect your check valve, locate it on the return line near the pump inlet or outlet. Isolate the loop by closing the isolation valves. Carefully unscrew the check valve housing. Inspect the internal flapper, spring, or disc for mineral scaling, grit, or physical warping. If mineral deposits coat the mechanism, soak the valve in a diluted white vinegar solution until the scale dissolves. If the spring is weak or the sealing rubber is cracked, replace the check valve entirely; they are inexpensive parts that prevent major headaches.
Spring-loaded inline check valves are particularly prone to particulate trapping. When municipal water mains flush or home repiping occurs, tiny bits of solder, copper flakes, or pipe tape can lodge under the sealing face of the check valve. This prevents a tight seal, creating a silent bypass where water travels backward under city pressure when the pump is off. Regularly monitoring your cold water temperatures at the tap is the easiest way to catch this failure mode early.
Clearing Air Locks and Preventing Pump Cavitation
If your recirculation pump suddenly sounds like it is grinding gravel, humming loudly without moving water, or running completely dry, you are likely dealing with an air lock or pump cavitation. Cavitation occurs when vapor bubbles form inside the pump housing and collapse violently against the impeller, causing rapid pitting and eventual motor burnout.
Air locks frequently happen after plumbing repairs, municipal water main work, or after flushing your tankless water heater’s heat exchanger. To clear an air lock, you need to bleed the system:
- Ensure the water supply is fully open to the tankless unit and recirculation loop.
- Locate the bleed screw or purging port on your recirculation pump or the immediate piping assembly, if equipped.
- Place a small catch container or towel underneath the port to catch any drips.
- Slightly loosen the bleed screw until you hear a hiss of escaping air, followed by a steady stream of water free of bubbles.
- Tighten the screw securely and wipe down the area.
If your pump lacks a dedicated bleed port, you can often purge trapped air by opening the highest hot water faucet in the house and running it for two to three minutes while the recirculation pump is powered on, allowing system pressure to push the air pocket out through the tap.
Cavitation can also be exacerbated by restricted flow on the suction side of the pump. If a strainer or inlet valve is partially closed, the pressure drop inside the pump volute can cause dissolved gases in the water to flash into vapor pockets, destroying the impeller blades over time. Ensuring full-port valve openings and clean pre-filters eliminates this risk.
Testing Aquastat Sensors and Control Timers
Modern recirculation systems rarely run 24/7 unless you prefer paying excessive utility bills and wearing out your equipment prematurely. Instead, they rely on aquastats (temperature sensors strapped to the pipe) or smart controllers that operate on preset schedules or demand buttons.
If your pump fails to turn on when the water in the loop cools down, or conversely, if it runs constantly regardless of temperature, the control mechanism is the primary suspect. Begin by checking the power supply to the pump timer or control module using a non-contact voltage tester or multimeter. Verify that 120V (or the specified voltage for your unit) is reaching the control board.
Next, test the aquastat sensor. An aquastat measures pipe temperature to determine when the loop needs reheating. Using your multimeter set to resistance (ohms), test the sensor terminals at varying temperatures. If the resistance reading does not change as the pipe cools or warms, the thermistor inside the sensor has failed and must be replaced. For smart controllers or app-enabled pumps, check for firmware updates or Wi-Fi connection drops that might freeze the pump in an “off” or “on” state.
Aquastats typically feature adjustable differential settings. If your pump cycles on and off too rapidly—a condition known as short-cycling—adjusting the temperature differential wider can prevent unnecessary motor wear. Conversely, if your hot water takes too long to arrive at distant fixtures, narrowing the differential or lowering the target shutoff temperature slightly can optimize comfort without overworking the pump.
Step-by-Step Preventative Maintenance Checklist
To keep your recirculation loop running smoothly year after year, integrate these maintenance steps into your annual home care routine:
- Quarterly Visual Check: Inspect all pipe connections, pump housing seals, and valve bodies for signs of slow weeping, mineral crusting, or corrosion.
- Biannual Noise Audit: Listen closely when the pump cycles on. A smooth, quiet hum is normal; a rattling, whining, or loud buzzing sound indicates impending cavitation or bearing wear.
- Annual Valve Exercise: Manually open and close all isolation valves and check valves to prevent them from seizing up in place due to mineral scale accumulation.
- Sensor Calibration Check: Verify that your aquastat turns the pump off once the return line reaches its target temperature, preventing wasted standby energy.
Maintaining a dedicated inspection log near your water heater helps track when components were last cleaned or replaced. Noting the dates of check valve replacements or pump servicing ensures you never miss a vital service interval, keeping your domestic hot water infrastructure operating reliably for decades.
Common Troubleshooting Scenarios and Quick Fixes
Even with diligent maintenance, issues can arise unexpectedly. Recognizing early warning signs saves you time and prevents secondary damage to your tankless water heater.
Symptom: Lukewarm cold water at faucets.
Cause: Defective or debris-stuck check valve allowing cross-flow.
Fix: Clean or replace the check valve on the return line.
Symptom: Pump motor hums but water does not circulate.
Cause: Locked impeller due to scale buildup or air lock.
Fix: Bleed trapped air from the system or manually spin/clean the impeller housing if accessible.
Symptom: Pump runs continuously without shutting off.
Cause: Aquastat sensor is miscalibrated, disconnected, or stuck in the closed circuit position.
Fix: Test sensor resistance with a multimeter and replace if faulty, or adjust aquastat temperature setpoints.
Addressing these common symptoms early prevents cascading failures. For instance, a continuous-running pump not only increases electrical consumption and utility bills but also accelerates wear on the pump motor windings, leading to premature motor burnout that requires complete hardware replacement rather than simple cleaning.
When to Call a Professional Plumber
While routine cleaning, bleeding air, and replacing simple check valves or external aquastats fall comfortably within the scope of handy homeowners, certain situations require professional intervention. Call a licensed plumber if your tankless water heater displays internal error codes related to flow sensors, if the recirculation pump is hard-wired into a proprietary electronic control board with sealed components, or if you encounter stubborn leaks at soldered or pressed copper fittings.
Attempting complex electrical repairs or cutting into rigid copper supply lines without proper tools can lead to major water damage or void your tankless water heater manufacturer warranty. Knowing your limits keeps your home safe and ensures your plumbing system remains reliable.
Professional plumbers possess specialized diagnostic tools, such as manometers for measuring gas and water pressures, thermal imaging cameras to trace hidden loop bottlenecks, and specialized descaling pumps for deep-cleaning heat exchangers. If troubleshooting steps fail to resolve your recirculation issue, bringing in a qualified professional is the safest path forward.
Conclusion
Maintaining your tankless water heater recirculation pump loop is a straightforward task that pays off in reliable comfort, lower energy bills, and extended equipment life. By keeping a close eye on check valve integrity, bleeding out trapped air before cavitation occurs, and verifying that your aquastat sensors are reading accurately, you can avoid unexpected cold showers and expensive emergency repairs. Incorporating these simple checks into your seasonal home maintenance schedule ensures your hot water system operates at peak efficiency year-round.