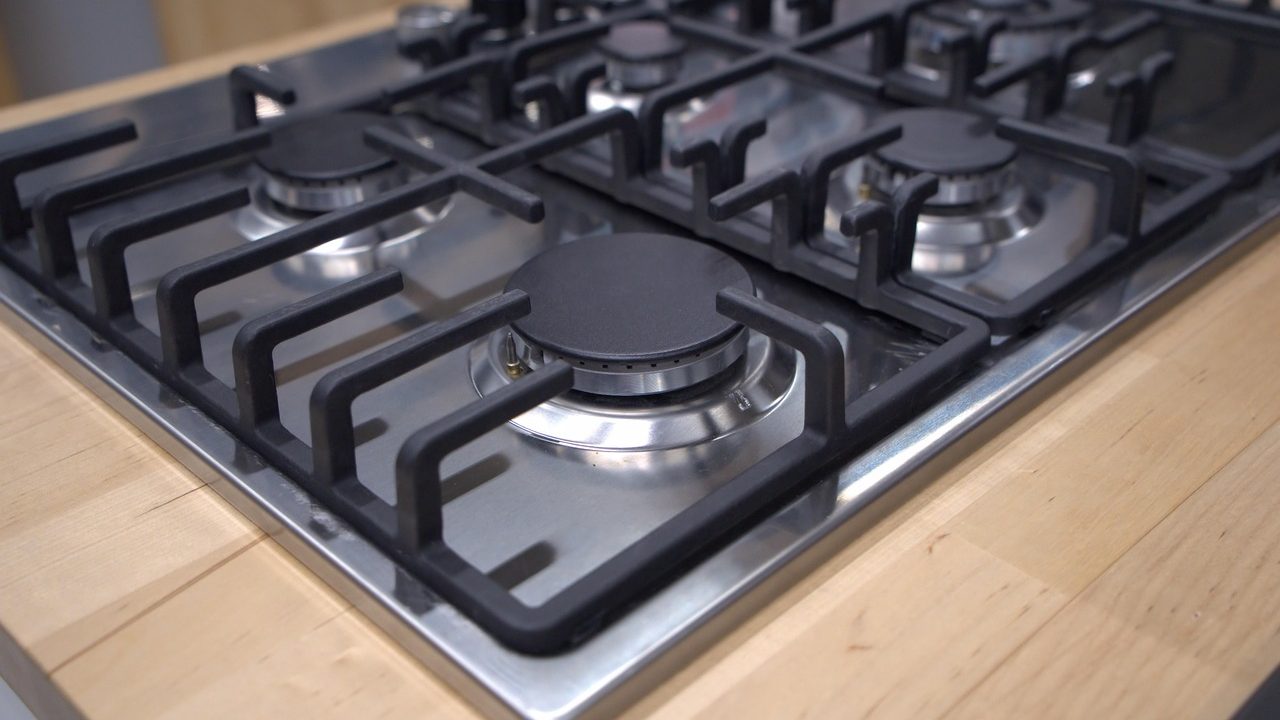
There are few kitchen noises quite as maddening as the relentless, rhythmic ticking of a gas range. When a gas stove igniter keeps clicking long after the burner has lit—or continues clicking even when all the burner knobs are turned completely off—it signals an electrical or mechanical glitch within the ignition system. While your range will likely still cook food, that persistent sound drives most homeowners crazy and can eventually wear out the spark module or degrade the igniter electrodes.
Understanding why this happens requires a basic grasp of how modern gas ignition systems operate. When you push and turn a burner knob, you close a microswitch that sends voltage to a spark module. This module sends high-voltage electrical pulses to all the surface igniters simultaneously, creating a spark that lights the gas flowing from the burner ports. Once the flame ignites, the system is designed to stop sparking. When it fails to stop, something is interrupting the electrical feedback loop, tricking the system into thinking a knob is still turned or a spark is still needed.
Fortunately, you do not always need to call an expensive appliance repair technician to solve the problem. Many of the most common causes can be diagnosed and resolved in less than an hour with basic tools you likely already have around the house. This guide walks you through the step-by-step troubleshooting process, helping you determine whether your issue requires a simple wipe-down, a thorough drying session, or a complete part replacement.
Safety First: Disconnect Power Before You Begin
Before poking around the burner caps, lifting the main cooktop, or handling any electrical components, you must eliminate the risk of shock. Gas ranges require electricity to power the spark module, digital clock, and oven lights, even though the burners themselves use gas for fuel.
Start by locating the power cord behind the stove and unplugging it from the wall outlet. If your range is a slide-in or drop-in model plugged into an inaccessible outlet behind the unit, find the corresponding breaker in your home’s main electrical panel and switch it off. Never rely solely on turning off the burner knobs. Even with the gas turned off at the valve, live 120-volt electricity runs to the spark module and switches, presenting a genuine electrical hazard.
Once the power is cut, turn off the gas supply shutoff valve if you plan on removing gas supply lines or burner valves, though simple cleaning and switch testing generally do not require shutting off the gas. Allow any recently used burners to cool completely before touching the metal grates, burner caps, or electrode heads to avoid severe burns.
The Most Common Culprit: Moisture and Spills
If your gas stove igniter keeps clicking immediately after you scrubbed the stovetop, wiped down the counters, or boiled over a pot of pasta, you are almost certainly dealing with moisture. Water is conductive. When liquid gets trapped inside the burner cap assembly, around the burner head, or down inside the igniter base, it creates a continuous electrical path. The spark module senses this unintended current flow and keeps firing, trying desperately to ignite a flame that is either already burning or struggling against a wet electrical ground.
Water can easily seep into microscopic gaps during routine kitchen cleaning. When cleaning cleaning agents or rinse water pool around the ceramic igniter base, the high-voltage spark jumps through the water droplets rather than across the air gap to light the gas. This causes the classic rapid-fire clicking sound.
Fixing a moisture-induced clicking issue is usually straightforward. First, lift off the heavy cast-iron burner grates and remove the metal burner caps. Lift the burner heads if they are removable. Take a clean, dry microfiber cloth and thoroughly dry every component of the burner assembly. Pay special attention to the ceramic white cylinder next to the burner head—that is the spark electrode.
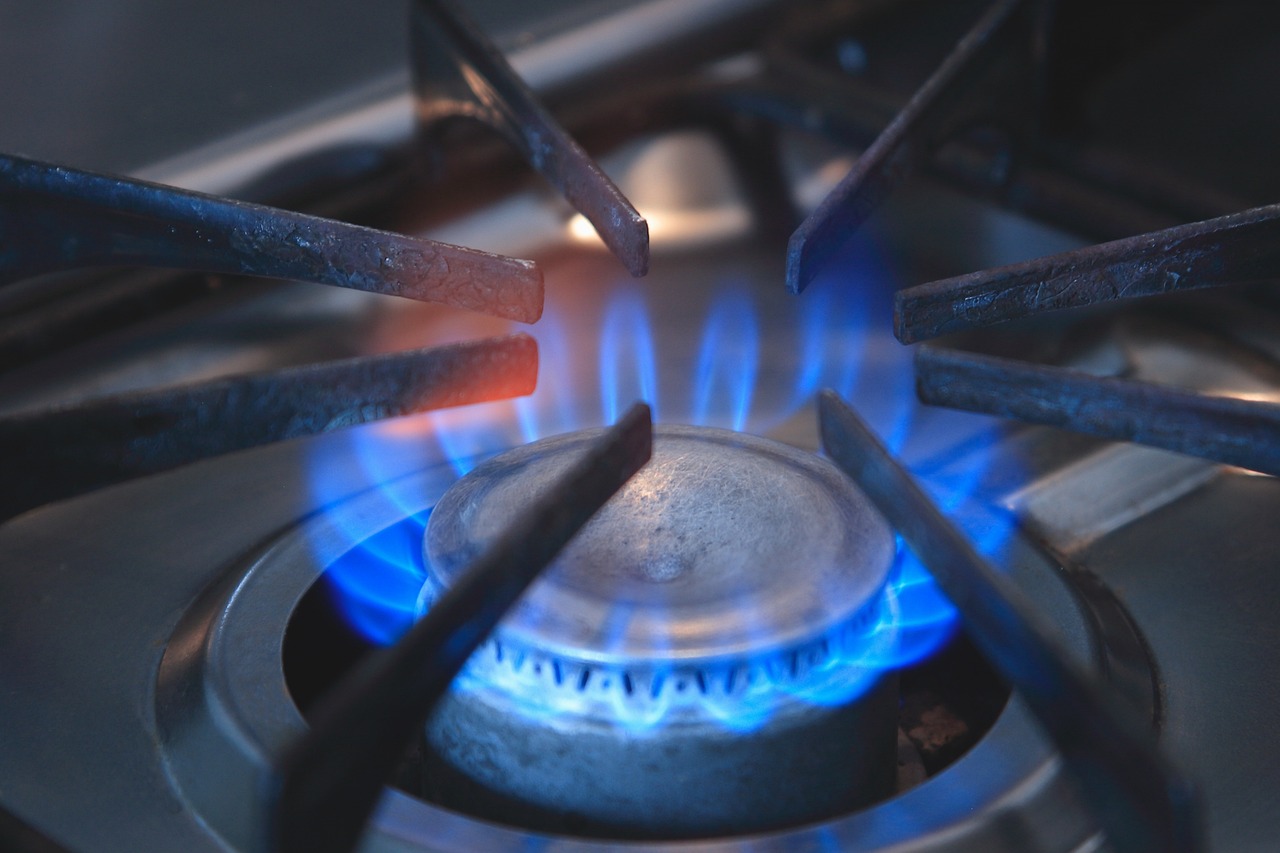
Drying Out Stubborn Moisture Trapped in the System
Sometimes wiping the surface is not enough because water has wicked down into the internal crevices of the burner base or made contact with the wiring harness beneath the cooktop. If you suspect water has penetrated deeper into the appliance, you need a more aggressive drying strategy.
Grab a standard hair dryer, set it to a warm (not excessively hot) airflow setting, and direct it over the burner electrodes and burner ports for five to ten minutes. The heat will evaporate any hidden moisture trapped in the micro-gaps around the ceramic insulator. If you have a can of compressed air—the kind used for cleaning computer keyboards—you can also blast air around the igniter base to blow out residual water droplets.
After thoroughly drying the area, leave the burner caps off for an extra hour to let ambient air circulate. Reassemble the stove, plug the power cord back into the wall, and test the burners. In many cases, the clicking will have stopped entirely once the electrical path dries out.
Grease Buildup and Carbon Residue
If your stove has not been recently cleaned with liquids and yet the igniter still clicks continuously, grease and food debris are likely the second most common culprits. Over months of cooking, oil splatters, grease vapor, and microscopic food particles settle onto the burner components. When these organic residues build up on the ceramic igniter electrode, they form a conductive bridge between the metal electrode tip and the surrounding metal burner head.
This carbon and grease bridge tricks the ignition system into behaving as though the electrical circuit is permanently closed. To fix this, you need to strip away the baked-on grime.
Remove the burner grates, caps, and heads. Inspect the ceramic igniter electrode closely. If you see a dark crust or a white-and-brown film coating the ceramic tip, it needs a deep clean. Mix a small paste of baking soda and warm water, or use white vinegar on a soft-bristled toothbrush. Gently scrub the ceramic portion of the electrode and the metal tip. Avoid using abrasive steel wool or harsh metal scrapers on the ceramic cylinder, as deep scratches can crack the fragile porcelain insulation, ruining the igniter permanently.
Once you have scrubbed away the grease, wipe the electrode clean with a damp cloth dipped in plain water to remove any chemical residue from the cleaner. Finish by drying the entire assembly thoroughly with a paper towel or hair dryer before reassembling the cooktop.
Misaligned or Damaged Burner Components
Physical positioning matters immensely in gas appliance design. If your burner caps or burner heads are slightly misaligned after cleaning, the gas flow and the spark gap will be thrown out of balance. When a burner cap is tilted or sitting crookedly on the base, it can press against the ceramic electrode or alter the distance the spark needs to jump.
Check every burner on your stove to ensure the metal caps are seated flat and locked securely into their designated alignment tabs or grooves. A cap that wobbles or sits unevenly will disrupt the ignition cycle.
Next, inspect the spark electrode itself for physical damage. Ceramic is durable against heat, but it is extremely brittle. If a heavy pot was dropped onto the burner or someone scrubbed too aggressively during a past cleaning session, the ceramic insulator sleeve might be cracked. Hairline cracks allow the high-voltage spark to ground out against the metal burner chassis before it ever reaches the burner ports. If you see a visible crack or chip in the ceramic body of the igniter, that individual igniter assembly must be replaced.
Troubleshooting Faulty Burner Switches
If cleaning, drying, and realigning your burners do not stop the clicking, the issue has likely moved from the cooktop surface to the internal electrical switches. Each burner knob on your gas range connects to a dedicated microswitch located behind the front control panel. These switches are normally open circuits that close when you push and turn the knob, sending a signal to the spark module.
Over years of use, exposure to heat, kitchen steam, and grease can cause these mechanical switches to stick in the closed position. When a switch fails internally and remains stuck closed, the spark module continuously receives a constant “on” signal for that specific burner, even when the physical knob is turned to the off position.
To isolate which burner switch is malfunctioning, try a simple diagnostic test. Turn off the range power, then turn each burner knob individually while listening closely or watching the spark electrodes. Often, you can tell which switch is bad by noticing that the clicking stops only when you jiggle a specific knob or pull it slightly outward. If the clicking continues universally across all burners whenever the stove is plugged in, the fault may lie further upstream at the main spark module rather than an individual burner switch.
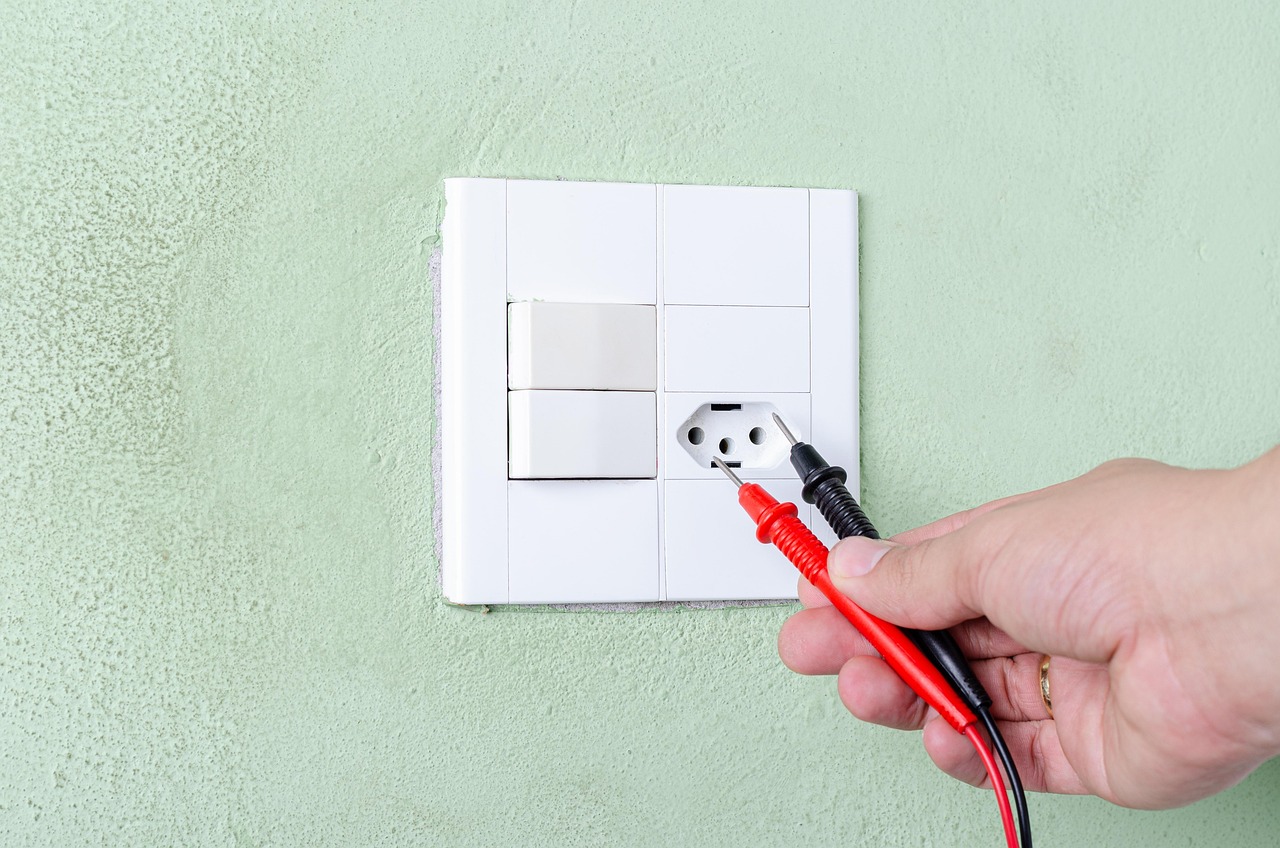
Testing and Replacing a Broken Spark Switch
If you have isolated the problem to a stuck or broken burner switch, replacing it is a manageable DIY repair for most homeowners who feel comfortable working with basic tools. You will need a screwdriver, a pair of needle-nose pliers, and a replacement switch matching your specific gas range model number (found on the appliance data tag, usually located inside the oven door frame or beneath the main cooktop).
Begin by ensuring the stove is completely unplugged from the wall outlet. Remove the burner control knobs by pulling them straight off their valve stems. Depending on your range model, you will then need to remove the screws securing the front console or control panel faceplate. Carefully tilt or lift the control panel away to expose the rear of the burner valves and the attached microswitches.
Locate the switch associated with the clicking burner. Snap a quick photo with your smartphone to remember how the wires attach before disconnecting anything. Gently pull the wire connectors off the switch terminals. Use a multimeter set to continuity mode to test the switch; a healthy switch should show continuity only when the valve shaft is depressed. If the switch shows closed continuity even when the shaft is at rest, the switch is defective and must be replaced.
Unclip or unscrew the old switch from the valve body, snap the new replacement switch into position, reconnect the electrical wires exactly as they were, and reassemble the control panel. Plug the stove back in and test your work.
Understanding and Replacing the Spark Module
If all your burner switches test normal, the individual electrodes are clean and dry, and yet the gas stove igniter keeps clicking continuously on every burner simultaneously, the heart of the ignition system—the spark module—has likely failed.
The spark module is an electronic control board, usually mounted inside the back panel or underneath the main cooktop of the range. It regulates the electrical current sent to each burner electrode. When internal solid-state components within the module short out due to power surges, age, or heat exposure, the module can get stuck in a continuous firing loop.
Replacing a spark module follows a similar safety protocol as replacing a burner switch:
- Unplug the range or turn off the circuit breaker.
- Remove the rear access panel or lift the main cooktop according to your appliance manual.
- Locate the spark module, which typically resembles a small plastic box with multiple wire leads plugged into it.
- Photograph the wiring layout carefully to ensure proper reinstallation.
- Disconnect the power leads and individual electrode wires from the old module.
- Unmount the old module and secure the new OEM replacement part in its place.
- Reconnect all wires to their exact corresponding terminals.
- Reinstall the access panels, restore power, and test the appliance.
Preventative Maintenance Tips to Keep Igniters Quiet
Preventing future ignition headaches requires adopting a few mindful cleaning and cooking habits. When wiping down your cooktop after preparing dinner, use a damp cloth rather than flooding the surface with excess cleaning sprays or water. Never submerge burner heads in water for prolonged periods unless you ensure they are 100 percent dry before reinstalling them.
Be gentle around the ceramic igniter electrodes when scraping away burnt-on food spills. Avoid slamming heavy cast-iron grates onto the cooktop surface, as the shock waves can crack the brittle ceramic insulator sleeves. Finally, if you notice an intermittent click during humid summer months, running a kitchen exhaust fan while cooking can help reduce airborne moisture settling into sensitive electrical switches.
By systematically checking for moisture, cleaning away carbon buildup, testing individual switches, and replacing failing components as needed, you can permanently silence that annoying clicking sound and keep your gas range operating safely and reliably for years to come.