

If you have lived in a home with hard water for more than a couple of years, your water heater is likely collecting a layer of sediment at the bottom of its storage tank. Mineral deposits like calcium and magnesium naturally precipitate out of heated water, slowly drifting down to settle on the floor of the tank. This common accumulation is the primary reason why sticking to a consistent water heater sediment flushing guide is essential for any homeowner looking to protect their plumbing investment. Without regular maintenance, this buildup thickens into a sandy or crusty layer that interferes with heat transfer, drives up utility bills, and eventually eats away at the glass-lined steel tank from the inside out.
While hiring a plumber for routine maintenance is always an option, flushing a standard tank-style water heater is a manageable DIY project that requires only basic hand tools, a standard garden hose, and about an hour of your time. This guide breaks down the entire process from start to finish, highlighting critical safety checks, common pitfalls, and practical troubleshooting steps to ensure you do the job right without damaging your equipment.
Understanding How Sediment Damages Your Water Heater
To understand why a water heater sediment flushing guide matters, it helps to know what is happening inside the sealed steel cylinder. As cold water enters the tank and is heated by either a gas burner underneath or electric elements inside, dissolved minerals harden and drop out of suspension. In areas with high water hardness, this process happens rapidly, creating inches of sediment within just a few years.
This sediment layer creates two major problems. First, it acts as an insulating barrier between the heat source and the water. For gas units, the burner has to blast heat through a thick layer of rock-like sediment before it can warm the water, which overheats the bottom of the tank and causes that signature popping, rumbling, or knocking sound. For electric units, sediment can bury the lower heating element, causing it to overheat and burn out prematurely. Second, trapped moisture and minerals beneath the sediment layer trap corrosive elements against the tank lining, leading to premature rust and eventual tank failure.
Furthermore, an unmaintained tank loses efficiency over time. Because the heat transfer is impaired, the burner or electric elements must stay on significantly longer to achieve the target thermostat setting. This extra run time translates directly to higher monthly utility bills. By committing to an annual or semi-annual maintenance schedule, you remove these mineral obstructions before they can bake into a solid, unyielding sheet of scale that standard draining procedures cannot dislodge.
Recognizing the Warning Signs of Heavy Sediment Accumulation
Most homeowners do not think about their water heater until something goes wrong. However, your appliance usually provides clear warning signs long before it fails entirely. Learning to read these symptoms can save you from a catastrophic tank rupture or an expensive emergency replacement on a freezing weekend.
The most common indicator of heavy sediment is strange noises coming from the tank. When water gets trapped underneath a thick layer of sand and mineral scale, it boils and turns to steam. As the steam bubbles try to force their way upward through the dense sediment blanket, they produce deep rumbling, popping, or knocking sounds. If your water heater sounds like a pot of boiling oatmeal or a minor construction site when the burner fires, sediment accumulation is almost certainly the culprit.
Another telltale sign is a noticeable drop in hot water capacity or fluctuating water temperatures. Because the sediment displaces actual water volume inside the tank—sometimes taking up several gallons of space—you have less hot water available for showers and laundry. Additionally, if the water takes much longer to reheat after you use a large volume, it means the heat source is struggling to penetrate the insulating blanket at the base. In extreme cases, heavily contaminated water can even cause slight discoloration or metallic odors, signaling that internal corrosion has already begun.
Gathering Your Tools and Preparation Steps
Before you touch any valves or switches, gather the supplies you will need to complete the job cleanly and safely. Having everything on hand prevents you from having to run to the hardware store mid-process while your water heater is half-drained.
- A standard heavy-duty garden hose in good condition
- A flathead screwdriver (if your drain valve requires one)
- A bucket or clear glass jar to inspect the drained water
- A pair of work gloves (the water and fittings can get quite warm)
- A flashlight or work light
- A roll of plumber’s tape (PTFE tape) in case you need to re-seal threaded connections
- A small utility pump (optional, but necessary if your discharge point is higher than the tank base)
You also need to verify where you will discharge the water. Because the tank water will be hot and filled with debris, make sure you can route your garden hose to a safe drainage point, such as a floor drain, a laundry tub, or directly outside through a basement egress or door. Never run hot sediment water onto delicate landscaping, flower beds, or grass, as the high temperature and concentrated mineral content can kill plants and scorch turf.
Step 1: Shut Off the Power or Gas Supply
Safety is the absolute first priority when servicing any major household appliance. You must never drain a water heater while it is actively heating, as exposing the upper or lower heating elements (in electric units) or the combustion chamber base (in gas units) to air while powered on can cause catastrophic damage.
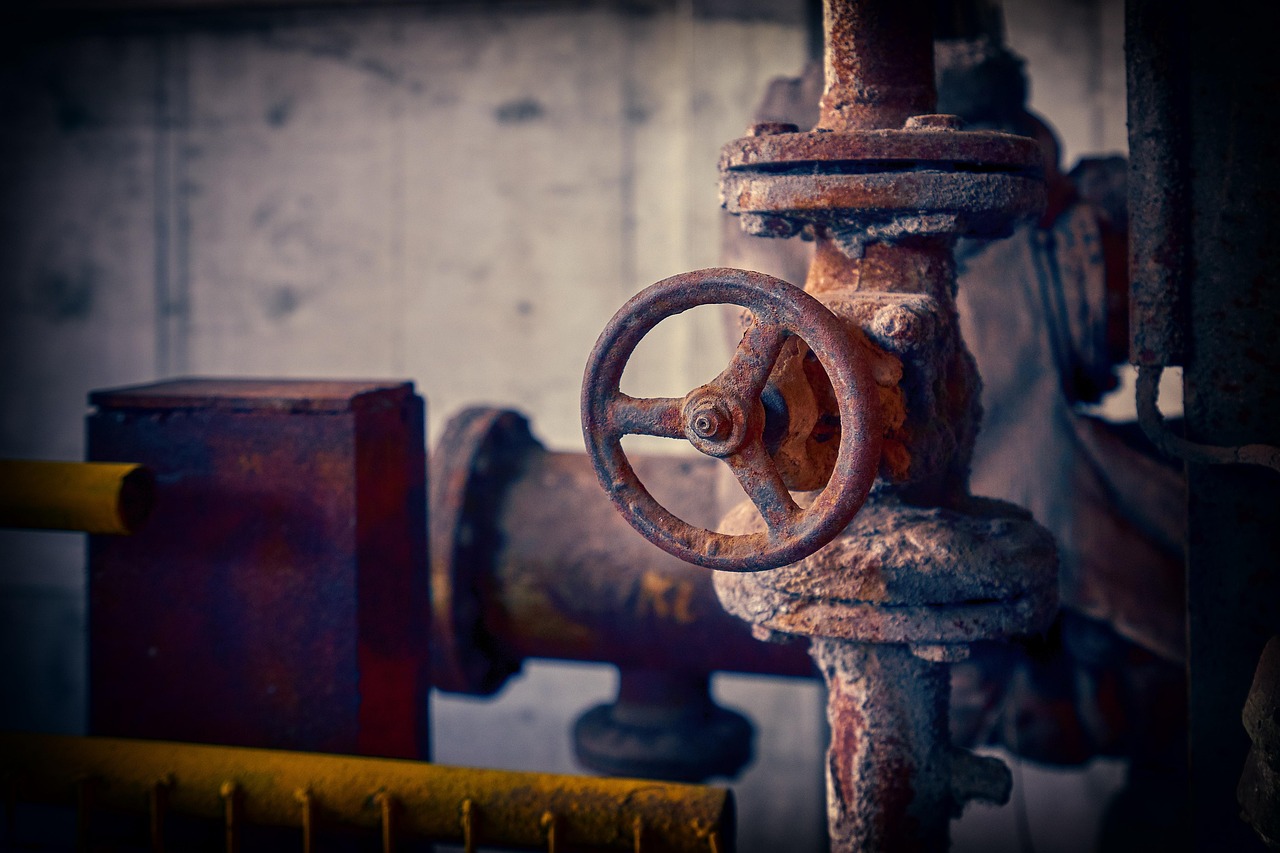
For electric water heaters, locate the dedicated circuit breaker in your home’s main electrical panel and switch it to the OFF position. To be completely sure, you can verify power is cut using a non-contact voltage tester at the junction box on top of the water heater. Never rely solely on an integrated appliance switch if one is present; always trip the breaker at the main electrical panel to eliminate any risk of accidental electrocution or dry-firing the heating elements.
For gas water heaters, turn the gas control valve knob from the ‘ON’ position to the ‘PILOT’ or ‘OFF’ position. This stops the burner from engaging while the water level inside the storage tank drops. Failing to shut off the gas valve on a gas unit while draining the tank can overheat the combustion chamber, warp internal components, or crack the glass lining due to extreme localized thermal stress.
Step 2: Shut Off the Cold Water Supply Inlet
Next, locate the cold water supply valve, which is typically positioned on the top right side of the water heater and marked with a blue ring or handle. Turn this valve clockwise until it is completely closed. This stops new water from entering the tank while you are trying to empty it. If you leave the cold water valve open, incoming pressure will continuously replenish the tank, making it impossible to drain out the settled sediment at the bottom.
Leave the hot water taps running slightly in a nearby bathroom or kitchen sink to relieve pressure in the household plumbing lines and allow air to enter the tank as it drains later. However, close these indoor faucets once the draining process begins so you do not accidentally draw air backward into your home plumbing system, which can sometimes introduce air pockets into downstream fixtures.
Step 3: Connect the Garden Hose and Locate a Safe Drain
Find the tank drain valve located near the very bottom of the water heater. Modern water heaters usually feature durable brass or plastic ball valves with threaded male hose connections, while older models may have traditional gate valves that require a flathead screwdriver to open.
Screw your garden hose securely onto the drain valve threads. Ensure the connection is tight to prevent hot, dirty water from leaking onto your floor during the flush. Route the open end of the hose to your chosen floor drain, utility sink, or outdoor discharge point. If your drain is higher than the base of the water heater—such as running water upward out of a basement window—you will need a small utility pump to push the water out, as gravity alone will not suffice.
Step 4: Open the Temperature and Pressure Relief Valve
Before opening the drain valve, lift the lever on the Temperature and Pressure (T&P) relief valve located near the top of the water heater. Opening this valve allows air to enter the tank as water exits, preventing a vacuum from forming and allowing the tank to drain smoothly and rapidly.
Warning: The water and steam coming out of the T&P relief line can be scalding hot. Ensure the discharge pipe attached to the T&P valve extends safely downward toward the floor or a bucket. If you have not tested your T&P valve in years, be prepared for a small burst of hot water. If the valve fails to snap shut cleanly after you finish your maintenance, you should plan to replace the T&P valve immediately, as a leaking or stuck relief valve is a serious safety hazard.
Step 5: Open the Drain Valve and Inspect the Sediment
Carefully open the water heater drain valve. If you have a ball valve, turn the handle a quarter-turn parallel to the hose. If you have an older gate valve, turn it counterclockwise to open. The water rushing through the hose will likely be murky, discolored, and thick with brown or gray particles. This is entirely normal.
Catch a small sample of the initial drainage in a clear glass jar. Letting the water settle for a minute will reveal whether you are dealing with fine sand, gritty calcium chips, or thick sludge. If the water runs clear immediately, your tank may not have heavy accumulation, but it is still wise to let several gallons flush through to clear any lingering debris.
Step 6: Agitate Stubborn Sediment with the Cold Water Supply
Sometimes, heavy mineral deposits cake so densely over the drain opening that water trickles out slowly even when the valve is fully open. If this happens, you can use the incoming water pressure to break up the clog.
With the drain valve open and the hose running, quickly reopen the main cold water supply valve for about 30 to 60 seconds, then shut it off again. This short burst of high-pressure incoming water creates turbulence inside the tank, stirring up settled sand and forcing it out through the open drain valve. Repeat this pulse technique two or three times until the water running through your clear glass jar looks substantially cleaner and free of heavy grit.
Be careful not to leave the cold water supply open for too long during this agitation phase, or you will simply refill the tank with hot water instead of flushing out the sediment. The goal is to create short, sharp bursts of turbulence that suspend the settled minerals so they can escape through the relatively narrow discharge port.
Troubleshooting a Clogged or Stuck Drain Valve
One of the most common frustrations homeowners face during maintenance is a stuck or clogged drain valve. Plastic valves on older tanks can become brittle, calcium can cement the internal gate in place, or the valve may simply refuse to seal properly once closed.
If sediment clogs the valve opening while draining, you can sometimes clear the blockage by gently poking a straightened wire hanger or a zip tie into the open valve spout (exercise extreme caution around hot water). If the valve handle snaps or leaks continuously after you close it, do not panic. You can screw a heavy-duty brass garden hose cap with a rubber washer directly onto the end of the valve to stop leaks temporarily until you can replace the valve.
For long-term peace of mind, many homeowners upgrade standard plastic drain valves to full-port brass ball valves. Brass valves feature a wide-open interior bore that resists clogging and lasts significantly longer than factory-installed plastic alternatives. When replacing a drain valve, always ensure the tank is completely drained and pressure is relieved before unthreading the old valve, and use fresh pipe thread sealant on the new fitting to guarantee a watertight seal.
Step 7: Refill the Tank Before Restoring Power
Once the water running through the hose appears clear and free of grit, close the drain valve firmly clockwise and disconnect your garden hose. It is critical that you complete the refilling process before turning the power back on.
- Ensure the drain valve is completely closed and tight.
- Close the T&P relief valve lever so it snaps securely back into its closed position.
- Turn the cold water supply valve back on fully to let water refill the tank.
- Open several hot water faucets inside your home to bleed trapped air out of the plumbing lines.
- Wait until water flows in a steady, uninterrupted stream from the hot faucets, indicating the tank is completely full of water.
- Turn off the indoor faucets and check the water heater tank fittings, drain valve, and T&P valve for any signs of leaks.
Step 8: Safely Restart Your Water Heater
With the tank completely full of water and all air purged from the system, you can safely restore power or gas to the unit. For electric water heaters, switch the dedicated circuit breaker back to the ON position. You may hear a faint humming sound as the elements begin heating the fresh water.
For gas water heaters, rotate the gas control valve knob from ‘PILOT’ back to the ‘ON’ position. If your standing pilot light extinguished during the process, follow the manufacturer lighting instructions printed on the side of the tank to relight the pilot safely. Give the unit 30 to 60 minutes to return the water to your set thermostat temperature.
Double-check your work area for any tools, wet rags, or moisture before walking away. Monitoring the water heater over the next few hours gives you peace of mind that all valves are holding pressure and your heating elements are functioning normally without any unusual noises or electrical tripping.
Preventative Maintenance Tips for Long-Term Efficiency
Flushing your water heater once a year goes a long way toward extending the life of your appliance, but combining this chore with other routine checks maximizes your results. If you live in an exceptionally hard water region with high mineral content, consider increasing your maintenance frequency to every six months.
Additionally, inspect the sacrificial anode rod inside your water heater every two to three years. The anode rod is a metal core wire designed to attract corrosive elements in the water so they attack the rod instead of the steel tank walls. Once an anode rod is fully corroded away, your tank is left defenseless against rust. Replacing a worn anode rod costs very little compared to buying an entirely new water heater.
By following this systematic water heater sediment flushing guide annually, you protect your heating elements, maintain optimal energy efficiency, and prevent unexpected cold showers or costly emergency replacements.



