
When you work remotely from coffee shops, hotels, or airports, your corporate laptop is only as secure as the network it connects to. While software VPN clients on your machine provide encryption for application traffic, they often leave operating system chatter, background telemetry, and secondary devices exposed to local network sniffing. Implementing a hardware VPN router remote work setup solves this by creating a dedicated, always-on encrypted tunnel for every device you connect to it.
A travel router acts as your personal secure gateway. Instead of joining a public Wi-Fi network directly with your work computer, your travel router connects to the public access point, authenticates through a captive portal, and establishes a secure VPN connection—typically using WireGuard—back to your home server, office network, or commercial VPN provider. Your work laptop then connects to the travel router’s private Wi-Fi network, completely shielded from other users sharing the same physical space.
This guide walks you through the entire process of planning, purchasing, configuring, and deploying a hardware-level network encryption setup designed specifically for remote professionals and digital nomads.
Understanding the Architecture of a Travel VPN Setup
Before diving into firmware and configuration screens, it helps to understand how packet routing works in a dual-router setup. When traveling, you face a hostile local network environment. Local devices might attempt port scanning, ARP poisoning, or traffic interception. By introducing a secondary pocket-sized router between your devices and the public Wi-Fi, you create a network boundary.
The travel router performs two primary functions simultaneously. First, it operates in “Client Mode” (or Wireless Repeater mode), connecting upstream to the hotel or cafe router to source internet access. Second, it operates as an Access Point, broadcasting its own private SSID (Wi-Fi network name) down to your client devices. Sandwiched between these two modes is the VPN client engine, which encapsulates all downstream traffic into an encrypted tunnel before it ever touches the upstream public network.
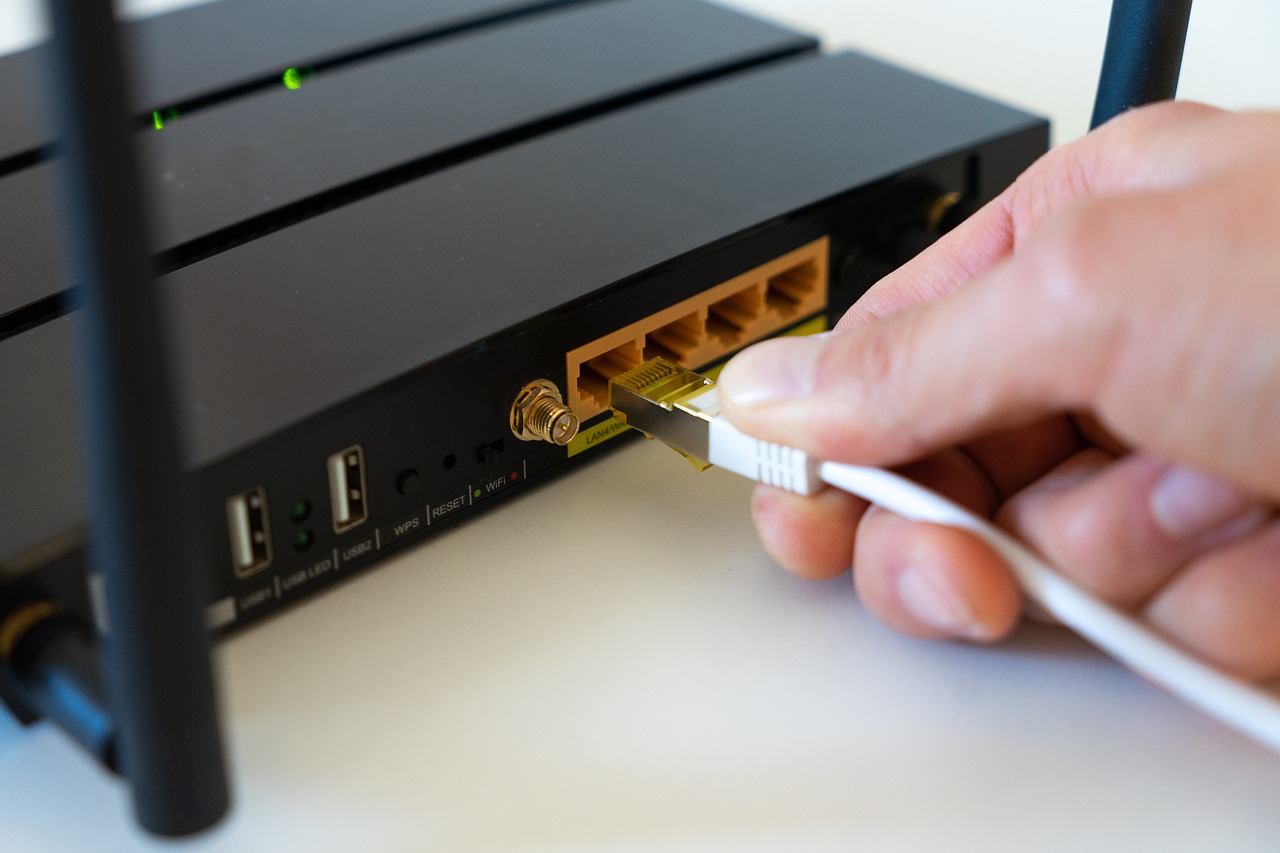
Choosing the right hardware is the foundation of a stable configuration. You need a device compact enough to slip into a laptop sleeve, yet powerful enough to handle modern cryptographic algorithms without choking your internet speed.
When planning your network architecture, you must also consider how local IP addressing interacts with your corporate infrastructure. If your corporate network uses a standard subnet range like 192.168.1.0/24, and your travel router tries to bridge or route using the exact same subnet scheme while plugged into a home network or hotel network using that same range, routing loops and packet drops will occur. Designing your travel router to operate on an isolated, distinct subnet—such as 10.99.0.0/24 or 192.168.50.0/24—prevents these routing conflicts before you ever leave your desk.
Furthermore, understanding packet encapsulation overhead is essential for maintaining optimal throughput. When data passes through a WireGuard tunnel, additional headers are added to each packet, which slightly reduces the maximum transmission unit (MTU) size. Properly tuning your travel router’s interface MTU—typically lowering it to 1420 or 1280 bytes depending on the underlying transport layer—prevents packet fragmentation, reduces latency spikes, and ensures smooth, uninterrupted data transmission during heavy voice or video calls.
Selecting the Right Hardware for Your Mobile Gateway
Not all small routers are built to handle encryption workloads. Encryption requires CPU horsepower. Older routers running legacy firmware will struggle to push more than 15 or 20 megabits per second over an encrypted tunnel, ruining your video calls and slowing down file transfers.
Look for travel routers featuring modern chipsets that support hardware-accelerated cryptography. Brands like GL.iNet have become the de facto standard for remote workers and travelers because they come pre-flashed with customized OpenWrt firmware, offering native support for WireGuard, OpenVPN, and cloud management platforms right out of the box.
Key specifications to evaluate when shopping for your travel router include:
- Processor Speed and Architecture: Multi-core ARM processors provide the necessary muscle for high-throughput VPN encryption without driving CPU utilization to 100 percent.
- Wired Ports: At least one WAN port and one LAN port give you the flexibility to plug directly into hotel room Ethernet wall jacks when Wi-Fi is congested or insecure.
- Power Input: Standard USB-C power input ensures you can power the router using standard phone chargers, multi-port power adapters, or portable power banks.
- Firmware Extensibility: Open-source or developer-friendly firmware ensures you receive security patches and can install custom packages if needed.
- Radio Bands: Dual-band Wi-Fi support (2.4GHz and 5GHz) allows you to connect to cleaner channels when operating in crowded conference venues.
Evaluating these factors ensures your investment supports high-speed connectivity, letting you handle large data transfers, multi-participant video conferences, and heavy cloud computing workloads without experiencing hardware bottlenecks. Additionally, consider looking for models equipped with external antennas or high-gain internal arrays if you frequently work from the far corners of sprawling hotel lobbies or conference centers where signal attenuation is high.
Initial Out-of-the-Box Configuration
Once your hardware arrives, complete the initial setup in a controlled environment like your home office before hitting the road. This saves you from troubleshooting configuration errors over spotty Wi-Fi in a foreign city.
Unbox the router, plug it into power, and connect your computer to its default Wi-Fi network using the password printed on the bottom label. Open your web browser and navigate to the default gateway IP address specified in the user manual—typically 192.168.8.1 for GL.iNet devices.
You will be prompted to create a strong administrator password. Do not skip this step or use a default pin. Next, update the device firmware to the latest stable release provided by the manufacturer. Manufacturers frequently patch critical security vulnerabilities in the underlying Linux kernel and web interface, making this update essential for maintaining a secure network perimeter.
After updating the firmware, configure your local wireless settings. Change the default SSID to something unique, and set a robust WPA3 or WPA2-PSK passphrase. Avoid broadcasting public or obvious network identifiers that might attract unwanted attention in shared spaces. It is also wise to disable remote management over the WAN interface and disable WPS (Wi-Fi Protected Setup), as these features can introduce unnecessary attack vectors while you are connected to untrusted upstream networks.
Configuring the WireGuard Client
WireGuard has largely superseded OpenVPN for mobile setups due to its modern cryptography, minimal codebase, and instant connection times. It handles network handoffs between cell towers and Wi-Fi networks gracefully, which is crucial when moving around with your gear.
To configure WireGuard on your travel router, you first need a WireGuard configuration file (.conf) or set of peer credentials. This can come from your self-hosted VPN server at home, your company’s IT infrastructure, or a commercial VPN provider that supports manual WireGuard configurations.
Log into your travel router dashboard and locate the VPN section. Select WireGuard Client and choose the option to import a configuration file or manually paste the peer settings. A standard WireGuard configuration block contains:
- Interface Section: Your private key and the local IP address assigned within the VPN tunnel.
- Peer Section: The public key of the remote server, the endpoint address and port, and the allowed IPs (typically set to 0.0.0.0/0 to route all traffic through the tunnel).
- Persistent Keepalive: A timer setting (such as 25 seconds) that ensures NAT mappings remain active even during periods of network inactivity.
Name your connection profile clearly—such as “Corporate-HQ-WireGuard” or “Home-Server-WG”—so you can easily identify it when managing multiple endpoints. Save and apply the configuration, but keep the client toggled off until you verify your upstream connection.
When configuring the AllowedIPs field, verify whether you want full tunnel routing or split tunneling. For strict corporate remote work compliance, routing all traffic (0.0.0.0/0) through the tunnel is standard practice. However, if you need local subnet access at your temporary accommodation—such as casting media to a hotel smart TV or printing to a local network printer—you can refine your allowed IP rules or configure policy-based routing to keep local device traffic outside the encrypted tunnel while sending all corporate traffic securely through your gateway.
Establishing Upstream Connectivity in the Field
When you arrive at a hotel, conference center, or cafe, connecting your travel router requires a two-step handshake because of captive portals (those web pages that pop up asking you to accept terms of service or enter a room number).
Power on your travel router and connect your phone or laptop to its private Wi-Fi. Log into the router administration panel and navigate to the Internet or Repeater settings menu. Scan for available wireless networks and select the venue’s public Wi-Fi.

If the network requires a web-based login, your travel router will often intercept the redirect or provide a captive portal helper tool in its dashboard. Once you complete the authentication on the public network, your travel router has internet access. Only then should you toggle your WireGuard VPN client switch to the “On” position.
In scenarios where the public Wi-Fi network uses advanced authentication methods or MAC address registration portals, you may need to use your smartphone’s USB tethering as an intermediary bridge, or clone your laptop’s MAC address directly onto the travel router’s WAN interface to bypass restrictive access controls. Another effective strategy is connecting your travel router to an Ethernet port in your hotel room when available; wired hotel connections bypass wireless captive portals entirely, giving you an immediate, high-speed upstream connection ready for instant WireGuard activation.
Implementing Fail-Safes and Kill Switches
A critical requirement for remote professionals handling sensitive corporate data is preventing unencrypted leaks if the VPN connection drops unexpectedly. If you walk out of range of a Wi-Fi source or the local network restarts, your router might briefly fall back to cleartext internet access before re-establishing the tunnel.
To mitigate this, enable the built-in VPN Kill Switch (sometimes called Network Lock) in your travel router settings. This feature blocks all outgoing and incoming traffic on the WAN interface if the WireGuard tunnel goes down. Your internet simply pauses until the secure handshake is restored, ensuring no unencrypted packets leak onto the untrusted local network.
Additionally, configure custom DNS settings within your router. Avoid relying on the local network’s DNS servers, which can be manipulated to redirect your traffic to phishing sites or log your browsing history. Point your router’s DNS resolver to trusted, encrypted providers like Cloudflare (1.1.1.1) or Quad9 (9.9.9.9) routed strictly through the VPN tunnel, and enable DNS over TLS (DoT) or DNS over HTTPS (DoH) where supported by your firmware.
Beyond basic kill switches, advanced users can configure firewall rules within the router’s underlying Linux operating system to explicitly drop any packets that do not originate from or terminate within the WireGuard network interface. This defense-in-depth approach ensures that even if a firmware glitch disables the primary kill switch toggle, your data remains shielded against accidental exposure.
Testing and Verifying Your Security Posture
Never assume your configuration is working without empirical proof. Before logging into sensitive work systems, run a series of verification checks from a device connected to your travel router’s Wi-Fi network.
First, check your external IP address using a neutral lookup service. The displayed location and Internet Service Provider should match your VPN server’s location or datacenter, not the city or local ISP of the cafe you are sitting in. Second, perform a DNS leak test to ensure your domain name queries are resolving through your chosen encrypted DNS provider rather than the local hotel network.
Finally, test your throughput. Run a speed test to measure latency, download, and upload speeds. While encryption introduces a minor overhead penalty, modern hardware routers running WireGuard should easily sustain speeds high enough for seamless cloud application access and video conferencing.
It is also prudent to perform a simulated disconnection test. While actively streaming video or running a continuous ping command to an external server, intentionally disable the upstream Wi-Fi repeater connection or unplug the WAN cable. Observe whether your client device’s traffic instantly halts due to the kill switch. If traffic continues to flow or if your external IP address reverts to the local network provider during the test, recheck your kill switch configurations before handling sensitive corporate assets.
Common Pitfalls and Troubleshooting Strategies
Even with careful preparation, you will occasionally run into connectivity roadblocks while traveling. Understanding common failure modes helps you resolve issues quickly without disrupting your workday.
Captive Portal Loops: Sometimes the hotel captive portal blocks the travel router’s MAC address from authenticating properly. Most travel routers feature a MAC cloning setting, allowing you to clone the MAC address of your laptop directly onto the router’s WAN interface, tricking the hotel network into accepting the connection.
Handshake Timeouts: If your WireGuard connection sits in a perpetual connecting state, check your endpoint IP address and port. Public Wi-Fi networks occasionally block non-standard UDP ports used by VPN servers. Switching your VPN server to listen on standard ports like UDP 443 can often bypass restrictive firewall rules.
Double NAT Issues: Connecting a router behind another router can sometimes cause subtle routing conflicts if subnet ranges overlap. Ensure your travel router uses a distinct local subnet—such as 192.168.10.1—to avoid conflicts with standard home or hotel subnets.
MTU Fragmentation Issues: If certain large websites fail to load while smaller pages load fine, your packet MTU size is likely too large for the WireGuard tunnel encapsulation. Lowering your interface MTU setting to 1360 or 1280 bytes usually resolves these elusive packet drop symptoms immediately.
By taking the time to configure a dedicated travel router with WireGuard encryption, you establish a portable, enterprise-grade security perimeter. Whether you are reviewing financial spreadsheets in a bustling airport terminal or joining board meetings from a shared co-working space, your hardware VPN setup ensures your corporate data remains strictly confidential.