
For freelancers, video editors, tax professionals, and remote knowledge workers handling sensitive client data, modern cloud subscription services present a difficult choice between data privacy, speed, and monthly operational overhead. Implementing a reliable secure remote access NAS storage setup US remote workers rely on allows you to maintain total ownership of your confidential files, eliminate monthly cloud tier charges, and access terabytes of storage from anywhere in the world.
Exposing local storage hardware directly to the internet through basic router port forwarding or automated vendor relays is a major security hazard. Automated botnets continuously scan public US IP address ranges for open SMB, SSH, and web administration ports. True network isolation requires a zero-trust model: establishing an encrypted tunnel into your home office network using modern protocols like WireGuard, enforcing strict multi-factor authentication (MFA), and securing physical disk volumes with hardware-accelerated encryption. This step-by-step guide walks you through building, configuring, and hardening a professional remote-access pipeline for self-hosted network-attached storage.
The Architecture of Secure Remote Access
To establish a resilient remote workflow, you must first understand why traditional methods of accessing home network hardware fall short of enterprise privacy standards. Out of the box, many commercial NAS devices urge users to turn on proprietary cloud relay networks. Although these services bypass router configuration issues, they funnel your unencrypted or vendor-encrypted session data through intermediate cloud servers. This introduces third-party risk, performance bottlenecks, and service availability dependencies that are unacceptable when managing strict client non-disclosure agreements (NDAs).
On the opposite end of the spectrum, directly forwarding ports like 80 (HTTP), 443 (HTTPS), 445 (SMB), or 548 (AFP) on your residential broadband router exposes your network to constant internet scans. Vulnerabilities in network protocols or unpatched NAS operating systems can allow malicious code to execute remotely, exposing your entire local subnet within hours.
A zero-trust access model completely hides your local storage from the public internet. Instead of punching open holes into your storage array, you deploy an encrypted perimeter gateway on your local network using a secure VPN server. Remote devices authenticate against this local gateway, encrypting every network packet before it leaves your laptop. Once the cryptographic handshake succeeds, your laptop acts as though it were plugged directly into your home office Ethernet switch.
| Remote Access Method | Encryption Protocol | Security Profile | Setup Complexity | Performance Impact |
|---|---|---|---|---|
| Direct Port Forwarding (SMB/Web) | None / TLS Optional | Critical Risk (Exposed to Bot Scans) | Very Low | Native Network Speed |
| Vendor Cloud Relay Services | TLS / Vendor Encrypted | Moderate (Third-Party Cloud Dependency) | Very Low | Throttled by Server Relay Load |
| Legacy OpenVPN Tunnel | AES-256-GCM / OpenSSL | High Security | Moderate | High CPU Overhead, High Latency |
| WireGuard VPN Tunnel | ChaCha20-Poly1305 | Maximum Security (Stealth Mode Endpoint) | Moderate | Near-Native Throughput, Low Latency |
Step 1: Preparing Local NAS Hardware and Disk Encryption
A complete security model must protect data at rest as well as data in transit. If your physical storage array is compromised during a office burglary or damaged during transit, unencrypted storage drives allow anyone to mount the drive partitions on another machine and instantly extract unencrypted client records.
Configuring Volume Encryption (LUKS / AES-256)
When initializing storage pools on platforms like TrueNAS SCALE, Synology DiskStation Manager (DSM), QNAP QTS, or custom Linux installations (such as Debian running ZFS or OpenMediaVault), configure volume encryption at the pool creation stage. Modern x86-64 and ARM processors include dedicated AES-NI hardware instruction sets, allowing real-time encryption and decryption with no perceptible impact on file transfer speeds.
- TrueNAS CORE/SCALE: Select native ZFS dataset encryption using 256-bit keys when creating your primary storage pool. Save the encryption root key to an off-device passphrase manager or offline USB token—never save the key file on the local NAS boot device.
- Synology DSM 7.2+: Select full Volume Encryption using AES-256 during storage pool wizard setup. Configure the Encryption Key Vault to require a physical boot passphrase upon system power cycles, preventing automated volume mounting if the NAS chassis is disconnected from power.
- Unraid / Custom Linux: Format array drives with LUKS (Linux Unified Key Setup) before setting up file system layers like XFS or Btrfs. Ensure the unlock key passphrase resides in memory or on an encrypted local management flash drive.
Static IP Allocation and Network Interface Isolation
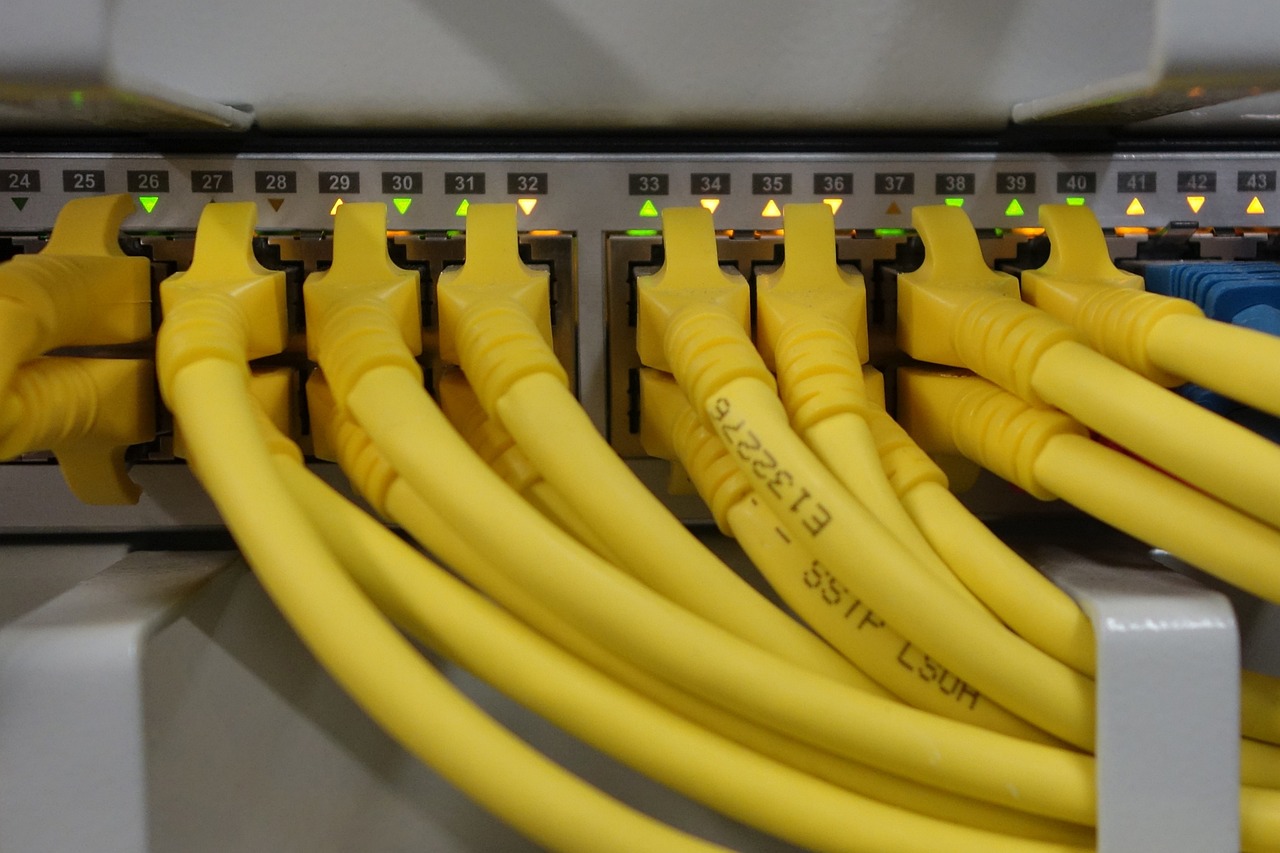
Your storage server requires a stable identity on your home local area network (LAN). Connect your NAS to your primary network switch or router using high-quality Cat6 or Cat6A Ethernet cabling. Open your router’s administration console, navigate to the DHCP Server configuration menu, and assign a permanent DHCP reservation to your NAS system’s physical MAC address (e.g., 192.168.1.100).
If your NAS hardware includes multiple network ports, keep administrative management tasks separate from general file sharing traffic. Assign management portals (such as web UIs and IPMI/iDRAC interfaces) to an isolated network interface bound to a restricted local Virtual LAN (VLAN).
Step 2: Deploying a WireGuard VPN Server
WireGuard has set a new standard for self-hosted secure remote access. Unlike legacy protocols such as OpenVPN or IPsec, which contain hundreds of thousands of lines of code, WireGuard features roughly 4,000 lines of highly optimized C code. This small footprint reduces potential software vulnerabilities, makes code audits straightforward, and minimizes connection setup latency. Crucially, WireGuard endpoints operate in complete stealth: the server simply ignores any packet that fails modern cryptographic verification, rendering your home VPN gateway invisible to public port scanners.
Selecting the Right Hosting Location
You can deploy your WireGuard server at several points across your local network architecture:
- Directly on your Router: Prosumer networking hardware running UniFi OS, OPNsense, pfSense, or OpenWrt includes built-in WireGuard server services. Terminating encrypted traffic at your router prevents untrusted packets from ever hitting your internal switch infrastructure.
- On a Dedicated Security Gateway: A low-power single-board system (such as a Raspberry Pi 4 or Raspberry Pi 5 running PiVPN or WireGuard native) or a dedicated mini-PC running Firezone acts as an isolated hardware security guard inside your network switch.
- Inside a Container on the NAS: Docker containers running WireGuard or mesh networking services like Tailscale can run directly within your NAS operating system. If you choose this path, lock down container privilege escalation settings so compromised container traffic cannot access the root host system.
Generating Encryption Keys and Server Settings
WireGuard utilizes asymmetric public-key cryptography. Both the home gateway server and each remote client device generate an isolated private key (which is never shared over the network) and a corresponding public key (which is exchanged between server and client). Below is a production-ready WireGuard server configuration file (/etc/wireguard/wg0.conf) for a gateway operating on internal IP 10.0.0.1:
[Interface]
PrivateKey = SERVER_PRIVATE_KEY_STRING_HERE
Address = 10.0.0.1/24
ListenPort = 51820
PostUp = iptables -A FORWARD -i wg0 -j ACCEPT; iptables -t nat -A POSTROUTING -o eth0 -j MASQUERADE
PostDown = iptables -D FORWARD -i wg0 -j ACCEPT; iptables -t nat -D POSTROUTING -o eth0 -j MASQUERADE

[Peer]
# Remote Work Laptop
PublicKey = CLIENT_LAPTOP_PUBLIC_KEY_STRING_HERE
AllowedIPs = 10.0.0.2/32
To allow external connection traffic into your WireGuard gateway, open a single UDP port (UDP port 51820 by default) on your home router and direct it strictly to the internal IP of your WireGuard host. Because unauthenticated packets are dropped silently without responding, public port scanning utilities will report port 51820 as closed or filtered.
Step 3: Managing Dynamic IP Addresses with Dynamic DNS (DDNS)
Residential and small-business internet connections provided by US internet service providers (ISPs) like Comcast Xfinity, AT&T Fiber, Spectrum, or Verizon Fios routinely assign dynamic public IP addresses. If your home network’s public IP address updates while you are working away from your home office, your client devices will lose connection to your home WireGuard server.
Dynamic DNS (DDNS) solves this issue by binding a persistent hostname (e.g., remote.yourcustomdomain.com or a hostname provided by services like DuckDNS, No-IP, or Cloudflare) to your home network’s current public IP address. A lightweight software service running on your router or NAS continuously monitors your external WAN address. Whenever your ISP assigns a new public IP, the agent updates your dynamic DNS record automatically within seconds.
Configuring Automated Cloudflare DDNS Updates
Using a custom domain registered with Cloudflare offers fast DNS updates and precise record management. You can automate public IP syncs using lightweight Docker containers:
- Sign in to your Cloudflare management dashboard, open account settings, and create an API Token configured strictly with
Zone.DNS Editpermissions for your target domain. - Deploy a lightweight DNS updater container (such as
favonia/cloudflare-ddns) on your local NAS hardware or network gateway. - Set the external endpoint address inside your remote WireGuard client configuration files to target your dynamic domain name (e.g.,
Endpoint = remote.yourcustomdomain.com:51820).
Step 4: Client Device Configuration and Tunnel Routing
With the server endpoint active, you can configure client software on your remote laptop, mobile phone, or tablet. The official WireGuard client software is free, open-source, and natively available across macOS, Windows, Linux, iOS, and Android platforms.
Split Tunneling vs. Full Tunneling
When working from cafes, client offices, or hotels, you must decide how your remote laptop routes network traffic through your encrypted connection. This routing path is controlled by the AllowedIPs directive within your remote WireGuard client configuration profile.
- Full Tunneling (
AllowedIPs = 0.0.0.0/0, ::/0): Routes 100% of your remote network traffic—including web browsing, video streaming, email, and network file connections—through your encrypted home tunnel. This setup offers maximum protection when connecting via open public Wi-Fi networks, as all internet traffic is shielded from local eavesdroppers. However, it relies heavily on your home internet’s upload bandwidth. - Split Tunneling (
AllowedIPs = 192.168.1.0/24, 10.0.0.0/24): Directs only network traffic bound specifically for your home network (like file transfers to your local NAS) through the encrypted tunnel. General web traffic flows directly out through your current remote network. This approach conserves home upload bandwidth while keeping private file access secure.
Below is an example split-tunnel client configuration file optimized for accessing a home LAN network assigned to subnet 192.168.1.0/24:
[Interface]
PrivateKey = CLIENT_LAPTOP_PRIVATE_KEY_STRING
Address = 10.0.0.2/32
DNS = 10.0.0.1

[Peer]
PublicKey = SERVER_PUBLIC_KEY_STRING
Endpoint = remote.yourcustomdomain.com:51820
AllowedIPs = 192.168.1.0/24, 10.0.0.0/24
PersistentKeepalive = 25
The PersistentKeepalive = 25 parameter sends an encrypted keep-alive packet every 25 seconds. This prevents intermediate cellular towers, public hot-spot firewalls, and carrier NAT tables from dropping your idle connection, ensuring fast response times when mounting remote storage drives.

Step 5: Enforcing Multi-Factor Authentication (MFA) and Access Controls
While an encrypted VPN tunnel establishes a secure path into your home network, hardware access controls ensure only authenticated users can access, modify, or download your stored data. Authenticating with just a basic username and password leaves your storage open to credential-stuffing attacks if a client password is compromised elsewhere.
Deploying Multi-Factor Authentication (MFA)
Enable mandatory multi-factor authentication across every web management portal, cloud interface, and remote system application hosted on your NAS. Choose Time-based One-Time Password (TOTP) apps (such as 1Password, Bitwarden, or Google Authenticator) or hardware security keys (such as YubiKeys using WebAuthn/FIDO2 standards). Avoid SMS-based two-factor authentication whenever possible, as SMS messages remain vulnerable to SIM-swapping and carrier interception.
Enforcing Least Privilege Access Policies
Never mount daily network storage shares using primary administrator credentials (such as admin or root accounts). Instead, configure role-based user accounts with targeted file system access:
- System Administrator Account: Reserved exclusively for system maintenance, OS updates, storage pool expansions, and backup management. Disable network file-sharing permissions (SMB/NFS) for this account entirely.
- Standard Work Account: Granted read/write permissions strictly for target project directories (e.g.,
/volume1/Client_Projects). Block this account from viewing system logs, personal finance records, or network backup archives. - External Contractor Accounts: Restricted strictly to specific directory folders with granular read-only permissions or strict access expiration schedules, disabling file deletion rights where appropriate.
Step 6: Hardening File Protocols (SMB, NFS, SSH)
Once your WireGuard tunnel links your remote laptop to your home network, network file-sharing protocols like Server Message Block (SMB) or Network File System (NFS) handle your file updates. Default settings on older NAS platforms often keep legacy protocol options open for backward compatibility, creating unnecessary vulnerabilities.
Hardening Server Message Block (SMB) Configuration
SMB is the primary file-sharing protocol for both macOS and Windows operating systems. Lock down your NAS SMB settings using these operational controls:
- Disable SMBv1: The legacy SMBv1 protocol contains severe security flaws (including vulnerabilities exploited by WannaCry and EternalBlue ransomware attacks). Set your minimum supported protocol version to SMBv2 and your maximum version to SMBv3.
- Require Transport Encryption: Configure your NAS to force SMBv3 transport encryption for all active client sessions. Although WireGuard already encrypts network traffic across the internet, native SMB encryption adds defense-in-depth protection against secondary local network threats.
- Disable Guest Accounts: Turn off all guest, anonymous, or null-user share access settings. Require valid, authenticated account credentials for every connection request.
Hardening Secure Shell (SSH) Access
If you perform system maintenance via the command-line interface using SSH, apply these security rules to your server’s /etc/ssh/sshd_config file:
- Set
PasswordAuthentication noto disable password-based command logins completely. - Require SSH Public Key Authentication using modern Ed25519 cryptographic keys instead of legacy RSA key pairs.
- Set
ListenAddress 10.0.0.1to ensure the SSH daemon listens exclusively on your secure VPN network interface, hiding command-line access from the rest of your local LAN.
Performance Tuning and Network Optimization
High-grade network security does not have to slow down your daily workflow. When editing high-bitrate video, managing databases, or transferring large graphic files over a self-hosted VPN, minor network configuration adjustments can significantly boost transfer speeds.
Optimizing Maximum Transmission Unit (MTU) Settings
Because VPN protocols encapsulate standard network traffic inside additional encryption headers, standard network packets can exceed maximum size limits enforced by intermediate network routers. When packets exceed these limits, routers split them apart (packet fragmentation), causing high latency, dropped connections, and reduced file transfer throughput.
To prevent packet fragmentation, adjust the MTU size within your WireGuard client profile. Standard local Ethernet networks use an MTU of 1500. Lowering your WireGuard client profile MTU to 1420 or 1360 leaves adequate room for encryption headers over cellular networks or public hotel Wi-Fi setups:
[Interface]
MTU = 1360
Identifying and Resolving Transfer Speed Bottlenecks
If file transfer performance drops while connected over your remote access VPN, review these common network bottlenecks:
- ISP Upload Bandwidth Restrictions: Most residential internet plans in the United States offer asymmetrical internet speeds (for example, 500 Mbps download but only 20 Mbps upload). When downloading files from your home NAS while working remotely, your transfer speed is limited by your home network’s upload rate. Upgrading to symmetrical fiber internet (such as AT&T Fiber, Verizon Fios, or Google Fiber) dramatically improves remote read performance.
- Gateway Processor Constraints: Check CPU utilization on low-power NAS units or budget routers during heavy file transfers. Encrypting large files while simultaneously handling WireGuard protocol decryption can overload entry-level processors. Hardware platforms with dedicated AES-NI support eliminate these processing bottlenecks.
- Network Protocol Latency: Standard SMB protocols make thousands of small metadata requests (checking file modification dates, directory structures, and file permissions) when browsing remote folders. Over higher-latency remote connections, this metadata traffic can make folder browsing feel slow. For faster remote directory management, archive large folders into a single compressed file before transferring, or use synchronized file sync platforms like Syncthing over your WireGuard connection instead of mounting direct network shares.
Automated Backups and Disaster Recovery Planning
Operating a self-hosted storage infrastructure means accepting complete responsibility for data redundancy, server maintenance, and recovery planning. A local storage array—regardless of its RAID configuration or drive redundancy—does not replace a proper backup system.
Applying the 3-2-1 Backup Strategy
Protect your critical client files from accidental deletion, ransomware, hardware failures, or natural disasters by maintaining a strict 3-2-1 backup pipeline:
- 3 Copies of Core Data: Maintain your primary active file copy on your local NAS, one automated secondary local backup, and one secure off-site backup.
- 2 Distinct Media Formats: Store local backups across separate physical drive arrays or secondary local backup servers.
- 1 Encrypted Off-Site Backup: Automate nightly, zero-knowledge encrypted cloud backups from your local NAS to an enterprise cold storage provider (such as Backblaze B2, AWS S3 Glacier, or Wasabi).
Use reliable, client-encrypted backup utilities like Duplicati, Restic, or Synology Hyper Backup. Always apply zero-knowledge client-side encryption to your backup archives before they leave your local NAS, ensuring third-party cloud providers have no access to unencrypted client data.
System Alerts and Software Maintenance
Configure automated system notifications on your NAS to send immediate email or push alerts whenever a hard drive reports S.M.A.R.T. errors, uncorrectable read sectors, or elevated operating temperatures. Set up automatic updates for minor operating system security patches, but keep major system upgrades on manual approval so unexpected reboot cycles never disrupt critical remote work sessions.
Frequently Asked Questions
Can I use mesh networks like Tailscale or Zerotier instead of manual WireGuard configurations?
Yes. Mesh networking services like Tailscale and ZeroTier are built directly on top of the WireGuard protocol and simplify connection setup by automating key exchanges and NAT traversal. They are excellent solutions for remote workers who want reliable WireGuard encryption without manually managing public router ports or configuring dynamic DNS settings.
Will connecting through a WireGuard VPN tunnel slow down my normal web browsing?
Not if you configure your client profile for split tunneling. With split tunneling enabled, only file transfer requests bound for your home NAS flow through the encrypted home connection, while general web browsing uses your local internet connection directly. If you use full tunneling, all web traffic routes through your home internet connection, which may use your home upload bandwidth.
How do I prevent ransomware from infecting my remote NAS files if my laptop is compromised?
Protect your file system by taking automated, read-only ZFS or Btrfs file system snapshots on your NAS every hour. Immutable local snapshots allow you to roll back your file systems to a clean state within minutes if a remote device accidentally syncs compromised or encrypted files. Additionally, access your daily working shares using non-administrator accounts with limited access permissions.
Final Checklist for Remote Work Readiness
Before leaving your home office and depending on your self-hosted NAS array from hundreds of miles away, verify your connection setup using cellular data or an external network test:
- Perform an external port scan on your home network IP to confirm that direct web management ports (such as 80, 443, 5000, and 8080) show as closed to public traffic.
- Confirm that your WireGuard client establishes a verified connection handshake within seconds of activation on cellular data.
- Mount your remote NAS storage shares over SMB/NFS while connected to the VPN tunnel to verify that your non-administrator user permissions function correctly.
- Trigger a multi-factor authentication prompt on your NAS administrative portals to ensure hardware security key authentication works properly.
- Review your off-site backup logs to confirm that automated, zero-knowledge encrypted backups run successfully on schedule.
By moving away from open port forwarding and relying on a hardware-secured, self-hosted WireGuard tunnel, you establish complete control over your critical digital assets. This technical foundation gives remote knowledge workers and independent contractors enterprise-grade privacy, complete data sovereignty, and dependable file access from anywhere in the world.