How to Build a Clean Remote Work Charging Station and Cable Management System
Operating a modern remote office often means juggling an array of hardware: a primary work laptop, a secondary personal laptop, a tablet, a smartphone, wireless headphones, and perhaps an e-reader or a smart desk light. Without a thoughtful system, your workspace quickly devolves into a chaotic web of.
13 min read
Operating a modern remote office often means juggling an array of hardware: a primary work laptop, a secondary personal laptop, a tablet, a smartphone, wireless headphones, and perhaps an e-reader or a smart desk light. Without a thoughtful system, your workspace quickly devolves into a chaotic web of tangled wires, misplaced power adapters, and a severe shortage of available wall outlets. Building a dedicated remote work charging station setup solves this friction, transforming a messy desk into an efficient, professional command center.
Achieving a clean aesthetic and reliable power distribution is not just about hiding wires out of sight. It requires evaluating electrical loads, choosing the right high-wattage USB-C power delivery bricks, selecting robust under-desk cable trays, and maintaining a workflow that accommodates hardware upgrades over time. This guide walks you through the practical engineering of a streamlined desk power system.
Evaluating Your Power Needs and Device Ecosystem
Before buying any hardware, audit every electronic item you use at your desk during a standard work week. Tally up your primary work laptop, personal smartphone, tablet, wireless mouse, keyboard, headset, and any specialized peripherals. Note the charging standard for each device. Most modern laptops and tablets rely on USB-C Power Delivery (PD), while smaller accessories still rely on USB-A or proprietary magnetic pucks.
Calculate your maximum simultaneous power draw. If your work laptop requires a 65W input, your secondary laptop demands 45W, and your phone needs 20W, you need a charging hub capable of distributing well over 130W safely. Understanding these wattage requirements prevents you from purchasing underpowered chargers that throttle charging speeds or fail when multiple devices draw maximum current at the same time.
Furthermore, consider how your device lineup changes throughout the day. Do you plug in a portable power bank during lunch? Do you regularly swap between an iPad and a secondary portable monitor? Mapping out these variables ensures your charging station handles peak operational loads without tripping internal safety mechanisms or heating up excessively.
In addition to raw wattage, look closely at voltage profiles. Different devices negotiate different voltage and amperage combinations through the USB-C Power Delivery protocol (such as 5V, 9V, 15V, and 20V rails). High-performance multi-port chargers allocate these rails dynamically. If your charger lacks the flexibility to provide a dedicated 20V rail, your high-end work laptop may default to a lower charging tier, resulting in agonizingly slow charge times or battery drain while under heavy computational load.
It is also helpful to map out your physical interaction with these devices. Which gadgets do you pick up and put down multiple times a day (like your smartphone or wireless earbuds), and which ones remain permanently tethered to the desk (like a desktop monitor or external hard drive array)? Designing your power architecture around your physical habits ensures that the cables you touch frequently are easy to reach, while the heavy power adapters remain permanently out of sight in your under-desk management zone.
Choosing the Right Multi-Port USB-C Charger
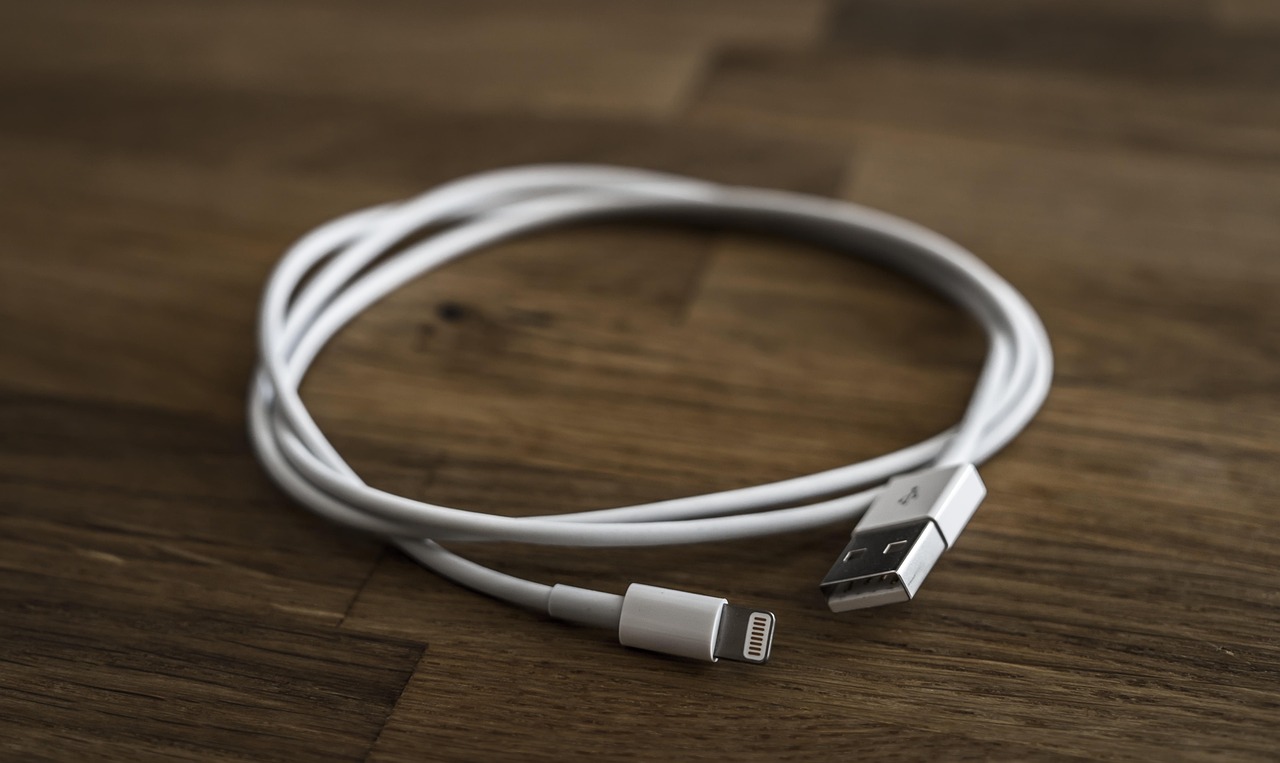
Multi-port chargers consolidate power bricks into a single desktop footprint. — Photo by Felix-Mittermeier via Pixabay
Traditional multi-outlet power strips leave your desk littered with bulky manufacturer power bricks that block adjacent sockets and create visual clutter. The cornerstone of a modern desk setup is a high-wattage desktop or wall-mounted multi-port charger utilizing Gallium Nitride (GaN) technology.
GaN chargers are significantly smaller, run cooler, and handle higher power throughput than traditional silicon chargers. When shopping for a multi device charging dock, look for models featuring at least two USB-C ports with independent power profiles and one or two legacy USB-A ports for older accessories. Check the manufacturer’s power-allocation matrix; some chargers dynamically redistribute wattage as devices are plugged in or unplugged, while others have fixed port allocations. Opt for a desktop charger with a detachable AC power cord rather than a direct wall plug if you want the charging surface positioned neatly on your desk surface while the heavy cord routes discreetly below.
Pay close attention to protocol support as well. Ensure your charger supports standard protocols like USB Power Delivery 3.0 or Programmable Power Supply (PPS), which allows compatible smartphones and laptops to negotiate optimal charging voltages dynamically, reducing thermal stress on your device batteries over years of daily top-offs.
When evaluating multi-port chargers, be mindful of how total wattage is split across ports. A charger advertised as a 140W unit rarely delivers 140W from a single port unless it specifically supports the USB-PD 3.1 EPR (Extended Power Range) standard on a dedicated channel. Most units distribute power across multiple ports using predefined tiers, such as 100W on port one and 30W on port two. If you plug a power-hungry 96W MacBook Pro into a port that drops to 65W when a second device is attached, your laptop will notify you that it is charging slowly. Always consult the fine print on the manufacturer’s specification sheet to understand how power sharing functions under multi-device loads.
Another factor to consider is the physical form factor of the charger itself. Desktop charging blocks that sit on the grommet or corner of your desk often include an integrated power cable and a weighted base, keeping the unit stable even when thick cables are tugged. Conversely, brick-style wall chargers plug directly into a wall outlet or a floor box, which is ideal if you want zero hardware clutter sitting on top of your work surface. However, wall-mounted bricks can put physical strain on the wall outlet if they are excessively heavy or if multiple stiff cables pull downward on them over time.
Designing an Effective Under-Desk Cable Management Tray
Once power is delivered to the desktop level, the next challenge is routing the excess cord length away from your feet and out of your line of sight. Relying purely on adhesive clips or lightweight plastic hooks often fails over time due to the weight of thick power cords and heavy adapter blocks.
A sturdy desk cable management organizer, such as a powder-coated steel mesh tray or a solid metal trough screwed directly into the underside of your desktop, provides the structural integrity needed for a permanent setup. When installing an under-desk tray, position it toward the back center of the desk, close to where your power source originates. This keeps heavy power strips, excess USB cables, and bulky laptop bricks completely suspended off the floor, making floor cleaning effortless and eliminating accidental kick hazards.
When selecting a tray, measure your desktop thickness and screw clearance carefully. Avoid cheap clamp-on trays if you have a desk with an angled bevel or a sliding desktop track. Screw-mounted metal channels offer superior long-term stability, capable of supporting heavy multi-port power strips and redundant cord coils without sagging or pulling loose from particle board or solid wood surfaces.
Beyond basic mesh baskets, consider specialized troughs with hinged lids or built-in pass-through slots. These options allow you to drop power strips and bulky wall warts directly into an enclosed compartment, concealing them entirely from view while protecting them from accidental liquid spills on the desktop. If your desk is height-adjustable, pay special attention to the service loop—the extra length of cable required to let the desk move from its lowest sitting position to its highest standing position without pulling cords taut or snapping connectors.
To calculate the proper service loop for a standing desk, measure the vertical travel distance between your lowest and highest desk settings, add two extra feet for safety, and route that slack securely through an articulating spine or flexible cable sleeve attached to one of the desk legs. This prevents your power strip and charging hub from being yanked upward when you transition to a standing posture, protecting both your wall outlets and your hardware ports from catastrophic strain.
Safe Power Distribution and Surge Protection
Consolidating multiple high-draw devices into a single charging hub places demands on your home electrical supply. Never daisy-chain power strips or plug high-wattage space heaters into the same circuit branch as your workstation charging station without verifying your circuit breaker capacity.
Invest in a reputable surge protector with a high Joule rating to safeguard expensive work laptops and monitors against sudden power spikes or lightning strikes. Look for units featuring integrated circuit breakers that automatically trip in the event of an overload. If you use a smart plug to schedule power cutoffs to your charging station overnight, ensure its maximum amperage rating matches or exceeds the total load of your connected equipment.
It is also wise to inspect your wall outlets periodically. Loose wall receptacles can cause arcing and intermittent power delivery, which is harmful to sensitive electronic power supplies. If a plug feels loose or emits warmth when touched, have an electrician inspect the wall outlet before deploying a high-capacity desktop charging hub.
Furthermore, understand the difference between a standard power tap and a true surge protector. A basic power strip merely adds more outlets; it offers zero protection against voltage surges caused by downed power lines or heavy household appliances cycling on and off. Look for surge protectors bearing recognized safety certifications (such as UL 1449) and check the clamping voltage rating—lower clamping voltages mean the device reacts faster to absorb dangerous spikes before they reach your expensive multi-port chargers and laptops.
Thermal safety is another critical consideration for enclosed under-desk environments. Power strips and power bricks generate ambient heat during operation. Tightly packing multiple high-wattage adapters inside a closed plastic box without ventilation can cause internal temperatures to rise, degrading electronic components prematurely or tripping thermal fuses. Always ensure your cable management tray has adequate airflow around power adapters, and never cover a working power strip with blankets, carpets, or dense insulation.
Executing a clean hardware overhaul requires a methodical approach. Tearing everything apart at once without a plan often leads to frustration and half-finished wiring jobs.
Clear and Clean: Unplug every device, remove all existing cords from the desk, and wipe down the desktop surface.
Mount the Tray: Install your under-desk cable management tray according to the manufacturer’s instructions, ensuring screws are appropriate for your desk’s material thickness.
Position the Power Strip: Place your surge protector or main power strip securely inside or directly adjacent to the under-desk tray.
Route Primary Power: Run the main power cord from the wall outlet cleanly along a desk leg or wall channel to the surge protector.
Mount the Desktop Charger: Place your multi-port USB-C charger in your preferred desk-top location, routing its power cable down through a grommet hole or behind the desk edge into the tray below.
Connect and Measure: Plug individual device cables into the charger, measuring exact lengths needed to reach your devices comfortably without excessive slack.
Bundle and Secure: Use hook-and-loop fastening tape or reusable cable ties to bundle excess wire lengths neatly inside the under-desk tray.
Taking your time during the measuring and bundling phases prevents awkward cable tension. Every cord should have enough slack to allow for minor adjustments, such as tilting your monitor or moving your laptop stand, without yanking connectors out of their ports or straining internal solder joints.
When measuring custom cable lengths, use a piece of string to trace the exact path from your charging hub, through the under-desk tray, up the back of the monitor stand, and into the device port. Measure the string with a tape measure to determine the ideal cable length to purchase. Buying standardized 3-foot or 6-foot cables when you only need 18 inches results in massive piles of excess wire that are difficult to conceal, whereas custom-length or neatly coiled cables result in a polished, professional finish that looks like it was installed by an enterprise IT team.
A successful remote work charging station setup must accommodate future changes. You will eventually upgrade your laptop, acquire new work gadgets, or test different peripheral configurations. Avoid permanently zip-tying every single cord into an inflexible monolith.
Instead, use adjustable hook-and-loop straps rather than single-use plastic zip ties. Leave two spare USB-C ports or cable runs unassigned in your tray so you can easily plug in a temporary device, such as a camera battery charger or a colleague’s phone, without dismantling your entire wire-management architecture. Labeling power bricks with small adhesive tags inside the tray also prevents confusion when troubleshooting power issues months down the line.
Design your layout with modularity in mind. If you adopt new accessories regularly, consider routing a secondary data hub or powered USB splitter into your cable management tray so you can expand your peripheral connectivity without running entirely new dedicated lines from your laptop ports.
Modularity also extends to how you handle travel and mobile work. If you frequently unplug your primary laptop to work from local coffee shops or client offices, crawling under your desk twice a day to disconnect cables quickly becomes exhausting. To solve this, anchor your main desktop charger and display cables to a desk-mounted docking station or a multi-port hub, allowing you to connect your entire ecosystem using a single master USB-C connection when you return to your desk. This preserves the pristine state of your under-desk wiring while drastically reducing daily physical wear and tear on individual connectors.
Even with careful planning, minor issues can arise once your station is fully operational. Understanding common pitfalls helps you resolve them quickly.
Device Slow Charging: If your laptop indicates slow charging, check your multi-port charger’s manual. Many units divide total wattage unevenly; plugging a high-demand laptop into a secondary low-wattage port will throttle performance. Move the laptop to the designated high-output primary port.
Excessive Heat Generation: GaN chargers run warm during heavy loads, but they should never feel hot to the touch or emit a burning odor. Ensure your desktop charger is placed in a well-ventilated area rather than trapped under a pile of papers or inside a closed desk compartment.
Intermittent Disconnections: If a monitor or hub disconnects randomly, verify that your USB-C cables support both high-speed data transfer and adequate power delivery. Cheap charging cables often lack the internal wiring required for stable multi-function display and data connectivity.
Audible Coil Whine: Some high-wattage power bricks emit a faint high-pitched squeal under specific load conditions. While generally harmless, if it proves distracting during quiet work hours, try plugging the charger into a different socket or replacing it with an alternative brand known for higher component quality.
Another subtle issue to watch for is data interference caused by poorly shielded power supplies and unshielded USB cables placed directly parallel to sensitive audio or video lines. If you notice static on your USB microphone or flickering on an external monitor, separate your power delivery lines from your high-speed display and audio cables within your under-desk tray, crossing them at perpendicular angles rather than running them in tight bundles side by side for long stretches.
The final phase of any hardware setup is habit formation. A pristine home office cord management system only stays pristine if you maintain basic operational discipline. When disconnecting your laptop to work from the kitchen table or travel, use magnetic cable holders or weighted desktop clips to anchor loose USB-C ends so they do not slip behind the desk.
Spend five minutes every month inspecting your under-desk tray for dust buildup, ensuring cables remain securely seated, and verifying that no cords are strained or pinched. By combining durable hardware, thoughtful layout planning, and sensible daily habits, your remote work charging station will remain an invisible, high-performing asset that keeps your professional life powered and organized.
Establish a routine quarterly audit of your desk setup. Unplug unused accessories that no longer serve your workflow, test your surge protector’s indicator lights to confirm active protection status, and clear out accumulated dust from your multi-port charger and under-desk tray using a can of compressed air. Treating your home office power infrastructure with the same care as enterprise server rooms ensures your hardware operates reliably, safely, and cleanly year after year.