
Operating from shared co-working spaces, bustling coffee shops, or open-concept home offices introduces a constant vulnerability for remote knowledge workers: the risk of an unmuted microphone. When you are managing confidential client calls, legal negotiations, or proprietary financial reviews, relying solely on software-based mute buttons inside Zoom, Microsoft Teams, or Google Meet is a risky gamble. Software mutes can fail due to driver crashes, focus loss, or accidental trackpad clicks. A robust hardware microphone mute switch setup solves this by introducing a physical barrier that cuts the audio signal entirely at the hardware level, ensuring zero chance of an accidental broadcast.
Achieving absolute peace of mind requires moving away from software toggles and embracing physical signal interruption. Whether you are using a standard USB headset, an analog 3.5mm microphone, or a professional XLR studio setup, building a reliable physical kill-switch system protects your clients’ confidentiality and your professional reputation. This guide explores the mechanical options available, evaluates their technical trade-offs, and walks you through configuring a dependable hardware-secured audio workflow.
The Vulnerability of Software-Only Audio Controls
Most remote workers assume that clicking the mute icon in a video conferencing application completely protects them. From an architectural standpoint, however, software mutes are fragile. They rely on the operating system’s audio stack, active application focus, and background drivers running smoothly. If your computer freezes, if an application updates mid-call, or if you accidentally click back into the wrong window, your microphone can become live without your immediate knowledge.
Furthermore, visual indicators on virtual meeting platforms are notoriously ambiguous. A tiny red microphone icon tucked away in the corner of a crowded monitor is easy to miss, especially when you are referencing multiple spreadsheets or reviewing complex slide decks. In shared spaces, background noise—ranging from a passing colleague to a barking dog—can bleed through instantly if your software mute drops. A hardware-level approach removes the operating system from the equation entirely, giving you physical control over whether data packets or electrical signals can travel from your microphone capsule to your computer.
Beyond standard application focus losses, modern operating systems frequently run background audio daemons, accessibility utilities, and voice assistants that intercept or remap audio devices. When an automated routine or external peripheral connects to your system, audio focus shifts can inadvertently reactive inactive streams. In high-stakes environments where a single inadvertent phrase can violate non-disclosure agreements or breach regulatory compliance standards, software-level assurances are simply insufficient.
Expanding further on this vulnerability, consider the way modern operating systems manage audio endpoints during multitasking scenarios. When you switch windows to reference notes, check email, or interact with chat applications, foreground focus changes. While most video conferencing software attempts to maintain mute states even when minimized, background hooks, hotkey conflicts, and global shortcut mapping within third-party utilities can override these states. For instance, global push-to-talk macros assigned to the same keys you use in other applications can accidentally toggle your microphone state. By routing your audio through an isolated physical circuit, you bypass the entire software layer, ensuring that your mute status is governed by mechanical reality rather than ephemeral code execution.
Understanding Physical Audio Kill-Switches and Inline Mute Adapters
A physical audio kill-switch is an electromechanical device inserted directly into your audio signal path. Depending on your hardware ecosystem, these devices generally fall into three distinct categories: USB inline dongles, analog 3.5mm switches, and XLR hardware mute pedals. Each type intercepts the audio stream differently.
USB inline mute switches sit between your USB headset and your computer. When you press the physical button, the device either cuts the power to the microphone or sends a hardware-level HID (Human Interface Device) command that forces the USB audio controller to cease transmission. Analog switches, on the other hand, physically break the electrical circuit of a traditional TRS or TRRS 3.5mm audio cable. By opening the circuit with a mechanical latching or momentary switch, analog voltage changes that produce sound are physically blocked from reaching the sound card.
Understanding the distinction between true hardware interruption and software-assisted hardware buttons is vital. Some consumer headsets feature inline buttons that merely send a keyboard shortcut command (like F24 or a specific media key) to the operating system. If the host application loses focus, that shortcut may fail. True hardware switches physically sever the connection or halt digital data packets at the controller chip level within the physical adapter itself, independent of the host operating system’s active window state.
When evaluating these options, it is also important to consider whether you need a momentary switch (push-to-talk) or a latching switch (push-on, push-off). For general remote work where you spend long periods listening and occasional periods speaking, a latching switch with a clear visual state indicator is typically preferred. For high-security environments where you want the microphone dead by default and active only while you hold a button down, a momentary push-to-talk configuration offers an extra layer of fail-safe security, ensuring you never accidentally walk away leaving your microphone open.
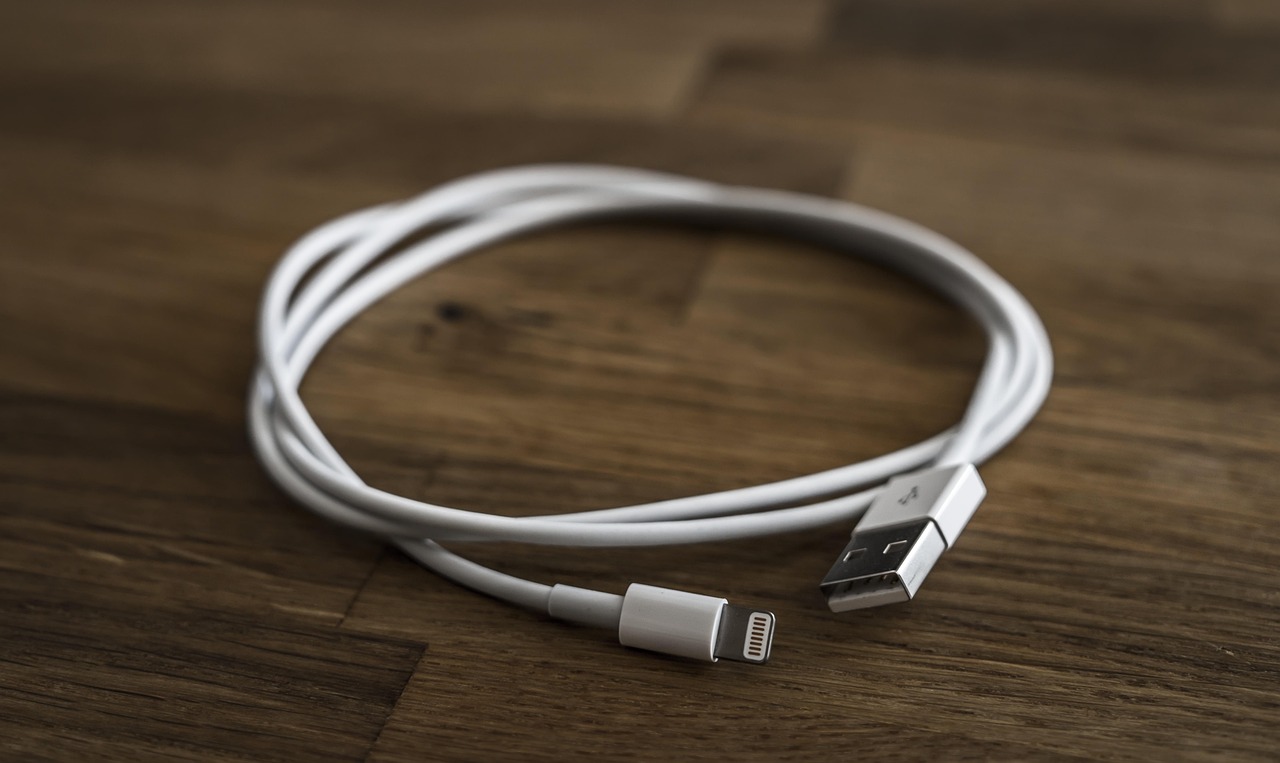
Evaluating USB Headset Hardware Mute Buttons
For most knowledge workers, a USB headset is the standard tool for daily communication. If your current headset lacks a physical mute button with an LED status indicator, you do not necessarily need to buy a brand-new device. You can integrate an inline USB mute adapter.
When shopping for or configuring a USB mute adapter, look for devices that offer true hardware-level muting rather than mere software synchronization. A true hardware mute adapter cuts the microphone input stream directly at the chip level within the dongle. Crucially, look for units that feature a clear, unmistakable physical indicator—such as a bright red or green LED ring—so you can verify your mute status at a glance without looking at your monitor. Tactile feedback is equally important; a satisfying, audible click ensures you know the switch has engaged even if you are looking away from your desk.
Another factor to weigh when selecting a USB hardware mute adapter is bus-powered stability. Poorly manufactured dongles can draw inconsistent current from the host USB port, resulting in audible static noise, intermittent dropouts, or complete device enumeration failures. Opt for reputable manufacturers that adhere strictly to USB audio device class specifications, ensuring plug-and-play compatibility across Windows, macOS, and Linux environments without requiring proprietary third-party utility software that might introduce security vulnerabilities or system bloat.
Additionally, pay attention to the physical placement of the inline button along the cable. Ideally, the switch should rest comfortably on your desk surface rather than dangling mid-air, where its weight can pull down on your headset connection or twist the cable. Some advanced USB mute units feature weighted desktop pucks with large, heavy-duty tactile buttons designed explicitly for desk placement, making them easy to tap quickly during fast-paced discussions without fumbling for a tiny inline plastic slider.
Setting Up an Analog 3.5mm Kill-Switch for Prosumer Mics
If your remote work setup relies on a standalone desktop microphone connected via a 3.5mm jack, your options expand into traditional analog audio gear. Analog kill-switches are remarkably resilient because they require no drivers, software installation, or USB power.
An inline 3.5mm push-to-talk or latching switch physically routes the audio signal through a mechanical toggle. When engaged, the switch shorts or opens the audio line, effectively silencing the input. The primary caveat with analog 3.5mm switches is impedance and cable quality. Cheap switches can introduce ground loop hum, static crackles, or signal loss if the internal soldering and shielding are subpar. Always opt for heavy-duty metal housings with gold-plated connectors to maintain signal integrity during critical client calls.
It is also essential to verify whether your microphone uses a TRS (Tip-Ring-Sleeve) or TRRS (Tip-Ring-Ring-Sleeve) configuration. Mismatched adapters can cross your microphone input with your headphone output, leading to severe audio feedback loops or complete signal cancellation. Always test your analog switch in a controlled offline environment before deploying it in a live meeting setting.
When working with analog signals, electromagnetic interference (EMI) from nearby power supplies, phone chargers, and Wi-Fi routers can easily bleed into unshielded cables. Ensure your analog kill-switch and associated patch cables feature braided copper shielding or foil shielding. Furthermore, keep your analog audio runs as short as possible to minimize signal degradation, and route them away from heavy power cords to preserve the pristine clarity of your voice transmission.
Integrating XLR Interfaces for Maximum Security
For high-stakes consulting, executive coaching, or legal advisory work where absolute audio fidelity and security are mandatory, many professionals transition to XLR-based studio microphones connected via an external USB audio interface.
Many mid-to-high-end audio interfaces feature dedicated physical mute buttons right on the chassis. Alternatively, you can insert an inline XLR mute switch—often called a “mic mute” or “cough drop” switch—between your microphone and your interface. These professional units use heavy-duty momentary or latching switches designed to handle thousands of clicks without degrading the audio signal. Because XLR connections use balanced audio lines, they are exceptionally resistant to electromagnetic interference, making them ideal for noisy co-working environments.
When configuring an XLR hardware mute setup, ensure that your phantom power requirements (if using a condenser microphone) are handled safely. Engaging or disengaging certain mechanical switches on active phantom power lines can create voltage spikes that cause loud pops through downstream speakers or headphones. Opt for high-quality switches designed specifically for balanced microphone lines that safely shunt the signal to ground without sending transient current surges back into your audio interface preamps.
Moreover, professional audio interfaces often include direct software loopback and hardware monitoring controls that allow you to verify your input signal independently of your conferencing software. By utilizing an audio interface with direct hardware monitoring, you can hear your own voice only when the physical mute switch is disengaged, providing immediate auditory confirmation of your broadcast state.
Step-by-Step Configuration and Testing Protocol
Once you have selected and acquired your hardware mute switch or USB kill-switch, you need to integrate it into your workspace and run a rigorous testing protocol before trusting it on a live client call.
- Disconnect and Insert: Unplug your microphone or headset from the computer. Connect your microphone to the input side of your hardware switch, and plug the output side (USB or audio cable) directly into your computer port.
- Verify OS Recognition: Power on your computer and open your operating system’s sound settings. Confirm that the input device is recognized correctly through the hardware switch without requiring proprietary, third-party software drivers.
- Test Tactile Operation: Open a local audio recording application (such as Voice Recorder on Windows or QuickTime on Mac). Engage the hardware mute switch, speak into the microphone, and record for ten seconds. Disengage the switch and speak again.
- Review the Recording: Play back the recording. You should hear absolute silence during the period the hardware switch was engaged, with no residual hiss, digital popping, or faint bleed-through.
Executing this multi-step verification process guarantees that your physical kill-switch operates exactly as intended. Documenting your setup configuration also ensures that if you reconfigure your workspace or migrate to a new machine, your secure audio pipeline remains consistent and reliable across all your professional engagements. Taking the extra time to perform these rigorous checks protects you from unexpected hardware incompatibilities before you enter high-stakes client communications.

Common Pitfalls and Troubleshooting Strategies
Even with robust hardware, user error and hardware quirks can occasionally disrupt your workflow. One common mistake is purchasing a USB adapter that synchronizes only with specific software applications like Zoom. If the adapter relies on software hooks rather than physical circuit interruption, it offers no more security than clicking your mouse.
Another frequent issue is driver conflict. When plugging an inline USB switch into a system that already has complex audio routing software installed (such as virtual cable mixers or noise-suppression suites), the operating system may occasionally scramble the default input device priority. Always lock your default recording device in your operating system settings to the specific hardware switch interface to prevent your system from dynamically switching back to a built-in laptop microphone if the dongle is briefly disconnected.
Additionally, pay close attention to physical cable strain. Inline switches add weight and leverage to port connections. If left dangling unsupported from a desk edge, the constant tension can warp USB ports or wear out 3.5mm jacks prematurely. Use cable clips, velcro ties, or desk mounts to anchor your hardware switch securely to your work surface, ensuring long-term mechanical durability and uninterrupted connectivity.
Troubleshooting intermittent audio drops also involves checking USB hub power limitations. If your hardware switch is plugged into an unpowered USB hub shared with power-hungry peripherals like external hard drives or high-res webcams, voltage drops can cause the mute dongle to reset mid-call. Always connect your hardware audio path directly to a primary motherboard USB port or a dedicated powered hub to ensure stable electrical current and reliable device enumeration.
Best Practices for Shared Space Confidentiality
A hardware mute switch is only one component of a secure remote work environment. When handling confidential client calls in shared co-working spaces or open-concept offices, physical positioning matters just as much as your audio setup.
Position your desk so your back is to a wall rather than a high-traffic walkway, preventing physical screen snooping. Pair your hardware microphone kill-switch with closed-back isolation headphones to prevent sound bleed from your headphones leaking back into your microphone capsule during high-volume playback. Finally, make it a strict personal habit to engage your physical kill-switch the exact moment a confidential discussion concludes, treating the physical toggle as a natural extension of professional confidentiality standards.
Furthermore, consider acoustic privacy considerations in open spaces. While a hardware switch stops your voice from leaving your computer, nearby coworkers can still hear your side of a conversation if you speak at normal volume. Combine your physical mute workflow with directional microphones, noise-canceling processing, and mindful vocal projection techniques to ensure that physical sound propagation in the room is minimized alongside digital transmission risks.
Creating a secure environment also involves managing visual and environmental cues. In open-concept work areas, use privacy filters on your laptop display, wear noise-isolating headphones to stay fully immersed in your call, and establish clear visual signals—such as an active meeting indicator light on your desk—to let coworkers know when confidential discussions are underway. Combining physical audio control with comprehensive workspace hygiene ensures that your client conversations remain entirely protected from both digital leaks and physical exposure.
Conclusion
Managing confidential client calls in shared spaces demands a zero-trust approach to software-based audio controls. By implementing a dedicated hardware microphone mute switch setup or an inline USB kill-switch, you eliminate the underlying vulnerabilities of operating system audio stacks and application-level toggles. Taking the time to select quality hardware, integrate it into your daily workflow, and rigorously test your signal path ensures that your private business conversations remain strictly confidential, giving you absolute confidence no matter where you set up your remote workstation.