When crumbling mortar joints begin to let moisture seep into exterior walls, hiring a professional for brick restoration becomes an urgent priority. However, looking at bids from different masonry contractors can feel like trying to decipher a foreign language. One contractor might quote a low square-footage rate that balloons with hidden fees, while another presents a steep lump-sum figure with zero line-item transparency. Using a reliable masonry tuckpointing contractor cost estimator mindset helps you break down these proposals, compare apples to apples, and protect your investment.
Understanding how masonry professionals price their labor, materials, and equipment keeps you in control of the project. Contractors factor in everything from the hardness of the existing brick to the height of your roofline. By learning how to spot red flags—such as predatory scaffolding surcharges or vague mortar matching fees—you can negotiate a fair contract and ensure your home’s structural integrity remains protected for decades.
The Core Math: Decoding Square-Footage Pricing
Most exterior masonry work is priced by the square foot, but calculating that square footage is rarely as simple as multiplying the height of a wall by its width. Windows, doors, large architectural features, and stone accents complicate the math. A trustworthy contractor will measure the gross surface area and subtract openings, or charge strictly for the actual mortar joints requiring repair. When you review bids, check whether the contractor measures by wall face area or linear footage of joints.
Square-footage pricing also shifts dramatically depending on the condition of the brickwork. Standard maintenance tuckpointing—where mortar has weathered away a quarter-inch deep but the surrounding brick remains rock-solid—lies on the lower end of the pricing spectrum. Conversely, heavy structural restoration involving severe spalling, cracked bricks, and deep structural settling requires extensive prep work. If a bid seems unusually low, verify whether it includes grinding out the old mortar to the correct depth or if it relies on superficial surface smearing, known pejoratively as “feathering” or “daubing.”
Furthermore, consider how different wall orientations affect the wear and tear on your masonry. Walls facing prevailing winds and driving rain typically require deeper joint raking and more thorough rebuilding than protected side walls. A professional estimator will inspect every elevation individually rather than applying a flat blanket rate across the entire perimeter of the home. This granular approach ensures you are not overpaying for stable brickwork while underfunding areas that require intensive structural intervention.
When analyzing your masonry repair bids, pay close attention to whether the contractor accounts for architectural details like rowlock courses, soldier courses, or decorative brick headers. These intricate areas demand hand tools rather than power grinders, significantly increasing labor time per square foot. If a bid treats every square foot of wall as uniform, the contractor has likely underestimated the labor involved in complex detailing, which inevitably leads to requests for change orders once the work begins.
Understanding Mortar Matching Tiers and Fees
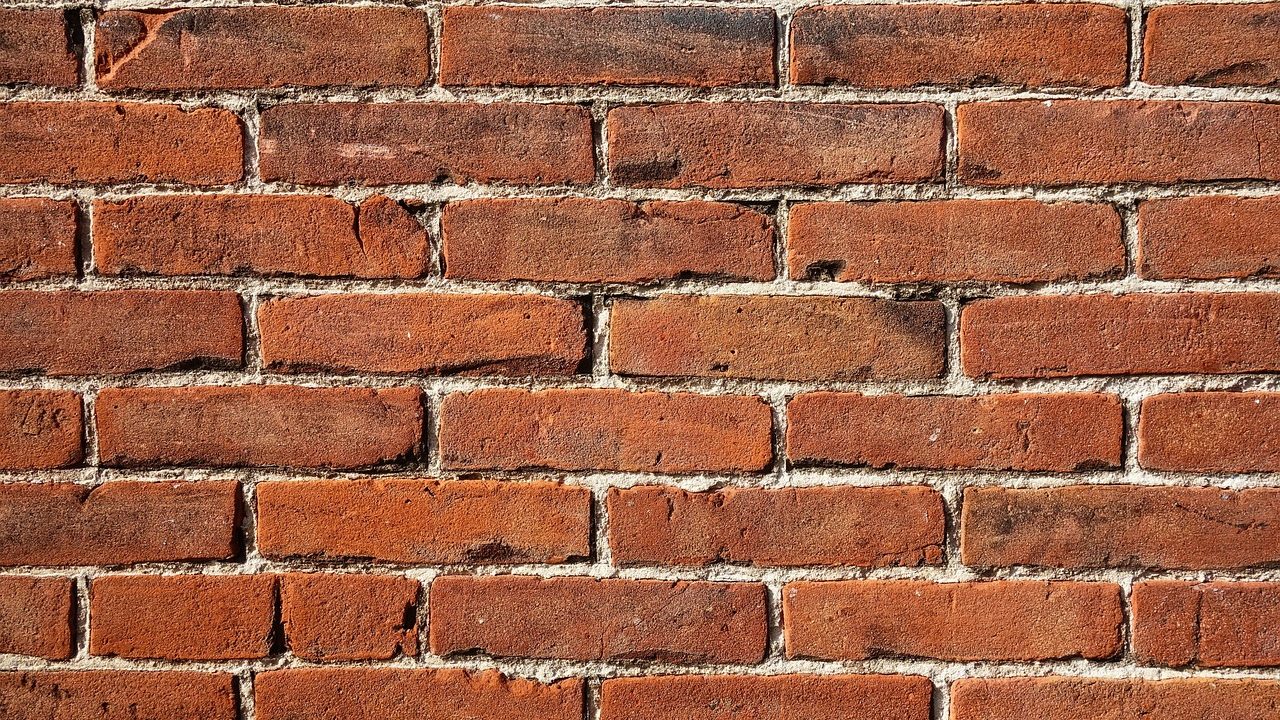
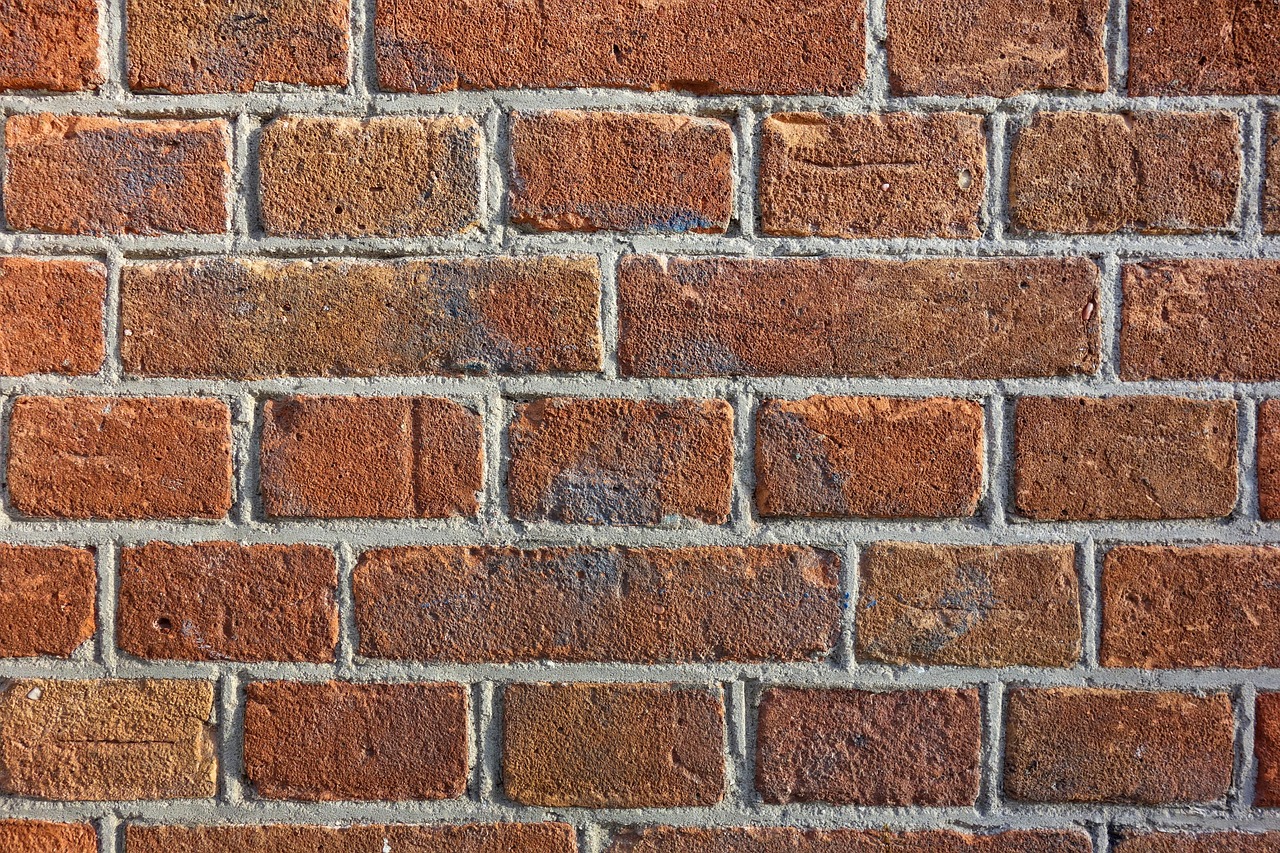
One of the most common friction points between homeowners and masonry contractors is mortar matching. Mortar is not a universal gray paste; historic and modern bricks require specific mixes of sand, cement, and lime to achieve the correct color, texture, and compressive strength. Using a modern high-strength Portland cement mix on a soft, historic 19th-century brick wall will trap moisture and cause the brick faces to disintegrate over time. Proper mortar matching is both a science and an art.
When reviewing your estimate, look closely at how mortar matching is billed. Some contractors include a standard matching fee in their base square-footage rate, while others itemize custom laboratory matching or multiple site samples as a separate line item. Be wary of bids that offer a rock-bottom price by explicitly stating they use a single off-the-shelf gray mortar for every job. If your home has unique salmon-colored historic clay bricks or dark iron-spotted masonry, paying for a proper custom mortar match is non-negotiable for maintaining your home’s aesthetic and structural health.
Ask potential contractors how they test and verify color consistency as the mortar cures. Mortar changes color significantly as it dries over the course of several days to weeks. A true professional will prepare sample boards, allow them to cure completely on-site next to your actual brickwork, and secure your written approval before pointing an entire wall. If a contractor resists making sample boards or dismisses color variations as unimportant, treat it as a significant warning sign regarding their craftsmanship standards.
Additionally, investigate whether the mortar matching service fees cover color additives and specialized aggregate sands. Historic mortars often incorporate local pit sands containing unique mineral fragments and varying grain sizes. Matching this texture requires sourcing specific sands rather than relying on standard commercial mason sand. Transparent bids will outline these material costs explicitly so you understand exactly what you are paying for.

Spotting Predatory Scaffolding and Setup Surcharges
Scaffolding is essential for any tuckpointing project that extends above the first story, but it is also one of the most common areas for inflated contractor markups. Unscrupulous operators sometimes use vague lump-sum equipment fees to pad their profit margins or bury unexpected costs. When evaluating a bid, you should expect to see scaffolding clearly itemized, detailing setup, rental duration, and teardown.
Evaluate whether the quoted scaffolding fee aligns with the scale of the project. For a standard two-story suburban home, lightweight pump jacks or modular frame scaffolding should not cost an exorbitant amount. Watch out for contractors who charge high daily rental fees for equipment they leave sitting idle on your lawn due to scheduling delays. A reputable contractor will provide a fixed-price setup fee that covers the entire estimated duration of the work, protecting you from paying extra if weather delays push the schedule back a few days.
Additionally, check whether local municipal permits for sidewalk or alley encroachment are included in the scaffolding line item. If scaffolding blocks public pedestrian pathways, permits and specialized safety netting are legally required in most jurisdictions. Clarify who is responsible for securing and paying for these permits so you do not face unexpected municipal fines or project shutdowns mid-stream.
When reviewing tuckpointing cost per square foot calculations, ensure that setup fees are not being double-counted. Some predatory estimators bake equipment overhead into their square-footage rates and then tack on an additional heavy equipment delivery fee at the bottom of the invoice. Request a breakdown of all fixed mobilization costs versus variable labor rates to ensure complete transparency.
Diagnosing Underlying Brick Damage vs. Surface Mortar Wear
Before any mortar can be repaired, a qualified masonry contractor must assess the overall structural health of the brick assembly. Superficial mortar erosion is straightforward to fix, but hidden structural issues can transform a routine tuckpointing project into a major rebuild. When reviewing bids, check whether the contractor includes diagnostic inspections for cracked lintels, compromised wall ties, and severe spalling.
Spalling occurs when moisture penetrates the brick and freezes, causing the face of the brick to pop off. If a wall features extensive spalling, simply raking and pointing the joints will not solve the underlying problem; the damaged bricks must be cut out and replaced through a process known as brick replacement or resetting. A thorough estimate should specify the exact unit cost for individual brick replacements so you know what to expect if additional damaged units are discovered once grinding begins.
Furthermore, inspect how the contractor addresses efflorescence—the white, powdery salt residue that appears on brick surfaces when moisture migrates outward. Efflorescence indicates active water infiltration behind the wall. If a contractor proposes tuckpointing a wall plagued by heavy efflorescence without addressing the source of moisture (such as faulty flashing, leaking gutters, or missing weep holes), the new mortar will fail prematurely. Your bid should account for appropriate cleaning, sealing, or flashing repairs where necessary.
Labor Structures: Hourly vs. Piece-Rate vs. Lump-Sum
Masonry is grueling, highly skilled labor, and how a contractor structures their labor costs tells you a lot about their operational maturity. Hourly rates are rare for full tuckpointing projects because they incentivize slow work; instead, most contractors rely on square-footage piece-rates or comprehensive project lump-sums. However, understanding the underlying labor assumptions helps you spot unrealistic timelines.
A skilled tuckpointer can typically grind and repoint a specific number of square feet per day, depending on weather and detail work. If a contractor’s bid implies an impossibly fast completion time, they may be planning to rush the mortar grinding phase, which often damages the brick edges. Conversely, if a crew drags out a small job over weeks without valid weather or curing delays, a lump-sum contract protects you from runaway labor costs. Always ensure the contract specifies the estimated number of crew members on-site and their expected daily working hours.
Evaluate the experience level of the labor force performing the actual work. Some large contracting companies utilize master masons only for sales and initial setup, while inexperienced laborers perform the actual grinding and pointing. Your contract or bid proposal should specify that trained, experienced journeyman masons will execute the delicate mortar work, particularly if your home features decorative brick coursing, arches, or historic lime mortar.
Preparation, Cleanup, and Disposal Line Items
The difference between an average masonry contractor and an exceptional one often shows up in the cleanup and site preparation details. Tuckpointing creates an immense amount of fine silica dust and heavy debris. Raking out old mortar with angle grinders fills the air and your yard with abrasive dust. Your estimate should explicitly detail how the contractor plans to contain this dust and protect your property.
Check the bid for line items covering:
- Ground protection, including heavy-duty tarps to catch falling debris and old mortar.
- Dust containment systems, such as HEPA-filtered vacuums attached directly to grinding tools.
- Landscaping and plant protection, ensuring delicate flower beds or shrubs are shielded from falling lime and mortar splatters.
- Debris haul-away and disposal fees, confirming that old mortar and broken bricks will not be left in a pile at your curb.
If these services are omitted from the bid, you may end up with ruined landscaping or unexpected disposal fees at the local transfer station. Insist on clear cleanup protocols in writing, including pressure washing or chemical cleaning of the brick faces once the new mortar has achieved initial cure strength.
Warranties, Licensing, and Insurance Red Flags
A low price tag means nothing if the contractor abandons the job halfway through or causes structural damage to your home without carrying adequate insurance. Before signing any masonry contract, verify that the company holds a valid state or local contractor’s license specifically for masonry or general contracting, and request a certificate of insurance directly from their carrier.
Look for general liability insurance that explicitly covers masonry operations, as some standard policies exclude work involving high scaffolding or exterior wall modifications. Additionally, examine the craftsmanship warranty offered in the bid. A reputable masonry contractor should stand behind their work with a multi-year warranty covering mortar cracking, bonding failures, and premature crumbling. Be cautious of vague verbal promises; the warranty terms—including what constitutes normal weathering versus defective installation—must be explicitly written into the final contract.
Furthermore, verify worker’s compensation coverage for every individual stepping onto your property. If an uninsured masonry worker falls from scaffolding on your home, you could face severe personal liability lawsuits. Always request that your property be listed as an additional insured on their liability certificate for the duration of the project.
Red Flags and Warning Signs in Masonry Bids
Spotting predatory practices early saves you from costly legal disputes and botched restoration work. Beyond inflated scaffolding fees and missing cleanup line items, watch out for several classic warning signs when reviewing contractor proposals:
- Demanding excessive upfront deposits: While materials may require a modest deposit (typically 10 to 30 percent), demanding 50 percent or more before work begins is a major warning sign.
- Cash-only discounts: Contractors pushing for cash payments to avoid sales tax or permits often lack proper licensing and insurance.
- Refusal to pull permits: Exterior masonry work in many municipalities requires building permits, especially if scaffolding encroaches on public sidewalks or property lines.
- Vague scope of work: A one-sentence estimate that simply says “Fix brick wall – $5,000” invites endless disputes over what was actually included.
- High-pressure sales tactics claiming a special discount is only valid if you sign immediately on the spot.
- Unusually low bids that drastically undercut every other competitor in your local market, which usually indicate corner-cutting, cheap materials, or hidden change orders down the road.
Frequently Asked Questions About Masonry Bids
When navigating exterior home repairs, homeowners frequently encounter questions regarding timelines, seasonal constraints, and contract specifics. Here are answers to some of the most common questions regarding masonry bids and restoration projects.
How long should a typical tuckpointing project take?
The timeline depends entirely on the total square footage, the depth of joint damage, and crew size. A standard residential wall can take anywhere from a few days to two weeks. Weather conditions also play a critical role, as mortar cannot be mixed or cured in freezing temperatures or heavy rain.
Can tuckpointing be performed in winter?
Cold-weather masonry is possible, but it requires specialized heating equipment, enclosures, and thermal mortar additives to prevent the water in the mortar mix from freezing before it cures. Reputable contractors will outline any winter weather surcharges clearly in their initial bids.
Should I seal my brick after tuckpointing?
Not all brick requires sealing. In fact, applying a non-breathable synthetic sealer to historic brick can trap moisture inside the wall and accelerate decay. Discuss the necessity of vapor-permeable siloxane or silane sealers with your contractor before agreeing to added waterproofing line items.
How to Structure Your Final Request for Bids
To get accurate, comparable proposals from local masons, provide every contractor with the exact same baseline information. Take clear photographs of all damaged elevations, measure the approximate square footage, and note any specific structural concerns like sagging lintels or heavily spalling bricks. Ask each bidder to break down their proposal into distinct categories: labor, materials, mortar matching, scaffolding, and cleanup.
When you use a standardized approach to evaluate your bids, you strip away emotional decision-making and marketing spin. You can easily spot the contractor who undercuts the competition by skipping essential prep work versus the professional who charges a fair price for durable, museum-grade historic restoration. Take your time, get at least three detailed bids, and ensure every agreement is fully documented in writing before the first hammer swings.
By maintaining a disciplined, detail-oriented evaluation process, you eliminate uncertainty and ensure your masonry restoration project delivers lasting structural strength and aesthetic appeal for decades to come.