When you receive a high radon test result from a home inspection or a do-it-yourself kit, the next step is usually calling local mitigation specialists. Within days, your inbox fills up with proposals ranging from a few hundred dollars to well over two thousand. Making sense of these numbers requires a reliable radon mitigation installation cost estimator mindset, allowing you to separate necessary structural labor from inflated overhead and predatory warranty add-ons.
Understanding what goes into a standard residential radon system helps you evaluate bids objectively. Most active soil depressurization systems rely on commercial-grade PVC piping, a specialized inline fan, and exhaust routing that extends above the roofline. However, labor rates, foundation layouts, and local code requirements cause pricing to fluctuate significantly. This guide breaks down the core mechanics of contractor pricing, sub-slab suction tiers, and how to protect yourself from unnecessary upsells.
The Baseline Math: How Contractors Price Radon Mitigation
Most reputable radon contractors do not price jobs purely by the square foot of the home footprint, though foundation size is a primary driver. Instead, they calculate base labor, material costs, and the complexity of the building’s foundation. A straightforward ranch home with a single, accessible poured concrete basement presents a very different labor challenge than a split-level home with a mix of slab-on-grade, crawlspaces, and rubble-stone foundations.
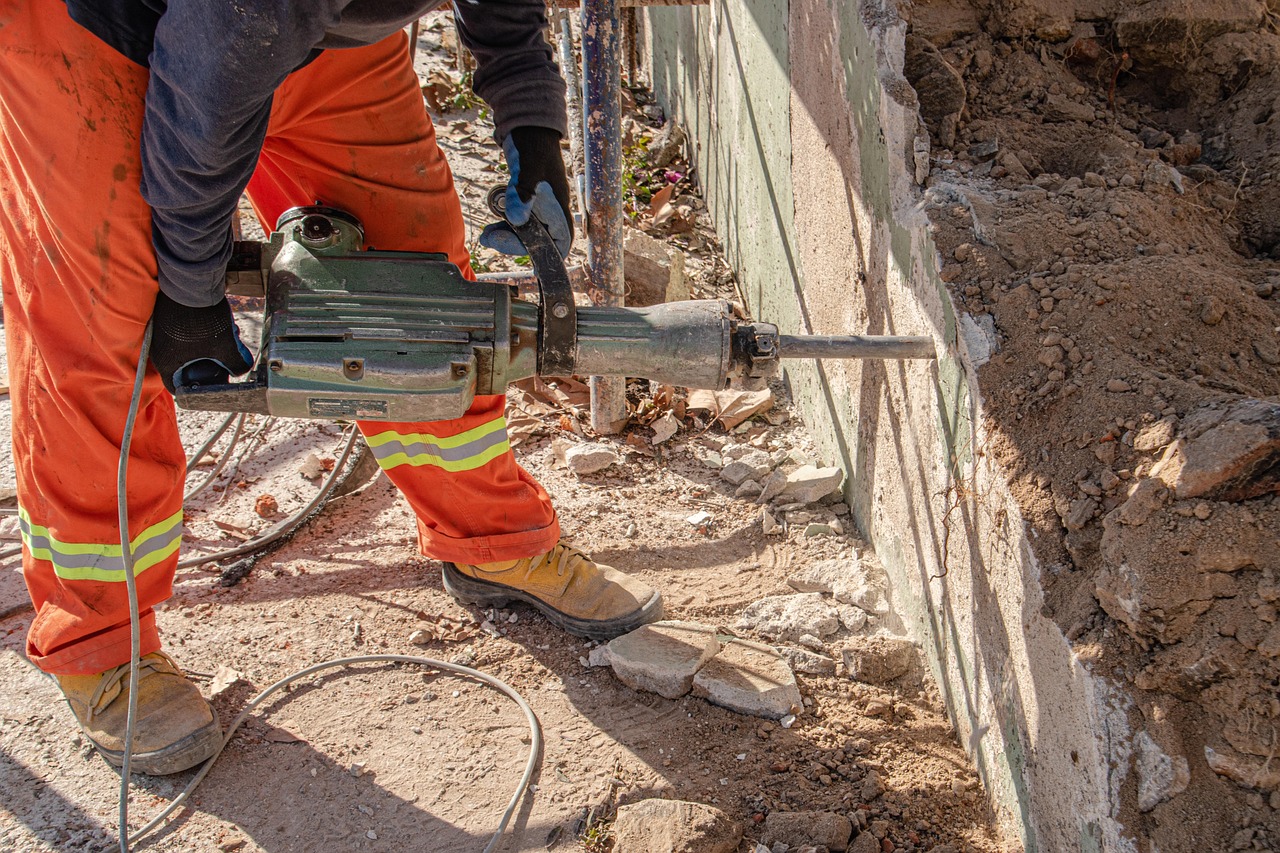
A standard single-point sub-slab suction system typically falls within a predictable baseline range for most standard suburban houses. When evaluating a bid, you are paying primarily for labor—core drilling concrete, sealing cracks, routing PVC through closets or garage attics, wiring a dedicated electrical disconnect, and climbing onto the roof to properly flash and seal the exhaust pipe. Materials like Schedule 40 PVC, fittings, and an industry-standard fan represent a smaller fraction of the total invoice than most homeowners expect.
If a bid comes in drastically lower than your other quotes, examine the scope of work carefully. Extremely cheap bids often leave out critical labor steps, such as properly sealing utility penetrations, failing to run electrical lines to code, or using substandard fans that burn out prematurely. Conversely, an exorbitantly high bid does not automatically guarantee superior performance; it often reflects aggressive corporate marketing overhead or unnecessary custom cosmetic enclosures.
Furthermore, understanding regional variations in labor markets is vital. In metropolitan areas with higher prevailing wages and strict municipal licensing requirements, baseline pricing for a standard single-family installation naturally tracks higher than in rural districts. Savvy homeowners look beyond the raw dollar amount on the bottom line to evaluate what specific value, component quality, and labor warranties are included in that figure.
When analyzing the material breakdown in a quote, pay attention to pipe schedules and structural components. High-quality installations rely on heavy-duty Schedule 40 PVC piping rather than thin-wall or cellular core alternatives that can degrade or crack under structural shifting. Similarly, professional installers use rubber couplings specifically rated for soil gas applications, preventing air leaks at connection points over years of temperature cycling in unconditioned spaces like garages or attics.
Sub-Slab Suction Point Tiers and Foundation Complexity
The layout of your foundation dictates how many suction points are required to effectively depressurize the soil gas beneath your home. This is where contractor bids can diverge legitimately. A single suction point works effectively for open-concept basements up to a certain square footage, provided the aggregate sub-slab material allows air to move freely.
Homes with complex foundations, however, require multi-point systems or integrated crawlspace vapor barriers. Here is how foundation types influence installation tiers:
- Single Poured Slab: The simplest and most cost-effective scenario. A single suction pit near the center of the basement footprint usually handles up to two thousand square feet.
- Multiple Slabs and Additions: Homes with sunken family rooms, multiple additions, or interior footings that block airflow require additional suction points. Each extra hole, core drill, and secondary pipe run adds labor and material costs to the proposal.
- Crawlspaces: If your home features a dirt or gravel crawlspace, a simple pipe in the concrete basement won’t suffice. Contractors must lay heavy-duty polyethylene vapor sheeting across the entire crawlspace floor, seal it to the foundation walls, and tie a dedicated suction drop into that sealed membrane. This adds significant labor time and material expense.
- Rubble Stone Foundations: Older homes with fieldstone or rubble foundations are notoriously difficult to seal. They require meticulous masonry work to create an airtight boundary before any sub-slab or sub-membrane system can pull a vacuum. Bids for these homes should naturally reflect specialized labor hours.
Evaluating these structural hurdles before inviting contractors out for an on-site assessment helps you anticipate why one company might suggest a single-point system while another quotes a multi-point layout. Always ask contractors to perform a diagnostic pressure-field extension test—often using micro-manometers and small test holes—to prove whether a single suction point is genuinely sufficient for your aggregate soil conditions.
Sub-slab aggregate also plays a massive role in system efficiency. If your foundation rests on dense clay or fine silt rather than clean crushed stone, pulling a vacuum requires significantly more air movement power. Contractors encountering tight sub-slab aggregate may need to excavate a larger pit beneath the slab—often called a suction pit or chamber—to increase airflow capacity. This extra labor should be clearly accounted for in your contractor’s itemized proposal.
Decoding the Proposal: Line-By-Line Analysis
When you lay out competing proposals side by side, look past the final total and examine the itemized scope of work. A professional quote should clearly spell out every phase of the installation. Vague estimates that simply state “Install radon system — $1,800” should prompt immediate requests for clarification.
Check whether the bid explicitly includes electrical work. By National Electrical Code standards, inline radon fans require a dedicated switch or hardwired disconnect box near the unit. If the contractor’s quote states that the homeowner is responsible for hiring a separate electrician to run power to the fan, you must factor that separate out-of-pocket expense into the total cost of the project.
Another critical detail is pipe routing. A low-bid contractor might propose running the PVC exhaust pipe up the exterior wall of your home directly outside a main living room window. While functional, this creates a permanent aesthetic blemish and risks pulling exhausted radon gas right back into open second-story windows. Higher bids often account for routing the pipe discreetly through interior closets, garage spaces, or attic voids to exit cleanly through the roof.
Additionally, examine the specified pipe diameter. Most residential systems utilize standard 3-inch Schedule 40 PVC pipe. If a contractor specifies smaller 2-inch pipe to save on labor or material maneuvering space, question whether that diameter can handle the required air volume for your square footage without placing excessive strain on the fan motor over time.
Furthermore, review how the contractor plans to seal foundation cracks, expansion joints, and utility penetrations around plumbing lines or electrical conduits. A sub-slab system cannot pull a vacuum if the basement floor is full of unsealed gaps acting as air relief valves. Premium bids allocate sufficient labor time for thorough polyurethane caulking and sealing across all active shrinkage cracks in the floor slab.
Special Foundation Challenges: Sump Pits, French Drains, and Block Walls
Many modern and older homes feature architectural elements that complicate radon mitigation. Sump pits are a prime example. While a sump pit can serve as an ideal location for a suction point—saving the contractor from drilling a brand-new hole in the middle of a finished floor—it requires a specialized airtight sump lid. If a contractor proposes tying into your sump pit without including a sealed, gasketed cover with clear access ports for your sump pump hoses and power cords, sub-slab pressure will be lost, and water management could be compromised.
Similarly, homes with interior perimeter French drain systems or weeping tile channels present unique challenges. If these drainage systems are open to the interior air, they act as massive vacuum leaks, drawing air from inside the basement rather than pulling soil gas from beneath the slab. Contractors must install specific bridging techniques or barrier flaps to isolate the drainage system while still allowing water to flow freely toward the sump crock.
Hollow concrete block foundation walls (CMU blocks) are another frequent culprit. Radon gas moves easily through the porous vertical cores of concrete blocks. In homes with block walls, a sub-slab system alone may not suffice if the top course of blocks is open to the attic or living space. Contractors dealing with block walls must often install block-wall suction points, drilling into the top or middle courses and sealing the core openings to ensure the entire wall cavity is placed under negative pressure.
Spotting Predatory Fan Warranty Red Flags
One of the most common areas where homeowners get overcharged is through extended warranties and proprietary equipment markup. Most reputable radon fans manufactured by industry leaders come with a standard manufacturer warranty covering replacement if the unit fails within a specific window of years.
Unscrupulous operators sometimes exploit homeowner anxiety by pushing expensive “extended lifetime warranties” or claiming that standard fans will fail rapidly unless you purchase their proprietary maintenance plan. Watch out for these red flags:
- Proprietary Equipment Locks: Some companies install obscure, private-label fans that cannot be replaced by standard off-the-shelf units. This forces you to rely exclusively on their company for future service calls at inflated monopoly pricing.
- Exorbitant Maintenance Contracts: Charging monthly or annual fees just to inspect a passive mechanical fan that requires zero routine user maintenance is unnecessary. A working fan simply hums quietly and maintains a positive reading on the U-tube manometer attached to the pipe.
- Fear-Based Upselling: Claims that standard radon levels pose an immediate medical emergency tonight often accompany high-pressure sales tactics designed to force an immediate signature before you can collect competitive bids.
Always ask what brand and model of fan the contractor installs. Verify that the fan is an EPA-listed, low-noise model suitable for residential living areas, and confirm that the standard manufacturer warranty transfers directly to you without requiring you to purchase an ongoing service agreement. Understanding these nuances protects your wallet from predatory add-ons.
When examining warranties, check whether the labor warranty matches the equipment warranty. A reputable installer typically backs their physical installation work—such as roof penetrations, pipe security, and electrical connections—with a separate workmanship guarantee lasting several years, ensuring that any installation defects are corrected at no additional charge.

Electrical Requirements and Code Compliance
Never overlook the electrical connection when evaluating a radon contractor. Because radon systems run continuously twenty-four hours a day, seven days a week, the electrical installation must be robust, safe, and fully compliant with local building codes.
Ask contractors if their technicians are licensed electricians or if they employ certified journeymen to handle the electrical tie-in. Simply plugging a radon fan into an existing basement wall outlet using an extension cord is a severe fire hazard and violates electrical codes in most jurisdictions. The installation should feature a properly secured junction box, conduit where required by local code, and an exterior weatherproof switch if the fan is mounted outside.
Additionally, verify whether the contractor pulls the required local building or environmental permits. In many municipalities, radon mitigation installations require a permit and a post-installation inspection. While permit fees might add a minor cost to the invoice, skipping permits can create complications if you decide to sell your home in the future and local municipal records show unpermitted structural modifications.
It is also wise to check whether the electrical wiring is neatly concealed or haphazardly draped across basement joists. Professional installers take pride in clean runs, securing conduit tightly to framing members and utilizing proper cable clamps. Inspecting past portfolio photos or asking for specific details about their electrical connection methods gives you a clear window into their overall workmanship standards.
In cold-climate regions, electrical considerations also extend to fan placement and condensation management. If an exterior-mounted fan is located in an area subject to freezing temperatures, moisture drawn from the soil can occasionally condense in the cold fan housing and form ice dams during severe winter storms. Professional installers in northern climates account for this by pitching horizontal pipe runs back toward the sub-slab suction pit and installing appropriate condensation bypass drains if necessary.
Post-Mitigation Testing and Verification
An installation is not complete until independent testing proves that the system has successfully brought indoor radon levels below the action level recommended by federal health agencies. Reputable contractors include a post-mitigation test in their original bid or provide a certified continuous monitor reading immediately upon completion.
Be cautious of contractors who install the system, collect full payment, and leave without verifying performance. The laws of physics dictate how sub-slab depressurization works, but unforeseen air leaks, hidden foundation cracks, or high water table fluctuations can occasionally hinder performance. A professional guarantees their work, promising to return and seal additional cracks or adjust fan speeds if the follow-up test shows radon levels remain elevated.
Independent verification is your best safeguard. Whenever possible, use a separate, third-party continuous radon monitor or a certified short-term test kit a few days after the system has run continuously. This ensures unbiased confirmation that your investment has successfully secured a healthy indoor environment for your household. Comparing pre-mitigation and post-mitigation data logs ensures complete peace of mind.
Frequently Asked Questions About Radon Mitigation Bids
Homeowners evaluating proposals often encounter similar sticking points during the contractor selection process. Reviewing these common questions can help clarify expectations before you sign a service agreement:
- How long does a standard radon installation take? Most single-family residential installations take between three to five hours to complete, depending on foundation complexity and pipe routing requirements.
- Will the radon system increase my monthly electric bill? Typical inline radon fans consume between 50 and 85 watts of power—roughly equivalent to a single traditional incandescent light bulb—translating to a modest increase on your monthly utility statement.
- Can I install a radon system myself to save money? While DIY kits exist for minor repairs, active sub-slab depressurization requires core drilling concrete, electrical wiring, and roof penetration flashing. Improper DIY installation can lead to roof leaks, structural damage, or failure to effectively reduce radon levels.
- What happens if the radon fan stops working? Every system should feature a U-tube manometer liquid indicator attached to the pipe. If the liquid levels in the two tubes equalize, it indicates a loss of suction pressure, signaling that the fan needs inspection or replacement.
Conclusion
Evaluating bids for radon reduction comes down to balancing structural reality against fair market labor rates. By breaking down your home’s foundation type, scrutinizing PVC routing paths, and avoiding inflated warranty markups, you can select a contractor who delivers safe, code-compliant performance without paying for unnecessary extras. Always secure multiple itemized proposals, verify electrical compliance, and insist on post-mitigation testing to ensure your home remains protected for the long haul.