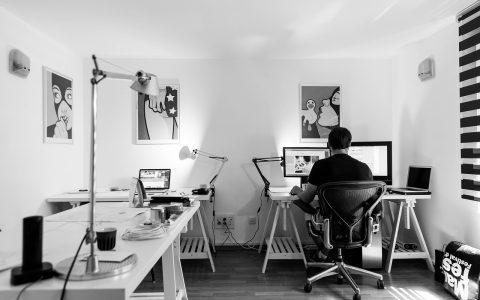
If you spend your workdays moving from one video conference to another, your voice is your primary professional tool. Implementing a proper desk microphone boom arm setup is the single best way to eliminate keyboard clatter and room echo. Yet, many remote professionals invest in high-end webcams while neglecting the physical environment of their desktop audio. The result is a frustrating meeting experience characterized by hollow room echo, distant-sounding speech, and the unmistakable, machine-gun clatter of mechanical keyboard switches every time you type notes during a client presentation.
Achieving broadcast-quality voice clarity on professional calls does not require an expensive commercial recording studio. Instead, it relies on a deliberate physical hardware configuration. By decoupling your microphone from your desktop surface, placing the capsule inches from your mouth, and using physical physics rather than aggressive software filters to block out distracting ambient noise, you can radically transform your call quality. This guide walks through the exact mechanics of choosing, mounting, positioning, and tuning a professional desktop microphone arm system for remote work.
The Anatomy of Desktop Audio Interference
Before examining hardware solutions, it helps to understand why standard desk stands fail. When a microphone sits directly on a desk or on a small weighted base, it becomes a direct receiver for structural vibrations. Every time you strike a keyboard key, click your mouse, or rest your elbows on the worksop surface, low-frequency kinetic energy travels straight through the furniture and into the microphone capsule. On the receiving end of a video call, this manifests as a jarring thump or rumble.
Furthermore, built-in laptop microphones or poorly placed desktop mics suffer from distance. Audio volume drops off exponentially the further a sound source is from the diaphragm. When a microphone sits two feet away on your desk, it must be cranked up in sensitivity to catch your voice. In doing so, it also picks up refrigerator hum, street traffic outside your window, and the hollow acoustic reflections bouncing off your drywall and hardwood floors.
A dedicated boom arm solves these physical problems simultaneously. It gets the microphone off the work surface, lets you position the capsule precisely where it needs to be, and creates a clean workspace free of cable clutter.
Understanding the transmission path of noise is vital for building an effective workspace. Solid-body resonance occurs when kinetic force hits your desk. If your microphone shares that desk via a rigid desk stand, the microphone body rings like a tuning fork. Decoupling this pathway through specialized suspension and floating mounting hardware is the single most effective step you can take to upgrade your call audio. Additionally, modern mechanical keyboards with tactile or clicky switches create high-frequency acoustic waves that travel both through the air and through the physical desk structure. A proper boom arm interrupts the structural pathway entirely.
Choosing the Right Boom Arm and Mounting Style
Not all microphone arms are built for office environments. When shopping for a desk microphone boom arm setup, you will generally encounter two primary mechanical designs: internal-spring arms and external-spring arms.
Internal-spring arms house their tension mechanisms inside hollow aluminum or steel channels. They offer a clean, minimalist look that blends well into modern home offices and prevents clothing or headphone cables from snagging on exposed coils. External-spring arms use visible springs and tension cables along the outside of the tubing. While they can look slightly more industrial, they often provide smoother articulation and make it easier to support heavier broadcast microphones.
Look closely at how the arm attaches to your desk. Most use a C-clamp mechanism, while others utilize a grommet mount that requires drilling a hole through your desktop. If you have a solid wood or high-density laminate desk, a C-clamp with a wide distribution pad will protect your furniture finish from denting. Avoid cheap, lightweight plastic clamps; the weight of the arm combined with daily adjustment will eventually cause them to snap. When selecting a mounting location, consider your dominant hand, the placement of your monitors, and whether you will need to swivel the arm completely out of the way when your workday ends.
Weight Capacity and Counterbalancing
A critical mistake buyers make is purchasing a lightweight arm designed for a tiny plastic podcast mic and attempting to mount a heavy broadcast condenser or dynamic microphone onto it. Always check the weight capacity rating of the arm. If your microphone exceeds the arm’s maximum load, the joints will sag, slowly drifting downward during important client calls until the mic is pointing at your chest.
Consider also the reach and rotation range of the arm. A short arm may force you to pull your keyboard forward into an uncomfortable ergonomic posture just to get the microphone close enough to your mouth. Look for an arm with at least 30 inches of horizontal reach and 360-degree rotation at the base so you can swing it completely out of your way when you are not on camera.
Microphone Selection: Dynamic vs. Condenser for Office Spaces
Your boom arm is only as effective as the microphone attached to it. For remote work environments that may lack professional acoustic treatment, microphone choice matters enormously. Condenser microphones are highly sensitive and capture a wide frequency response, which makes them sound crisp and detailed, but they also capture distant room reflections, ceiling fan noises, and outdoor sounds. Dynamic microphones, on the other hand, feature heavier diaphragms that require closer sound sources to activate. This inherent trait gives them superior off-axis rejection, making them the preferred choice for busy home offices where keyboard clicks and background hums are present.
The Crucial Role of Shock Mounts
Mounting your microphone to a boom arm is only half the battle. If the microphone screws directly onto the threaded tip of the arm, any bump to the desk or the arm itself will still travel directly into the transducer. This is where a dedicated shock mount becomes non-negotiable.
A shock mount suspends the microphone inside a rigid metal or plastic ring using elastic bands or silicone tension loops. This elastic suspension acts as a mechanical filter, absorbing high-frequency shocks and low-frequency thumps before they reach the microphone capsule. When assembling your workspace hardware, ensure the shock mount matches the exact diameter of your specific microphone model. Universal shock mounts can work, but a snug, custom-fit mount prevents the microphone from sagging or rotating out of position.
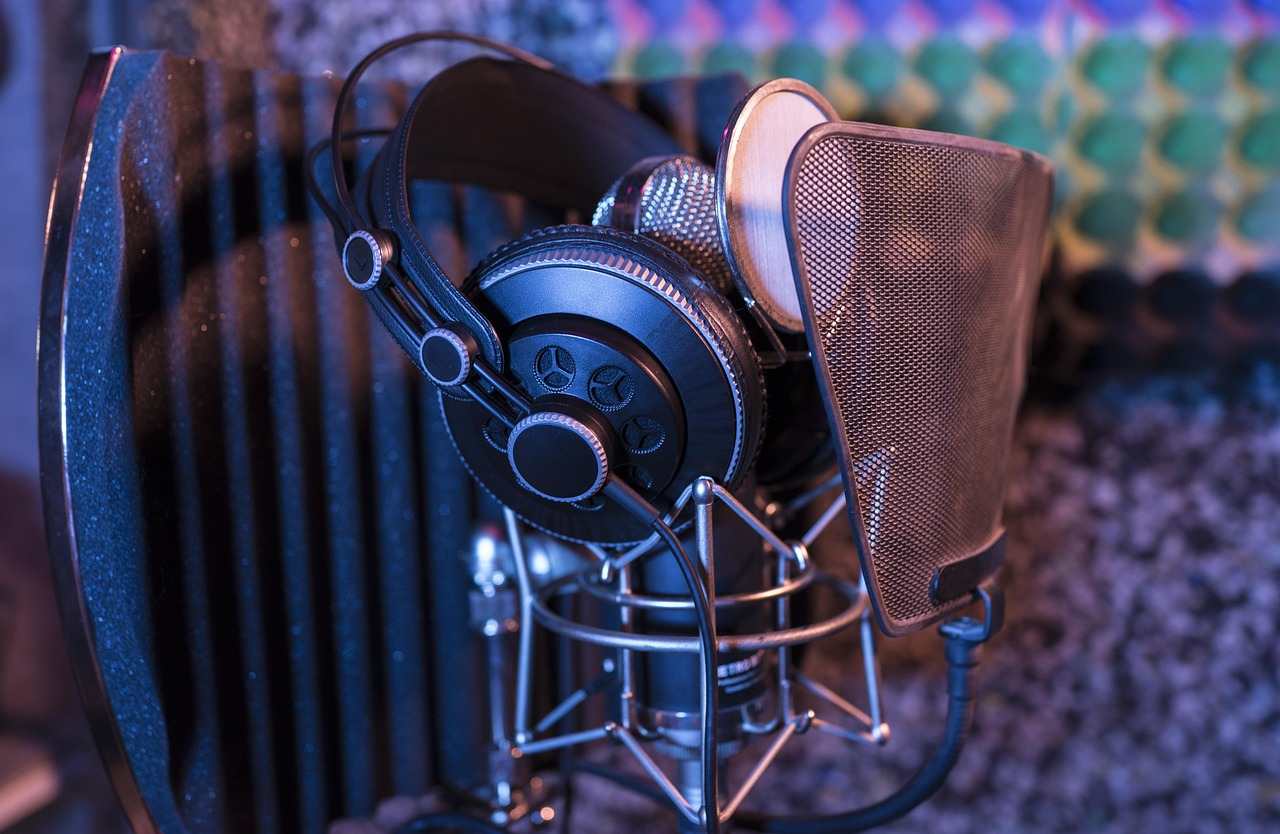
When selecting or replacing elastic bands, remember that rubber degrades over time when exposed to ultraviolet light and ambient heat. Silicone bands generally offer superior longevity and maintain their tension much longer than traditional rubber O-rings. Inspect your shock mount suspension periodically to verify that the inner ring floats freely and does not make direct metal-on-metal contact with the outer chassis. If you notice a sudden increase in low-frequency rumbling during calls, check to see if the microphone body has shifted and touched the outer metal rim of the suspension cage.
Strategic Positioning for Maximum Voice Clarity
Hardware is only as good as its placement. Even the most expensive microphone will sound distant and muddy if positioned incorrectly relative to your mouth. The golden rule of broadcast audio is to place the microphone close to the sound source—typically four to six inches away from your mouth—while keeping it just out of the frame of your video camera.
Many beginners make the mistake of placing the boom arm directly in front of their face, blocking their view of the monitor or forcing them to peer around the microphone like a newscaster. Instead, position the base of the arm off to the side of your desk—either to your dominant hand side or behind your monitor—and swing the articulation joints so the microphone approaches from underneath or slightly above your eyeline.
Optimizing the Angle and Off-Axis Rejection
If you are using a directional microphone (such as a cardioid dynamic or condenser), the capsule is designed to pick up sound primarily from the front while rejecting sound from the rear and sides. Take advantage of this directional pickup pattern:
- Angle the microphone capsule so it points directly toward your mouth, not your keyboard.
- If your keyboard sits directly below the microphone, tilt the mic slightly upward so the dead rear of the capsule points straight down at the keys.
- Keep the capsule at a slight angle rather than pointing straight dead-on to minimize plosive pops from hard consonant sounds like ‘P’ and ‘B’.
- Position the diaphragm slightly below your lower lip, pointing up toward your mouth, which naturally reduces breath blasts without requiring an intrusive pop filter.
By keeping the microphone close and utilizing the natural polar pattern of a cardioid capsule, you create an acoustic shadow. Your voice enters the front of the capsule at a high volume, while ambient sounds like computer fans and typing hit the sides and rear of the capsule at a much lower volume. This physical separation does heavy lifting before any software processing even begins.
Cable Management and Mechanical Isolation
A messy cable run defeats the aesthetic and functional benefits of a clean desk setup. Loose cables dangling against the metal tubing of a boom arm can rub against the frame every time you adjust the mic, creating a loud scratching sound transmitted directly through the arm into the recording.
Most quality boom arms feature built-in cable channels or include Velcro retaining straps. Route your XLR or USB cable snugly along the underside of the arm, leaving just enough slack at the joints to allow for free movement without putting tension on the connectors. If your cable is too tight, it will pull the microphone out of position or strain the ports on your audio interface.
Furthermore, avoid running your microphone cables parallel and touching power cables or power brick cords for extended distances. Electromagnetic interference (EMI) from power supplies can introduce an annoying 60-Hz hum into your audio feed, especially when using sensitive condenser microphones or long cable runs. Crossing power cables and audio cables at a 90-degree angle when they must intersect helps minimize potential electromagnetic coupling.
Gain Staging and Software Noise Suppression
Once your physical hardware is locked into place, you must configure your digital audio environment. Proper gain staging ensures your voice is loud and clear without digital distortion or clipping.
Set your physical gain knob or interface pre-amp so that your normal speaking voice peaks between -12dB and -6dB on your software meters. If your gain is set too low, you will have to speak loudly, leading to vocal fatigue. If your gain is set too high, the microphone will pick up distant room echo and computer fan noise.
While a good physical setup eliminates the need for aggressive noise cancellation, modern video conferencing software often includes built-in background noise suppression. Set this feature to ‘Low’ or ‘Moderate’ rather than ‘High’. Aggressive AI noise suppression can clip off the ends of your words or give your voice a digital, watery artifact sound that clients find distracting. Your physical boom arm setup handles the mechanical noise; your software should only act as a gentle safety net.

Common Setup Mistakes to Avoid
Even with premium gear, minor oversights can ruin your remote audio quality. Watch out for these frequent pitfalls during your installation:
- Mounting to hollow furniture: Clamping a heavy arm to a hollow-core desk or a flimsy folding table creates a massive acoustic resonator that amplifies every vibration.
- Over-tightening tension joints: Forcing tight joints can strip screw threads. Balance the internal springs properly so the arm holds its position naturally without requiring excessive tightening.
- Ignoring room acoustics: A good microphone picks up what is in the room. If your office has bare walls, hardwood floors, and glass windows, speech will bounce around, creating echo. Adding a rug, heavy curtains, or acoustic panels drastically improves clarity.
- Forgetting a pop filter: Always use a foam windscreen or an external nylon pop filter to protect the capsule from breath blasts.
- Placing the mic too far away: Never compromise on placement. If the mic is more than eight inches from your mouth, room reflections will overpower your direct voice.
Maintaining Your Desktop Audio Rig
A professional desk microphone boom arm setup is a durable investment that should last for years, but it requires occasional maintenance. Every few months, inspect the C-clamp to ensure it hasn’t worked loose from desk vibrations. Check the elastic bands on your shock mount; over time, rubber and silicone can lose their elasticity, causing the microphone to sag or touch the outer ring of the mount. Keep your pop filter clean, and periodically check your software audio settings to ensure updates haven’t reset your input levels.
By treating your desktop audio as a complete physical ecosystem—balancing mechanical isolation, precise physical placement, and thoughtful cable management—you elevate your professional presence on every remote call. Clients and colleagues will notice the difference immediately, experiencing crisp, distraction-free communication that lets your ideas take center stage.
Frequently Asked Questions
Will a boom arm completely eliminate mechanical keyboard noise?
While a boom arm combined with a shock mount and a dynamic microphone will dramatically reduce keyboard clatter by breaking the structural vibration path, extremely loud mechanical switches can still travel through the air. Positioning the microphone close to your mouth and pointing the rear of the cardioid pattern downward toward the keyboard will minimize this airborne bleed.
Do I need an audio interface, or can I use a USB microphone on a boom arm?
Both USB and XLR microphones can be mounted successfully on a desk boom arm. USB microphones plug directly into your computer and are great for simplicity, while XLR microphones require an audio interface or mixer. The mounting mechanics and positioning principles remain identical regardless of the connection type.
How do I stop my boom arm from sagging over time?
Most quality boom arms feature tension adjustment screws or internal spring mechanisms. If your arm begins to sag under the weight of the microphone, locate the tension adjustment points near the elbows or base and tighten them incrementally until the arm holds its position without drifting.