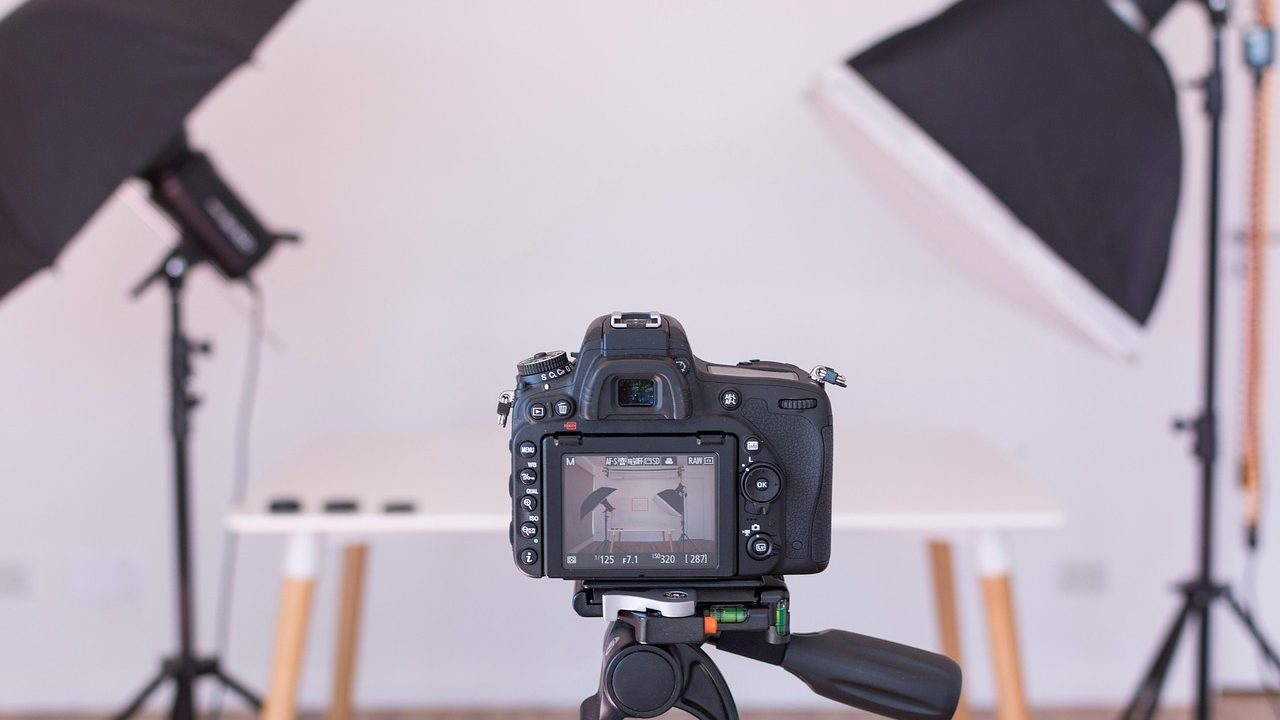
When you spend hours every day in remote meetings, your video feed acts as your professional storefront. Standard USB webcams often struggle with low-light noise, harsh compression artifacts, and limited optical zoom. If you want to elevate your professional presence without relying on resource-heavy desktop streaming apps or cloud telemetry tools, you need a dedicated hardware pipeline. Building a reliable capture card remote work setup allows you to ingest an external mirrorless camera, DSLR, or high-end camcorder directly into your computer as a standard plug-and-play video source.
By shifting video processing duties from your main CPU to a dedicated external or internal hardware card, you eliminate software bloat, reduce encoding latency, and gain absolute control over your optical framing, lighting, and exposure. This comprehensive guide walks you through selecting the right hardware, configuring clean HDMI signals, managing thermal loads, and avoiding common pitfalls during installation.
Why Move Beyond Proprietary Streaming Apps?
Most major camera manufacturers offer proprietary utility software that turns your digital camera into a webcam via a direct USB connection. While convenient, these applications frequently introduce significant drawbacks:
- CPU Overhead: Proprietary bridging software often runs continuous background translation layers, consuming valuable CPU cycles and triggering your laptop fans during critical calls.
- Resolution Caps: Many software-based utilities cap your output resolution at 720p or compress 4K feeds aggressively before they ever reach your video conferencing client.
- Instability and Crashes: Software drivers updated by third-party manufacturers can break unexpectedly after major operating system updates, leaving you scrambling right before a client presentation.
A hardware capture card treats your camera simply as an uncompressed or lightly compressed video source. Your computer’s operating system recognizes the card as a standard UVC (USB Video Class) webcam, meaning it works instantly with Zoom, Microsoft Teams, Google Meet, and Webex without installing sketchy vendor-specific background daemons.
Furthermore, relying on native USB streaming modes built into cameras often places heavy demands on the camera’s internal processing pipeline. Cameras are fundamentally designed to write high-bitrate files to internal memory cards, not to transcode real-time USB video streams for hours on end. Offloading the signal conversion to a dedicated capture card protects your camera’s internal hardware from excessive heat buildup and processing fatigue during multi-hour strategy sessions.
When you utilize hardware-level ingestion, you also eliminate the background telemetry streams that often accompany proprietary desktop utility software. Many modern peripheral applications bundle analytics trackers, auto-update daemons, and cloud synchronization tools that run silently in the system tray. For remote knowledge workers prioritizing system performance, data privacy, and minimal background resource consumption, a clean, driverless hardware capture card provides an architectural advantage.
Choosing the Right Hardware: Capture Cards and Cameras
Assembling your hardware pipeline requires evaluating two critical components: the camera and the capture card itself. You do not need a cinema-grade cinema camera; even an older entry-level mirrorless camera with an HDMI output will dramatically outperform standard webcams.
Evaluating Camera Clean HDMI Output
The single most important feature your camera must possess is “clean HDMI output.” When a camera sends an HDMI signal to an external monitor or recorder, it normally overlays camera menus, battery percentage, autofocus boxes, and gridlines on the screen. Clean HDMI strips away all graphical overlays so only the raw video frame travels down the cable.
Check your camera’s setup menus under external display settings to confirm whether it supports clean output. Additionally, verify whether your camera can output video continuously via AC power adapters (dummy batteries) rather than relying on standard camera batteries, which will drain within an hour or two of continuous conferencing.
Selecting a Video Capture Card
Capture cards range from small USB dongles to high-performance PCIe expansion cards. For most remote workers, an external USB 3.0/3.1 capture box or HDMI-to-USB dongle strikes the ideal balance of performance, portability, and ease of installation.
When shopping for a card, look for these baseline specifications:
- Input Resolution and Framerate: Ensure the card supports at least 1080p at 60 frames per second. Even if your meeting software compresses your stream to 1080p30, capturing at 60fps delivers vastly smoother motion.
- Pass-Through Port: Some capture cards feature an HDMI out port that lets you loop the signal back to an external monitor without adding noticeable signal delay.
- UVC Compliance: True UVC-compliant devices require zero proprietary drivers on Windows, macOS, or Linux, ensuring long-term compatibility.
It is also worth evaluating whether the card handles uncompressed YUY2 or NV12 formats versus compressed MJPEG. Uncompressed formats provide vastly superior color fidelity and eliminate compression artifacts around moving edges, though they demand higher USB bus bandwidth.
Another consideration when picking your hardware is the physical connector type on both the camera and the capture card end. Many compact mirrorless bodies feature micro-HDMI (Type D) or mini-HDMI (Type C) ports, which are notoriously fragile if subjected to constant physical tension. Investing in a dedicated cable clamp or a rigid cage system protects your camera’s delicate port from accidental bumps or pulls during daily workspace adjustments.
Step-by-Step Installation and Cabling
Once you have acquired your camera, capture card, and necessary cables, setting up the physical workspace takes only a few minutes. Proper cable management and hardware placement ensure long-term reliability.
1. Mount Your Camera: Secure your camera to a sturdy desk mount, wall arm, or desktop tripod positioned directly behind or immediately adjacent to your primary monitor. Align the lens height with your eye level to maintain natural eye contact during conversations.
2. Connect Clean HDMI: Run a high-speed HDMI cable from your camera’s micro, mini, or full-size HDMI port into the input port of your capture card. Ensure the cable is rated for high-speed transmission to avoid intermittent signal dropping.
3. Plug Into Your Computer: Connect the capture card to a designated USB 3.0 or USB-C port on your computer. Always plug high-bandwidth video devices directly into motherboard ports rather than through cheap USB hubs, which can bottleneck data transfer rates and cause stuttering video feeds.
4. Configure Camera Settings: Turn off auto-sleep functions on your camera. Set your exposure mode to manual or aperture priority depending on your lighting conditions, lock your focus to prevent hunting, and enable AC power delivery.
5. Select Video Source in App: Open your conferencing software of choice, navigate to video settings, and select your capture card (often identified as an HDMI Video or UVC Capture device) as your primary camera input.
6. Verify Color Profiles and Refresh Rates: Double-check that your operating system’s camera settings or native control utilities (if applicable) match the expected input cadence. Confirm that color spaces are properly mapped to avoid washed-out or oversaturated skin tones during high-stakes client calls.
Optimizing Latency, Resolution, and Thermal Management
Running high-definition video through a hardware capture card increases data throughput, which brings specific technical considerations regarding performance and thermal output.
Managing Latency and Audio Sync
Because video data takes a fraction of a millisecond longer to decode through an external capture card, you might occasionally notice a slight lip-sync delay between your video and audio. To mitigate this:
- Use a dedicated USB microphone or audio interface rather than routing your microphone audio through the camera body.
- Keep your capture card plugged into a high-speed USB controller port to prevent bus saturation.
- Adjust audio delay settings inside your meeting application if minor synchronization drift occurs during extended calls.
Maintaining proper bus allocation on your computer is vital. If you have multiple high-bandwidth devices—such as external NVMe drives, high-res webcams, or audio interfaces—plugged into the same internal USB controller, you may experience dropped frames. Distributing peripherals across separate USB host controllers resolves bandwidth bottlenecks.
Thermal Considerations for Extended Meetings
Compact video capture cards process heavy uncompressed or MJPEG video streams continuously, which generates localized heat. Cheap plastic dongles can overheat during multi-hour strategy sessions, causing thermal throttling, dropped frames, or complete device disconnects.
To protect your equipment, choose aluminum-bodied capture cards with passive heat-dissipating fins. Keep the device in an open, well-ventilated area on your desk rather than burying it under a stack of papers or tucking it inside a closed cable management box. If you notice your capture card becoming excessively hot to the touch during use, consider placing it on a metallic desk surface that can act as an additional heat sink.
Beyond the capture card itself, monitor your camera’s internal temperature indicators, particularly if you are piping 4K downscaled feeds into the capture device. While mirrorless bodies are built to withstand field recording conditions, continuous indoor operation in enclosed home offices requires adequate ambient airflow around the camera chassis.
Advanced Optical and Exposure Tuning
One of the primary benefits of using a dedicated camera for remote work is the ability to achieve professional cinematic framing. Standard webcams rely on fixed, wide-angle lenses with deep depth of field, often showing your entire home office in sharp, distracting detail.
By pairing your capture card setup with a prime lens (such as a 24mm or 35mm f/2.8 or f/1.8 lens), you can isolate yourself from your background using natural optical bokeh. To maximize this setup:
- Lock Your White Balance: Prevent color shifting caused by changing daylight through your window by setting a manual Kelvin color temperature on your camera rather than relying on auto white balance.
- Manage Exposure Manually: Avoid auto-ISO fluctuations by locking your shutter speed (typically double your framerate, e.g., 1/50s or 1/60s), setting your aperture for desired background blur, and adjusting ISO to match your room lighting.
- Utilize ND Filters: If you are shooting in a bright room and need a wide-open aperture for shallow depth of field without blowing out your highlights, screw a neutral density (ND) filter onto your camera lens.
Fine-tuning these optical parameters ensures your video feed remains consistent across varied weather conditions and daylight shifts throughout your workday. By eliminating automatic exposure hunting, you project a polished, intentional visual standard that reinforces your professional credibility.
Troubleshooting Common Configuration Pitfalls
Even with premium hardware, minor configuration hurdles can arise during initial setup. Here is how to resolve the most frequent issues encountered in remote work environments:
- Black Screen or No Signal: Verify that your camera is powered on, set to video mode rather than photo mode, and that HDCP (High-bandwidth Digital Content Protection) is disabled in the camera menu if applicable.
- Choppy or Stuttering Framerates: Ensure you are plugged into a genuine blue USB 3.0 port (or USB-C port supporting SuperSpeed protocols) rather than an older USB 2.0 port.
- Overheated Image Sensor: If your camera shuts down unexpectedly after 30 minutes, check whether your camera model has an auto-shutoff temperature safety threshold and ensure continuous power is supplied via a dummy battery rather than a standard internal pack.
- Intermittent Signal Dropouts: Check your HDMI cable integrity. Long HDMI runs or damaged connectors can fail to maintain high-frequency TMDS or FRL signals. Use certified premium high-speed HDMI cables.
By methodically checking each link in your hardware chain—from optical settings and clean HDMI configurations to USB bus bandwidth allocation and thermal mitigation—you build a resilient, professional-grade remote work environment that functions flawlessly day after day.
Frequently Asked Questions
Do I need a 4K capture card for 1080p video calls?
No. Most meeting platforms like Zoom and Microsoft Teams compress outgoing video feeds to 1080p or 720p anyway. A reliable 1080p60 capture card provides pristine visual quality, lower thermal output, and smoother framerates without requiring excessive USB bandwidth.
Can I use my camera’s built-in microphone through the capture card?
While technically possible, it is rarely recommended. Routing audio through the camera and HDMI pipeline often introduces noticeable audio delay and picks up mechanical lens focusing noises. A dedicated USB microphone or XLR audio interface connected directly to your computer yields far superior voice clarity.
Will a dummy battery damage my camera?
When purchased from reputable manufacturers matching your camera’s exact voltage requirements, dummy batteries are entirely safe. They prevent battery depletion during long meetings and keep internal camera temperatures lower by eliminating internal lithium-ion charging heat.
Conclusion
Transitioning to a hardware capture card setup transforms your remote meeting presence from standard webcam blur into crisp, professional video. By bypassing bloated streaming software, utilizing clean HDMI signals, and maintaining sensible hardware management, you create a robust, low-maintenance workspace that performs reliably day in and day out.