Learning how to trim dog nails safely is one of the most practical skills a pet owner can develop. Overgrown claws do more than just click loudly against your hardwood floors; they alter your dog’s posture, place stress on their joints, and can even curl around and puncture the paw pad. While trips to the groomer or veterinarian are helpful, routine maintenance at home saves you time and money while keeping your dog’s feet healthy.
Many owners avoid clipping their dog’s claws out of fear. The anxiety of cutting too deep—into the sensitive bundle of nerves and blood vessels known as the quick—stops many people before they even begin. However, with the right tools, a clear understanding of canine anatomy, and a systematic desensitization process, you can master at-home nail care without stress.
Understanding Canine Nail Anatomy: The Quick
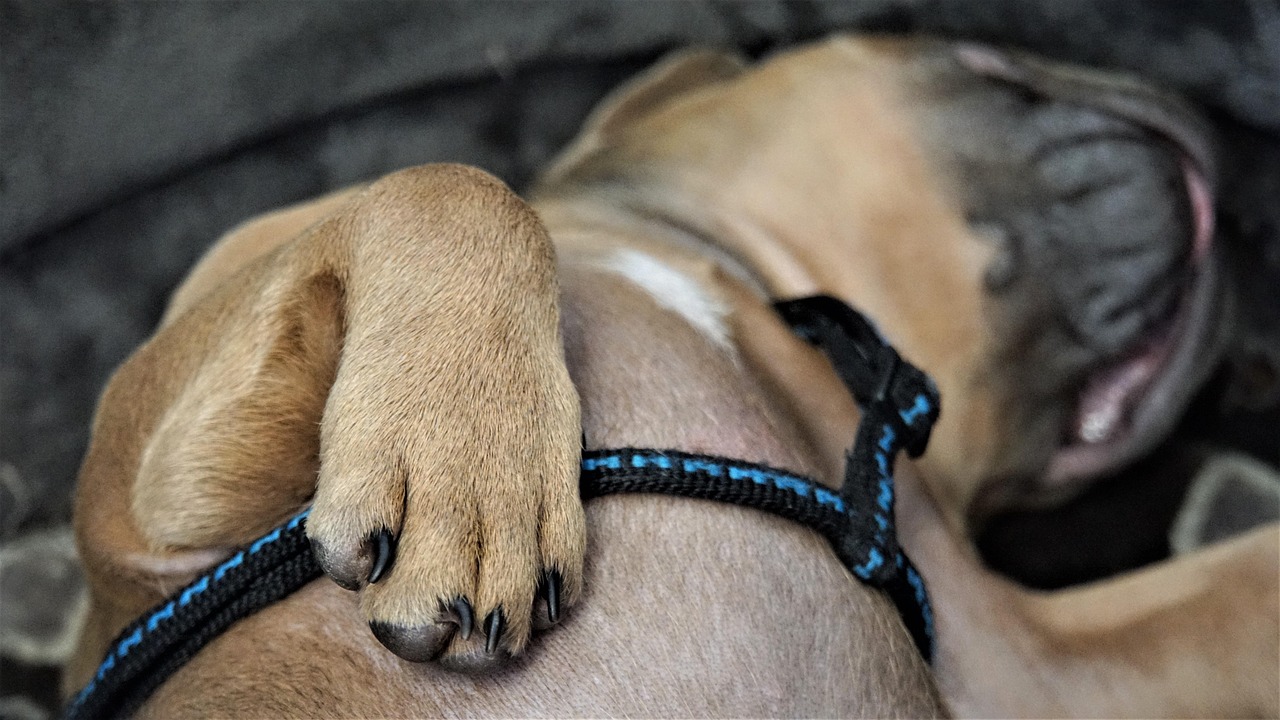
Before you take any cutting tool to your dog’s paw, you must understand what lies inside the claw. A dog’s nail consists of a hard, outer protective sheath made of keratin and a soft, living inner core called the quick. The quick contains nerve endings and blood vessels. If you cut into it, the nail will bleed profusely, and your dog will feel sharp pain.
For dogs with clear or white nails, the quick is easy to spot. It appears as a pinkish shadow running down the center of the translucent keratin shell. Your goal is to trim the dead, keratinized tip just past the point where the quick ends, usually leaving a small safety buffer of about two millimeters.
Black or dark nails present a greater challenge because the pigmented keratin hides the quick completely. If your dog has dark nails, you cannot rely on a simple visual cutoff point. Instead, you must look at the cross-section of the nail as you file or clip it incrementally. As you get closer to the quick, the center of the cut nail will change appearance, transitioning from a dry, flaky gray or white center to a moist, shiny, dark dot. The moment you see that dark center ring appear, you must stop immediately to avoid hitting the nerve.
Furthermore, understanding the structural mechanics of the paw helps put things into perspective. When a dog walks on hard surfaces, the ground pushes the nail upward. If the nail is too long, this pressure transfers directly back into the toe joint, changing the dog’s gait. Over time, this chronic misalignment can contribute to arthritis, muscle soreness, and balance issues, particularly in senior dogs. Regular trimming is therefore a core component of overall physical wellness, not merely a cosmetic choice.
It is also helpful to recognize that not all nails on a single paw grow at the same rate. Side nails and dewclaws often curl because they never touch the ground, while central weight-bearing nails experience varying degrees of natural friction depending on whether your dog walks primarily on concrete, dirt, or carpet. Inspecting each digit individually ensures you never miss a hidden, fast-growing claw.
When examining the paws, pay attention to the overall health of the digital pads and the interdigital spaces between the toes. Redness, hair loss, or excessive licking can indicate underlying allergies or secondary infections that require veterinary evaluation prior to grooming. Keeping the fur around the pads trimmed short can also prevent matting and give you a clearer line of sight when positioning your tools.
Additionally, keeping track of your dog’s nail growth cycle helps establish a predictable rhythm. Some dogs, particularly active outdoor dogs running on abrasive surfaces like asphalt, may naturally wear down their nails faster than sedentary indoor dogs. However, dewclaws on the inner aspect of the front legs never touch the ground and require meticulous personal oversight regardless of lifestyle. Neglecting these high-riding claws is a common oversight that leads directly to painful ingrown issues.
Evaluating the shape of the nail provides further clues. A healthy nail tapers gradually toward the tip. When a nail becomes hooked or curls backward like a fishhook, it is severely overgrown. This shape alteration exerts continuous leverage on the distal phalanx bone inside the toe, causing low-grade, persistent discomfort that can subtly alter your dog’s willingness to jump, play, or climb stairs.
Choosing Your Tools: Clippers Versus Grinders
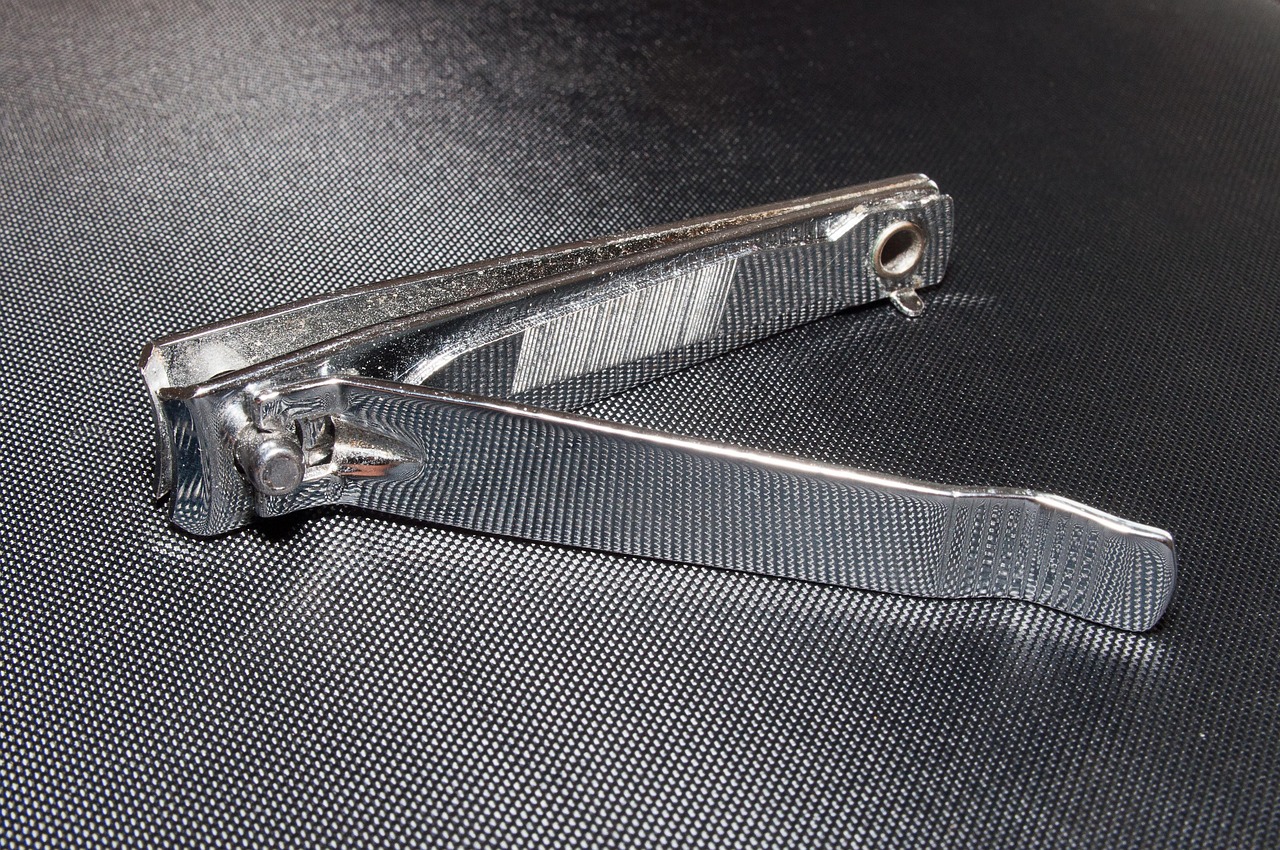
The market offers several types of nail care equipment, and selecting the right one depends heavily on your dog’s size, temperament, and nail hardness.
- Scissor-style clippers: These resemble heavy-duty kitchen shears with a curved notch in the blade to hold the nail in place. They offer excellent leverage and clean cuts, making them ideal for medium-to-large dogs with thick claws.
- Guillotine-style clippers: These feature a stationary hole where you insert the tip of the nail, and a movable blade that slides up to shear the tip off. They work well for small dogs, but you must ensure the replacement blades stay sharp to avoid crushing the nail rather than cutting it.
- Rotary nail grinders: Electric grinders use a spinning drum covered in coarse sandpaper to gently file down the claw. Many owners prefer grinders because they eliminate the crushing pressure of traditional clippers and allow you to round off sharp edges smoothly. However, the noise and vibration can startle sensitive dogs, requiring a longer introduction period.
Always keep a commercial styptic powder or a DIY alternative like cornstarch on hand before you begin. Even experienced groomers occasionally nick the quick, and having a coagulant ready ensures you can stop bleeding within seconds.
When evaluating tools, pay close attention to ergonomics. Rubberized grips and spring-loaded handles reduce hand fatigue, which is particularly important if you have a large multi-dog household or a giant breed with exceptionally dense claws. Dull blades are a common culprit behind jagged cuts and splintered nails, so inspect your clippers regularly and replace them or sharpen them as needed. If you choose a motorized grinder, look for models with multiple speed settings and a protective safety cap that covers the spinning drum, minimizing the risk of long fur getting accidentally caught in the motor.
Consider also your dog’s specific sensitivity profile. If your dog is easily startled by high-pitched mechanical sounds, a battery-operated grinder might trigger an immediate flight response, making manual clippers a safer initial choice until proper sound desensitization can be achieved.
Another factor to weigh is maintenance of the equipment itself. Manual clippers require periodic tension adjustments and blade cleanings to remove keratin buildup that can dull the cutting edge. Rotary grinders require replacement sanding bands or diamond bits once the abrasive surface wears smooth. Investing in quality accessories upfront ensures clean, predictable cuts every single month without mechanical resistance.
It is also worth considering hybrid routines. Many owners use scissor clippers to quickly remove the bulk length of an overgrown nail and finish with a rotary grinder to smooth the rough edges and round off the tip. This dual-tool strategy minimizes the time your dog has to spend holding still while still achieving a polished, snag-free finish that protects your furniture and skin.
Desensitizing Your Dog to Paw Handling
For many dogs, the hardest part of the nail trim is not the actual cut, but the restraint. Dogs are naturally protective of their paws because they are vital survival tools for running and defense. If your dog pulls away, growls, or panics when you touch their feet, you need to step back and start with desensitization.
Break the conditioning process down into small, stress-free steps over several days or weeks:
- Touch the paw: Sit quietly with your dog and gently touch their leg, moving down to the paw. Give them a high-value treat immediately. Repeat this until your dog remains relaxed when you hold their foot.
- Introduce the tool: Let your dog sniff the clippers or grinder while it is turned off. Give them a treat. If using a grinder, turn it on across the room so your dog gets used to the sound without any tactile pressure.
- Simulate the pressure: Press the closed clippers gently against a nail without cutting. Reward your dog. Build up to pressing the handles slightly without clipping.
Never force a panicked dog through a full nail trim. Restraining a terrified animal can cause lasting behavioral trauma and increases the risk of an accidental injury.
Patience during this phase pays enormous dividends later. Rushing a dog that is fundamentally uncomfortable with paw manipulation often leads to an escalating cycle of fear-based aggression or defensive withdrawal. Keep sessions short—two to three minutes at a time—and always end on a positive note before your dog shows signs of restlessness or agitation. Over time, your dog will begin to associate the appearance of the grooming tools with delicious treats rather than an unpleasant confrontation.
Incorporating cooperative care signals, such as teaching your dog a distinct cue that indicates when grooming is finished, can also reduce overall anticipatory anxiety. When dogs understand that they have a degree of control and that sessions have a clear, predictable end point, their cortisol levels remain lower, transforming a dreaded chore into a manageable routine.
Furthermore, creating a consistent environmental context helps signal safety. Choose the same quiet room, play soft instrumental background music, and lay down a non-slip rubber mat on the surface where your dog sits. These environmental cues prepare your dog’s nervous system for a calm experience before any physical handling even begins.
If your dog shows early warning signs of stress—such as lip licking, yawning, stiffening muscles, or whale eyes—pause immediately and scale back the exercise. Pushing through these subtle behavioral flags violates your dog’s trust and makes future sessions significantly harder to manage.
Step-by-Step Guide to Safe Trimming
When your dog is comfortable with paw handling, you can proceed to the actual trim. Choose a quiet time when your dog is naturally relaxed, such as after a long walk or a heavy meal.
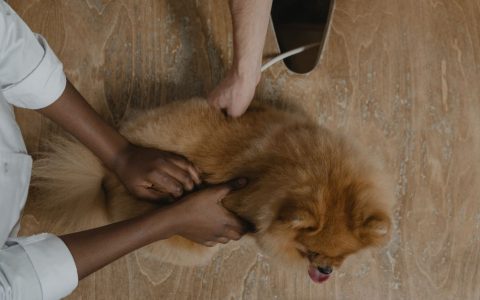
Position your dog safely. For small dogs, you can place them on your lap or a secure table. For larger dogs, sit beside them on the floor rather than standing directly over them, as towering above can trigger defensive instincts.
Hold the paw firmly but gently in one hand. Separate the toe you are working on from the others so you have a clear view. If your dog has dewclaws—the thumb-like nails located higher up on the inside of the front legs (and occasionally the back)—do not forget them. Because dewclaws never touch the ground to wear down naturally, they grow into curved loops that can easily embed themselves in the skin if neglected.
Take your clippers in your dominant hand and approach the nail from underneath at a 45-degree angle, following the natural slope of the claw. Take off small slivers of the nail rather than trying to remove the entire length in one aggressive snap. Check the cut surface after every snip.
Having an assistant help hold your dog or dispense continuous treats via a lick mat can also transform a stressful solo chore into a manageable team effort. If you are working alone, consider wrapping your dog in a supportive embrace or using a specialized grooming sling for larger, wiggly dogs that require extra stabilization.
Ensure your workspace is brightly lit. Natural daylight near a large window or a focused desk lamp allows you to inspect the core of the nail accurately, which is especially critical when dealing with dark pigmented claws where every millimeter matters.
When cutting, listen for the sound of the nail shearing. A crisp, clean snap usually indicates healthy keratin, whereas a dull crunch can signify improper blade alignment or an excessively thick nail that requires a rotary file instead. Always work systematically from one side of the paw to the other, ensuring you do not accidentally skip a digit in the middle.
If your dog becomes restless halfway through the session, do not hesitate to pause. Split the grooming session across two days—doing the front paws on Monday and the back paws on Tuesday—to keep stress levels low and maintain a positive association with the entire routine.
Handling Mistakes and Stopping Bleeding
Even with extreme caution, you may eventually nick the quick. When this happens, your dog may yelp, pull away, or show anxiety. Remain calm immediately; your reaction sets the emotional tone for your dog.
Take a pinch of styptic powder and press it firmly against the bleeding tip of the nail with moderate pressure for five to ten seconds. The powder constricts the blood vessels and stops the bleeding rapidly. Avoid making a fuss or coddling your dog excessively, which can reinforce the idea that a catastrophe has occurred. Instead, offer a calm word of praise and a high-value treat to reset their focus.
If you do not have styptic powder on hand, clean cornstarch or flour can serve as temporary household substitutes, though they take slightly longer to clot the blood. Once bleeding stops, give your dog a break before attempting any further trimming on that day.
Accidental nicks happen to professionals as well, so do not let a single misstep derail your confidence. The most important recovery action is maintaining your own emotional composure so your dog does not learn to associate a minor drop of blood with severe trauma.
It is also helpful to understand why the quick bleeds so readily. The interior of the quick is densely packed with capillaries designed to supply oxygen and nutrients to the growing claw. When breached, blood flow is immediate, but because the nerve endings are also present, the sharp sting causes an instinctive flinch. This is precisely why having your coagulant pre-measured and sitting right next to your clippers before you start is an absolute necessity.
Never apply unapproved chemicals, alcohol, or harsh disinfectants to a bleeding nail, as these can cause unnecessary burning and intensify your dog’s distress. Stick strictly to approved styptic agents or basic kitchen starches, and allow natural clotting to complete its work under pressure.
Creating a Sustainable Maintenance Routine
Consistency is the secret to successful canine nail care. Long nails force the quick to grow longer over time, making it nearly impossible to keep nails short without hitting blood vessels. By trimming small amounts off the tips every two to three weeks, you encourage the quick to recede naturally.
Pair every successful grooming session with positive reinforcement, such as a favorite toy, a game of fetch, or a high-value treat like a small piece of cooked chicken. By turning nail maintenance into a predictable, rewarding routine, you protect your dog’s joint health and eliminate the dread associated with grooming day.
Establishing this rhythm takes commitment, but the long-term benefits for your dog’s mobility and behavior are well worth the effort. By treating paw care as a normal, low-stress aspect of pet ownership, you ensure that your dog remains comfortable with handling throughout their entire life stages, from playful puppyhood well into their senior years.
Over time, as both you and your dog gain confidence, grooming sessions will become faster and smoother. Celebrate small milestones, invest in quality equipment, and never hesitate to consult your veterinarian or a professional positive-reinforcement groomer if your dog exhibits severe behavioral distress during paw maintenance.
Maintaining a calendar tracker on your refrigerator or inside your phone can help you stay accountable to the bi-weekly schedule. Because nail growth is gradual, subtle changes often go unnoticed until claws start clicking loudly on hard floors. A disciplined maintenance calendar prevents overgrowth before it ever starts, ensuring your dog stays comfortable, mobile, and happy year-round.