
When severe weather rolls in, knocking out neighborhood power lines for days at a time, your whole-house standby generator becomes the most important piece of equipment on your property. Yet many homeowners make the critical mistake of treating these powerhouse units like appliances: plugging them in, forgetting about them, and simply expecting them to roar to life when the grid goes down. Implementing a reliable standby generator seasonal maintenance guide ensures your backup system operates smoothly when you need it most. Because standby units sit idle for months under harsh outdoor conditions, minor issues like a sluggish battery, a fouled spark plug, or degraded oil can quickly turn a seamless emergency response into total darkness.
Preparing your generator for seasonal storm outages is not a weekend-long construction project, but it does demand a methodical approach. Whether you are prepping for heavy winter ice storms or summer hurricane season, regular preventive care protects your investment and guarantees peace of mind. Let’s break down the essential steps to service your backup generator’s battery, ignition, and filtration systems before the next big storm hits.
Understanding Your Standby Generator’s Annual Service Cycle
Whole-house generators are complex combustion engines housed in weatherproof enclosures right outside your exterior walls. Like any internal combustion engine, they require clean air, precise fuel delivery, robust electrical sparks, and clean lubrication to function under heavy loads. Establishing a predictable routine prevents premature wear and eliminates the frustrating surprise of a failed auto-start sequence.
Most manufacturers recommend a comprehensive service inspection twice a year—typically in the spring before severe thunderstorm and hurricane season, and in the fall before freezing temperatures set in. Between these major service intervals, your generator should run an automated weekly or bi-weekly self-test cycle. While this self-test confirms that the starter motor turns and the engine fires up, it does not apply a heavy electrical load or replace physical wear items. True seasonal maintenance requires hands-on inspection, cleaning, and testing of critical sub-systems.
Understanding the operating environment of your unit is equally important. Unlike portable generators that are stored in a clean garage or shed and brought out only when needed, standby units live outdoors year-round. They are subjected to freezing winter slush, driving spring rains, baking summer UV rays, and autumn leaf litter. This constant exposure accelerates the degradation of rubber seals, plastic connectors, and electrical insulation. A thorough seasonal inspection gives you the opportunity to catch these environmental stresses before they result in structural cracks or electrical shorts.
To maintain structural and mechanical integrity, you must also understand how hour meters correlate with maintenance schedules. Most residential units track total run hours on an LCD control panel. While calendar-based maintenance handles seasonal shifts, hour-based intervals dictate when to change oil, filters, and spark plugs if your unit experiences extended runtime during major regional outages.
Step 1: Inspecting, Cleaning, and Load Testing the Starting Battery
Ask any certified small-engine technician what causes the majority of standby generator failures, and the answer is almost always the battery. If the starting battery lacks the cranking amps to turn the heavy engine block, the rest of the generator’s sophisticated electronics and alternator are completely useless.
Start your inspection by visually examining the battery housing and terminals. Look for white, powdery corrosion, which is a byproduct of chemical reactions around the lead-acid posts. Disconnect the negative cable first, followed by the positive cable, and clean the terminals thoroughly using a wire brush and a mixture of baking soda and water. Rinse with clean water and dry completely before reinstallation. Applying a thin coating of dielectric grease to the terminals afterward will help prevent future moisture intrusion and oxidation.
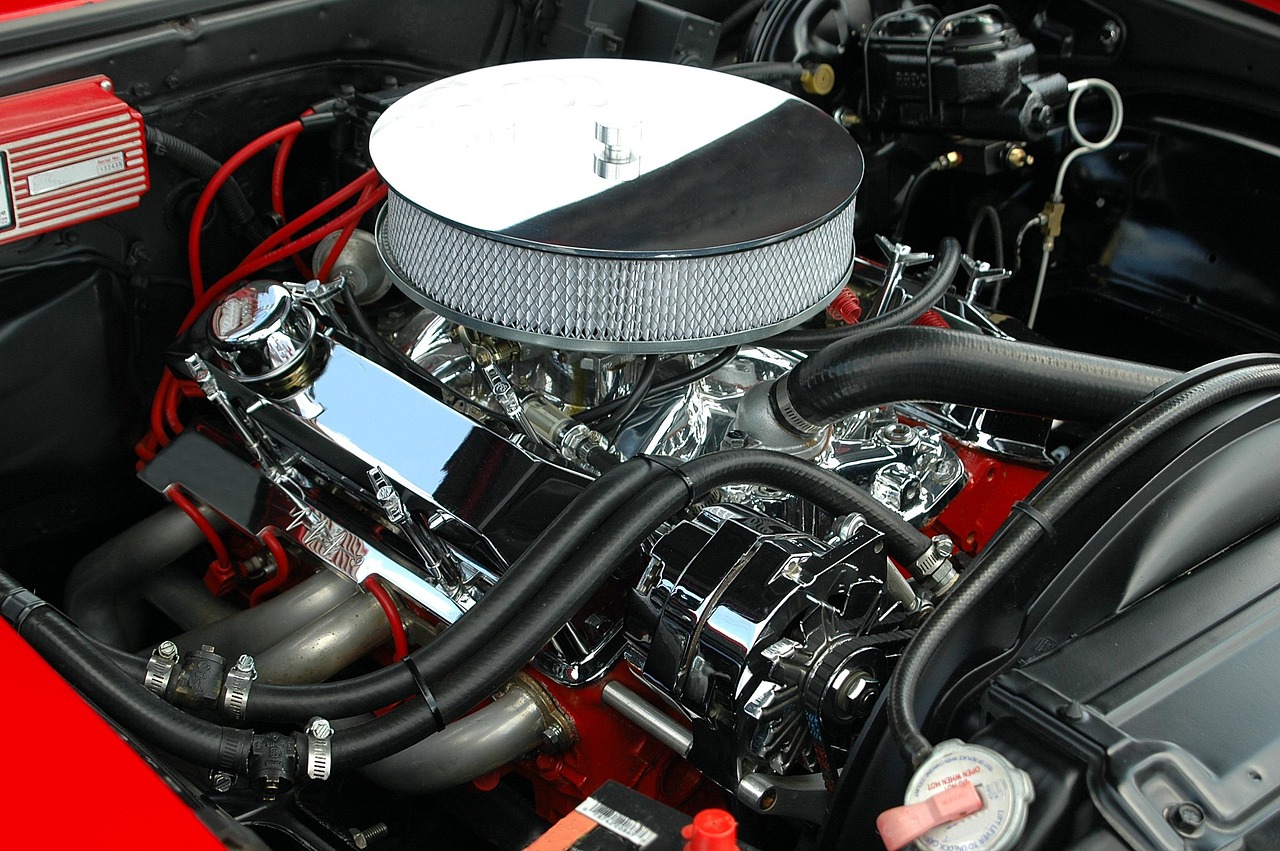
Next, you need to test the battery’s health beyond a simple surface voltage reading. A standard digital multimeter set to DC volts should read roughly 12.6 volts or higher on a fully charged 12-volt battery. However, a battery can show 12.6 volts surface charge yet collapse under the heavy load of a starter motor. Use a carbon-pile load tester or have a local auto parts store perform a load test on the battery. If the battery is more than three years old, or if it fails to hold voltage under load, replace it immediately with a deep-cycle or AGM battery rated specifically for generator applications.
Many modern standby generators feature built-in smart battery chargers integrated into the control board. During your service, check the charger output to ensure it is actively maintaining a trickle charge without overcooking the battery plates. If your charger fails or operates inconsistently, your battery will slowly die even if the main utility power remains stable.
When handling generator batteries, always observe proper safety precautions. Wear safety glasses and chemical-resistant gloves, as lead-acid batteries contain corrosive sulfuric acid and can emit explosive hydrogen gases. Never create sparks or use open flames near the battery compartment during testing or cable disconnection.
Step 2: Managing Oil Viscosity for Extreme Weather Changes
Oil is the lifeblood of your generator’s engine, protecting high-tolerance internal metal components from friction and heat. However, engine oil thickens as temperatures drop and thins out during intense summer heat. Choosing the correct oil viscosity for the upcoming season is vital for proper lubrication during startup.
During milder months, standard 10W-30 synthetic oil works well for most residential standby units. If you are preparing your generator for freezing winter conditions, you may need to switch to a lower viscosity oil, such as 5W-30 synthetic, which flows more freely at sub-zero temperatures and prevents excessive drag on the starter motor. Always consult your specific owner’s manual for manufacturer-approved oil weights and capacities.
Drain the old oil while the engine is slightly warm to ensure suspended contaminants flow out easily. Replace the oil filter during every oil change to prevent trapped debris from circulating through the fresh fluid. When refilling, use a clean funnel and check the dipstick repeatedly to avoid overfilling or underfilling the crankcase, both of which can cause catastrophic engine damage.
It is also wise to inspect the drained oil for signs of internal engine distress. Tiny metallic flakes can indicate normal wear in a brand-new break-in period, but excessive metal shavings or a milky appearance—which points to coolant or moisture contamination—requires immediate professional diagnosis before running the unit under heavy loads again.
Furthermore, synthetic oils generally outperform conventional petroleum oils in standby applications because they resist thermal breakdown and maintain stability across wider temperature swings. Since standby generators often sit dormant for long stretches before being forced into immediate heavy-load service, synthetic lubricants provide superior film strength on dry cylinder walls during those critical first few seconds of cranking.
Step 3: Checking and Gapping Spark Plugs
The ignition system is responsible for creating the electrical arc that combusts fuel inside the combustion chamber. Over months of running weekly test cycles and powering your home, spark plugs accumulate carbon deposits, and their metal electrodes slowly erode, widening the gap between them.
Carefully disconnect the spark plug boots and use a deep spark plug socket to remove each plug. Inspect the tip closely:
- Light tan or gray deposits: Normal wear; the engine is running efficiently.
- Heavy black soot: Indicates a rich fuel mixture, a dirty air filter, or excessive idling.
- Blistered, white, or melted electrodes: Points to an overheating engine or incorrect fuel octane.
- Wet, oily residue: Suggests worn piston rings or valve guides requiring professional service.
If the plugs are simply fouled or worn from standard operation, clean them with a wire brush or replace them outright. Before installing new or cleaned plugs, check the gap using a wire-type spark plug gapper. Adjust the side electrode carefully until it matches the exact clearance specification listed in your owner’s manual—typically between 0.020 and 0.030 inches for most air-cooled standby models.
When reinstalling spark plugs, thread them in by hand first to ensure you do not cross-thread the delicate aluminum cylinder head. Once seated hand-tight, torque them to the manufacturer’s specified foot-pounds using a calibrated torque wrench, or turn them precisely as recommended on the packaging if a gasket washer is utilized.
Never overlook the ignition wires and boot connectors. Over time, high-voltage spark plug wires can develop microscopic cracks in their rubber insulation, causing electrical energy to arc against the metal cylinder head rather than firing the plug gap. Wipe down the boots with a clean rag and check for secure, snug connections that click firmly onto the spark plug terminal.
Step 4: Servicing Air Filters to Maintain Engine Breathing
Because standby generators sit outdoors, their intake vents draw in substantial volumes of ambient air loaded with dust, pollen, grass clippings, and moisture. A clogged air filter starves the engine of oxygen, leading to rough running, reduced power output, black exhaust smoke, and unburned fuel washing down the cylinder walls.
Open the air filter housing and inspect the element. Most residential standby units utilize a two-stage filtration system featuring a pleated paper filter accompanied by a foam pre-cleaner wrap.
If your unit features a foam pre-cleaner, wash it gently in warm water and mild liquid dish detergent, rinse thoroughly, and allow it to dry completely before squeezing a few drops of clean engine oil evenly through the foam to trap fine dust particles. If the main paper filter element shows heavy staining, dampness, or structural damage, discard it and install a fresh OEM replacement filter. Never run a standby generator without an air filter, as airborne debris can instantly score cylinder walls and destroy the engine.
Pay close attention to the housing seals around the air filter box. Over time, rubber gaskets can dry out and crack, allowing unfiltered air to bypass the filter element entirely. Replace any compromised weather stripping or seals to maintain a completely airtight intake path.
In agricultural areas or locations surrounded by heavy pollen and cottonwood seeds, check the air filter box more frequently during the spring and summer months. A blocked intake will cause the air-fuel ratio to skew rich, dropping fuel efficiency and depositing heavy carbon soot throughout the exhaust system.
Step 5: Inspecting Fuel Delivery Systems and Enclosures
With electrical, lubrication, ignition, and air systems serviced, turn your attention to the fuel supply and exterior housing. Most residential standby units run on either natural gas or liquid propane (LP). A disruption in fuel delivery will instantly shut down the generator, regardless of how well the engine is tuned.
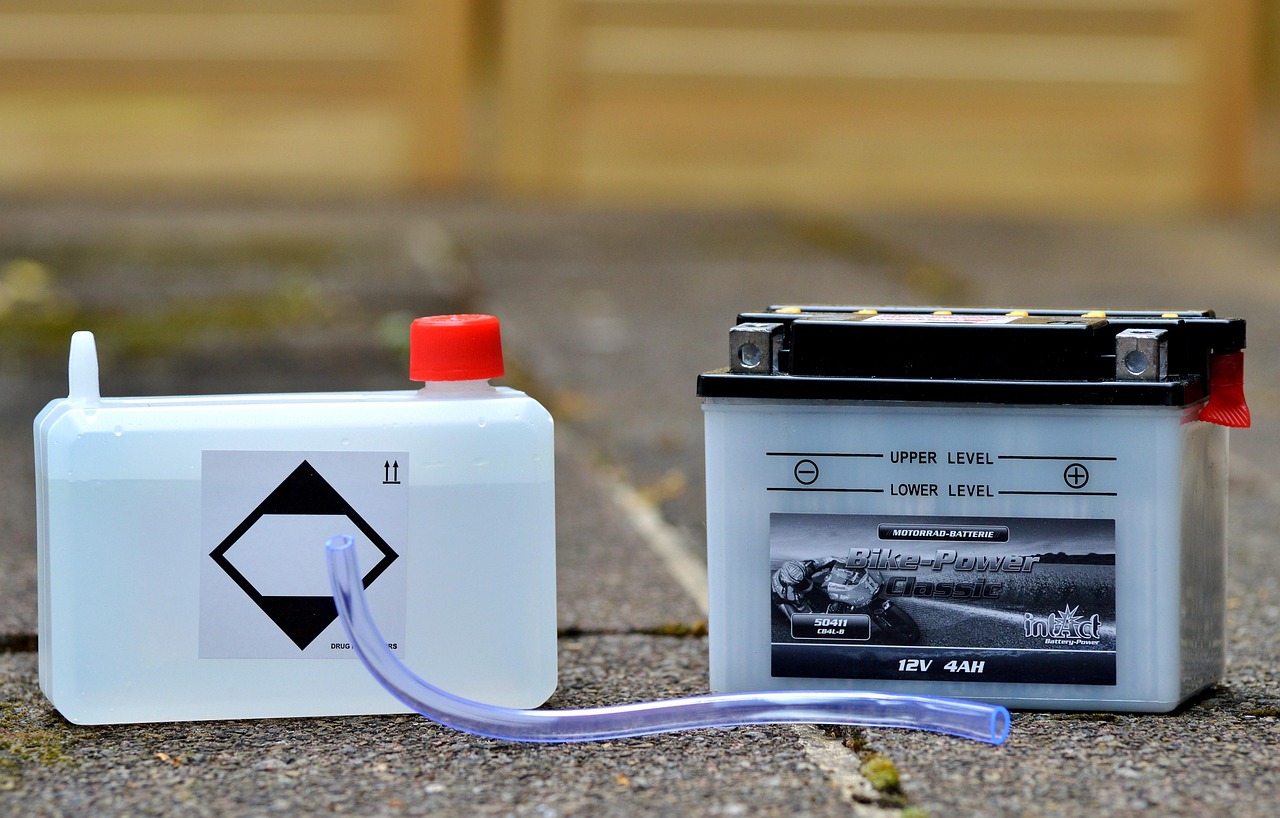
Inspect the flexible fuel line connecting the supply pipe to the generator inlet. Look for any signs of cracking, dry rot, corrosion, or kinks in the line. If your unit runs on liquid propane, check the tank levels, regulator condition, and shut-off valves. For natural gas units, ensure the exterior sediment trap (drip leg) is clear and that no structural settling has put stress on the rigid supply piping.
Finally, clear away any seasonal debris surrounding the generator enclosure. Leaves, fallen branches, drifted snow, and overgrown shrubs can obstruct the vital cooling and exhaust air louvers, causing the engine to overheat and trigger an automatic thermal shutdown. Maintain a clearance zone of at least three to five feet around all sides of the unit.
In regions prone to heavy winter snowfall, consider installing an approved snow hood or shelter extension to prevent drifting snow from burying the intake and exhaust vents. Never allow ice sheets to form directly on top of the enclosure roof, as heavy falling ice blocks can damage the composite housing or warp metal louvers.
Pest infiltration represents another major hazard during seasonal transitions. Rodents and insects frequently seek shelter inside warm generator enclosures, chewing through low-voltage control wiring or nesting inside alternator housings. Install stainless steel mesh over secondary vent openings if permitted by manufacturer guidelines, and inspect the interior cabinet thoroughly for droppings or chewed insulation during every maintenance check.
Executing a Manual Load Test and Post-Service Checklist
Once you have completed all maintenance tasks—battery testing, oil changing, plug gapping, filter cleaning, and fuel inspection—it is time to verify your work with a manual load test. Do not simply rely on the automatic weekly exercise mode.
Safely switch off your home’s main utility breaker to simulate a true utility power failure. Allow the automatic transfer switch to engage, starting the generator and shifting your household electrical loads over to backup power. Listen closely to the engine sound: it should run smoothly without surging, hunting, or excessive vibration. Monitor your home’s major appliances to ensure they operate normally under generator power.
Let the unit run under load for 15 to 30 minutes to bring the engine up to standard operating temperature and verify that oil pressure and voltage output remain stable. Once complete, switch the utility power back on, let the generator run through its standard cool-down cycle, and return the control panel to the “Auto” setting. Document the date, operating hours, and maintenance tasks performed in a dedicated home maintenance logbook to keep your backup power system ready for whatever weather comes next.
By maintaining a disciplined seasonal checklist, you dramatically reduce the likelihood of unexpected equipment failure during high-stress weather events. Taking control of your standby generator’s health ensures that when the next major storm hits and your neighbors are plunged into darkness, your home remains bright, warm, and fully operational.