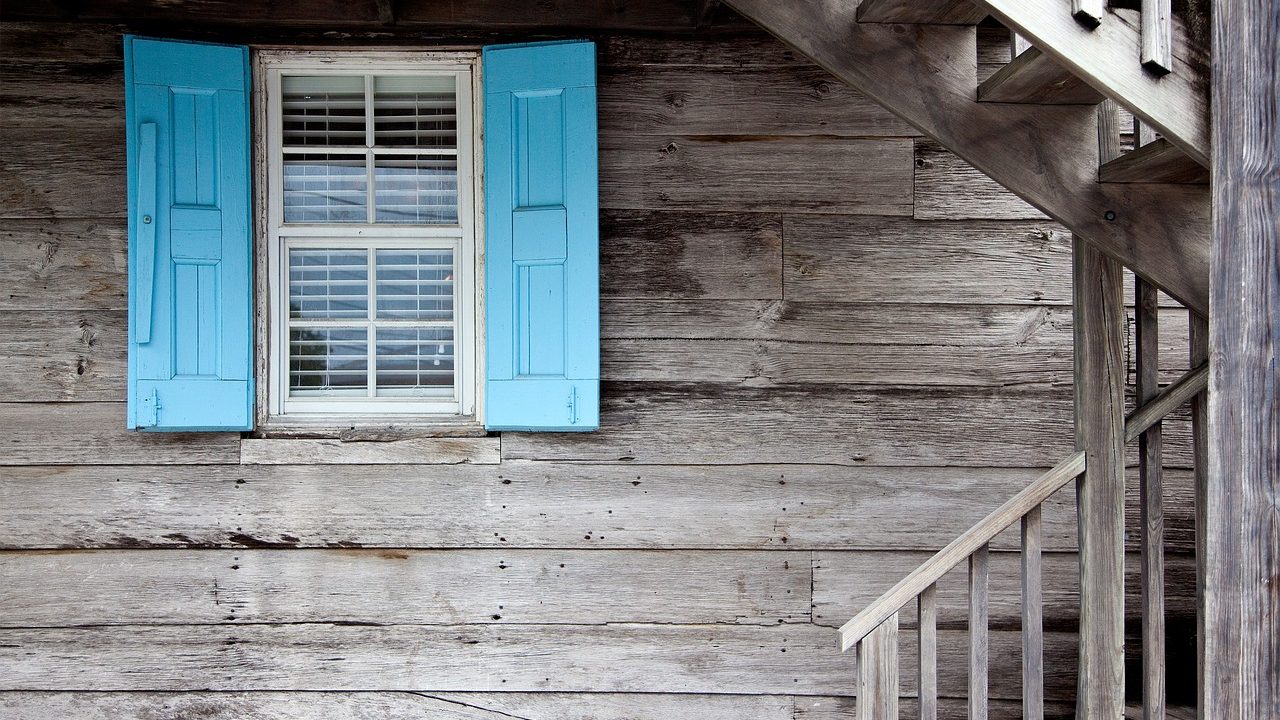
Few household annoyances rival the persistent rattle of a loose window pane during a winter gale, especially when accompanied by a steady stream of cold air whistling through the frame. If you live in an older home with classic double-hung windows, seasonal temperature swings cause wood, rope, and metal components to expand, contract, and wear down over decades. When you want to figure out how to fix rattling windows and stop those chilling drafts, replacing the entire window unit is rarely necessary. Most of the time, the problem comes down to excessive play between the sash and the frame, worn-out hardware, or degraded stop moldings.
Fixing these issues requires a diagnostic approach rather than random guesswork. By understanding how double-hung sashes move within their tracks and how hardware secures them, you can perform targeted repairs that restore both quiet and comfort. This manual walks you through diagnosing sash movement, adjusting and replacing cam locks, installing modern weatherstripping, and updating parting beads to make your older windows tight and quiet.
Diagnosing the Source of Window Rattle and Air Leaks
Before grabbing tools or buying materials, you need to pinpoint exactly where your windows are failing. Not all drafts and rattles originate in the same place. Start by closing and locking the window, then systematically inspect each part of the assembly on a windy day.
Walk up to the window and gently push and pull on the meeting rail where the top and bottom sashes overlap. Does the glass or frame rattle within the track? Next, press against the glass panes themselves. If you feel movement or hear clicking, your glazing putty or interior glazing stops may have failed. Finally, test for air leaks by running your hand—or holding a lit stick of incense—around the perimeter of both sashes. Air movement reveals gaps where exterior weather sealing has disintegrated.
- Sash-to-Track Play: If the sashes slide loosely side-to-side or front-to-back inside the frame channels, you are dealing with worn parting beads or excessive channel clearance.
- Meeting Rail Gaps: If the upper and lower sashes do not pull tightly together when locked, wind will force its way through the horizontal middle joint.
- Stop Molding Looseness: If the interior wood stops holding the lower sash in place are loose, the entire sash will rock back and forth.
Understanding these specific mechanical failure points ensures you do not waste time replacing parts that are still structurally sound. In many historic homes, windows have been painted shut or layers of old paint have built up unevenly along the jamb channels. Scraping away excessive paint buildup can sometimes resolve minor binding issues, but loose structural play requires dedicated mechanical intervention.
Furthermore, conducting a comprehensive structural check involves inspecting the wooden sills and exterior blind stops for rot or softness. Moisture infiltration over decades can degrade the lower frame members, causing the entire opening to lose its square alignment. If the side jambs have bowed inward or outward, sashes will no longer make uniform contact with the frame tracks, generating localized gaps that allow wind-driven rain and drafts to penetrate easily.
Checking and Adjusting Cam Action Sash Locks
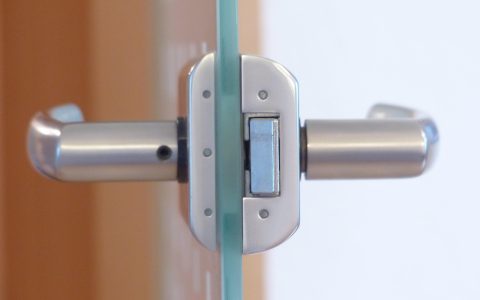
The standard cam lock located on the meeting rail of a double-hung window does more than just keep the window secure; it is designed to pull the top and bottom sashes together vertically, compressing them against each other to create a weather-tight seal.
Over years of use, the screws holding the lock and keeper loosen, or the wood around the screw holes strips out. If your lock lever flips easily without offering firm resistance as it engages the keeper, the sashes are not being drawn together tightly enough. To fix this, open the window and check the tightness of all mounting screws. If the screw threads spin freely in enlarged wood holes, remove the hardware, fill the holes with wood glue and wooden toothpicks or dowel fragments, let them dry, and reinstall the screws securely.
If the existing lock is misaligned and fails to pull the sashes flush, you may need to reposition the keeper plate slightly. Loosen the screws on the keeper, slide it a fraction of an inch closer to the edge of the rail to increase the drawing tension, and retighten. If the lock mechanism itself is worn out or stripped, replacing it with a heavy-duty solid brass or cast iron replacement takes only five minutes and provides immediate improvement.
When upgrading or adjusting cam locks, verify that the locking arm engages the keeper smoothly without requiring excessive force, which could crack old meeting rails or strip the newly anchored screws. For exceptionally wide windows, consider installing two cam locks spaced evenly apart rather than a single center lock. This distributes the clamping force across the entire width of the meeting rail, preventing the outer edges of the sash from bowing outward and rattling during high-velocity wind gusts.
It is also helpful to inspect the opposing surfaces of the meeting rails for irregularities caused by paint buildup or wood distortion. If one rail sits slightly higher than the other when closed, the cam lock will struggle to engage properly, putting uneven stress on the pivoting arm. Sanding down high spots or adding a thin shim beneath the keeper plate can restore parallel alignment, ensuring maximum clamping force and an airtight seal across the entire meeting joint.
Installing Tension-Fin Weatherstripping on Interior Stops
One of the most effective ways to stop drafts and eliminate rattling is by installing tension-fin weatherstripping along the interior window stops. Interior stops are the narrow wooden strips nailed to the inside of the window frame that hold the lower sash in its forward track.
Traditional felt or foam tape often crushes permanently and ruins the historic appearance of older trim, but modern vinyl or silicone tension-fin weatherstripping offers a discrete, high-performance alternative. This material features a flexible sealing fin attached to a rigid carrier that can be tacked or stapled directly onto the inside face of the stop molding.
- Lower the bottom sash completely and clean the interior stop molding surfaces thoroughly with a damp cloth to remove accumulated dust and paint grit.
- Measure the vertical height of the side stops from the sill up to the parting bead intersection, and cut pieces of tension-fin weatherstripping to fit using household shears.
- Position the weatherstripping so the flexible fin presses gently against the side stile of the lower sash when it is closed.
- Secure the strip using small wire brads or the factory-applied adhesive backing, ensuring it does not interfere with the smooth upward sliding of the window.
When you close and lock the window now, the tension fin exerts continuous, gentle outward pressure on the sash, eliminating any horizontal play that causes rattling during high winds.
It is crucial to test the operation of the window immediately after installing the weatherstripping. If the sash binds or requires excessive force to slide past the fin, reposition the strip slightly inward so the contact pressure is reduced while maintaining an airtight seal. Over time, vinyl fins can accumulate dust and dirt; wiping them down occasionally with a mild soapy solution keeps them flexible and prevents sticking.
For optimal results on older double-hung units, consider applying similar tension-fin seals or spring bronze weatherstripping to the upper sash stops and the head jamb. Sealing the entire perimeter ensures that air cannot bypass the lower sash and infiltrate through the upper channel. While spring bronze requires precise nailing and careful handling, it provides a remarkably durable, traditional appearance that complements historic restoration projects while drastically cutting down on annual heating and cooling losses.
Replacing Worn Parting Beads in the Upper Track
In older double-hung windows, the parting bead is the thin vertical strip of wood that separates the upper sash channel from the lower sash channel in the side jamb. If these wooden strips warp, shrink, or break, the upper sash loses its guiding track and begins to rattle violently against the weight pockets and frame.
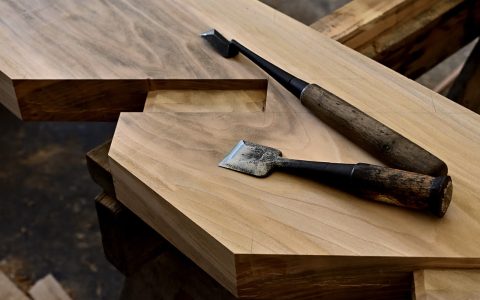
Replacing old parting beads requires patience, especially in painted historic woodwork. Start by scoring any heavy paint lines along the joint between the parting bead and the window jamb using a sharp utility knife to prevent chipping the surrounding finish. Carefully pry the old parting bead out of its groove using a narrow chisel or putty knife, working from the bottom up.
Once the old strip is removed, clean out the groove and measure the channel width. Install a new wooden parting bead—available at most local lumberyards and home improvement centers—by tapping it snugly into the groove with a small hammer and finishing nails. For a more modern weather-sealed upgrade, you can also purchase spring-metal combination parting beads that incorporate built-in weatherstripping fins to seal both upper and lower sashes simultaneously.
When working with older window jambs, take precautions not to damage the delicate pocket weights hidden behind the side jambs. If you accidentally drive nails through the jamb into the weight cavities, the sash cords or weights can become jammed, rendering the window inoperable. Always pre-drill small pilot holes for finishing nails when working with brittle, aged historic wood.
Additionally, inspecting the condition of the exterior blind stops is vital while the parting beads are exposed. If the blind stops are deteriorated, moisture can seep into the weight pockets and rot the interior framing members. Replacing compromised blind stops alongside parting beads ensures a completely weather-tight jamb assembly that stops drafts at their source.
Addressing Loose Glass Panes and Glazing Putty
Sometimes the rattle you hear is not coming from the window frame at all, but from the glass pane vibrating inside its muntins and rails. In older homes featuring single-pane glass held in place with traditional linseed oil glazing putty, that putty eventually dries out, cracks, and falls away entirely.
Inspect the exterior and interior sides of the glass panes. If the putty is crumbling or missing, the glass is resting directly against bare wood or metal glazing points, creating a distinct metallic or rattling sound whenever wind hits the window.
- Carefully scrape away all loose, brittle old putty using a stiff putty knife or chisel, taking care not to scratch the glass or gouged wood muntins.
- Check the small triangular metal glazing points embedded in the wood around the perimeter of the glass. Replace any missing points by pressing them into the wood with the flat edge of your chisel every six to eight inches.
- Knead a small ball of fresh oil-based glazing putty in your hand until pliable, press it firmly into the rabbet angle, and smooth it at a clean 45-degree angle using a putty knife.
- Allow the putty to skin over and cure according to the manufacturer’s instructions—which can take anywhere from a few days to a few weeks depending on humidity—before priming and painting over it to seal the wood.
Failing to address loose glass panes not only allows rattling during storms but also creates vulnerability to water infiltration, which can rot the wood muntins from the outside in. Taking the time to reglaze historic glass panes preserves the structural integrity of the sash and keeps your home insulated.
When working with older glass, exercise caution as historic panes are often thinner, more brittle, and irregular compared to modern float glass. Wear heavy work gloves and safety glasses during the scraping phase. If a historic pane cracks during restoration, glass shops can cut custom replacement single-pane glass to match the exact thickness and wavy appearance of the original material, preserving your home’s authentic historic aesthetic.
Using Spring-Loaded Sash Balances and Friction Adjusters
If your older windows lack working balancing cords or weights, or if the spring balances have worn out, the sashes will sag slightly within the frame. This loss of vertical tension allows the sash to shift out of alignment whenever it is opened or partially cracked.
While retrofitting traditional rope-and-weight systems can be an extensive restoration project, homeowners can easily install modern friction adjusters or sash stabilizers. A friction adjuster is a small spring-loaded brass or steel shoe screwed into the side of the sash that rides inside the window channel, applying constant lateral pressure to hold the window at any desired height while dampening vibrations.
Alternatively, installing dual-action sash locks or secondary window pin locks at the lower corners of the meeting rail can lock the two sashes rigidly together in multiple spots, preventing any twisting or shifting during severe weather events.
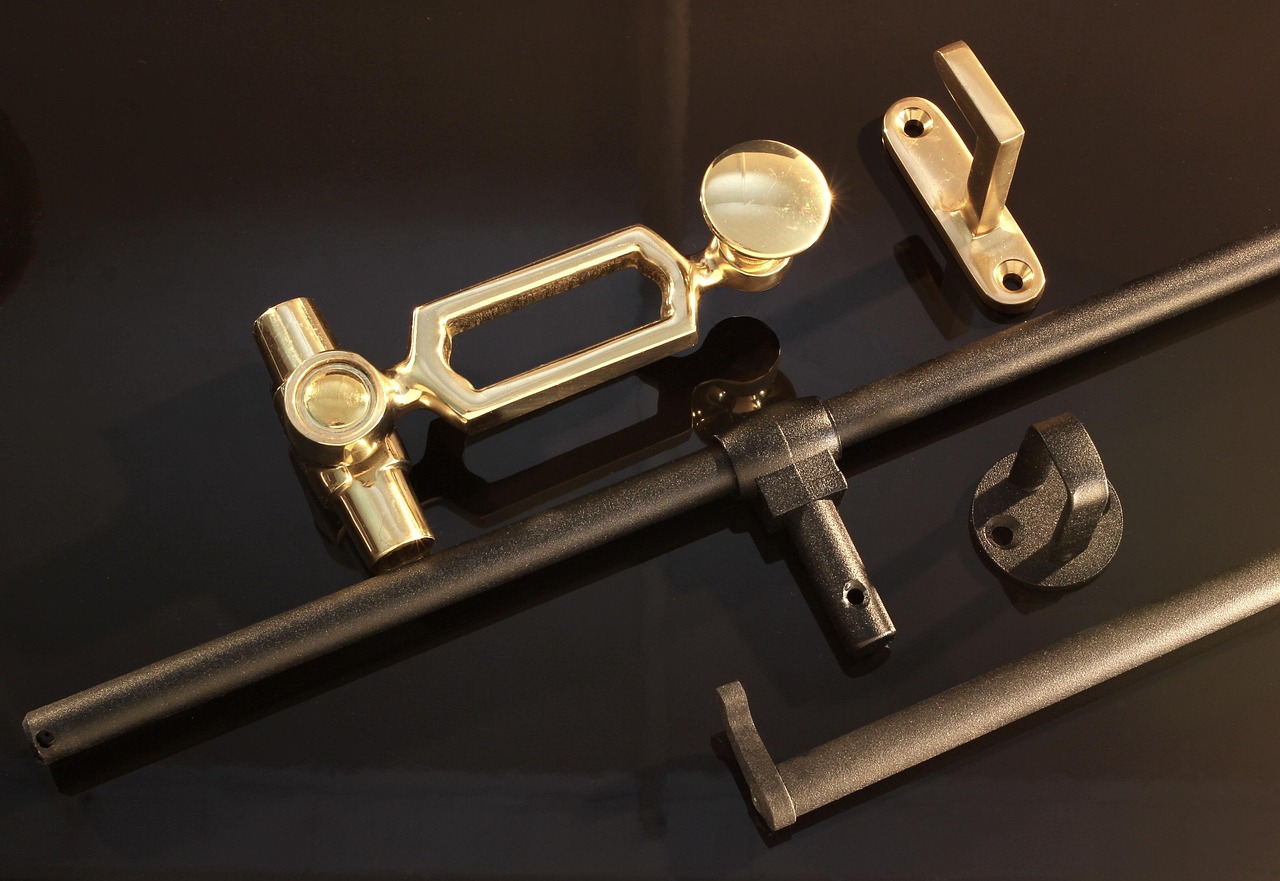
Friction adjusters are particularly useful for windows that refuse to stay open on their own due to missing or broken weight lines. By mounting one adjuster on each side of the lower sash, you create adjustable resistance that holds the window securely at any chosen elevation while completely neutralizing horizontal sash play during windy conditions.
When installing friction adjusters or secondary window locks, always test the travel range of the sash before driving permanent screws. Ensure the device does not bind against the parting bead or interfere with the movement of the upper sash. Proper placement guarantees smooth vertical operation while successfully eliminating annoying rattles during high wind events.
Maintenance Checklist for Long-Term Window Stability
Once you have successfully eliminated rattling and drafts from your windows, a small amount of routine annual maintenance will keep them operating smoothly for years to come. Changes in humidity between summer and winter cause wood to swell and shrink cyclically, meaning minor adjustments may occasionally be required.
Make it a habit every autumn before freezing temperatures arrive to inspect your cam locks, test the weatherstripping flexibility, and clear out accumulated debris from the exterior window sills and tracks. Applying a light coat of paraffin wax or silicone spray to the sliding wood-on-wood contact surfaces keeps sashes moving smoothly without attracting sticky dirt and grime. By addressing loose fits and worn components early, you preserve your historic windows, lower your seasonal energy bills, and enjoy a quiet, draft-free home all winter long.
By following these systematic diagnostic and repair steps, you can tackle window rattles and drafts with confidence. Preserving your original windows maintains your home’s historic character while delivering modern comfort and energy efficiency.