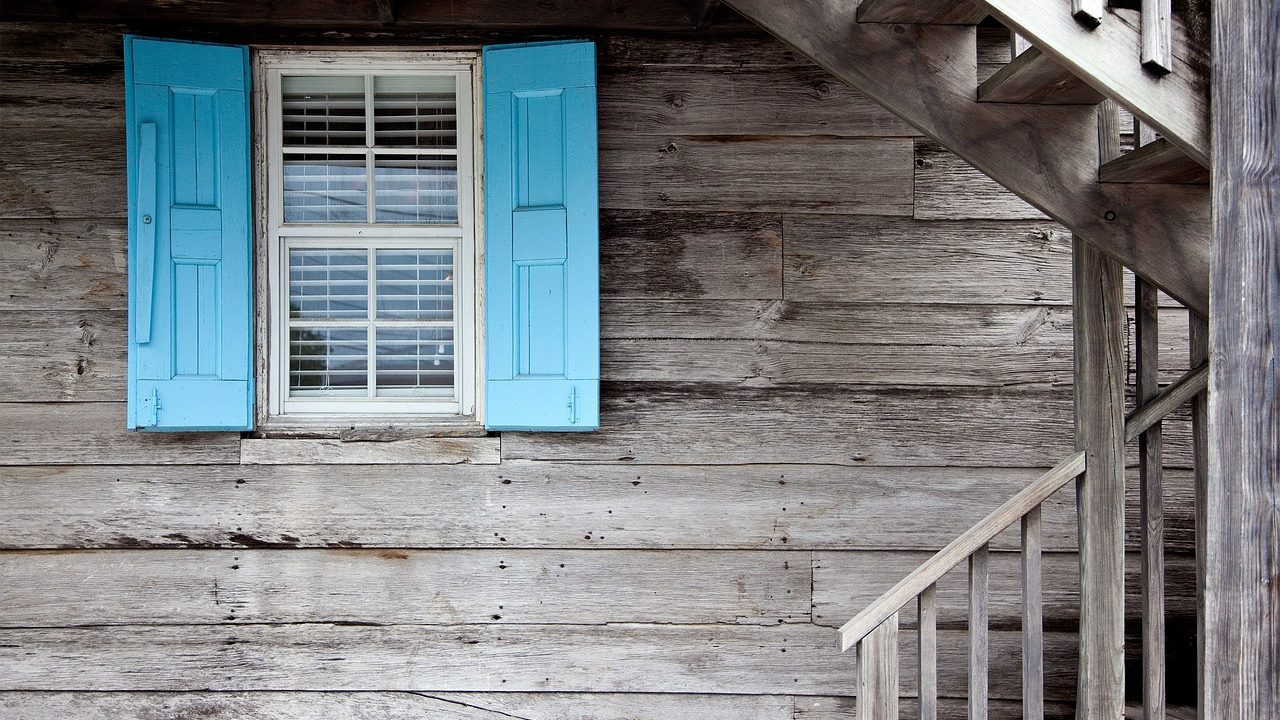
Few household frustrations match the stubborn resistance of a window that refuses to budge. In older homes featuring historic millwork, wooden windows frequently swell during humid summer months, settle as foundations shift, or become permanently glued in place by layers of accumulated house paint. When you need fresh air or an emergency escape route, dealing with a stuck sash tests your patience.
Learning how to fix binding wooden windows saves you from expensive professional carpentry bills and prevents permanent damage to delicate historic trim. Successfully restoring a smooth, dependable window requires a methodical approach. Instead of forcing the sash with a crowbar or hammer—which invariably shatters glass or splinters historic wood—you need to diagnose the root cause of the friction, break away old adhesive bonds, and selectively relieve pressure points.
In this comprehensive guide, we will walk through every aspect of diagnosing, troubleshooting, and repairing stuck wooden windows. Whether you are dealing with a double-hung window that refuses to slide vertically or a casement window that binds tightly against its frame, mastering these fundamental carpentry and maintenance techniques will ensure your windows operate effortlessly through every season of the year.
Understanding Why Wooden Windows Bind
Before you touch a tool, it helps to understand why wooden windows fail to operate. Unlike modern vinyl or aluminum units that rely on spring balances and tight factory tolerances, wooden windows are organic structures that react dynamically to their environment.
Wood is hygroscopic, meaning it absorbs and releases moisture from the surrounding air. During prolonged humid weather, the wood fibers in the sash and frame swell in width and thickness. This dimensional expansion narrows the operational clearance inside the window pocket, causing the sash to bind tightly against the side jambs or parting strips.
Compounding this seasonal movement is the reality of home maintenance over decades. Previous owners often painted over windows year after year without stripping old coats. Paint bridges the tiny gap between the moving sash and the stationary frame, effectively gluing the window shut. Furthermore, minor house settling can rack the square frame out of alignment, causing the wooden corners to bind diagonally.
Understanding these underlying mechanics allows you to choose the right intervention. For instance, if swelling is driven purely by temporary summer humidity, removing too much wood from the sash will leave you with loose, drafty rattles when winter arrives. Diagnosis must always precede cutting or sanding.
Additionally, improper previous repairs can exacerbate binding issues. If a previous owner installed replacement sash cords that are slightly too thick, or if they jammed incorrect hardware into the pulley stiles, the operating mechanism will naturally seize up. Taking time to inspect the entire assembly before applying brute force ensures you address the true mechanical root cause rather than merely treating superficial symptoms.
Essential Tools and Safety Gear
Tackling a sticky wooden window repair diy project requires specialized hand tools designed for precision rather than brute force. Gathering your equipment beforehand ensures a smooth workflow and prevents frustrating delays mid-project.
- Stiff-bladed putty knife or window zipper tool
- Utility knife with fresh, sharp snap-off blades
- Block plane or shoulder plane
- Handheld orbital sander with 80-, 120-, and 220-grit sandpaper
- Non-marring rubber mallet or wooden block
- Chalk or carbon paper for diagnostic marking
- Paste wax or paraffin block for lubrication
- Safety glasses and a dust mask
- Stiff nylon brush and vacuum for debris removal
Avoid using heavy power saws or aggressive metal pry bars unless structural rebuilding is strictly necessary. The goal is preservation and fine adjustment, not demolition. Keeping your cutting edges razor-sharp ensures clean wood removal without splintering fragile historic profiles.
Beyond basic hand tools, consider investing in personal protective equipment. Because older homes frequently harbor lead-based paint layers beneath modern latex topcoats, wearing an N95 or HEPA-rated respirator mask during any scraping, sanding, or planing is essential for personal safety. Laying down heavy-duty drop cloths underneath your workspace will also capture paint chips and wood dust, making cleanup significantly faster and safer.
Step 1: Breaking Paint Seals Safely
If your window hasn’t been opened in years, the primary culprit is almost certainly dried paint. Forcing a painted-shut window will tear the wood fibers right off the sash or strip the parting stop.
Begin by inspecting the interior perimeter where the sash meets the stop molding and the sill. Take a utility knife with a sharp blade and gently score the paint line all the way around the perimeter. Do not try to cut deep into the wood on the first pass; make multiple light scoring passes until you slice entirely through the paint film.
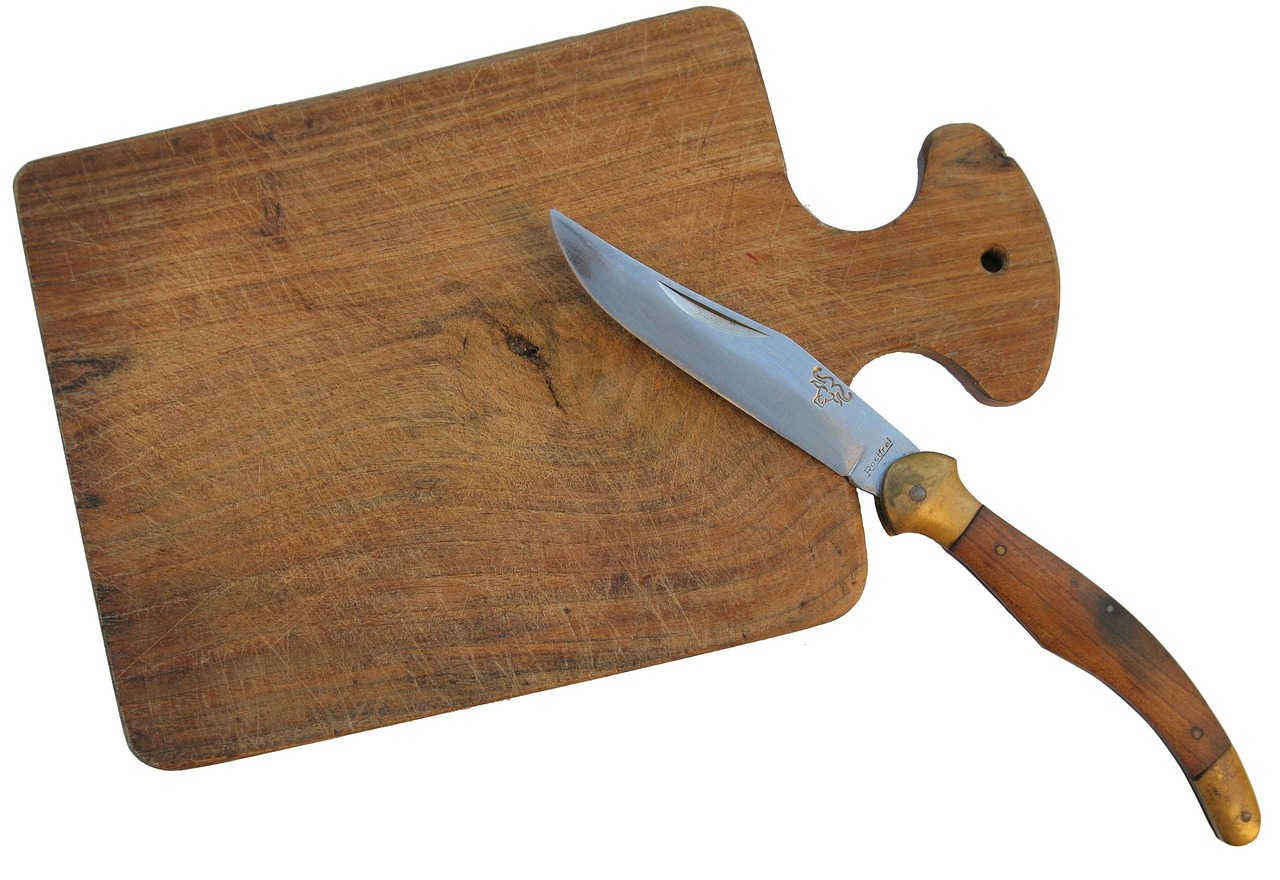
Next, take a thin, stiff putty knife or a specialized window zipper tool—which features a curved, sharp blade designed for sliding into tight channels—and tap it gently with a rubber mallet. Work the blade into the gap between the stop and the sash, moving slowly along the vertical jambs. Once you break the perimeter paint bond, tap the bottom rail of the sash upward with a padded wooden block. Never strike the glass directly.
Take your time during this initial phase. Rushing through the paint-breaking stage often results in gouging the wood or cracking the glass panes. Once the seal is broken uniformly around the perimeter, test the sash to see if it can be nudged gently up or down.
If the paint seal is exceptionally stubborn, do not resort to heat guns without extreme caution. Open flames or excessive heat can crack historic glass panes through thermal shock and release toxic lead vapors from old paint layers. Chemical paint strippers formulated for historic restoration can soften thick paint bridges safely when applied with a small artist brush directly into the seam, allowing your putty knife to slide through unobstructed.
Step 2: Diagnosing Friction Points
Once the window breaks free and moves a few inches, you must locate the exact areas causing resistance. Close the window partially and look closely at the gaps between the sash and the frame.
A reliable trick for pinpointing hidden high spots is using chalk or carbon paper. Rub chalk along the outer edges of the window sash, then slide the window up and down through the tight spots. Where the wood binds hardest, the chalk will transfer clearly onto the opposing jamb or stop molding, showing you precisely where material needs to be removed.
Common friction zones include the upper corners where house settling has distorted the opening, the center meeting rail if the window is racked, and the exterior stops which may have warped inward over time. Mark these trouble spots clearly with a pencil before disassembly.
Conducting this diagnostic phase thoroughly prevents guesswork. Many DIYers make the mistake of planing the entire perimeter of a sash evenly, which ruins the factory fit in areas that were already operating correctly. By isolating the exact square inches causing friction, you preserve structural integrity while solving the operational defect.
Step 3: Planing and Sanding Swollen Sash Edges
When high humidity causes a window frame to swell permanently beyond its original clearance, removing excess wood is the only permanent solution. When learning how to plane a swollen window sash, precision is everything.
Carefully remove the window sash from the frame. For double-hung windows, this usually involves scoring the paint on the interior stops, prying the stop molding loose with a stiff putty knife, and cutting the sash cords or releasing the balance mechanisms. Set the sash on a stable workbench or sawhorse equipped with protective padding.
Examine the chalk marks left during your diagnostic test. Use a block plane to shave away very thin, paper-thin curls of wood from the binding edge. Always plane in the direction of the wood grain to avoid tear-out. Take off only a fraction of an inch at a time, then test-fit the sash back into the opening. It is far easier to remove more wood than it is to put wood back.
For minor high spots or areas where grain direction makes planing difficult, switch to an orbital sander loaded with 80-grit sandpaper for quick material removal, finishing up with 120-grit for a smooth surface. Always wear a dust mask, as older windows may be coated in lead-based paint that requires proper containment and disposal.
When handling the block plane, adjust the blade depth so that it projects only a fraction of a millimeter past the sole plate. Taking microscopic shavings gives you total control over the removal rate. If you encounter end grain along the top or bottom rails, plane from the outside edges inward toward the center to avoid splitting the delicate corner joints.
Step 4: Adjusting Hardware and Stops
Sometimes the wood itself is perfectly stable, but the window binds because the hardware or stop moldings have shifted out of alignment.
Examine the interior stop moldings. If they were nailed too tightly against the sash during a past renovation, they will squeeze the window shut. Unscrew or gently pry the stop moldings loose, reposition them so the window slides freely with a slight finger touch, and reattach them using finish nails or screws in slightly enlarged pilot holes.
Check any existing sash locks, lifts, or pulleys. If a pulley is jammed with old paint or rust, lubricate it with a few drops of light machine oil. Ensure that sash weights inside the wall cavities (if present) are moving freely without catching on insulation or debris.

Furthermore, inspect the parting beads—the thin vertical strips of wood separating the upper and lower sashes in double-hung units. If these beads have warped or drifted outward, they will pinch the upper sash and prevent smooth vertical travel. Tapping them back into their dedicated housing grooves or planing their exposed faces can instantly restore proper clearance.
Step 5: Lubricating and Weatherproofing for Long-Term Operation
With your window moving smoothly and cleanly in its opening, take preventive measures to keep it from sticking again next season.
Never use petroleum-based grease or heavy motor oil on wooden window tracks, as these products attract dust, dirt, and grit, eventually gumming up into a sticky paste. Instead, rub a block of paraffin wax, beeswax, or clear paste wax along the sliding wooden contact surfaces—the jamb tracks, sill, and parting beads. Wax repels moisture and provides a slick, low-friction surface that lasts for months.
Check the exterior weatherstripping. If old metal or felt weatherstripping is bent, damaged, or binding against the sash, replace it with modern spring-bronze or tension-seal vinyl strips that allow smooth operation while blocking drafts.
Applying wax annually during routine spring or autumn maintenance routines keeps wooden windows operating effortlessly year after year. It creates a breathable moisture barrier that protects vulnerable historic wood from absorbing ambient humidity during peak summer months.
Troubleshooting Persistent Issues
If you have planed the sash edges and lubricated the tracks, but the window still binds in certain weather conditions, consider these advanced troubleshooting tips:
- Seasonal Reversal: If you plane a swollen window during the humid summer months, remember that the wood will shrink significantly when winter heating dries out the indoor air. Do not remove too much material, or you will end up with loose, drafty windows in January. Aim for a snug fit that accounts for seasonal breathing.
- Out-of-Square Openings: If structural settling has turned your rectangular window opening into a parallelogram, planing the sash to match the crooked frame is often necessary. Measure diagonals from corner to corner to determine the exact degree of rack.
- Rot and Moisture Damage: Soft, spongy wood holds moisture and swells much more aggressively than healthy lumber. If you encounter rotted wood along the bottom rail or sill, scrape away the soft material, treat the area with a liquid wood epoxy consolidant, and rebuild the profile with exterior wood filler before sanding and painting.
Taking a methodical, step-by-step approach to persistent binding ensures you do not overlook structural distortions. In severe settling cases, consulting a structural engineer or foundation specialist may be necessary to correct the underlying framing before window repairs can hold long-term.
Professional Considerations Versus DIY Repair
While most stuck or binding wooden windows can be successfully restored using basic hand tools and patience, certain situations warrant calling in a professional historic restoration specialist. If your windows feature complex, fragile leaded glass, extensive structural rot affecting the main frame sill, or heavy lead paint remediation requirements that exceed safe DIY containment protocols, a professional can preserve the architectural integrity without risking costly damage.
However, for routine seasonal binding, paint buildup, and minor sash swelling, taking matters into your own hands is highly rewarding. Not only do you retain original historic materials that outlast modern replacements, but you also gain intimate knowledge of how your home’s vintage systems operate.
Balancing cost, time, and historical value helps you decide whether to tackle a complete sash restoration yourself or hire out specific advanced woodworking tasks such as millwork duplication or custom sill replacement.
Conclusion
Fixing binding wooden windows is a rewarding DIY project that preserves the character and craftsmanship of older properties while restoring daily comfort and functionality. By patiently breaking paint seals, accurately diagnosing friction points, and selectively planing swollen sash edges without over-trimming, you can ensure your historic windows operate smoothly for decades to come.