Your home’s foundation is the silent anchor holding up your entire living space, yet most homeowners rarely look closely at their basement walls until water starts pooling across the concrete floor during a heavy spring rainstorm. By the time active water intrusion occurs, minor wall blemishes have often worsened, turning simple cosmetic upkeep into an urgent mitigation project. Developing a proactive routine around residential concrete foundation crack maintenance protects your property value, keeps your below-grade living spaces dry, and prevents minor settling issues from compounding into expensive structural failures. Following a reliable concrete foundation crack maintenance guide ensures you identify problems early.
This guide walks you through a systematic approach to evaluating your home’s foundation walls. Whether you are conducting your annual autumn check before freezing temperatures arrive or investigating a newly spotted hairline fracture, understanding the mechanics of concrete, knowing how to measure crack movement, and picking the right repair chemistry will save you time, money, and stress.
Understanding Why Concrete Foundation Walls Crack
Concrete is an exceptionally strong, durable building material designed to bear immense compressive loads, but it has inherent limitations in tensile strength. When forces pull concrete apart rather than squeezing it together, the rigid matrix yields, resulting in fractures. To manage this concrete foundation crack maintenance guide effectively, you first need to understand the fundamental distinction between normal curing behavior, harmless settling, and structural distress.
As poured concrete transitions from a wet slurry into a solid mass, it undergoes chemical hydration and drying shrinkage. This process inevitably generates minor internal stresses, frequently showing up as random hairline fractures within the first year of construction. Similarly, slight settlement as the soil compacts beneath the footings can produce minor vertical cracks that stabilize permanently after a few seasons. These non-structural fissures are common, predictable, and generally easy to manage with basic surface sealing techniques.
Conversely, structural cracks stem from uneven soil pressures, expansive clay soils that swell when saturated and shrink when dry, hydrostatic pressure from poor site drainage, or external forces like large tree roots and adjacent construction. Recognizing these root causes helps you determine whether a crack requires a simple tube of caulk or a complete geotechnical and structural engineering evaluation.
Furthermore, understanding concrete mix ratios and environmental factors during the initial pour provides critical context. If concrete dries too quickly due to high ambient temperatures or low humidity during construction, plastic shrinkage cracking can occur before the material even achieves initial set. While these surface crazing cracks or map cracks rarely threaten structural stability, they create pathways for moisture accumulation, inviting freeze-thaw degradation during cold weather months. Recognizing the difference between deep structural fissures and shallow surface imperfections is the cornerstone of effective, targeted property maintenance.
Setting Up Your Seasonal Inspection Routine
Effective maintenance relies on consistency. Rather than waiting for an emergency, schedule thorough basement and crawlspace walkthroughs twice a year—ideally during the spring thaw when groundwater levels peak and in the late autumn before freeze-thaw cycles begin.
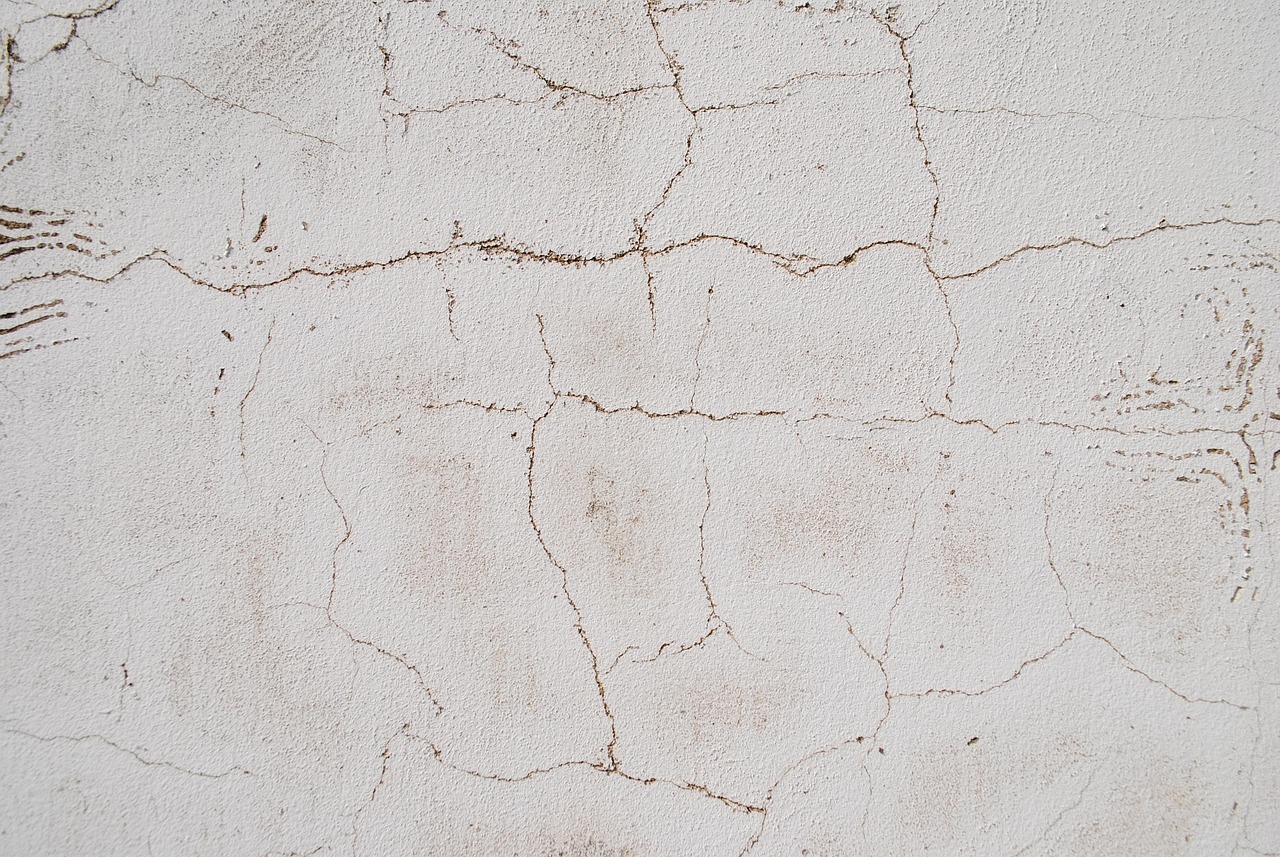
Start your inspection with adequate lighting. Turn off overhead basement lights and use a high-lumens LED flashlight held nearly parallel to the concrete surface. This raking light technique casts deep shadows across even the smallest imperfections, revealing hairline vertical cracks, minor spalling, or efflorescence that might otherwise blend into gray concrete.
Systematically inspect every linear foot of your foundation walls, paying particular attention to vulnerable areas:
- Windows and Door Openings: Corners of egress windows and basement entry doors act as natural stress concentration points where cracks frequently originate.
- Utility Penetrations: Areas where sewer lines, water mains, or electrical conduits pass through the foundation wall are common zones for minor settling gaps.
- Cold Joints: The horizontal seam where the poured concrete footing meets the vertical wall is a classic location for minor moisture seepage.
- Corner Intersections: Structural corners experience complex multi-directional loads and deserve close scrutiny during every seasonal check.
Document your findings with photographs and keep a dedicated maintenance notebook. Place a small ruler or coin next to any newly discovered crack for scale, and date the image so you have a reliable visual baseline for future comparisons. Beyond visual checks, tapping the concrete wall gently with a plastic mallet can help detect hidden delamination or hollow areas behind the surface layer, giving you early warning of subsurface deterioration before visible cracking occurs.
Differentiating Cosmetic Hairline Cracks from Structural Failures
Not all foundation cracks carry the same weight. Correctly diagnosing the severity of a fracture dictates your maintenance path and prevents you from wasting money on superficial fixes for structural problems. When reviewing your foundation walls, classify every crack into one of three primary diagnostic categories.
Hairline shrinkage cracks are typically less than the thickness of a credit card (under 1/16 of an inch). They run vertically or diagonally, do not show any displacement (meaning one side of the wall is not pushed forward past the other), and remain uniform in width from top to bottom. These are classic candidates for DIY maintenance.
Moderate structural cracks measure between 1/8 and 1/4 of an inch. While they may still be sealable, they suggest localized movement or settlement that warrants careful monitoring. Look for signs of water staining, rust bleeding from internal rebar, or crumbling concrete edges.
Severe structural cracks exceed 1/4 inch in width, run horizontally along the middle third of the wall, or exhibit stair-step patterns through concrete masonry unit (CMU) mortar joints. Horizontal cracks are particularly critical because they indicate that lateral soil pressure from saturated earth is overpowering the wall’s structural capacity, threatening wall collapse if left unaddressed. Understanding these nuances prevents dangerous misclassifications and ensures that severe structural issues are escalated to licensed engineering professionals immediately.
Checking Wall Plumbness and Alignment with Simple Tools
Beyond measuring individual crack widths, evaluating the overall vertical alignment—or plumbness—of your foundation walls provides critical insight into whether your home is experiencing global foundation movement rather than isolated settling. A wall can develop numerous minor hairline cracks while remaining perfectly plumb, indicating benign shrinkage. However, if a wall is leaning inward at the top or bowing outward in the middle, even narrow cracks demand immediate professional structural assessment.
You can easily check wall plumbness using a heavy-duty 4-foot or 6-foot carpenter’s level pressed flush against the concrete surface at various points along the basement perimeter. For a more precise measurement across the entire height of the wall, hang a traditional plumb bob from the upper rim joist, allowing the weighted string to dangle a fraction of an inch above the floor. Measure the horizontal distance from the string to the concrete wall at the top, middle, and bottom. Any significant variance greater than half an inch over an eight-foot span signals dangerous lateral displacement that simple epoxy or elastomeric sealants cannot resolve.
Additionally, pay close attention to the behavior of doors and windows directly above the foundation on the main living levels. If interior doors begin sticking in their frames, or if drywall cracks appear radiating from window corners on the first floor, these are classic symptoms of foundation shifting that correlate directly with below-grade wall movement. Cross-referencing your exterior and interior observations ensures you catch structural distress before it escalates into a catastrophic failure.
Monitoring Crack Width and Active Movement
Before you apply any sealant or injection resin, you must answer a vital question: Is the crack actively moving, or has it stabilized? Sealing a crack that is still widening due to ongoing foundation settlement will quickly tear the repair material apart, rendering your maintenance efforts useless.
To track movement objectively, install a mechanical crack monitor or a glass strip gauge across the fracture. Commercial acrylic crack monitors feature a grid system with a hairline crosshair that slides as the wall shifts, allowing you to measure movement down to the millimeter. Alternatively, affixing a thin strip of clear glass or setting a precise plaster of Paris patch across the crack works well as a low-tech indicator; if the glass or plaster cracks within a few weeks, you have an active movement problem that requires professional engineering stabilization.
Record your gauge measurements monthly for at least one full seasonal cycle. Foundation soils expand and contract with moisture and temperature changes, meaning a crack might widen during dry summer months and close slightly during wet winter periods. Understanding this seasonal rhythm ensures you apply your repair materials during the optimal window of stability. Maintaining a detailed historical record of these measurements also provides invaluable data should you ever need to consult with waterproofing contractors or structural engineers regarding long-term remediation strategies.
Choosing the Right Repair Materials: Epoxies vs. Polyurethanes
Once you verify that a crack is stable and non-structural, your choice of repair material depends entirely on whether your primary goal is stopping water leaks or restoring structural integrity.
Polyurethane foams are designed primarily for waterproofing. When injected into a crack, polyurethane reacts with moisture in the concrete to expand up to twenty times its liquid volume, filling the entire depth of the wall cavity. It cures into a flexible, rubbery gasket that can accommodate minor seasonal thermal expansion and contraction without tearing. If your main issue is a damp basement wall or minor water seepage through a stable hairline crack, low-pressure polyurethane injection or surface elastomeric sealant is the correct choice.
Epoxy resins, by contrast, are high-strength structural adhesives. They do not expand; instead, they cure into a rigid plastic bond that is actually stronger than the surrounding concrete. Epoxy is ideal for structural stitching, where you need to weld a cracked wall back into a solid, monolithic unit. However, because epoxy is completely rigid, it should never be used on cracks that experience active thermal movement or ongoing settlement, as the concrete will simply fracture right next to the brittle epoxy line.
When selecting your repair products, always review the manufacturer’s technical data sheets regarding application temperature ranges, open times, and curing schedules. Some chemical formulations require dry concrete surfaces to bond properly, while others are specifically engineered to react in the presence of active moisture. Selecting the correct chemistry tailored to your specific environmental conditions ensures maximum bond strength and long-term durability.
Step-by-Step Procedure for Sealing Non-Structural Cracks
For stable hairline cracks that allow minor moisture seepage, applying an elastomeric surface sealant or undertaking a DIY low-pressure injection is a straightforward weekend maintenance task.
Preparation is the most critical phase of any concrete repair. Follow these core execution steps for a lasting bond:
- Clean the Surface: Remove all loose concrete, dust, efflorescence, paint, and old flaky sealants from inside and immediately around the crack using a wire brush, chisel, and an industrial vacuum. A clean concrete substrate is mandatory for chemical adhesion.
- Degrease the Area: If the wall has oil or dirt contamination, scrub the crack with a TSP (trisodium phosphate) alternative cleaner and rinse thoroughly with clean water. Allow the concrete to dry completely unless your specific product instructions call for a damp surface.
- V-Groove the Crack (Optional for Surface Sealing): Using an angle grinder with a masonry diamond wheel, carefully widen the top of the crack into a shallow V-shape, roughly a quarter-inch deep and wide. This creates a mechanical keying trough that holds a heavier bead of elastomeric sealant securely in place.
- Prime and Apply Sealant: Load your elastomeric polyurethane masonry caulk into a standard caulking gun. Insert the nozzle deep into the bottom of the V-groove and pull a smooth, continuous bead along the joint. Tool the surface immediately with a gloved finger or putty knife to force the material into direct contact with the concrete flanks.
- Cure and Inspect: Allow the product to cure fully according to the manufacturer’s specified temperature and humidity guidelines before exposing the wall to heavy exterior moisture or painting over the repair.
Taking your time during the preparation phase pays significant dividends. Skipping surface cleaning or leaving behind residual dust creates a weak boundary layer that causes new sealants to peel away under hydrostatic pressure. Always wear appropriate personal protective equipment, including safety glasses, heavy-duty work gloves, and a dust mask when grinding or cleaning concrete surfaces.
Common Maintenance Mistakes to Avoid
Homeowners tackling foundation maintenance often fall into predictable traps that compromise their repair work. Avoiding these common errors ensures your investment of time and materials actually solves the problem.
The single biggest mistake is surface-patching a leaking crack with hydraulic cement or standard latex caulk without addressing the root cause or penetrating the full depth of the wall. Hydraulic cement sets rapidly and works well for emergency plug repairs, but because it is rigid and lacks deep structural adhesion, exterior hydrostatic pressure will often pop the patch right out within a season.
Another frequent error is failing to manage exterior site drainage while focusing exclusively on interior repairs. No interior sealant can withstand a constant hydraulic head of water pressing against the foundation. Always verify that your gutter downspouts discharge water at least four to six feet away from the foundation wall and that your exterior soil grade slopes away from the house at a minimum drop of six inches over the first ten feet.
Finally, never attempt DIY epoxy or polyurethane injection on active structural cracks showing displacement, sagging, or horizontal shearing. Pumping resin into a shifting wall masks the symptom while ignoring the structural failure, potentially giving you a false sense of security while the foundation continues to compromise.
Frequently Asked Questions About Foundation Crack Maintenance
Homeowners frequently encounter specific dilemmas when planning concrete maintenance projects. Reviewing these common questions helps clarify best practices and ensures safe execution.
How can I tell if a crack is leaking water or just damp? Condensation often forms on basement walls during humid summer months due to warm air hitting cold concrete, creating a false impression of a leaking crack. To differentiate actual seepage from condensation, tape a 12-inch square piece of aluminum foil tightly over the crack using duct tape. After 24 to 48 hours, check beneath the foil. If moisture collects on the exterior side of the foil facing the room, the source is ambient room humidity condensation. If moisture collects underneath the foil against the concrete wall, water is actively migrating through the crack from the exterior soil.
Can I paint over polyurethane sealants or epoxy repairs? Most high-grade polyurethane and hybrid elastomeric sealants are paintable once fully cured, though you should always check the manufacturer label for specific cure times and paint compatibility guidelines. Rigid epoxy surface seals can also be painted over with masonry paint or epoxy-based coatings once sanded smooth, allowing you to blend the repaired area seamlessly into the surrounding basement wall finish.
When should I stop DIY maintenance and call an engineer? You should immediately halt DIY repair efforts and consult a licensed structural engineer if you observe any of the following warning signs: horizontal cracks running along the middle of the wall, cracks wider than 1/4 inch with noticeable vertical or horizontal displacement, walls bowing inward toward the basement interior, or doors and windows on upper floors suddenly jamming or failing to latch properly. These indicators point to foundational load-bearing failures that require professional stabilization systems such as steel wall plate anchors or carbon fiber reinforcing straps.
By sticking to a disciplined inspection schedule, accurately measuring crack movement, and matching your repair materials to the exact nature of the fault, you can maintain your concrete foundation walls effectively and keep your basement permanently dry.