
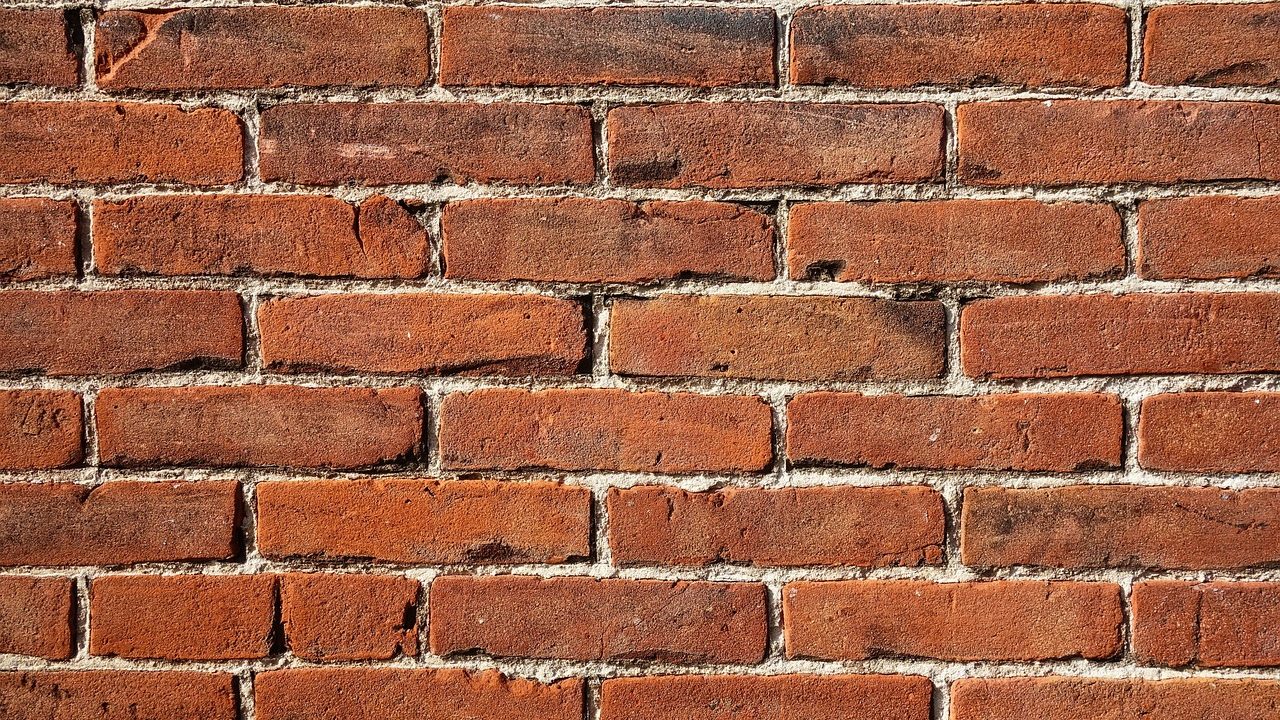
When autumn temperatures begin to drop and the first morning frosts touch the grass, homeowners often turn their attention to heating systems, gutter cleaning, and weatherstripping doors. However, one of the most critical structural defenses of a house is frequently overlooked until it is too late: the exterior masonry. Whether your home features a full structural brick facade or a brick-veneer exterior over wood framing, the mortar joints binding those units together act as the primary line of defense against moisture. When those joints deteriorate, water finds an easy entry point. Engaging in thorough brick mortar joint repair and sealing before freezing weather sets in is essential to preventing severe structural damage and costly masonry overhauls.
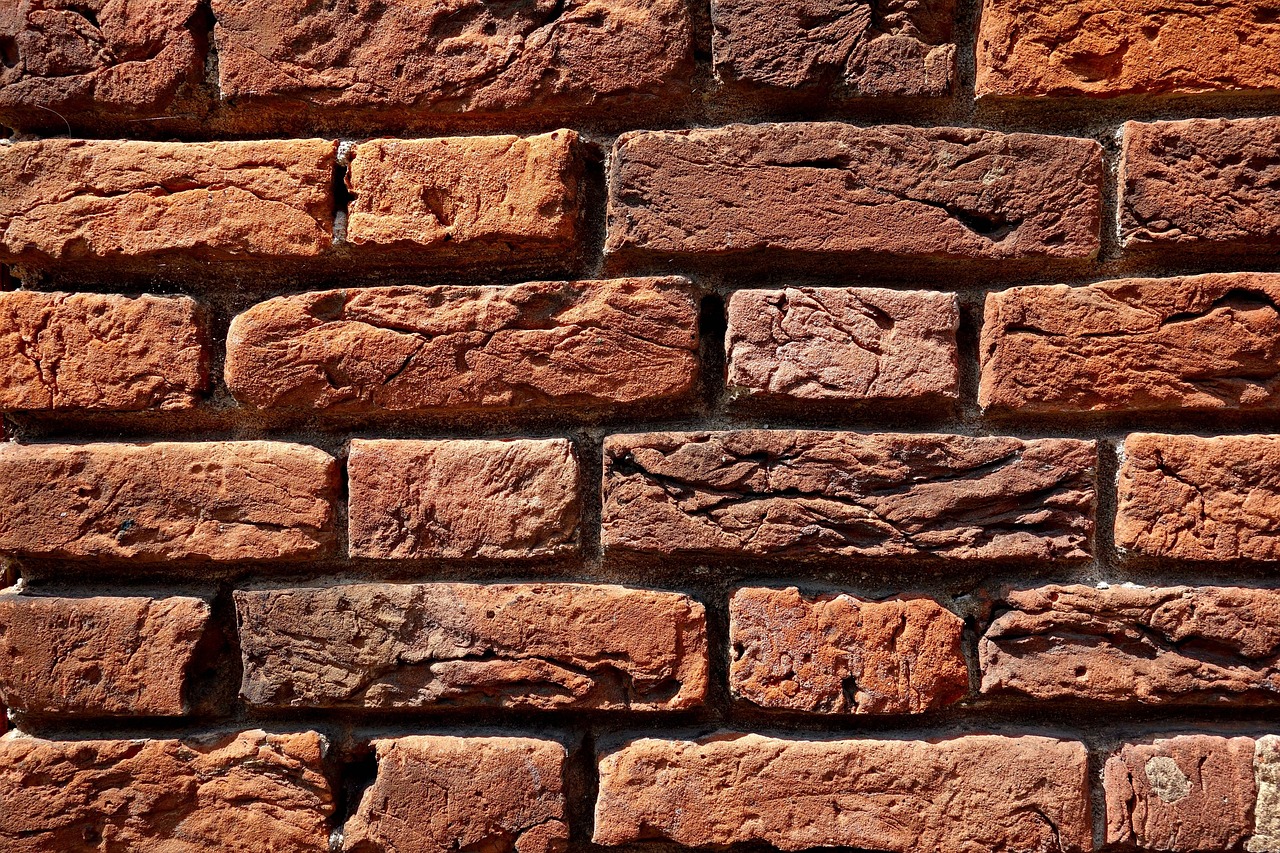
Understanding why mortar fails requires looking at the physical properties of masonry materials. Mortar is intentionally designed to be softer and more vapor-permeable than the bricks themselves. This ensures that as buildings shift slightly or experience thermal expansion, the mortar absorbs the stress and cracks rather than fracturing the expensive bricks. Over decades, exposure to driving rain, wind, and fluctuating temperatures wears down this sacrificial material. Left unaddressed, small hairline cracks widen, mortar recedes behind the face of the brick, and water accumulates in the voids. When that trapped water freezes, it expands by roughly nine percent, creating immense hydraulic pressure that breaks the faces right off the bricks—a destructive phenomenon known as spalling.
The Physics of Freeze-Thaw Spalling
To appreciate why proactive masonry maintenance matters, you have to understand how water interacts with brickwork during the winter. Bricks are inherently porous materials. They absorb ambient moisture from humidity and rain, but they are also designed to release that moisture safely through evaporation when the sun comes out. Mortar joints, particularly aged or damaged ones, act like sponges, holding standing water directly against the edges of the bricks.
When autumn gives way to winter freeze-thaw cycles, liquid water inside unsealed mortar joints turns to ice. As water freezes, it expands. If the mortar is crumbly, missing, or deeply cracked, the ice has room to push against the surrounding brick units. Over dozens of freeze-thaw cycles in a single winter, this repeated expansion cycle pulverizes the mortar further and shears the face off adjacent bricks. Once spalling begins, it accelerates rapidly because the damaged surface is even more porous than the original factory-fired brick face. Repairing compromised joints in the fall halts this destructive cycle before the first hard freeze.
Inspecting Your Brickwork for Damage
Before you pick up a trowel or a tube of crack filler, you need a clear inventory of your home exterior. Walk the perimeter of your house on a bright day, ideally when the sun strikes the walls at an angle that highlights surface irregularities and shadows in recessed joints.
Look closely for the following indicators of failure:
- Crumbling or Powdery Mortar: If you can easily gouge the mortar with a metal key or a screwdriver, the binder has degraded and lost its structural integrity.
- Hairline Cracks: Fine vertical or horizontal fissures running through the mortar lines indicate minor settlement or thermal stress.
- Missing Mortar: Gaps where mortar has fallen out entirely, leaving voids between the bricks.
- Staining and Efflorescence: White, powdery salt deposits on the brick surface indicate that water is migrating through the wall and dissolving minerals within the masonry.
- Spalled Bricks: Bricks with chipped, flaking, or popped-off faces, which signal that water has already frozen inside the unit.
Distinguish carefully between cosmetic hairline cracks in the surface skin of the mortar and structural cracks that run diagonally through multiple bricks and mortar lines. Diagonal or jagged stair-step cracks that are wider than a quarter-inch often indicate foundation settlement or structural movement. Those require evaluation by a structural engineer before you attempt any cosmetic tuckpointing.
Tools and Materials for Professional Results
Tuckpointing and joint repair is meticulous, hands-on work that rewards patience and proper preparation. Gathering the right tools before you begin prevents frustrating interruptions midway through the job.
Essential hand tools and safety gear include:
- Angle Grinder (Optional and with caution): Used with a diamond tuckpointing blade for removing large sections of hard mortar, though manual chisels are safer for beginners.
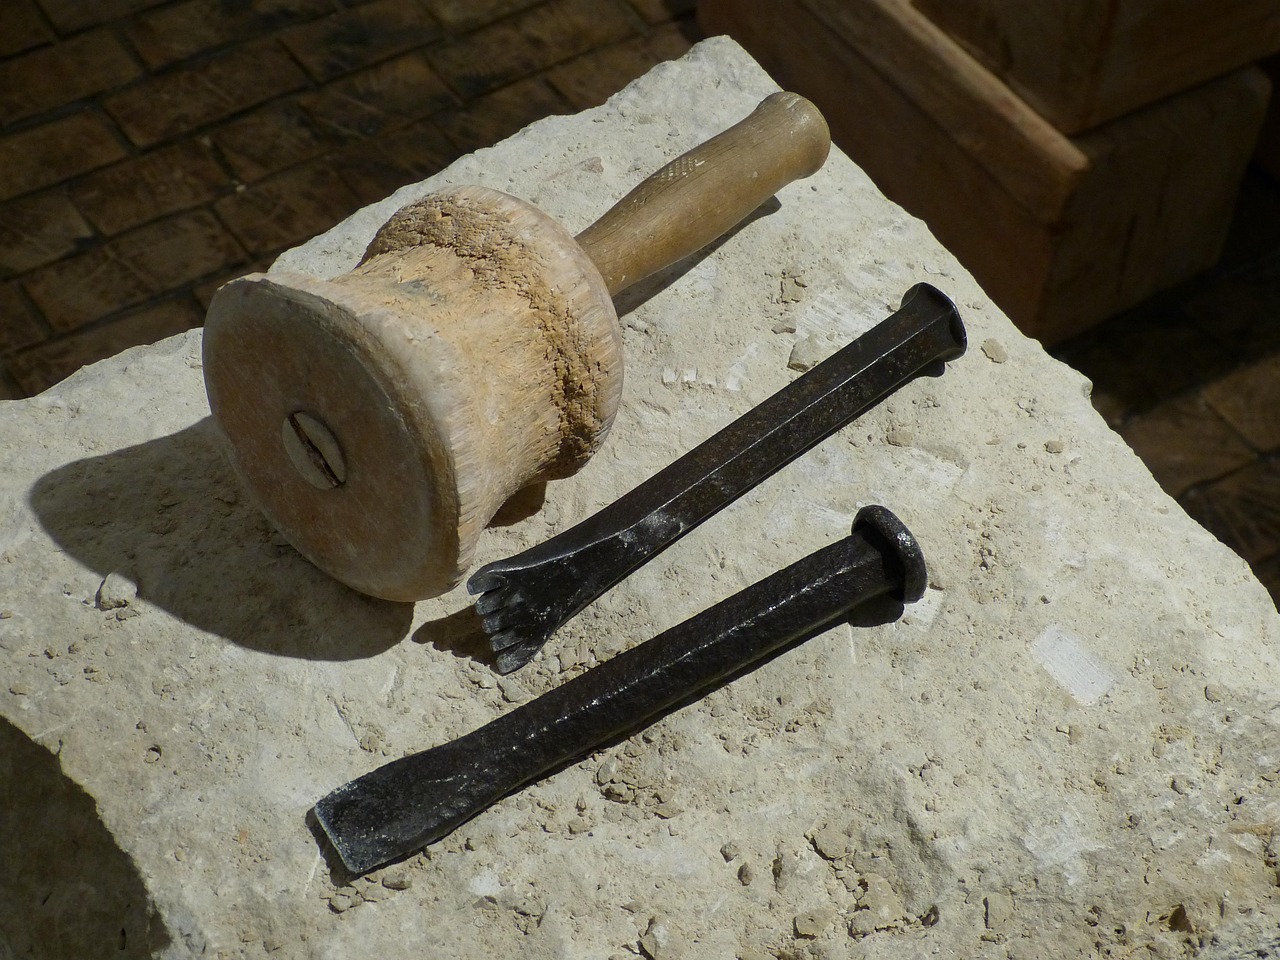
- Mortar Chisel and Heavy Hammer: For hand-raking soft or deteriorated mortar from joints without chipping the brick edges.
- Joint Raker: A specialized masonry tool designed to scrape out uniform depths of old mortar.
- Stiff-Bristled Brush and Masonry Sponge: For cleaning away dust, debris, and loose sand before applying new mortar.
- Pointing Trowel and Margin Trowel: For holding and placing mortar.
- Tuckpointing Irons (Jointer Tools): Matching the shape of your existing mortar profile (concave, V-joint, weathered, or flush).
- PPE: Safety glasses, an N95 or P100 respirator mask (masonry dust contains silica), and heavy work gloves.
When selecting your mortar mix, matching the compressive strength and color of the original material is vital. Never use modern Type S Portland-heavy mortar on historic or soft historic brick walls unless specified; a softer Type N or Type O mortar is usually required. Using a mortar that is harder than the surrounding brick will cause the brick to fail prematurely under stress.
Step 1: Raking Out Damaged Mortar Joints
The foundation of a lasting repair is proper surface preparation. You cannot simply smear new mortar over dirty, crumbling old material and expect it to bond. You must remove the decayed mortar to create a clean, uniform pocket that can anchor the new mix.
Using your masonry chisel and hammer or a manual joint raker, carefully chip away the compromised mortar. The golden rule of raking out joints is to achieve a uniform depth of at least twice the width of the joint, or typically a minimum of half an inch to three-quarters of an inch deep. Ensure the back of the newly cleared joint is squared off rather than V-shaped; a flat-bottomed pocket gives the new mortar a solid mechanical key to grip against.
Work systematically from the top of the wall downward so that falling debris does not foul newly cleaned lower sections. Once the raking is complete, use a stiff-bristled brush to aggressively scrub out all residual sand and dust. Finish by thoroughly flushing the joints with a garden hose. The masonry must be damp (saturated surface dry) but not dripping wet when you apply the new mortar. If the old brick and mortar are bone-dry, they will suck the moisture out of your fresh mortar mix instantly, causing it to chalk, crack, and fail.
Step 2: Mixing Pointing Mortar Correctly
Consistency is everything when mixing mortar for tuckpointing. If your mix is too wet, it will slump out of horizontal joints and run down the face of the brick, staining the masonry. If it is too dry, it will crumble and fail to bond with the surrounding brick edges.
Mix your mortar in a clean bucket or wheelbarrow using clean water. Add the water gradually while mixing with a trowel or a heavy-duty paddle mixer. You are aiming for the classic “packer” consistency: the mortar should hold its shape when squeezed into a ball in your gloved hand, slice cleanly with a trowel without leaving a soupy puddle, and stick firmly to the upside-down blade of a trowel without sliding off immediately.
Allow the mixed mortar to “slake” (rest) for about 5 to 10 minutes, then remix it briefly. This resting period allows the chemical additives and water to fully hydrate the dry components. Keep in mind that mixed mortar has a working life of roughly 60 to 90 minutes depending on temperature and humidity; never attempt to retemper mortar by adding water after it has started to set up in the bucket.
Step 3: Packing and Finishing the Joints
With your joints clean, damp, and your mortar mixed to the correct consistency, you are ready to apply the material. This step requires a steady hand and the right technique to ensure a watertight seal.
Load a small amount of mortar onto your hawk or a margin trowel. Hold the flat edge of the hawk directly beneath the horizontal joint you are filling. Use your pointing trowel to slice off small portions of mortar and press them firmly into the joint. Pack the mortar tightly into the back of the cavity first, building it up until the joint is slightly overfilled.
Do not rush to strike the joints immediately. Let the mortar set up slightly until it reaches a firm, cheese-like consistency—usually between 30 and 60 minutes depending on weather and sun exposure. If you press your thumb against the mortar and it leaves a slight indentation without sticking to your skin, it is ready to be finished.
Use your matching jointing tool (such as a concave jointer or striking iron) to compress the mortar firmly against the brick edges, sealing out moisture. Smooth, concave joints are particularly effective at shedding water away from the mortar line. Finally, take a soft-bristled brush and gently sweep away any loose crumbs or stray mortar burrs across the face of the bricks before the material hardens completely.
Step 4: Curing Your New Mortar
Many DIYers assume that once the mortar is packed and struck, the job is finished. However, proper curing is just as important as proper mixing. Mortar does not dry out to harden; it undergoes a chemical hydration process that requires moisture over time.
If fresh mortar dries too quickly under a hot autumn sun or a dry wind, the chemical reaction stops short, resulting in weak, chalky joints that will fail during the winter freeze. To ensure maximum strength, mist your newly pointed brickwork lightly with a fine garden spray once or twice a day for two to three days following the repair. Protect the wall from direct, freezing temperatures during its initial 48-hour cure window by hanging breathable canvas or frost blankets if an unseasonable freeze threatens.
Evaluating the Need for Masonry Sealants
Once your tuckpointing has fully cured and hardened over the course of two to four weeks, you can consider whether to apply a clear masonry water repellent. There is a common misconception among homeowners that sealing brickwork is always beneficial. In reality, applying the wrong type of sealant can trap moisture inside the wall and accelerate severe spalling.
Never use film-forming acrylic, urethane, or silicone paints and sealants on exterior brick. These products create an impermeable plastic barrier over the masonry. While they keep driving rain out temporarily, they also trap rising damp and interior vapor that inevitably finds its way into the wall assembly. When that trapped moisture cannot escape and temperatures drop, winter freezing shatters the brick from the inside out.
Instead, if your climate experiences severe driving rains and freeze-thaw cycles, opt exclusively for a breathable, penetrating siloxane-based masonry sealer or silane sealer. These chemical treatments line the capillaries of the brick and mortar with a hydrophobic barrier that repels liquid water droplets while remaining fully vapor-permeable. This means liquid rain beads up and rolls off the surface, but internal water vapor can still escape harmlessly into the atmosphere.
How to Apply Siloxane-Based Sealants Safely
Applying a breathable masonry sealer is straightforward if you follow manufacturer specifications regarding surface cleanliness and weather conditions.
Follow these operational best practices:
- Check the Cure Time: Ensure your new mortar has cured for at least 28 days before applying any sealant. Sealing green mortar traps moisture and disrupts the final stages of chemical curing.
- Ensure Dry Substrate: The brick wall must be completely dry for a minimum of 48 to 72 hours before sealing. Applying a water repellent over damp bricks traps that moisture inside.
- Test a Small Area: Apply the sealer to an inconspicuous test patch to verify that it does not alter the color or sheen of your masonry once dry.
- Application Method: Use a low-pressure airless sprayer or a saturated roller, working from the bottom of the wall upward to prevent run-down streaks. Saturate the surface thoroughly so the liquid runs down about six inches below the spray line.
By pairing meticulous tuckpointing with a high-quality breathable siloxane repellent, you create a robust shield that protects your home through the harshest winter weather.
Preventative Maintenance Schedule Year-Round
Maintaining exterior masonry is not a once-in-a-lifetime project; it requires a disciplined seasonal rhythm to catch minor issues before they become expensive structural liabilities.
Incorporate these routine checks into your home maintenance calendar:
- Spring: Walk the perimeter of your home after the last winter thaw. Look for fresh spalling, cracked mortar, or white efflorescence staining that signals winter water infiltration.
- Summer: Inspect roof flashings, gutters, and downspouts. Leaking gutters that overflow onto brick walls are the leading cause of premature mortar failure and localized freezing damage.
- Autumn: Complete any necessary spot tuckpointing and joint sealing before temperatures consistently dip below 40 degrees Fahrenheit. Mortar should never be mixed or applied in freezing conditions, as freezing water inside wet mortar ruins its chemical bond instantly.
Taking a proactive, hands-on approach to brick mortar joint repair and sealing ensures your home remains structurally sound, energy-efficient, and visually appealing for decades to come.



