When most homeowners evaluate their outdoor living spaces, they focus almost entirely on the surface. They sweep the planks, check for splintered wood, and apply a fresh coat of semi-transparent stain or sealer every few years. Yet, the true safety and longevity of an elevated wooden platform rely almost entirely on what happens out of sight. A complete deck substructure inspection guide is essential because the most dangerous structural failures rarely begin on top of the boards; they start quietly in the dark, damp environment beneath the floorboards where wooden deck joists, ledger boards, and metal fasteners are constantly exposed to moisture, trapped debris, and shifting weather patterns.
Performing an annual check of your deck framing does not require an engineering degree, but it does require patience, proper safety gear, and a systematic approach. Over time, seasonal humidity, rain splashback, and trapped organic debris create the ideal conditions for wood rot and metal corrosion. Because these components are hidden from everyday view, minor vulnerabilities can fester for years until a sudden load causes a catastrophic collapse. This guide walks you through the exact process of safely accessing your under-deck space, evaluating crucial connections, and identifying hidden decay before it compromises your family’s safety.
Understanding the Anatomy of a Deck Substructure
Before you crawl underneath your deck, it helps to understand the interconnected skeleton that holds the entire structure aloft. Unlike indoor flooring supported by continuous foundations, an outdoor deck relies on a skeletal network of lumber and hardware that is perpetually fighting the elements. The primary components include the ledger board, which attaches the deck to your home rim joist; the support posts anchored to concrete footings; the main beams resting on those posts; the joists spanning across the beams; and the surface decking fastened on top.
Every single one of these components plays a critical role in load distribution. When people gather for a summer barbecue or place a heavy hot tub on a deck, the downward force travels from the surface boards directly into the joists, down to the beams, through the posts, and finally into the ground. However, horizontal and lateral loads—such as wind or people pushing against railings—rely heavily on the ledger board and specialized metal connectors. If any single link in this chain weakens due to rot or rust, the entire load-bearing capacity drops precipitously. Recognizing how these parts interact makes it much easier to diagnose localized sagging, soft spots, or suspicious movement when you apply pressure to the deck surface above.
Gathering Your Inspection Tools and Safety Gear
You cannot conduct a thorough evaluation with your bare hands and a casual glance from the top of the stairs. Preparing the right toolkit ensures you can safely probe, measure, and illuminate the darkest corners of your framing. Because under-deck areas are frequently cramped, dusty, and home to spider webs or insect nests, dressing appropriately is your first line of defense.
Start by putting on sturdy work boots, heavy-duty work gloves to protect against splinters and rusty metal edges, and safety glasses to shield your eyes from falling dirt and overhead debris. For clothing, wear old long sleeves and pants that you do not mind getting dirty. As for tools, you will need a reliable flashlight or headlamp to illuminate shadowed framing, a pocketknife or a flathead screwdriver to test wood density, a carpenter’s level, a metal pick, and a camera or smartphone to photograph any questionable areas for future comparison or contractor consultations.
Safely Accessing and Preparing the Under-Deck Space
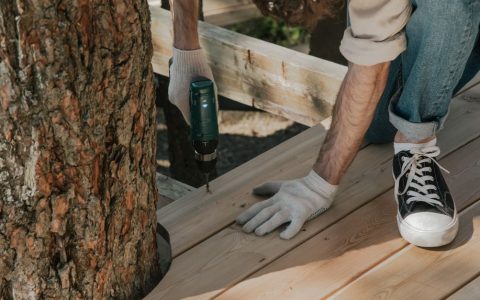
Accessing the substructure of a low-profile ground-level deck can be an exercise in gymnastics, while elevated second-story decks provide plenty of headroom but introduce fall hazards if you are working from ladders. If your deck is low to the ground, you may need to remove one or two surface decking boards near the perimeter to gain visual and physical access to the interior framing. Always use a drill or impact driver to back out screws rather than aggressively prying boards, as you may want to reinstall them intact.
Once you have access, take a few minutes to clean up the workspace. Clear away accumulated leaves, pine needles, and dirt that have fallen through the gaps in the deck boards. Debris accumulation is one of the primary catalysts for wood decay because it holds moisture directly against the framing members long after the rain has stopped. Check the ground underneath the deck as well; the soil should slope away from your home foundation to prevent pooling water from saturating the structural footings and accelerating frost heave during freezing winter months.
Evaluating Ledger Board Attachment and Flashing
The ledger board is the single most critical structural element of an attached deck, and tragically, it is also the most common point of catastrophic failure. The ledger is a thick lumber board bolted directly to the rim joist of your house, supporting one entire side of the deck framing. When ledger boards fail, the deck typically pulls away from the house and collapses downward without warning. Inspecting this connection requires absolute diligence.
Begin by checking the metal flashing installed directly above the ledger board. Flashing is an L-shaped strip of galvanized steel, aluminum, or copper designed to prevent rainwater running down your house siding from seeping behind the ledger. If the flashing is missing, rusted through, bent upward, or caulked improperly, water will enter the fastener holes and rot the house rim joist from the inside out. Look for staining on the interior basement or crawlspace wall directly beneath the deck attachment point; water marks, peeling drywall, or white powdery efflorescence on masonry are glaring red flags that your ledger connection is actively leaking.
Next, examine the lag screws or through-bolts securing the ledger to the house. They should be evenly spaced in a staggered pattern rather than a straight horizontal line, which can split the wood. Check for signs of rust bleeding from the bolt heads, which indicates moisture is sitting inside the bored holes. If you notice the deck sagging slightly away from the house wall, or if caulking between the ledger and the siding has cracked open, stop using the deck immediately and consult a professional structural contractor.
Inspecting Wooden Deck Joists for Rot and Decay
With the ledger checked, turn your attention outward to the wooden deck joists. These parallel framing members run perpendicular to the main beams and support the weight of the decking boards. Over time, the top edges of joists become particularly vulnerable to moisture damage because water seeps down through the gaps between decking boards and gets trapped right where the board makes direct contact with the joist.
To test joist integrity, use your flathead screwdriver or metal pick. Firmly press the tip of the tool into the wood, especially near beam intersections, ledger connections, and the upper edges directly beneath the deck boards. Healthy framing lumber will resist the pressure, leaving only a tiny indent. However, if the tool sinks easily into the wood like soft cheese, or if you can peel away damp, spongy fibers, you are dealing with advanced wood rot. Pay close attention to pressure-treated lumber; while chemical treatments significantly extend lifespan, older treated wood or cut ends that were never field-treated with a topical preservative can still succumb to fungal decay.
Beyond soft spots, look for severe checking and splitting. While minor surface cracks caused by natural drying cycles are normal, wide structural splits running parallel to the grain can compromise the load capacity of the joist. If a crack runs through more than a third of the joist depth or allows water to penetrate deep into the center, that specific framing member will need to be sistered—meaning a new joist is bolted directly alongside it—or replaced entirely.
Testing Joist Hanger Corrosion and Fastener Integrity
Metal connectors hold modern decks together, but metal and moisture have a contentious relationship. Joist hangers, post caps, beam tie-downs, and framing nails are subjected to fluctuating humidity, rain, and corrosive airborne elements. If you live near the coast or in an area with heavy winter road salting, metal corrosion accelerates rapidly.
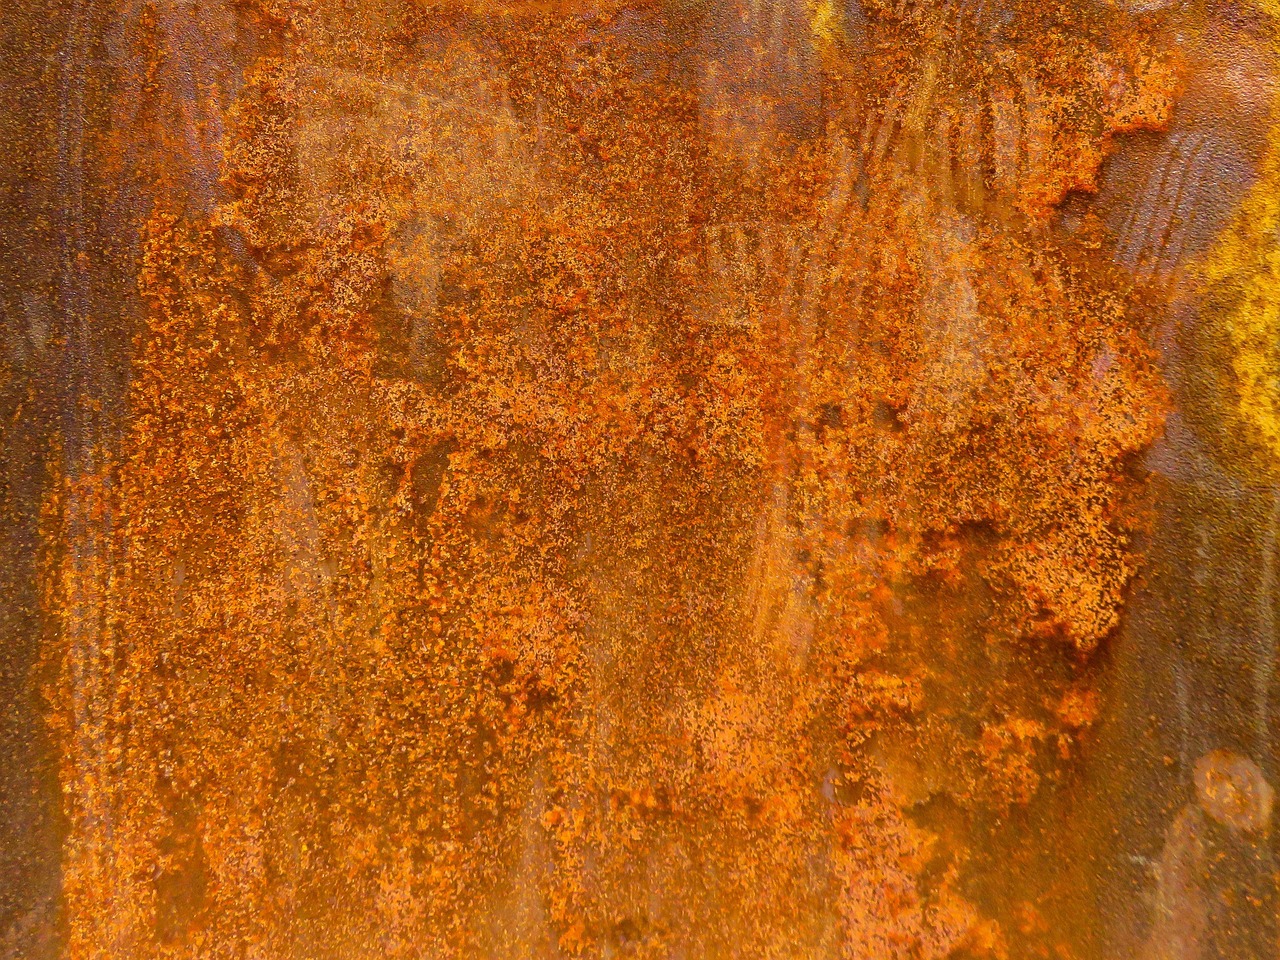
Inspect every single joist hanger under your deck. Galvanized steel hangers should have a dull gray finish; if you see bright orange rust scaling across the metal straps, or if the nails holding the hanger into the joist have begun to pop out or rust away, the connection is severely weakened. A rusted hanger loses its structural tensile strength, meaning it can suddenly snap under a dynamic load. Check the specific fasteners used as well. Standard interior drywall screws or non-rated nails must never be used in outdoor framing; they lack the shear strength and corrosion resistance required for exterior lumber and will snap easily under stress. Ensure that hot-dipped galvanized or structural connector screws are used throughout the framing.
Analyzing Support Posts, Beams, and Footings
Moving outward from the house, examine the heavy vertical support posts and horizontal beams that carry the outer weight of the deck. Support posts should rest securely on concrete footings that extend below the local frost line to prevent shifting during freeze-thaw cycles. Crucially, wooden posts should never be buried directly in the dirt; direct soil contact guarantees rapid rot and termite infestation within a few short seasons.
Instead, posts should be elevated above the concrete footing using a post base bracket that maintains at least a one-inch air gap, keeping the wood dry and away from standing water on the concrete pad. Check the plumbness of each post using your carpenter’s level. If a post is leaning outward or inward, it indicates that the footing has shifted or settled unevenly. Examine the beam-to-post connection as well; beams should be securely bolted through the posts using robust hardware rather than relying solely on toenails or friction.
Common Substructure Inspection Mistakes to Avoid
Even well-intentioned homeowners can miss critical structural flaws if they fall into common evaluation traps. The biggest mistake is assuming that because the surface decking looks great, the framing underneath is equally healthy. High-end composite decking can easily outlast the wooden substructure supporting it, leading to a dangerous false sense of security where a pristine surface masks a rotting skeleton.
Another common error is performing a superficial visual scan without physically probing the wood. Surface discoloration or weathering can make sound wood look rotten, while painted or sealed lumber can hide internal dry rot until you poke it with a tool. Finally, homeowners often ignore minor rust on hardware, treating it as purely cosmetic. In reality, surface rust is the precursor to deep structural scaling. Catching fastener degradation early prevents catastrophic failures down the road.
When to Call a Professional Structural Engineer
While annual DIY inspections are fantastic for preventative maintenance, there are times when a homeowner’s toolkit and knowledge base are simply not enough. You should immediately halt your inspection and hire a licensed structural engineer or a certified deck contractor if you encounter any of the following red flags:
- Visible sagging, bowing, or twisting in the main beams or ledger board.
- Significant separation between the deck structure and the exterior wall of the house.
- Cracked or crumbling concrete footings that have shifted out of alignment.
- Extensive wood rot affecting multiple primary joists, posts, or the main ledger connection.
- Any history of structural movement, sudden popping sounds during gatherings, or excessive swaying when walking across the deck.
Investing in a professional evaluation when major structural red flags appear is a minor expense compared to the severe liability and cost of a sudden collapse.
Establishing an Ongoing Deck Maintenance Schedule
The best way to protect your investment and ensure family safety is to turn deck substructure care into a predictable annual routine. Timing is everything: the ideal window to perform your detailed framing inspection is early spring before heavy summer entertaining begins, or late autumn after the leaves have fallen and the heavy summer rains have subsided.
Keep a maintenance log where you note the age of the deck, dates of previous fastener replacements, and any areas that require monitoring. By consistently clearing away trapped debris, keeping metal flashing clear, replacing corroded hardware promptly, and addressing minor moisture issues before they turn into major rot, you can safely enjoy your outdoor living space for decades without worrying about what is happening beneath your feet.