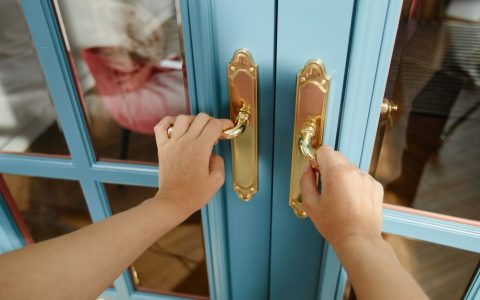
When a casement window refuses to open smoothly, the frustration usually traces back to a small, hardworking assembly hidden near the base of the frame: the operator and crank mechanism. Learning how to fix casement window crank issues can save you hundreds of dollars in professional service fees or unnecessary full-frame window replacements. Most operational failures stem from a few predictable culprits, including stripped internal gears, rusted pivots, bent operator arms, or simple misalignment caused by settling walls. This guide covers everything you need to know to safely diagnose, disassemble, and repair your window hardware.
Before grabbing your toolbox, it helps to understand how these mechanisms are put together. A standard casement window relies on a rotary crank handle connected to a worm gear housing. As you turn the handle, the worm gear spins a flat gear arm—often called the operator arm—which pushes or pulls a guide slider along a track attached to the bottom of the window sash. When everything is clean and properly aligned, the motion is effortless. When dirt, moisture, or metal fatigue enters the equation, the system binds or slips, leaving you with a window that is stuck shut or cracked wide open.
Understanding the underlying engineering of your window hardware prevents you from applying brute force, which almost always worsens the damage. Modern casement operators are precision-engineered assemblies, but they are constantly exposed to seasonal temperature extremes, condensation, exterior moisture, and interior dust. Over a decade or two, these environmental factors take a toll on moving metal parts. By breaking down the diagnostic and repair process into methodical steps, you can pinpoint whether the fault lies in the operator box, the sash track, the hinges, or the handle itself.
Diagnosing the Problem: Jammed vs. Stripped
The first step in any repair is figuring out whether your issue is mechanical failure or simple physical obstruction. Go to the window and gently try to turn the handle while applying slight outward or inward pressure on the sash with your other hand. Pay close attention to what you feel and hear.
If the handle spins freely in circles without offering any resistance or moving the window at all, you are dealing with stripped gears. The internal teeth of the worm gear or the drive gear have worn down and can no longer grip each other. If the handle turns a quarter-turn and then grinds to a dead halt, or if you feel a heavy metal-on-metal obstruction, the mechanism is likely jammed due to debris, rust, or a misaligned track. If the handle won’t budge at all, the hinges or the sash lock might be bound up, putting excessive back-pressure on the operator arm.
Differentiating between these symptoms dictates your entire repair trajectory. For instance, forcing a spinning, stripped handle will achieve nothing because the teeth are already gone. Conversely, forcing a jammed handle against an obstruction can snap the delicate teeth inside the gear housing or bend the operator arm out of square. Take two minutes to carefully test the range of motion before reaching for any screwdrivers. Observe if the sash is sagging at the outer corner, as a drooping sash will cause the guide slider to jam rigidly against the end of its track, mimicking an internal gear failure.
Tools and Materials You Will Need
Casement window repairs do not require specialized contractor gear, but having the right basic tools on hand makes the job significantly easier and prevents damage to surrounding wood or vinyl trim.
- Standard and Phillips-head screwdrivers (or a multi-bit driver with long shafts)
- Needle-nose pliers for pulling stubborn clips, cotter pins, or adjusting linkage
- A can of silicone spray lubricant or white lithium grease (avoid heavy petroleum oils that attract dust and gum up gears)
- A stiff nylon cleaning brush, wire brush, and clean microfiber rags
- Replacement operator mechanism, replacement crank handle, or specific brand-matched replacement parts
- A flashlight, headlamp, or portable work light for inspecting dark frame pockets and sill cavities
- Penetrating oil (such as PB Blaster or WD-40 Specialist) for rusted set screws or stuck hinge pins
Step 1: Safely Accessing the Operator Mechanism
To inspect or repair the internal workings, you must remove the cosmetic obstacles. Start by opening the window as far as it will currently go to expose the hardware. If the window is completely shut and jammed, you may need to carefully remove the interior screen to gain better working angles and prevent accidental damage to mesh framing.
Locate the small set screw on the side or underside of the crank handle itself. Using the appropriate hex key, Allen wrench, or miniature screwdriver, loosen this set screw completely. Pull the handle straight off the operator shaft. Next, look for the cover plate (often called the operator cover or nesting cover) that snaps or screws over the gear housing. Snap off plastic covers gently with a putty knife, or unscrew retaining fasteners if your model uses metal screw-down covers. Set the screws and hardware aside in a small magnetic container so nothing gets lost.
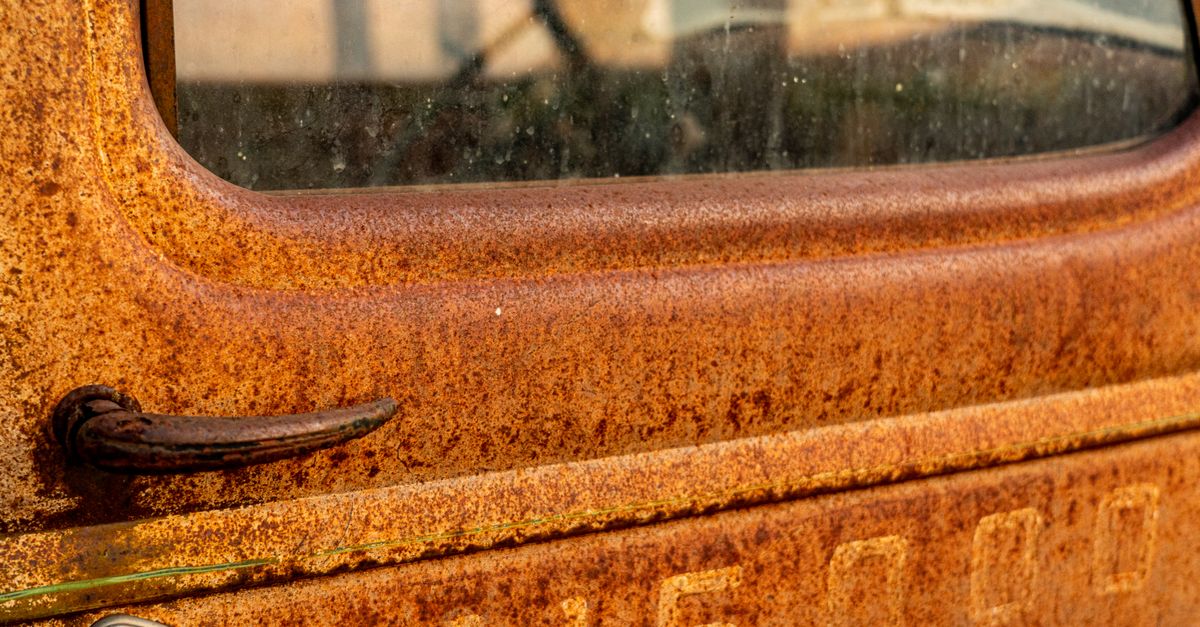
With the cover removed, you now have a clear view of the gear housing and the base of the operator arm. Take a moment to inspect the area with your flashlight. Look for metal shavings, cracked housing castings, or heavy corrosion. Metal shavings are a dead giveaway that the gears have been stripping themselves down during recent openings. Check whether the housing is securely anchored to the window frame or if the mounting screw holes have enlarged and stripped out due to years of torque.
Step 2: Clearing a Jammed Window Operator
If your diagnosis pointed to a mechanical jam rather than stripped gears, the fix is often a matter of deep cleaning and lubrication. Dirt, dead insects, spider webs, and dried-up factory lubricants combine over the years to form a sticky paste that seeps into the gear teeth and jams the track.
Spray a generous amount of citrus-based cleaner or silicone lubricant directly into the gear housing and along the sliding track mounted to the bottom of the sash. Let it sit for a few minutes to penetrate grime and break down oxidation. Use your nylon brush to scrub away loosened debris, then wipe the area clean with a rag. Inspect the guide arm where it connects to the sash track. Many systems use a small roller or a sliding block inside a metal channel. Ensure this track is completely free of obstructions and that the mounting screws holding the track to the sash are fully tightened. Loose track screws often angle the slider, causing a hard jam that stops the window midway.
If paint has bridged the gap between the sash and the frame—a common issue in older homes that have undergone multiple interior painting cycles—run a sharp utility knife carefully along the perimeter to break the paint seal before attempting to crank the window open again. Forcing a painted-shut window is the primary culprit behind snapped operator arms and stripped gear housings.
Step 3: Lubricating and Adjusting Moving Parts
Once everything is clean, apply a fresh coat of lubrication. Avoid thick household greases or motor oils that harden over time when exposed to seasonal temperature shifts through the glass, as these will trap airborne dust and create a gummy residue. Instead, use a quality white lithium grease on the gear teeth inside the housing and a dry PTFE or silicone spray on the pivot points and sliding tracks.
Test the mechanism by hand before putting the cover back on. Turn the operator shaft with a pair of pliers if the handle is removed, watching how smoothly the operator arm extends and retracts. If the arm moves fluidly across its full range of motion without hesitation, your jam is successfully cleared. If you feel grinding or skipping at a specific point in the arc, the gear teeth are compromised and require deeper intervention.
Pay special attention to the pivot rivets along the operator arm. Over time, these rivets can loosen or bind. If an arm exhibits excessive side-to-side play, it may flex rather than push the sash, resulting in incomplete closure or binding against the frame stop. Adjusting or replacing a sloppy arm restores the rigid leverage required to seal the window tightly against weatherstripping.
Step 4: Replacing a Worn Window Operator Arm
Sometimes the issue is not the internal gear housing, but the operator arm itself. Over decades of leverage, these arms can bend, or the pivot pin connecting the arm to the sash track can shear off entirely.
To replace an operator arm, disconnect it from the sash track. Depending on the brand (such as Andersen, Pella, Truth Hardware, or Marvin), this usually involves sliding the guide shoe out the end of the track or popping off a retaining clip. Once detached from the sash, inspect how the arm connects to the main gear box. Many modern operators are sold as a single unified unit where the arm and gear housing cannot be separated easily. If your model allows individual arm replacement, remove the retaining E-clip or pivot bolt, swap in the new arm, and secure it with a fresh clip.
When installing a replacement arm, ensure that any nylon slider blocks or brass rollers are seated correctly inside the track channel. If the slider is worn down or cracked, replace it simultaneously. A worn slider will tilt inside the track, causing premature wear on the new arm and making the window feel rough and jerky when operated.
Step 5: Replacing a Stripped Operator Mechanism
When internal gears are completely stripped, repairing individual teeth is impossible. You must replace the entire operator mechanism. Fortunately, this is a standard homeowner repair that takes less than thirty minutes per window once you have the correct replacement part.
With the window propped open securely (use a prop stick or have an assistant hold the sash so it doesn’t swing wildly in the wind), locate the mounting screws holding the operator housing to the window frame sill or jamb. Typically, there are two to four heavy-duty screws securing the base.
Unscrew these fasteners while supporting the mechanism. Disconnect the operator arm from the sash track if you haven’t already done so. Pull the old operator unit out of the frame pocket. Take the old unit to a local hardware store or search online matching the exact brand, arm length, and handing (left-handed or right-handed, determined by which side the hinges are on when viewed from the inside).
Place the new operator unit into the frame recess. Align the mounting screw holes and drive the screws down snugly, but avoid over-tightening, especially in wood or composite frames where stripped pilot holes are common. If a screw spins freely in its hole, fill the hole with wood glue and a small wood dowel (or toothpick), let it dry, trim flush, and drive the screw back in for a secure grip. Reconnect the operator arm to the sash track, snap or screw the cover plate back into position, and slide the crank handle onto the drive shaft, tightening its set screw securely.
Troubleshooting Hinge Binding and Sash Sag
Even after installing a brand-new operator mechanism, your casement window may still feel stiff or refuse to close flush if the hinge side is compromised. Casement windows hang entirely from their hinges, usually located at the top and bottom corners of the frame. Over years of gravity and thermal movement, sashes can sag slightly at the outer edge.
Inspect the top and bottom hinges when the window is partially open. Look for vertical play or rubbing against the frame header or sill. Many adjustable casement hinges feature adjustment screws that allow you to lift or shift the sash back into true alignment. If your hinges are rusted, caked in grit, or structurally bent, spray them thoroughly with penetrating oil, clean away the residue, and apply white lithium grease to the pivot knuckles. If the hinge arms are warped, replace both top and bottom hinges as a matched set to restore proper load distribution.
Frequently Asked Questions
Are casement window operators universal?
No. Casement operators vary significantly by manufacturer, arm length, link style, and handing (left vs. right). Always remove the old unit and match its dimensions and mounting hole pattern before purchasing a replacement.
Why does my window crank handle keep popping off?
The set screw inside the handle has likely worked loose, or the threads on the screw or operator shaft have stripped. Tighten the set screw with an appropriate hex key; if the threads are damaged, replace the handle.
Can I repair stripped gear teeth inside the housing?
No. The gear teeth are precision-cast as part of the housing and worm gear. Once stripped or rounded off, the entire operator unit must be replaced.
Preventative Maintenance to Avoid Future Jams
Once your casement window is operating like new, a tiny bit of annual maintenance will keep it that way for years to come. Make it a habit during your spring and fall home maintenance routines to inspect your windows. Open each casement fully, brush out any dust or spider webs accumulated in the bottom track, and apply a quick shot of silicone spray to the hinges and sliding shoe.
Never force a stubborn window handle. If the sash feels stuck, go outside and check if paint buildup or ice is sealing the weatherstripping to the frame. Forcing a crank handle against a stuck sash is the number one cause of stripped gear housings and snapped operator arms. By taking a methodical approach to cleaning, lubricating, and replacing worn parts when necessary, you can keep your casement windows sealing tightly and opening effortlessly through every season.