
If you use a computer for remote work, writing, software development, design, or personal projects, your digital footprint expands quietly every single day. Maintaining a personal digital asset inventory workflow helps ensure temporary downloads, exported PDFs, raw photos, virtual machine images, and abandoned project folders do not accumulate uncontrollably in hidden corners of your hard drive. Most people respond to this clutter by buying more cloud storage tier upgrades or external hard drives, treating physical capacity as a substitute for organization. Eventually, however, OS-level search tools slow down, duplicate folders multiply across drives, and you find yourself unable to locate essential documents among gigabytes of digital noise.
Relying on automated cleanup utilities or third-party storage managers often creates new problems. These apps make opaque decisions about what constitutes clutter, risk deleting critical application configuration files or raw assets, and lock your catalog data inside proprietary database formats. A far more reliable and future-proof approach is to build a systematic personal digital asset inventory workflow. By combining plain-text file logs, native command-line inspection tools, a strict local folder taxonomy, and deliberate manual review intervals, you can map your complete digital ecosystem, purge hidden bloat, and maintain long-term digital clarity without spending money on software subscriptions.
Understanding the Scope of Digital Storage Bloat
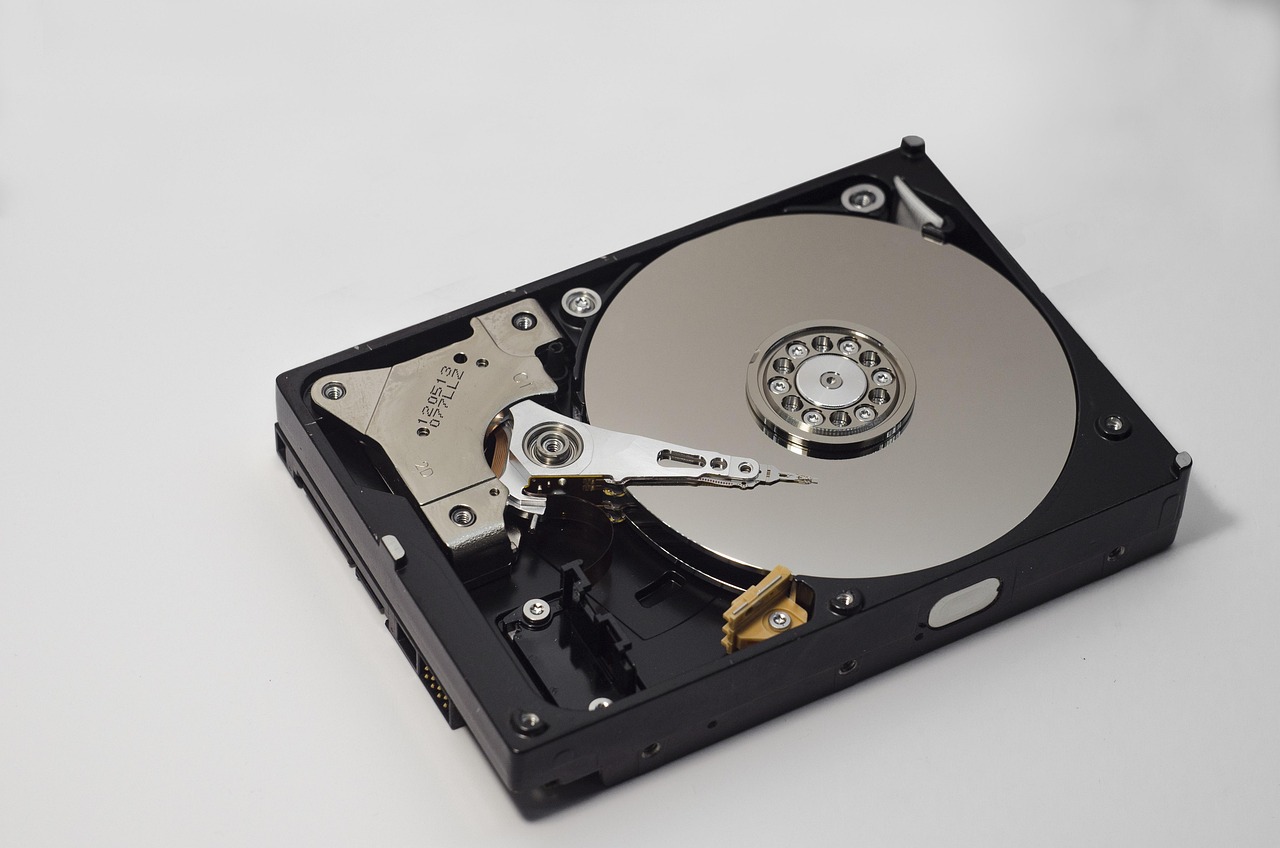
Digital clutter differs significantly from physical clutter. Physical items take up tangible space in your office or living room, making them obvious when they block a pathway, crowd a desk, or overflow a closet shelf. Digital files, by contrast, occupy invisible sectors on a magnetic platter or solid-state drive. A folder containing fifty gigabytes of uncompressed video renders or disk images looks identical in a desktop file explorer to a folder containing a few dozen lightweight text documents. This invisibility lulls us into a false sense of security regarding our local storage consumption.
Why Built-in Search and Cloud Storage Fail
When storage gets messy, modern computer users usually rely on two crutches: system-wide indexing search (such as macOS Spotlight or Windows Search) and continuous cloud synchronization (like Dropbox, Google Drive, or OneDrive). While helpful, both tools fail when file volume crosses a critical threshold.
System search utilities rely on indexers that consume background CPU and memory. When your drive accumulates hundreds of thousands of loose, unorganized files—especially within developer packages like node_modules, temp render caches, or uncompressed ZIP archives—indexing search becomes sluggish, returns thousands of irrelevant results, or skips unindexed system paths altogether. Cloud sync services compound this issue by quietly downloading smart sync placeholders, creating hidden mirror directories, and replicating orphaned project files across every device logged into your account.
Identifying Hidden Storage Hogs Across Operating Systems
Storage bloat typically accumulates in three distinct zones that slip past casual daily observation:
- The Downloads and Desktop Trap: Temporary holding areas meant for transient files that somehow become permanent archives for installers, multi-gigabyte ZIP archives, and unsorted email attachments.
- Orphaned Project Folders: Client work, side projects, or research directories left behind after a task concluded, complete with local build caches, raw assets, scratch files, and multiple draft iterations.
- Redundant Backups and Cache Directories: Manual copies of folders dragged to external drives years ago, combined with operating system application caches, browser profile backups, and hidden crash logs that never auto-delete.
An effective personal digital asset inventory workflow forces you to confront these zones directly. Instead of guessing where your gigabytes have gone, you systematically measure, categorize, and log your storage reality.
Establishing a Plain-Text Inventory Foundation
Many digital productivity systems fail because they rely on complex databases, proprietary note-taking apps, or custom relational spreadsheets that become obsolete, difficult to maintain, or incompatible with new operating systems. For a personal digital asset inventory, plain text (specifically standard Markdown) is the ultimate medium. Text files are lightweight, universal, human-readable, version-controllable, and immune to software deprecation. You can open, edit, and search a plain-text file on virtually any computer, smartphone, or terminal without specialized software.
The Plain-Text Manifesto: Portability, Speed, and Longevity
Choosing plain text for your asset manifest guarantees that your inventory will outlive any specific application, operating system update, or cloud platform. A single `.md` file formatted with simple headings and lists can be edited in Vim, VS Code, TextEdit, Notepad, or any basic text editor. It indexes instantaneously, takes up negligible kilobytes of space, and can be backed up to Git or any backup target alongside your primary files.
Building the Master Manifest (`manifest.md`)
Your inventory does not need to log every single individual file down to the byte; that granular approach leads directly to the exact paralysis you are trying to cure. Instead, your personal digital asset inventory workflow should focus on directory-level summaries, drive allocations, and high-level asset categories. Create a master inventory file titled `manifest.md` at the root of your primary storage folder.
Below is a standardized structural template you can copy directly into your own text editor:
# Digital Asset Inventory Manifest - [Year] Update: [YYYY-MM-DD] Owner: [Your Name] Primary Device: [Laptop/Desktop Model] ## Storage Footprint Summary - Internal SSD: [Used GB / Total GB] - Primary External Drive: [Used GB / Total GB] - Cloud Sync (Combined): [Used GB / Total GB] ## Drive Allocations & Root Structure ### 01_Active - Path: `/Users/username/01_Active` - Purpose: Current active projects, billing, in-flight work. - Target Size Limit: < 50 GB - Last Audited: [YYYY-MM-DD] ### 02_Reference - Path: `/Users/username/02_Reference` - Purpose: Reusable templates, stock assets, documentation, receipts. - Target Size Limit: < 20 GB - Last Audited: [YYYY-MM-DD] ### 03_Archives - Path: `/Users/username/03_Archives` - Purpose: Completed projects organized by year, historical tax records. - Target Size Limit: Bound by external storage capacity - Location Notes: Cold storage mirrored on External Drive Alpha. - Last Audited: [YYYY-MM-DD] ### 04_Inbox - Path: `/Users/username/04_Inbox` - Purpose: Unsorted downloads and temporary working files. - Policy: Must be cleared to zero during weekly review. This structured text file serves as the single source of truth for where your assets live, how much space they are allowed to occupy, and when they were last reviewed.

Terminal and Command-Line Tools for Native File Auditing
You do not need to buy disk visualizer software to analyze your drive contents. macOS, Linux, and Windows all ship with powerful, built-in command-line tools that can scan directories, calculate accurate directory sizes, and generate text maps in seconds.
Generating Directory Maps on macOS and Linux
On Unix-based systems (macOS and Linux Terminal), the `du` (disk usage) command and the `find` utility are your best assets for locating storage hogs and high-level directory maps without running heavy graphical tools.
To view a sorted list of top-level folder sizes in human-readable megabytes and gigabytes, open your terminal, navigate to your home or working directory, and run:
du -sh * | sort -hrThis command lists every folder in the current directory alongside its exact size, sorted from largest to smallest. If you want a quick visual tree structure of a directory’s top two levels to copy directly into your `manifest.md`, use the native `tree` command (or install it via Homebrew on macOS using `brew install tree`):
tree -L 2 -d --noreport > directory_structure.txtThis outputs a pristine text tree of your directories, ignoring individual files, which you can quickly audit or paste into your plain-text inventory document.
Inspecting Storage Consumption on Windows PowerShell
Windows users can perform identical native file inventorying without downloading legacy third-party shareware. Open Windows PowerShell and navigate to your main working folder, then run the following script block to aggregate subfolder sizes:
Get-ChildItem -Directory | ForEach-Object { $Size = (Get-ChildItem $_.FullName -Recurse -File -ErrorAction SilentlyContinue | Measure-Object -Property Length -Sum).Sum [PSCustomObject]@{ FolderName = $_.Name SizeGB = [math]::Round($Size / 1GB, 2) } } | Sort-Object SizeGB -DescendingThis script parses the targeted path, sums the size of all underlying files recursively, converts the output into gigabytes, and returns a neat, sorted list of your heaviest folders. Copy these measurements directly into the storage footprint section of your `manifest.md` during your review cycle.
Designing a Scalable Local Folder Taxonomy
A personal digital asset inventory workflow is only as good as the file taxonomy it relies on. If your file organization has no clear logic, your inventory document will quickly become desynchronized from physical reality. The goal is to build a root-level hierarchy that leaves absolutely zero room for ambiguity about where a newly downloaded file or a completed project should go.
We use a numeric taxonomy system, which keeps folders sorted deterministically regardless of alphabetical sorting settings on your operating system. Organize your user home directory or primary cloud storage folder with the following four root folders:
- `01_Active` (Current Projects): Only files you are working on this week or month. This directory must remain small and fast. If a project is paused or finished, it must move immediately.
- `02_Reference` (Static Resources): Reusable raw components, design files, software configurations, documentation, templates, and active utility assets. These are items you consult repeatedly but do not modify daily.
- `03_Archives` (Cold Storage): Completed work, old tax records, raw photos, completed client contracts, and obsolete backups. This directory can grow indefinitely, but it should live on cheaper external hard drives or cold-tier cloud archiving spaces, freeing up precious high-speed SSD space on your primary computer.
- `04_Inbox` (The Sorting Station): The default dump folder. Set your web browsers, messaging apps, and email clients to drop downloaded files here rather than the system-wide `Downloads` folder. The golden rule: this directory must be returned to zero at the end of every review cycle.
Standardizing Naming Conventions for Long-Term Retrieval
Organizing digital archives locally requires systematic naming conventions. When a folder structure relies on clear, standardized formatting, the need for deep, nested cataloging vanishes. It allows you to quickly locate files using native, lightweight shell searches without indexing issues.
The Power of ISO 8601 Dates and Keystroke Optimization
Never start folder names with descriptive phrases like “New_Project_Draft” or “Final_v2_edit”. Instead, enforce strict ISO 8601 date notation (`YYYY-MM-DD`) at the beginning of your asset names, and use lowercase letters, numbers, and dashes or underscores instead of spaces. This prevents system terminal scripts from throwing execution errors due to spaces or weird symbols in file paths.
Consider this direct contrast of file naming patterns:
- Poor Naming Practice:
/My Projects/Design work (New) /logo v4 final draft.PNG - Standardized Practice:
/01_Active/2026-03-15_brand-refresh/assets/logo-final-flat.png
By sorting chronologically using the `YYYY-MM-DD_project-name` format, your files and directories will align themselves automatically by timeline inside your file browser, saving hours of visual search.
Executing the Initial Storage Audit
If you are starting from a state of complete digital chaos, do not try to fix everything in one afternoon. This leads to immediate cleanup fatigue. Instead, use a structured checklist over the course of a weekend to systematically clear out the trash before listing your healthy assets in your `manifest.md` file.
Digital File Cleanup Checklist
- Isolate and Consolidate: Drag all loose files on your desktop, system Downloads, and Document roots into the newly created `04_Inbox` folder. Do not sort them yet. Simply get them into one workspace.
- Filter by Size: Open your terminal or PowerShell, navigate to the unified workspace, and list the largest 20 files. Identify the disk space hogs—most of them are outdated system updates, duplicates, raw screen recordings, or giant installer packages that can be instantly deleted.
- Purge with Aggression: Delete temporary caches, old installer packages (`.dmg`, `.exe`, `.pkg`, `.zip`), and raw export files that can easily be rebuilt from parent source assets.
- Sort with the 1-Step Click Rule: Take the remaining files in `04_Inbox` and route them into either `01_Active`, `02_Reference`, or `03_Archives`. If a file doesn’t fit any category, delete it. Keep going until the inbox is completely empty.
- Log the Baseline: Record your current drive utilization statistics inside your `manifest.md` as your initial benchmark.
Handling Edge Cases and Gray-Area Files
During your initial audit, you will inevitably encounter files that do not comfortably fit into active projects, static references, or permanent archives. These “gray-area” assets are the primary cause of future digital bloat if left unchecked.
Developer Directories and Node Modules
If you are a web developer, software engineer, or designer working with modern frontend packages, your project folders likely contain hidden gigabytes of dependencies (e.g., `node_modules` or local python virtual environments). These packages contain thousands of tiny files that slow down system search tools to a crawl.
Before archiving a finished project to your `03_Archives` path, run a cleanup script to purge these dependencies. They can always be reinstalled with a single command (such as `npm install` or `pip install -r requirements.txt`) if you ever need to revive the project. On macOS or Linux, run this terminal script from your project directory to sweep and destroy orphaned `node_modules` folders safely:
find . -name "node_modules" -type d -prune -exec rm -rf '{}' +This single command searches recursively through subdirectories, locates bulky dependency folders, and purges them completely from your local drive, saving gigabytes of hidden space in seconds.
Handling Large Media Assets and Raw Formats
Photos, video footage, and audio stems consume storage rapidly. Never store raw video or high-resolution image assets in your `01_Active` or `02_Reference` folders unless you are actively editing them this week. Move raw media files directly to cold storage archives on external drives, leaving low-resolution proxy files or flat exports in your working directories.
Storage Sync Boundaries: Local Drives vs. Cloud Services
Cloud storage syncing apps offer incredible convenience, but they can easily corrupt an otherwise clean file architecture if you do not establish explicit boundary lines. When Dropbox or OneDrive is set to mirror your entire user profile or desktop automatically, your local machine becomes hostage to background synchronization queues, bandwidth throttling, and confusing duplicate conflict files.
Isolating Local-Only Storage Zones
To keep your inventory system reliable, clearly separate your files into two distinct categories:
- Cloud-Integrated Workspace: Active project files and important references that require seamless multi-device access. Keep these inside your designated cloud sync folder directory.
- Local-Only Cold Storage: Historical archives, virtual machine disk images, raw camera footage, and heavy software installers. These files should live exclusively on local physical hard drives or dedicated cold-storage cloud lockers that do not sync actively in the background.
By enforcing this boundary, you prevent cloud sync apps from indexing massive historical archives, crashing your bandwidth, or unexpectedly replacing local files with placeholder sync stubs when you are offline.
Integrating Manual Review Intervals
A personal digital asset inventory workflow is not a one-time cleaning event; it is a sustainable maintenance habit. If you do not schedule regular reviews, your directory structure will slowly decay back into unorganized clutter within a few months.
The Weekly Review Routine (15 Minutes)
Every Friday afternoon, open your `04_Inbox` folder and your `manifest.md` file. Complete this brief three-step routine:
- Verify that `04_Inbox` is completely empty. If stray files remain, sort or delete them immediately.
- Check your internal SSD storage footprint to ensure available space has not dropped below your safety threshold.
- Update the modification date stamps inside your master `manifest.md` file.
The Quarterly Deep Audit (1 Hour)
Every three months, schedule a deeper sixty-minute audit session. Run your terminal storage scripts again, compare your current storage numbers against your initial baseline in `manifest.md`, move finished projects from `01_Active` to `03_Archives`, and purge any redundant backups or outdated software installers that accumulated over the quarter.
Consistency beats intensity. Spending fifteen minutes a week and one hour a quarter maintaining your digital environment ensures that you will never again experience the panic of running out of disk space or losing an essential file.
Common Pitfalls to Avoid
As you implement and maintain your personal digital asset inventory workflow, watch out for these classic organizational traps:
- Over-Categorization: Do not create dozens of deeply nested subfolders. Stick to the four core root directories. If you need more than three levels of folder depth, your taxonomy is too complex.
- Skipping the Manifest Updates: A manifest file is only valuable if it is accurate. If you reorganize your drives without updating `manifest.md`, your inventory becomes just another piece of digital clutter.
- Relying on Automation Apps: Avoid commercial disk cleaner apps that promise to organize your computer magically. They often delete necessary preference files or miscategorize important work assets. Maintain manual control over your file ecosystem.
Frequently Asked Questions
Do I need programming experience to use command-line storage tools?
No. You do not need to be a software engineer to run basic storage auditing commands. Copying and pasting the `du` or PowerShell scripts outlined in this guide into your terminal or PowerShell window is straightforward and safe as long as you operate within your home directory.
What should I do if my cloud storage is already completely full?
Start by moving your `03_Archives` directory out of your active cloud sync folder and onto a physical external hard drive. This immediately offloads gigabytes of cold storage data from your cloud provider without requiring you to purchase an expensive storage tier upgrade.
How often should I update my inventory manifest file?
A quick 15-minute check weekly and a comprehensive one-hour review every quarter is the ideal cadence for keeping your master manifest accurate and your hard drive free of bloat.
Conclusion
Taking control of your digital environment does not require purchasing expensive software subscriptions, upgrading cloud storage plans, or trusting automated cleaning utilities with your sensitive files. By building a disciplined personal digital asset inventory workflow rooted in plain text, native command-line inspection tools, and strict manual review habits, you transform your computer from a chaotic storage bin into a streamlined, high-performance workspace. Start small this weekend: create your `manifest.md` file, run your first directory audit, and reclaim your digital peace of mind.