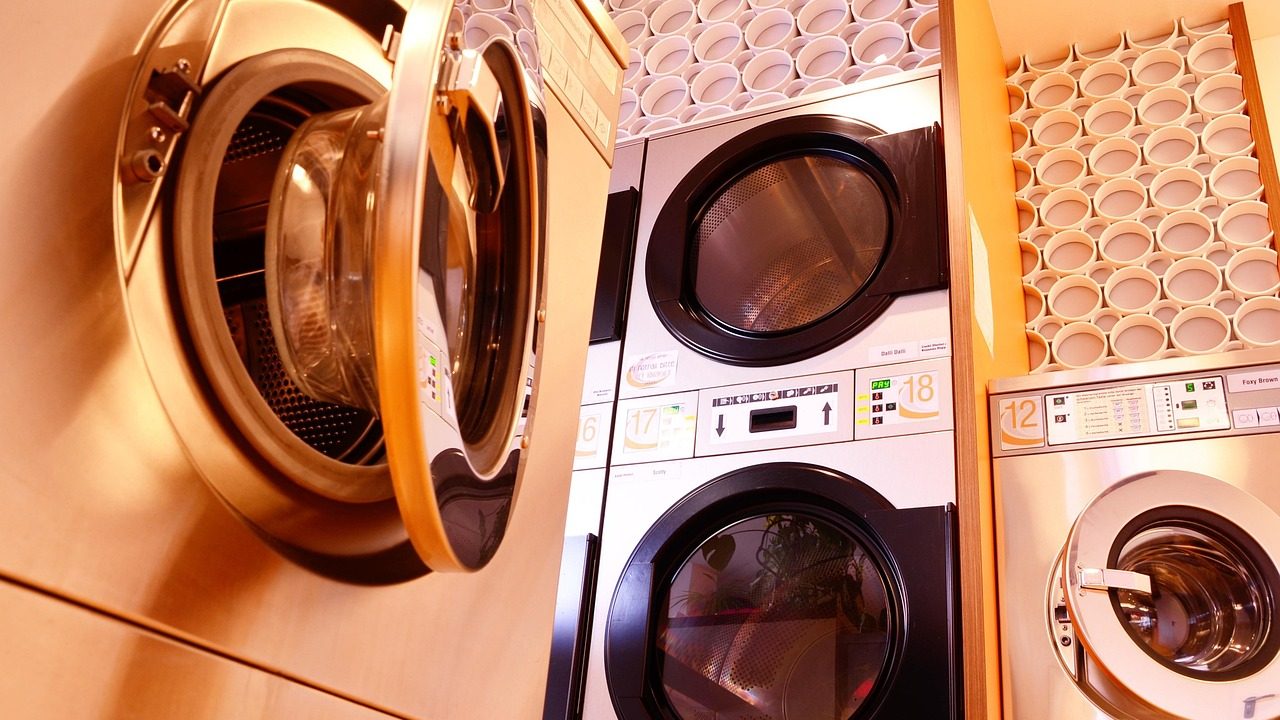
When you live in an apartment, studio, or small rental home, doing laundry often requires creative spatial engineering. Because full-sized laundry centers rarely fit into standard closets or small bathrooms, many residents turn to compact, 110-volt portable clothes dryers. However, once you purchase a mini dryer, a major installation question immediately follows: should you use a wall-mounting bracket or a freestanding floor stand? Evaluating a portable dryer wall mount vs stand setup involves much more than simply deciding where the appliance will sit. You have to account for lease agreements, drywall integrity, acoustic vibration, floor space geometry, and the physical mechanics of a high-speed spinning drum.
Both installation methods aim to solve the same primary problem—how to safely operate a heavy, vibrating machine in tight quarters. Yet they do so through entirely different engineering philosophies. Wall mounts elevate the machine entirely, clearing the floor for storage or other appliances, but they require drilling heavy lag bolts directly into structural studs. Floor stands, on the other hand, keep the weight at ground level or elevate it on a sturdy metal chassis, protecting your walls while occupying precious square footage. To make the right decision for your specific living situation, you need a detailed breakdown of how each configuration performs in real-world apartment environments.
Understanding the Mechanics: How Compact Dryers Generate Vibration
Before comparing mounting hardware, it helps to understand what happens inside a running compact dryer. Unlike full-sized residential dryers that sit heavily on concrete utility room floors, portable dryers typically weigh between 40 and 70 pounds empty. When they tumble wet clothes, clothing items clump together, creating temporary weight imbalances. As the motor spins the drum at high RPMs, these imbalances generate centrifugal force, translating into kinetic energy and high-frequency vibration.
If this vibration is not properly isolated or absorbed, it travels directly into the supporting surface. On a wall mount, poorly damped vibration can shake drywall, loosen mounting screws, and create an irritating humming sound that travels through shared apartment walls. On a floor stand, unabsorbed energy can cause the entire metal frame to walk across slick tile or laminate flooring, scraping surfaces and destabilizing the machine. Recognizing that vibration is an inevitable byproduct of drying clothes is the first step in choosing the right hardware to manage it.
Furthermore, understanding the harmonic resonance of your apartment’s building materials is essential. Wood-frame construction reacts quite differently to rotational vibration compared to concrete slab or steel-framed high-rises. In wood-framed buildings, a poorly isolated dryer can act like a subwoofer, transmitting structural bass notes throughout neighboring units. Recognizing these acoustical properties ensures you select the dampening accessories necessary to keep relations with your neighbors smooth.
The Case for Wall-Mounting Brackets: Maximum Space Savings
For ultra-compact apartments, tiny laundry closets, or micro-studios where every square inch of floor space counts, wall-mounting brackets offer undeniable appeal. By lifting the dryer off the floor, a wall mount clears the zone directly underneath the appliance. Many renters use this newly opened space to slide in a portable washing machine, a rolling storage cart, or a laundry basket.
Furthermore, elevated dryers are often ergonomically superior. Loading and unloading wet clothes from a machine positioned at chest height reduces the need to bend over repeatedly, which is a significant benefit if you deal with lower back strain. From a purely spatial perspective, wall mounting transforms dead vertical wall space into an active utility station.
Installation Realities and Drywall Limitations
Despite their spatial advantages, wall-mounting brackets come with strict installation prerequisites. A compact dryer filled with damp laundry can easily weigh 60 to 80 pounds during operation. That weight cannot be supported by standard drywall alone, no matter how heavy-duty your plastic drywall anchors claim to be. Toggle bolts and hollow-wall anchors will eventually fatigue and fail under the cyclic dynamic loads of a vibrating appliance.
To install a dryer wall bracket safely, you must locate wooden wall studs spaced 16 inches apart (or metal studs requiring specialized toggles, though wood is vastly preferred for laundry appliances). If your apartment’s stud layout does not align with the pre-drilled holes on the manufacturer’s mounting bracket, you may need to install a heavy plywood ledger board first. This technical hurdle leads directly to the next major consideration for renters: lease restrictions.
When planning a wall installation, always use a reliable electronic stud finder to map the exact edges of the studs, not just the center. Drilling off-center into the edge of a wood stud can split the wood when driving thick lag bolts, compromising the holding power of the fastener. Additionally, ensure you use pre-drilled pilot holes sized correctly for your lag screws to prevent wood splitting while maintaining maximum thread engagement.
The Rental Dilemma: Lease Restrictions and Wall Damage
If you rent your apartment, hammering or drilling large holes into the drywall can become a major point of contention with your landlord or property management company. While hanging picture frames or small shelves usually falls under normal wear and tear, driving four to six heavy-duty lag bolts into structural studs leaves behind substantial holes that require professional patching and painting when you move out.
Some landlords explicitly forbid anchoring heavy appliances to walls due to liability concerns regarding structural damage, falling units, or water line leaks. If your lease prohibits wall modifications, a wall-mounting bracket is immediately off the table, making a freestanding floor stand the default choice. Even if your lease permits wall hanging, you must be prepared to thoroughly patch and paint the wall upon vacating the property to avoid losing your security deposit.
It is always wise to consult your lease agreement specifically regarding wall modifications or ask your property manager in writing before picking up a power drill. Many landlords will grant permission if you agree to have a professional patch the holes upon move-out, or if you use specific heavy-duty hardware that minimizes structural impact. Documenting the wall condition before and after installation provides essential protection for your security deposit.
The Case for Freestanding Floor Stands: Flexibility and Stability
Freestanding dryer stands provide a robust, non-invasive alternative for apartment dwellers who want the benefits of an elevated or organized laundry setup without drilling into walls. A typical dryer stand consists of heavy-gauge steel tubing designed to cradle the appliance securely, often featuring adjustable feet or rubber dampening pads.
One of the greatest advantages of a floor stand is complete placement flexibility. You are not tethered to the rigid spacing of wall studs. You can place the stand in a corner, inside a walk-in closet, or on a balcony (if covered and weather-protected). If you rearrange your apartment layout or move to a new rental unit next year, the stand moves with you easily, leaving zero trace behind on your former landlord’s walls.
Stability and Footprint Trade-Offs
While floor stands eliminate wall damage, they do introduce trade-offs regarding floor space and footprint. Because a stand must support the dynamic weight of a vibrating dryer safely, its base is often wider and deeper than the dryer itself. This creates a larger physical footprint in your room.
Additionally, cheap or flimsy floor stands can wobble if the dryer’s internal load becomes unbalanced. When shopping for a stand, look for heavy steel construction, locking caster wheels (or adjustable leveling feet), and cross-bracing that minimizes lateral sway. Placing the stand on a firm, level surface is critical; placing it on thick wall-to-wall carpeting can increase rocking and reduce stability during high-speed tumbling cycles.
When evaluating a stand’s footprint, measure not just the floor area it occupies, but also the clearance needed around the unit for ventilation and exhaust hose routing. Compact dryers require adequate airflow around their rear panels to expel warm, moist air efficiently, especially if you are using a flexible venting kit or a portable indoor lint condenser box.
Vibration Isolation Performance: Wall Mount vs. Stand
How well do these two systems isolate vibration? The answer depends heavily on the quality of your installation hardware and the density of your apartment’s construction.
With wall mounts, vibration isolation is notoriously tricky. If the bracket is bolted rigidly against wooden studs without rubber washers or vibration-dampening pads between the metal and the wall, the entire wall acts like an acoustic sounding board. Neighbors in adjoining apartments may hear or feel a low-frequency hum every time your dryer runs. To combat this, smart installers use heavy rubber vibration pads at every metal-to-wall contact point to absorb kinetic energy before it enters the building’s structure.
Floor stands handle vibration differently. Many modern stands feature integrated rubber feet or shock-absorbing pads that isolate the machine from the floor. However, if the floor itself is uneven (common in older apartment buildings), the stand can rattle against the floorboards. Placing a thick, dense rubber washing machine mat underneath the floor stand is often the most effective way to deaden sound and prevent the unit from walking across the room.
It is also worth noting that balancing your laundry load plays a massive role in vibration control regardless of your mounting choice. Overloading a compact dryer forces clothing into a dense mass that cannot tumble freely, drastically worsening centrifugal imbalances and causing the entire frame to shudder aggressively.
Comparing Safety Factors and Weight Capacities
Safety should always guide your laundry appliance setup. A tumbling dryer houses a heavy spinning drum and electrical components, making stability non-negotiable.
Wall mounts, when anchored correctly into solid wood studs, offer exceptional resistance against tipping. Because the unit is locked to the structural frame of the building, there is virtually zero risk of the dryer toppling over, even if someone bumps into it. However, if installed incorrectly into weak drywall, the entire assembly can shear away from the wall under load, causing catastrophic damage to the appliance and surrounding plumbing.
Floor stands offer a lower center of gravity when holding a dryer at floor level, but elevating a dryer on top of a tall stand raises its center of gravity. If you have children or pets in the apartment, a top-heavy freestanding stand requires careful placement to ensure it cannot be tipped over. Always check the manufacturer’s weight capacity rating for the stand and ensure your specific dryer model falls safely well below that threshold.
Installation Comparison: Step-by-Step Complexity
The time and physical effort required to set up each option differ significantly.
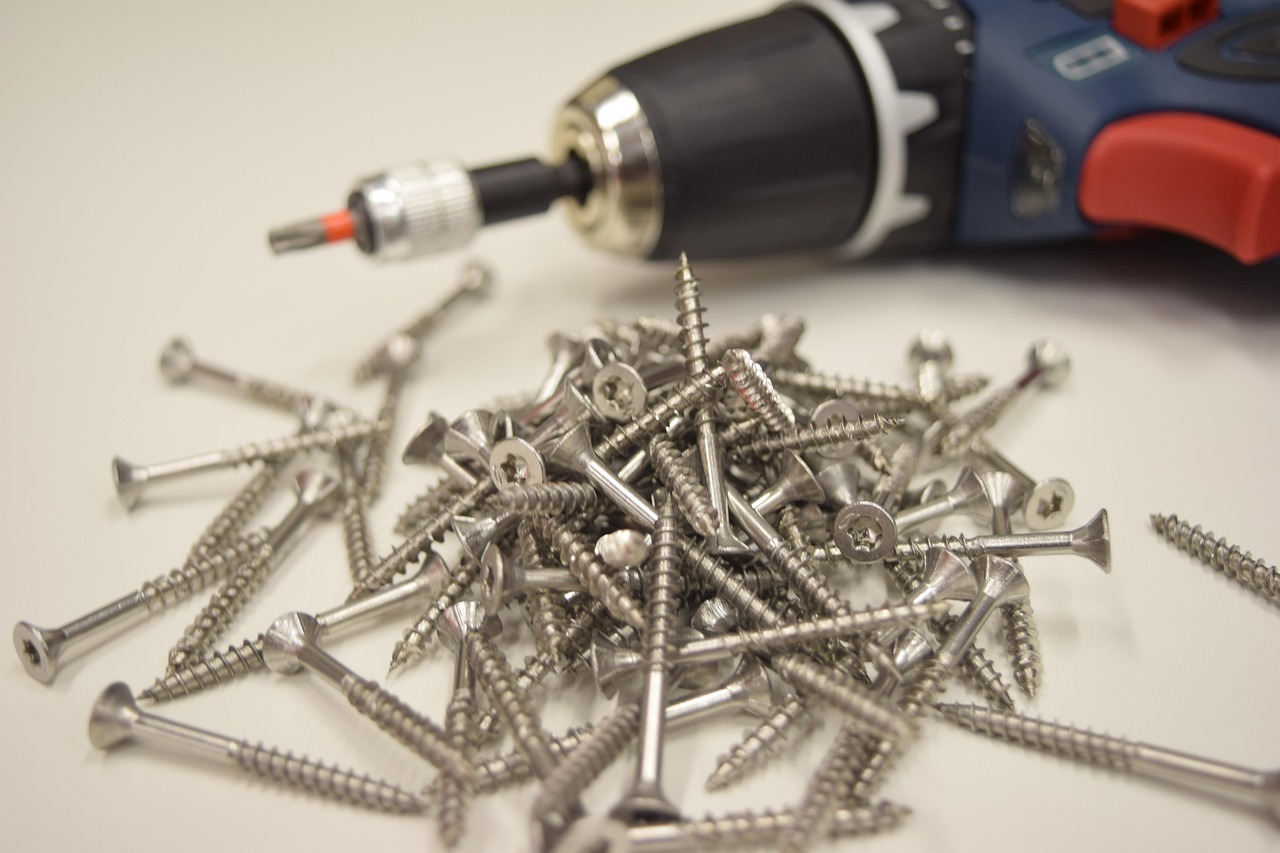
- Wall-Mount Installation: Requires a stud finder, a power drill, masonry or wood drill bits, a level, a socket wrench for lag bolts, and typically a second person to help lift and hook the heavy dryer onto the bracket lip. Precision is mandatory; if your pilot holes are crooked, your dryer will hang crooked.
- Stand Assembly: Usually involves assembling a metal frame using basic hand tools like an Allen wrench or included spanner. Once the stand is assembled, lifting the dryer onto the platform requires muscle, but it does not require measuring stud spacing or patching drywall holes afterward.
Electrical Safety and Cord Management Considerations
When positioning your compact dryer on either a wall mount or a floor stand, electrical safety must remain a top priority. Most portable 110-volt dryers draw around 12 to 15 amps, meaning they consume a significant portion of a standard household circuit’s capacity. You should never plug a portable dryer into an ungrounded extension cord or share the circuit with high-draw appliances like space heaters or microwaves.
If you choose a wall mount, ensure your electrical outlet is located close enough that the power cord hangs freely without tension. Never stretch a power cord taut across a wall bracket, as the constant micro-vibrations of the running dryer can chafe the cord’s insulation over time, exposing bare wires and creating a severe electrical shock or fire hazard.
For floor stands, route your power cord and flexible vent hose away from moving parts and sharp metal edges. Many steel stands feature built-in wire management clips or zip-tie anchors; utilizing these keeps cables organized and prevents them from getting pinched underneath the stand’s heavy steel legs.
A Deep Dive Into Vibration Dampening Materials
Controlling noise and movement in an apartment setting often requires upgrading your hardware with specialized dampening accessories. Understanding the material science behind vibration isolation can save you from friction disputes with downstairs neighbors.
Standard hard plastic feet supplied with many stands often transmit high-frequency buzzes directly into hardwood or tile subfloors. Replacing these with high-durometer natural rubber pads creates an acoustic barrier that breaks the transmission path of mechanical energy. For wall mounts, placing neoprene or EPDM rubber washers between the steel bracket and the wooden stud acts as a mechanical decoupler, preventing the drywall from acting like a speaker cone.
Cork mats and recycled rubber crumb pads are also excellent additions beneath floor stands. They compress slightly under the weight of the appliance, absorbing kinetic shock waves before they hit the floorboards, while also adding frictional grip to prevent the stand from migrating across slick laminate surfaces during heavy spin cycles.
Cost and Accessibility Comparison
Budget is another practical factor for renters looking to optimize their utility space. Quality wall-mounting brackets generally range from $30 to $70, depending on steel thickness and adjustability. However, you may also need to invest in wall repair supplies (spackle, putty knife, matching paint) when your lease ends.
Freestanding dryer stands typically range from $50 to $150, reflecting the larger amount of structural steel required to build a stable base. While the initial hardware cost is slightly higher for a stand, it preserves your security deposit by avoiding wall damage, making it a cost-effective choice for renters who move frequently.
Frequently Asked Questions (FAQs)
Can I stack my portable washing machine on top of a dryer stand?
No. Portable washing machines undergo massive centrifugal forces during high-speed spin cycles and hold significant amounts of sloshing water weight. Dryer stands are engineered to support the static and dynamic weight of a dryer, not a vibrating, water-filled washer.
Will a wall mount fit any brand of compact dryer?
Most universal wall brackets feature adjustable arm widths, but you should always verify mounting hole alignment and weight ratings against your specific dryer manufacturer’s specifications before installation.
How do I stop my floor stand from rocking on uneven tile floors?
Most quality stands include adjustable leveling feet at each corner. Twist these feet individually until the entire chassis rests firmly on the floor without wobbling, then tighten their locking nuts.
Decision Framework: Which Option Should You Choose?
To finalize your decision between a portable dryer wall mount and a floor stand, run through this practical checklist based on your living circumstances:
- Check your lease agreement: If your landlord strictly prohibits drilling into walls or anchors, choose a floor stand immediately.
- Assess your stud availability: If your laundry corner lacks properly spaced wooden studs or features tricky metal framing, avoid wall mounting.
- Evaluate your floor space: If floor space is completely exhausted and you need room underneath for a portable washer, invest the time into a secure wall mount.
- Consider your moving timeline: If you plan to move to a new apartment within the year, a floor stand offers superior portability and saves you from patching drywall.
Conclusion
Both portable dryer wall mounts and freestanding floor stands provide viable pathways to efficient in-apartment laundry. Wall mounts excel at maximizing floor space and providing ergonomic loading heights, but they demand precise stud anchoring and carry the risk of lease-violating wall damage. Floor stands sacrifice some floor footprint and require careful stabilization on uneven floors, but they deliver unmatched versatility, easy setup, and zero structural alterations. By carefully weighing your apartment’s physical layout, lease constraints, and vibration management needs, you can set up a safe, quiet, and highly functional compact laundry station.