

When you have a sub-slab depressurization system installed in your home, it operates quietly in the background, continuously drawing soil gases from beneath your concrete foundation and venting them safely above the roofline. Because these systems run 24 hours a day, 365 days a year, homeowners often adopt a set-it-and-forget-it mindset. However, like any mechanical appliance with moving parts and exterior components, active radon systems require periodic checks. Following a reliable radon mitigation fan maintenance guide ensures your equipment continues to perform safely and effectively without unexpected interruptions.
While a radon mitigation system does not require complex weekly upkeep, ignoring it entirely can lead to undetected mechanical failure, loss of suction, and rising indoor radon levels. This guide walks you through the practical, hands-on steps needed to evaluate your system’s health. You will learn how to read your suction pit manometer, inspect the inline fan for signs of physical stress or bearing wear, and keep exterior discharge points clear of seasonal hazards. By developing a routine inspection habit, you protect your indoor air quality and extend the operational lifespan of your mitigation equipment.
Understanding Your Radon Mitigation System and Sub-Slab Dynamics
Before diving into maintenance tasks, it helps to understand the anatomy of a standard active soil depressurization (ASD) system and the underlying physics of soil gas migration. Most residential installations consist of a suction pit—a small hole dug beneath the concrete slab where soil gas naturally collects due to the positive pressure of the earth—connected to a durable schedule 40 PVC pipe. This pipe runs upward through the garage, utility closet, or an exterior wall, passing through an inline centrifugal fan designed specifically for continuous outdoor or indoor operation.
The fan creates a negative pressure field beneath your slab, forcing gases up and out of the building envelope rather than allowing them to seep upward through basement cracks, expansion joints, and utility penetrations. Attached to the main PVC riser pipe is a U-tube manometer, a simple visual diagnostic tool filled with colored fluid that indicates whether the system is maintaining negative pressure. Because there are no user-serviceable electronic controls on most radon fans, your primary maintenance role involves visual inspection, tactile monitoring, and basic record-keeping. Understanding that this system works by overcoming natural stack effect and soil pressure gradients helps explain why monitoring its pressure differentials is so critical to long-term indoor air safety.
Establishing a Comprehensive Routine Inspection Schedule
A sensible maintenance routine does not require heavy tools or specialized technical training. Most manufacturers and radon professionals recommend a quick visual check of your system components on a monthly basis, paired with a more thorough examination twice a year—ideally during the transition from spring to summer and again before winter freeze sets in.
Monthly checks can take less than sixty seconds. Simply walk by the manometer mounted on your basement wall, verify that the colored liquid is uneven (indicating suction), and listen briefly to ensure the fan is humming normally. Seasonal checks involve stepping outside to examine the discharge point, checking pipe hangers and seals in the basement, and listening closely for any new rattles, hums, or vibrations coming from the fan housing. Keeping a simple logbook or digital note on your phone with the date and manometer fluid levels can help you spot gradual performance drops long before a total system failure occurs.
How to Check Your Radon Pipe Manometer Accurately
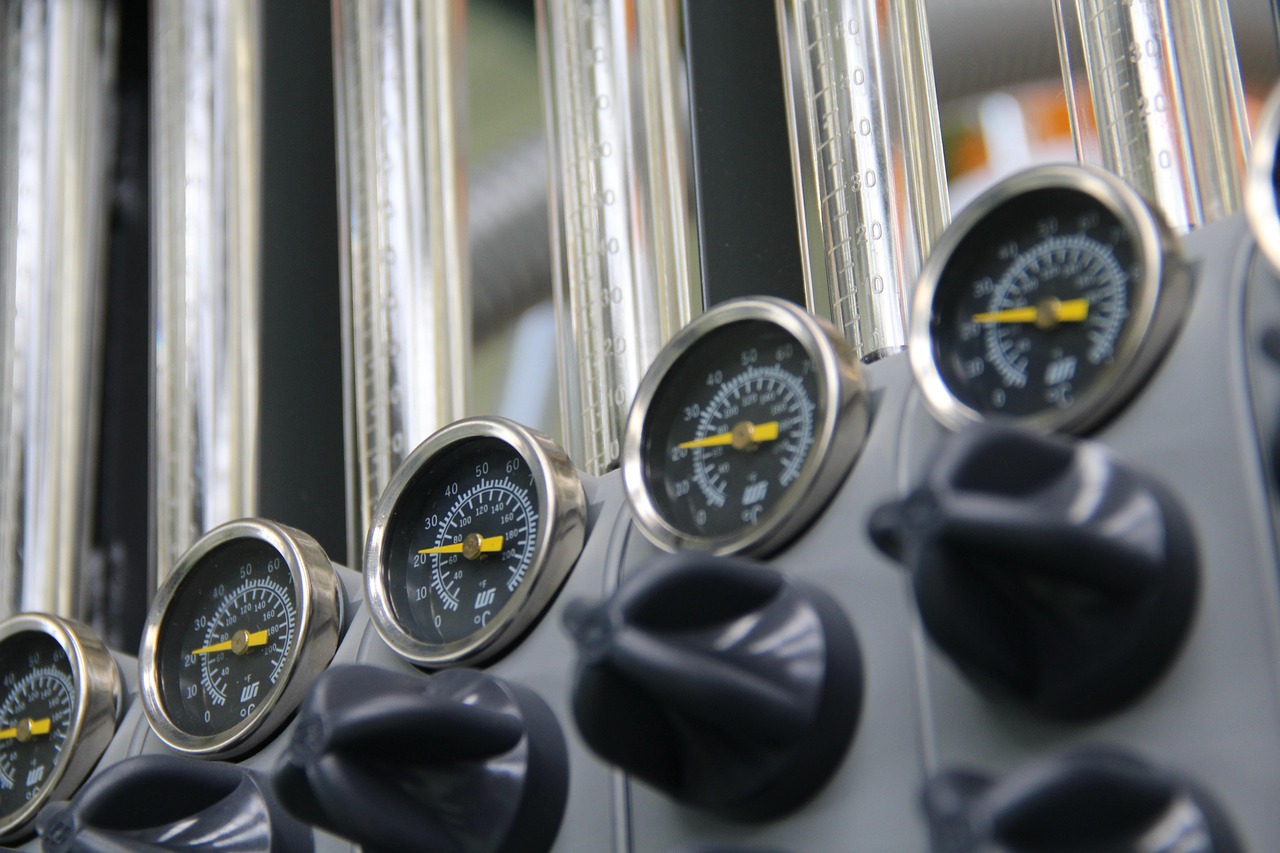
The U-tube manometer is your single best tool for verifying that your radon system is working between professional long-term test kit rotations. If the system loses suction, the fluid levels in the U-tube will equalize, signaling an immediate problem that requires your attention.
To check your manometer accurately, follow these steps:
- Locate the clear plastic U-tube mounted vertically on the PVC pipe in your basement or utility room.
- Observe the two columns of colored fluid inside the tube. One side should be pulled higher than the other, creating a distinct difference in height relative to the center zero mark.
- Check the calibration sticker or markings on the manometer faceplate. The fluid levels should match the baseline level recorded by your installation technician when the system was first commissioned.
- If both fluid columns rest at the exact same level (zero differential), the system is no longer drawing suction. This indicates either a failed fan motor, a tripped circuit breaker, or a disconnected pipe joint.
If you notice that your manometer fluid is even across both columns, do not panic. First, check the electrical outlet where the radon fan is plugged in to ensure the unit has not been accidentally unplugged or tripped a ground-fault circuit interrupter (GFCI) breaker. If the power supply is active but the fan remains silent and the manometer shows zero suction, the fan motor has likely reached the end of its service life and requires replacement.
Interpreting Manometer Fluctuations and Weather Impact
It is normal for manometer fluid levels to shift slightly throughout the year. Changes in barometric pressure, heavy rainfall, and extreme seasonal temperatures can alter the pressure differential between the sub-slab soil and your conditioned living space. For instance, during hot summer months when air conditioning runs constantly and windows remain closed, or during deep winter freezes when stack effect pulls warm air upward, you may notice minor variations in the fluid height.
However, drastic, sudden changes—such as the fluid dropping to zero or shifting wildly outside of its normal operating window—warrant closer investigation. If you recently had foundation work, waterproofing, or concrete remodeling done in your basement, construction dust or debris may have clogged the small sampling port where the manometer tubing connects to the main PVC pipe. Clearing this tiny port with a piece of wire or pipe cleaner often resolves false readings.
Inspecting Inline Radon Fans for Wear, Noise, and Vibration
The inline centrifugal fan is the mechanical heart of your mitigation system. Most residential radon fans are engineered to run continuously for years in demanding outdoor environments, utilizing weather-sealed housings and permanently lubricated ball bearings. Even so, mechanical components eventually wear down due to constant rotation and environmental exposure.
Periodically walk over to where your radon fan is mounted—whether it sits on an exterior wall, inside an unconditioned attic, or within a garage space—and listen carefully to its operation. A healthy radon fan emits a steady, low-decibel hum or rush of air. Unusual sounds often point to developing mechanical issues:
- Grinding or Screeching: This typically indicates worn-out motor bearings. When moisture or outdoor contaminants breach the sealed housing over years of operation, bearings begin to dry out and generate friction.
- Loud Vibrations or Rattling: This can occur if mounting brackets have loosened over time, allowing the rigid PVC pipe to rattle against wood framing or siding. It can also happen if leaves, twigs, or moisture have accumulated inside the fan impeller housing, throwing the spinning blades off balance.
- Complete Silence: If the fan makes no sound at all and the manometer indicates zero pressure, check the inline fuse or circuit breaker. If power is present but the motor does not engage, the thermal overload protection may have tripped due to restricted airflow, or the motor windings have burned out.
If your fan exhibits persistent bearing noise or fails to spin, do not attempt to disassemble the sealed plastic housing yourself. Inline radon fans are factory-sealed units designed to prevent electrical sparks from igniting surrounding gases. A noisy or failed fan should be replaced as a complete assembly by a licensed radon mitigation professional.
Exterior Exhaust Clearance and Seasonal Maintenance Hazards
The discharge point of your radon system plays an equally critical role in maintaining proper airflow. Radon mitigation building codes dictate that exhaust pipes must terminate at least 12 inches above the roofline, well away from operable windows, doors, and fresh air intake vents, ensuring that expelled gases disperse harmlessly into the atmosphere.
Because these pipes vent moist air and terminate outdoors, they are vulnerable to environmental obstructions across changing seasons:
- Spring and Summer Debris: Overhanging tree branches can drop leaves, seed pods, or twigs directly into open PVC discharge pipes if protective mesh or wire guards are missing. Inspect the roofline from the ground using binoculars during seasonal yard cleanups to ensure the pipe opening remains clear.
- Autumn Pest Activity: Birds, squirrels, and wasps occasionally view warm, sheltered PVC pipes as ideal nesting sites during late summer and fall. Installing a manufacturer-approved wire screen or vent cap over the termination point prevents animals from building nests that can choke off system airflow.
- Winter Ice Dams: In colder US climates, moisture carried in the exhausted air can freeze around the rim of the pipe during sub-freezing nights, forming ice collars that gradually restrict the opening. If you notice your manometer reading dropping during a deep freeze, inspect the exterior termination point for ice buildup. Never climb onto an icy roof; if high-reaching ice blockage occurs, wait for a daytime thaw or contact a professional.
Troubleshooting Common System Issues Step-by-Step
When your routine check reveals an irregularity, working through a systematic troubleshooting process helps you isolate the cause before calling a service technician. Use the following diagnostic steps when evaluating suspected system faults:
- Verify Electrical Power: Check the dedicated switch or outlet powering the radon fan. Ensure the switch has not been accidentally flipped off and that the plug is firmly seated in the receptacle.
- Inspect the Manometer Tubing: Look closely at the clear plastic tubing connecting the U-tube to the PVC pipe. Ensure it is not pinched, kinked, disconnected, or blocked by condensation moisture.
- Check for Pipe Damage: Walk the entire visible run of PVC pipe in your basement, garage, and utility areas. Check all glued joints and rubber coupling boots to ensure no sections have separated due to settling or accidental impact.
- Listen to the Fan: Stand close to the inline fan and listen for changes in pitch. A struggling motor or a humming sound without airflow indicates a blocked intake or failing motor.
If you clear minor debris, reset a tripped breaker, or resecure a loose pipe coupling and the manometer still fails to show proper suction, contact a certified local radon mitigation contractor. Attempting DIY electrical repairs on hardwired or outdoor fan installations introduces safety risks and can void manufacturer warranties.
Knowing When to Call a Professional Contractor
While DIY visual inspections and manometer monitoring save time and money, certain maintenance tasks require professional expertise. You should schedule a service call with a certified mitigation specialist under the following circumstances:
- The inline fan requires replacement due to motor failure or excessive bearing noise.
- The system consistently fails to maintain the baseline pressure indicated on your original installation tag, even after clearing exterior vents and checking power supplies.
- You remodel your basement, pour new concrete slabs, or install interior French drains, which can alter sub-slab airflow and require a system re-evaluation or radon re-testing.
- You want to perform a periodic follow-up radon test using an active continuous monitor or short-term charcoal test kit to verify that indoor radon levels remain well below the EPA action level of 4.0 picocuries per liter (pCi/L).
Frequently Asked Questions About Radon Fan Maintenance
Homeowners often have specific questions regarding the upkeep and longevity of their sub-slab depressurization systems. Here are answers to some of the most common inquiries:
- How long do radon mitigation fans typically last? Most high-quality inline radon fans are designed to last between 5 and 10 years, depending on environmental conditions, runtime, and motor quality. Regular inspections help catch bearing wear before complete burnout occurs.
- Can I turn my radon fan off at night to save electricity? No. Radon mitigation systems must run continuously 24/7. Turning the fan off allows soil gases to accumulate rapidly beneath your home, negating the protective pressure field.
- What does it mean if my manometer fluid levels fluctuate slightly? Minor shifts are normal and are usually caused by seasonal temperature swings, wind conditions, and barometric pressure changes. Only a drop to zero indicates total loss of suction.
Conclusion
Maintaining your home’s radon mitigation system is a straightforward task that rewards you with peace of mind and continuous indoor air quality protection. By building a simple habit of checking your U-tube manometer monthly, listening to your inline fan for signs of bearing wear during seasonal changes, and keeping exterior discharge pipes clear of leaves and ice, you protect your investment and your family’s health. Treat your radon system with the same steady attention you give to your HVAC filter or smoke detectors, and it will quietly safeguard your home for years to come.



