
When most homeowners think about private onsite wastewater systems, their minds immediately jump to pumping sludge, clearing interior clogs, or dealing with sluggish drains inside the house. However, the first line of defense for your entire underground setup sits right at the surface: your access lids and risers. Executing a proper septic tank lid maintenance guide walkthrough twice a year ensures that structural cracks, shifting soil, or overgrown turf do not turn a simple surface check into a major yard excavation or structural emergency.
Maintaining these access points is not just about keeping your landscaping looking tidy. It is a vital safety and environmental protocol. A compromised lid can allow storm runoff to flood your tank, overloading the drainfield and killing beneficial bacteria. Worse yet, a deteriorated or unsecured cover poses a severe physical hazard to children, pets, and lawn equipment. This manual breaks down the exact steps needed to safely locate, uncover, inspect, and maintain your system’s surface access points without specialized heavy equipment.
Understanding Your Septic System’s Surface Access Points
Before touching a shovel, it helps to understand what you are actually looking for in the yard. Older residential systems often feature heavy concrete lids buried anywhere from six inches to three feet below the turf. Modern installations typically utilize plastic or concrete risers that bring the access cover flush with or slightly above the ground level, making routine inspections significantly easier.
Regardless of your setup, the access lids serve two primary functions: providing technicians a clear pathway for pumping solids and allowing you or a service provider to visually check internal water levels and baffle conditions. Because these covers bear the brunt of freeze-thaw cycles, lawn mower weight, and shifting soil, they require periodic physical inspections just like any other exterior home component.
Furthermore, residential septic tanks typically feature multiple access points. A standard two-compartment tank usually has an inlet lid and an outlet lid, both of which require regular monitoring. Neglecting one side of the system while focusing exclusively on the main pumping port leaves half of your underground hardware vulnerable to infiltration, root intrusion, and structural weathering.
Essential Safety Rules Before You Dig
Working around a private private wastewater treatment vessel requires strict adherence to safety protocols. Never take shortcuts when dealing with buried utility structures. Keep these baseline rules in mind before starting any surface work:
- Never enter a septic tank: Toxic gases such as methane and hydrogen sulfide accumulate rapidly inside wastewater chambers. Opening the lid releases fumes, but leaning over or entering an open tank can cause instant unconsciousness or fatality.
- Call 811 before deep digging: If you are planning to excavate deeply to install risers, contact your local utility notification center at least a few days prior to ensure you do not strike electrical or gas lines.
- Wear proper protective gear: Heavy work gloves, sturdy footwear, and eye protection are mandatory when handling heavy concrete covers or rusty hardware.
- Secure the opening immediately: Never leave an access hole open and unattended, even for a few minutes. Cover it temporarily with plywood or keep family members and pets entirely away from the work zone.
Gas accumulation is particularly hazardous on warm, humid days when air circulation is low. If you lift a lid and notice an overpowering, sulfurous odor, step back immediately and allow the area to ventilate naturally before performing any visual checks.
Essential Tools and Materials Checklist for Maintenance
Before heading out to your yard to inspect your septic access covers, gathering the correct tools ensures the job is done efficiently and safely. Having the right gear on hand prevents unnecessary frustration and minimizes the risk of accidental damage to your system components. Here is what you should pack into your maintenance caddy:
- Dull metal probe rod: A specialized septic probe with a T-handle helps locate buried concrete or plastic lids without puncturing or scratching tank bodies.
- Flat-edge landscaping spade: Ideal for cleanly cutting away grass and turf without gouging plastic components or chipping concrete rims.
- Stiff-bristled utility brush: Used to sweep away loose dirt, pine needles, and organic debris from around the gasket sealing surface.
- Penetrating oil or lubricant: Essential for loosening rusted or stuck stainless steel or brass fastening bolts.
- Socket wrench and sockets: To properly secure or loosen lid hardware according to manufacturer specifications.
- Butyl rubber sealant rope: Required for replacing degraded gaskets and ensuring a watertight, airtight seal between the lid and riser.
- Exterior masonry patching compound: Useful for minor cosmetic repairs on concrete lids experiencing light surface flaking.
Having these supplies ready before you start digging transforms a cumbersome chore into a streamlined, highly methodical preventative maintenance routine.
Step 1: Locating Buried Lids Without Causing Damage
If your property does not feature visible risers, finding the access covers can feel like a treasure hunt. Avoid the temptation to tear up large swaths of turf with a heavy trenching shovel. Instead, use a systematic approach to pinpoint the exact location.
Start by reviewing your original system installation drawings, property blueprints, or local health department records if available. If those documents are missing, look for natural surface clues. Prolonged dry spells often reveal rectangular or circular patches where the grass turns brown faster because the soil is shallower directly over the tank. You can also look for slight depressions or raised humps in the lawn.
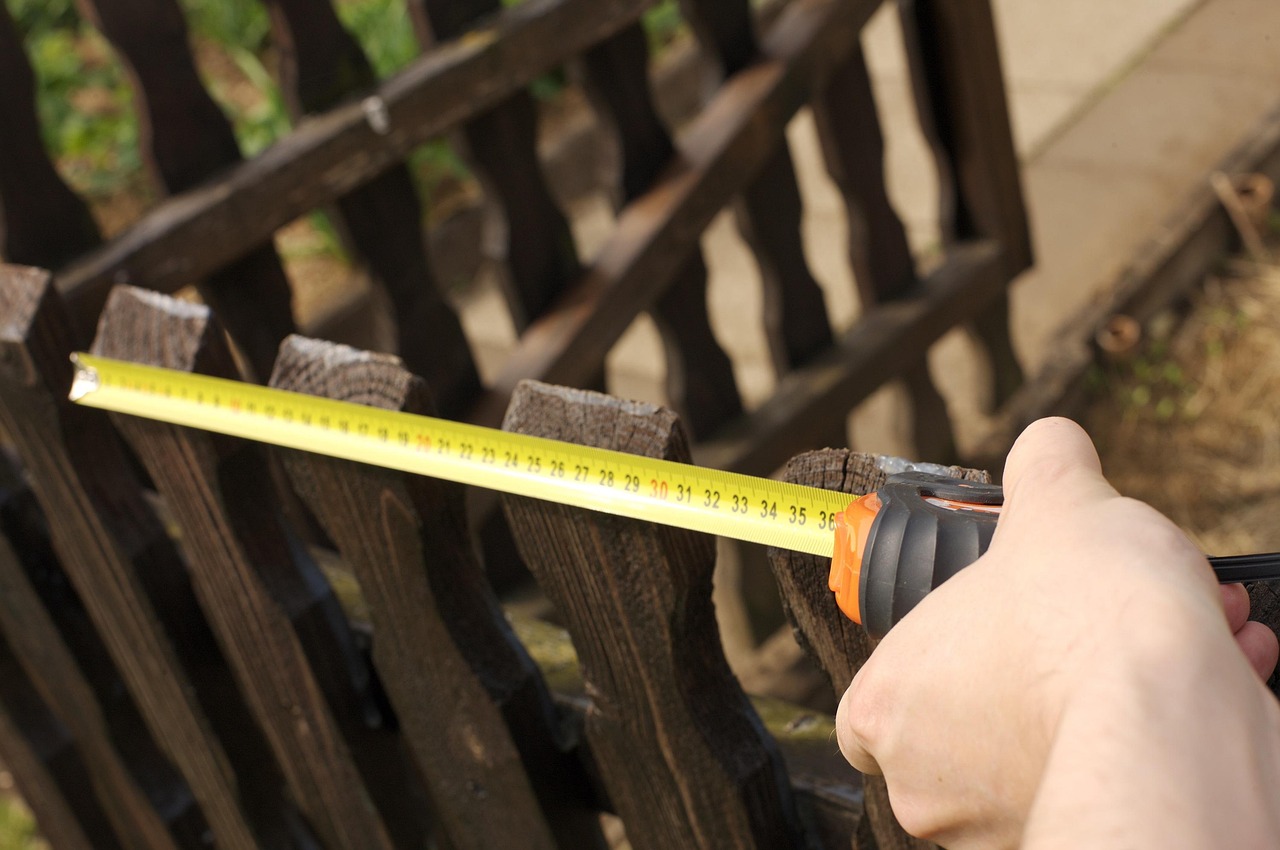
Use a dull metal probe rod—such as a long T-bar utility probe or a specialized septic probe—to gently press into the soil in a grid pattern near the expected tank location. When the probe strikes concrete or heavy plastic with a dull thud rather than sinking smoothly into dirt, mark the spot with landscape flags. Probe gently to avoid cracking older fiberglass or plastic tank bodies.
When probing near the tank inlet and outlet, remember that piping connects the home to the tank and the tank to the drainfield. Avoid aggressive jabbing that could crack PVC service lines or puncture protective tank coatings.
Step 2: Clearing Grass Overgrowth and Surface Debris
Once you have located the covers, clear away the accumulated turf, pine needles, and topsoil. Over the years, grass roots and thatch can form a dense mat over the lid, trapping moisture against the material and making it difficult to spot structural deterioration.
Use a flat-edge spade to carve away sod in a wide circle around the lid perimeter. Pull the sod back gently rather than chopping it to pieces if you plan to patch the area later. Clear away soil until the entire perimeter of the lid, including any mounting flanges, bolts, or handles, is fully visible. Sweeping away loose dirt allows you to inspect the interface between the cover and the riser wall.
Take extra care not to let loose soil or sod fall into the tank if you ever loosen the cover. While surface checks generally do not require opening the inner sealed chamber, any debris falling onto the gasket surface can compromise the seal when you re-tighten the hardware.
Step 3: Inspecting Structural Integrity and Hardware
With the cover fully exposed and cleaned off, perform a thorough visual and physical inspection of the material. Concrete lids are prone to spalling, cracking, and reinforcing bar corrosion if moisture penetrates the matrix. Plastic and polyethylene covers can become brittle over time due to ultraviolet light exposure or heavy physical impacts from lawn mowers.
Look closely for the following warning signs:
- Hairline cracks or deep flaking on concrete surfaces.
- Rust stains bleeding through concrete, indicating that internal rebar is corroding.
- Faded, warped, or cracked plastic edges that no longer sit flush against the riser rim.
- Missing, loose, or heavily corroded stainless steel or brass securing bolts.
If you find that bolts are rusted tight, apply a penetrating fluid and let it sit before attempting to back them out. For minor surface flaking on concrete, specialized exterior masonry patching compounds can seal small gaps, but any deep structural cracks require immediate lid replacement.
Hardware maintenance also involves checking child-safety locks or tamper-evident fasteners. Modern codes often mandate secure, bolted lids to prevent accidental entry by children or pets. Ensure that all locking mechanisms operate smoothly and that bolts thread cleanly into their inserts.
Step 4: Checking Gaskets and Sealants
The seal between your septic lid and the riser or tank collar is what keeps stormwater, surface runoff, and dirt out of your private wastewater system. If this seal fails, rainwater pours directly into the tank, washing solids out into the drainfield prematurely and overloading your bacterial treatment environment.
Inspect the rubber gasket or butyl rope sealant sandwiched between the lid and the mounting surface. Over time, these materials flatten out, dry out, or get displaced by frost heaves. If the gasket appears compressed, brittle, or moldy, scrape away the old material and install a fresh butyl rubber sealant rope before resecuring the cover. A tight seal also prevents odors from escaping into your yard during warm weather months.
When applying a new butyl rope, ensure the mating surfaces are completely dry and free of dirt, oil, or organic residue. Press the sealant firmly into place around the entire circumference before lowering the lid back onto the riser.
Step 5: Managing Surface Settling and Yard Grading
Soil settling around a buried tank is one of the most common maintenance issues property owners face. As disturbed earth compacts naturally over the years following an installation or repair, a depression or bowl often forms directly over the septic tank or along the sewer pipe run.
This depression is more than an aesthetic nuisance; it acts as a collection basin for rainwater and snowmelt. Standing water pooling directly over your septic access points can saturate the surrounding soil, increase hydrostatic pressure against the tank walls, and find its way past aging lid seals.
To correct surface settling:
- Haul in a mixture of topsoil and coarse sand rather than heavy clay to fill the depression.
- Build a slight crown or slope directly over the access covers, grading the soil away from the center so that rainwater sheds outward toward the rest of the yard.
- Tamp the soil down in thin layers rather than dumping a massive pile all at once, which minimizes future sudden sinking.
- Establish healthy grass or ground cover over the patched area to prevent wind and water erosion.
Proper grading protects your entire system from groundwater saturation. Keeping surface water moving away from the tank minimizes the volume of liquid that must be processed by the soil treatment area.
Choosing the Right Replacement Lids and Risers
If your semi-annual inspection reveals that your current septic tank access covers are beyond simple repair—such as having deep structural fractures, crumbling concrete matrices, or warped plastic flanges—you will need to invest in replacement hardware. Choosing the correct replacement components ensures long-term safety, durability, and compliance with local environmental health codes.
When selecting replacement lids and risers, consider the following material options and safety features:
- High-Density Polyethylene (HDPE) Lids: Modern plastic lids are lightweight, highly resistant to chemical corrosion from sewer gases, and easy for homeowners or service technicians to remove during routine inspections. Ensure that any replacement plastic cover is UV-stabilized to prevent degradation from direct sunlight exposure.
- Cast Concrete Covers: Traditional concrete lids offer exceptional weight and structural durability, particularly in areas where heavy landscaping equipment or vehicles might occasionally traverse the yard. However, their heavy weight requires mechanical lifting assistance or extra care during removal to avoid back strain or chipping.
- Composite Materials: Newer composite covers combine fiberglass and reinforced resins to provide the strength of concrete with a fraction of the weight, offering an excellent middle-ground option for residential installations.
- Tamper-Resistant Fasteners: Always select replacement covers that incorporate secure, corrosion-resistant stainless steel bolts and child-safety locks to prevent unauthorized or accidental access by children and pets.
Investing in quality replacement components during routine maintenance prevents emergency failures and keeps your wastewater system sealed tightly against external contamination.
Evaluating Winter and Seasonal Vulnerabilities
Seasonal changes bring unique challenges to your septic access points. In northern climates subject to freezing temperatures, frost heaves can push improperly anchored risers upward or crack concrete lids that sit too close to the surface.
During late autumn, ensure that heavy leaf accumulation is cleared away from the access area. Wet, decaying leaves trap moisture against plastic covers and obscure your ability to monitor the yard during winter storms. If heavy snow accumulates, mark the location of your septic lids with tall plastic boundary stakes so that snowplow operators, shoveling paths, or heavy winter traffic do not crush the covers or bend exposed risers.
Spring thaw brings a different set of risks, particularly saturated soils and rapid runoff. Inspect your access covers after heavy spring rains to ensure that melted snow and spring storms have not eroded your newly graded soil crowns or pooled around the riser seals.
When to Call a Professional Septic Service
While routine surface inspection, clearing overgrowth, and tightening loose hardware are well within the scope of DIY property maintenance, certain conditions require professional intervention. Recognizing your limits protects both your safety and your investment.
Call a licensed septic contractor immediately if you notice:
- Severe structural cracking, crumbling concrete, or broken plastic flanges that compromise the safety of the opening.
- Persistent soggy soil, foul sewage odors, or lush, dark green grass patches surrounding the lid even during dry weather, which often indicate a failing baffle or tank wall leak.
- Access lids that are wedged tightly shut due to ground shifting, requiring mechanical lifting tools to open safely without damaging the riser walls.
By incorporating these simple surface checks into your biannual home maintenance routine, you extend the lifespan of your access hardware and prevent minor yard issues from turning into costly environmental repairs.
Frequently Asked Questions About Septic Lid Maintenance
Can I drive a lawnmower or vehicle over my septic tank lid?
Standard residential septic tank lids and lightweight plastic risers are generally not rated to support the heavy weight of cars, trucks, or large riding lawnmowers. Driving vehicles over shallow or unreinforced access covers can crack the lid, break the riser connection, or collapse the tank itself. If your septic tank is located in an area with vehicular traffic, you must install traffic-rated commercial covers and heavy-duty concrete support collars designed to handle the load.
What causes foul sewage odors around the septic tank access lid?
Persistent sulfur or sewage smells around your yard access points usually indicate a degraded butyl gasket seal, loose securing bolts, or a cracked access cover allowing sewer gases to escape. In some cases, a strong odor can also point toward an internal system issue such as a failing vent pipe or an overloaded tank. Replacing the seal and tightening the hardware typically resolves minor leakage issues.
How often should I inspect my septic tank access lids?
Homeowners should perform a visual surface inspection of their septic tank access lids and risers at least twice a year—ideally in the spring after the ground thaws and in the late autumn before freezing temperatures set in. Catching minor cracks, shifting soil, or loose bolts early prevents costly environmental infiltration and protects your entire wastewater system.