
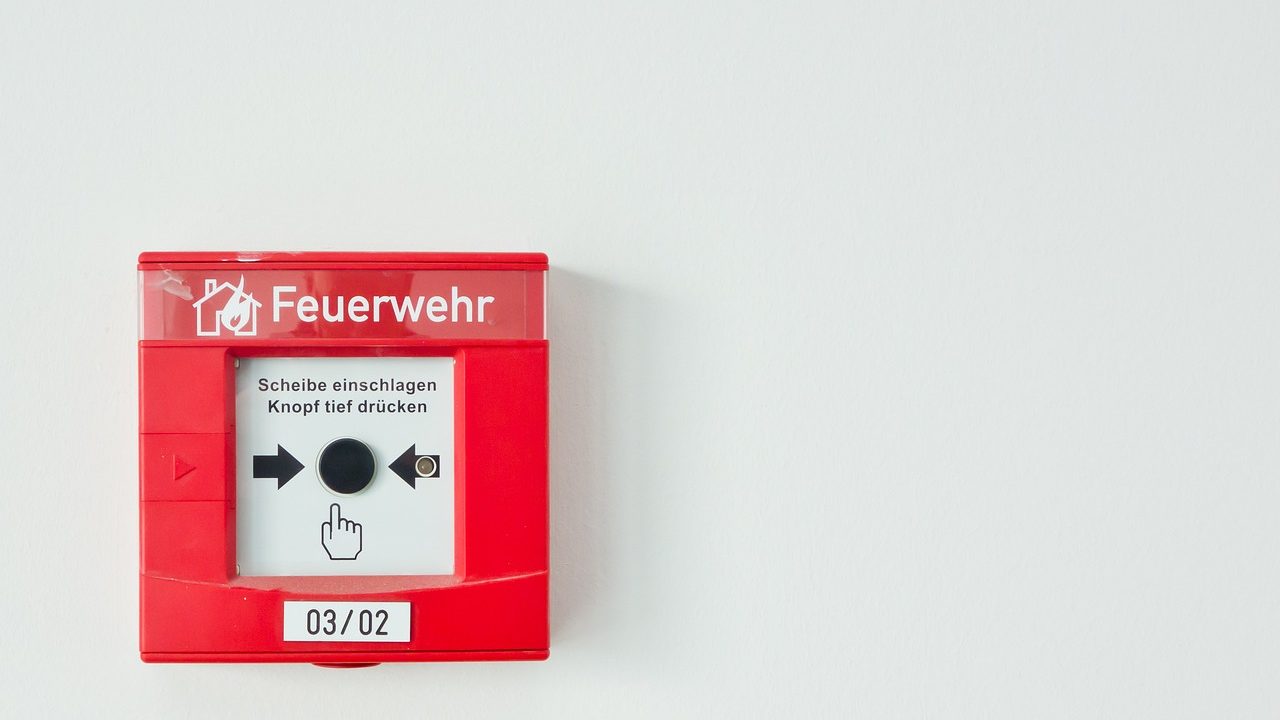
Installing fire and carbon monoxide alarms is only the first step in protecting your household. Once mounted on ceilings and walls, these life-saving devices quietly slip out of mind until a burnt piece of toast or a failing battery sets them off in the middle of the night. Establishing a consistent smoke detector maintenance schedule ensures these critical sensors remain fully operational when seconds count. Without routine care, dust accumulation, dead batteries, and sensor degradation can compromise their ability to detect smoke or toxic gases early.
Maintaining residential alarms does not require technical expertise or expensive tools. It relies on a predictable cadence of monthly tests, semi-annual battery management, seasonal cleaning, and strict adherence to replacement lifespans. Whether you manage a sprawling single-family house or a compact suburban condo, putting a formalized routine in place takes only a few minutes each year and provides invaluable peace of mind.
Understanding the Anatomy of Your Home Safety Alarms
Before diving into a maintenance calendar, it helps to understand what is hanging on your walls and ceilings. Residential safety devices generally fall into a few distinct categories based on their power source and sensing technology. Knowing what type you have dictates how you care for it.
Power sources typically include battery-operated units, hardwired systems connected directly to your home’s electrical grid with battery backups, and 10-year sealed lithium battery models designed to last the entire lifespan of the device. Sensing technologies are equally important. Ionization alarms are generally more responsive to fast-flaming fires, while photoelectric alarms excel at detecting smoldering fires, such as those caused by a cigarette smoldering in upholstery or faulty wiring. Many modern units are combination devices that sense both smoke and carbon monoxide, streamlining your home safety inventory.
Furthermore, recognizing how these units communicate is vital for multi-level homes. Interconnected systems ensure that if an alarm trips in the basement, every other unit sounds simultaneously, providing an early warning regardless of where occupants are sleeping. Understanding your specific layout and alarm wiring setup allows you to troubleshoot issues quickly without accidentally dismantling the wrong hardware or missing hidden battery compartments.
The Core Smoke Detector Maintenance Schedule
A reliable maintenance schedule breaks down tasks into manageable intervals: monthly, semi-annually, annually, and decennially. By organizing your efforts this way, you avoid the trap of forgetting maintenance until an annoying low-battery chirp wakes you up at three in the morning.
Here is a quick overview of the cadence every homeowner should follow:
- Monthly: Perform a manual push-button test on every alarm in the house.
- Bi-annually (Every 6 months): Vacuum the exterior vents to remove dust and cobwebs.
- Annually: Replace traditional removable backup batteries (often tied to daylight saving time changes).
- Every 10 Years: Replace the entire smoke alarm unit.
- Every 5 to 7 Years: Replace standalone carbon monoxide detectors.
Adhering to this structured timetable removes guesswork from household safety. By treating alarm maintenance as a recurring seasonal chore—much like changing HVAC filters or clearing gutters—you build a sustainable habit that safeguards your property year-round.
Monthly Testing: The Foundation of Alarm Reliability
The easiest and most crucial habit to build is the monthly push-button test. While it does not test the air-sampling chamber directly, it verifies that the internal circuitry, the horn, and the power source are all functional.
To test a unit, press and hold the test button for a few seconds. A loud, piercing siren should sound immediately. If the alarm is interconnected—meaning when one goes off, they all go off—wait a moment to ensure every alarm in the house chimes in sync. If a unit fails to sound, first check the battery or power connection, then retest. If it still fails, replace the unit immediately.
For high ceilings where reaching the button is difficult, use a broom handle, a specialized ceiling tool, or the extension pole that came with your unit. Never climb on unstable chairs or countertops to reach a ceiling alarm.
Beyond simply confirming sound output, monthly testing serves as an opportunity to check for physical damage, discoloration, or loose mounting hardware. If a unit sags or is partially detached from the ceiling bracket, vibrations or drafts can cause intermittent electrical faults. Taking thirty seconds each month to visually inspect the casing while you test ensures small structural issues are caught early.
Battery Replacement Strategies and Timing
Power failure is the leading reason smoke detectors fail during emergencies. Depending on the type of alarm you own, your battery management strategy will vary.
For standard units using removable alkaline or lithium batteries (such as 9-volt or AA cells), a strict replacement cycle is mandatory. Many fire safety organizations recommend tying this chore to the semi-annual ritual of changing your clocks for daylight saving time. While modern alkaline batteries can technically hold a charge for several years, relying on them past the 12-month mark invites unexpected failures.
When replacing batteries, always use the brand and chemistry recommended by the manufacturer, typically specified on the back label of the device. Avoid mixing old and new batteries, or mixing brands, as this can cause rapid drainage or battery leakage. Once the new battery is snapped in, always run a manual test to confirm power.
For hardwired smoke detectors, the internal battery is strictly a backup meant to keep the alarm functional during a power outage. Even though the home’s electrical grid powers the unit day-to-day, these backup batteries still drain over time and must be replaced annually.
Sealed 10-year lithium battery alarms simplify this process entirely. These units are designed so that the battery cannot be removed or replaced. When the battery eventually dies—usually right around the ten-year mark—the unit emits an end-of-life chirp, signaling that it is time to recycle and replace the entire device.
Cleaning Sensors to Prevent Nuisance Alarms
Dust, pet dander, kitchen grease, and tiny household insects can infiltrate the sensing chamber of your smoke detector, scattering light or blocking air flow. This is the primary culprit behind nuisance alarms that go off when you are simply taking a hot shower or baking dinner.
Add a cleaning step to your routine every six months. You do not need to take the unit apart or use liquid cleaners, which can ruin the electronics. Instead, remove the alarm from its mounting bracket if possible, and use a soft brush attachment on your vacuum cleaner to gently sweep around the outer vents and perimeter. If the unit cannot be easily removed, vacuum the exterior surface carefully while it remains on the ceiling.
When dealing with kitchen-adjacent alarms prone to grease buildup, inspect the vents closely. A light wipe with a dry microfiber cloth can remove stubborn film without introducing moisture into the housing. Never use aerosol sprays, furniture polish, or chemical solvents near smoke detectors, as chemical residues can coat the sensors and permanently ruin their responsiveness.

Managing Carbon Monoxide Detectors
Because carbon monoxide (CO) is an invisible, odorless, and tasteless gas, proper maintenance of CO detectors is just as vital as fire alarm upkeep. While many units combine smoke and CO detection, standalone CO detectors have a shorter operational lifespan due to the chemical makeup of their sensors.
Most carbon monoxide detectors must be replaced every five to seven years, regardless of how often you change their batteries. Check the manufacturing date printed on the back of your CO alarms. If your units are approaching or exceeding this window, their internal chemical sensors degrade and can no longer accurately measure toxic gas levels in the air.
Testing CO detectors follows a similar monthly rhythm to smoke alarms: press the test button until the alarm sounds. If your CO detector features a digital readout showing parts per million (PPM), periodically verify that the display is clear and functioning normally.
Placing carbon monoxide detectors correctly is just as important as maintaining them. Because CO mixes evenly with air, detectors can be placed on walls or ceilings, but they should always be installed on every level of the home and outside each sleeping area. Avoid placing them directly next to fuel-burning appliances where minor, momentary emissions might trigger false alarms, but ensure they are close enough to provide rapid warning in an emergency.
Recognizing End-of-Life Signals and Expiration Dates
Smoke detectors do not last forever. Over time, dust buildup, electronic component fatigue, and sensor degradation render them unreliable. Industry standards and building codes dictate that all smoke alarms must be replaced at least every ten years from the date of manufacture.
Many homeowners make the mistake of assuming an alarm is good indefinitely as long as it passes the monthly push-button test. However, the test button only confirms that the battery and speaker work; it does not test the sensitivity of the internal smoke-sensing chamber. Look at the back of your alarms right now. You will find a manufacturing date stamped on a sticker. If that date is more than ten years old, or if no date is visible at all, replace the unit immediately.
Modern alarms also feature a distinct end-of-life warning chirp. This is usually a chirp pattern that differs from a low-battery warning—often a double-chirp or a chirp paired with a flashing LED light. If your alarm chirps persistently even after you install brand-new batteries, it is signaling that its internal clock has expired and it must be retired.
When disposing of expired smoke detectors, check local waste management guidelines. Units containing radioactive material (such as ionization alarms containing tiny amounts of americium-241) or lithium batteries require specific recycling or mail-back programs rather than standard household trash disposal.
Upgrading and Integrating Smart Alarms
As you cycle through replacing aging units, you might consider upgrading to smart smoke and carbon monoxide detectors. These devices connect to your home Wi-Fi network and communicate directly with your smartphone. When an alarm is triggered—whether from a real fire or burnt toast—the app sends an immediate notification to your phone, allowing you to silence false alarms remotely without standing on a chair and waving a towel.
Smart alarms also offer interconnected safety benefits without requiring complex rewiring. If an alarm in the basement detects smoke, every smart alarm in the house can broadcast a specific verbal warning (such as “Smoke detected in the basement”) rather than just sounding a generic siren. While they carry a higher upfront cost than basic analog units, smart detectors streamline the maintenance process by running automated self-diagnostics and sending push notifications when batteries run low or units approach expiration.
Before investing in smart ecosystem devices, verify compatibility with your existing home setup. Some units integrate seamlessly with popular smart home platforms, allowing you to trigger automated routines—such as turning on all smart lights or unlocking exterior doors—if an emergency alarm sounds.
Troubleshooting Common Maintenance Issues
Even with a rigorous maintenance schedule, homeowners occasionally run into frustrating quirks like phantom beeps or false alarms. Understanding how to diagnose these issues quickly prevents frustration and keeps your household safe.
If a smoke detector chirps intermittently despite having fresh batteries installed, consider three common culprits: dust accumulation inside the chamber, a loose wire harness in hardwired models, or an expired unit reaching the end of its operational lifespan. Gently vacuuming the unit often resolves dust-induced chirps. If the chirping persists, check the wire connection at the back mounting plate to ensure it is fully clicked into place.
Nuisance alarms during cooking or steamy showers typically indicate that an ionization detector is located too close to a kitchen or bathroom. If frequent false alarms occur, consider relocating the unit slightly further away from the source or replacing an ionization model with a photoelectric alarm, which is far less sensitive to steam and cooking vapors.
Conclusion: Prioritizing Household Safety
Maintaining your home’s safety alarms is a small investment of time that yields massive returns in protection and peace of mind. By establishing a clear smoke detector maintenance schedule—testing monthly, vacuuming semi-annually, swapping batteries yearly, and replacing entire units every decade—you ensure that your early warning system is always ready when you need it most. Take a few minutes this weekend to check your dates, test your buttons, and secure your home against unseen hazards.



