
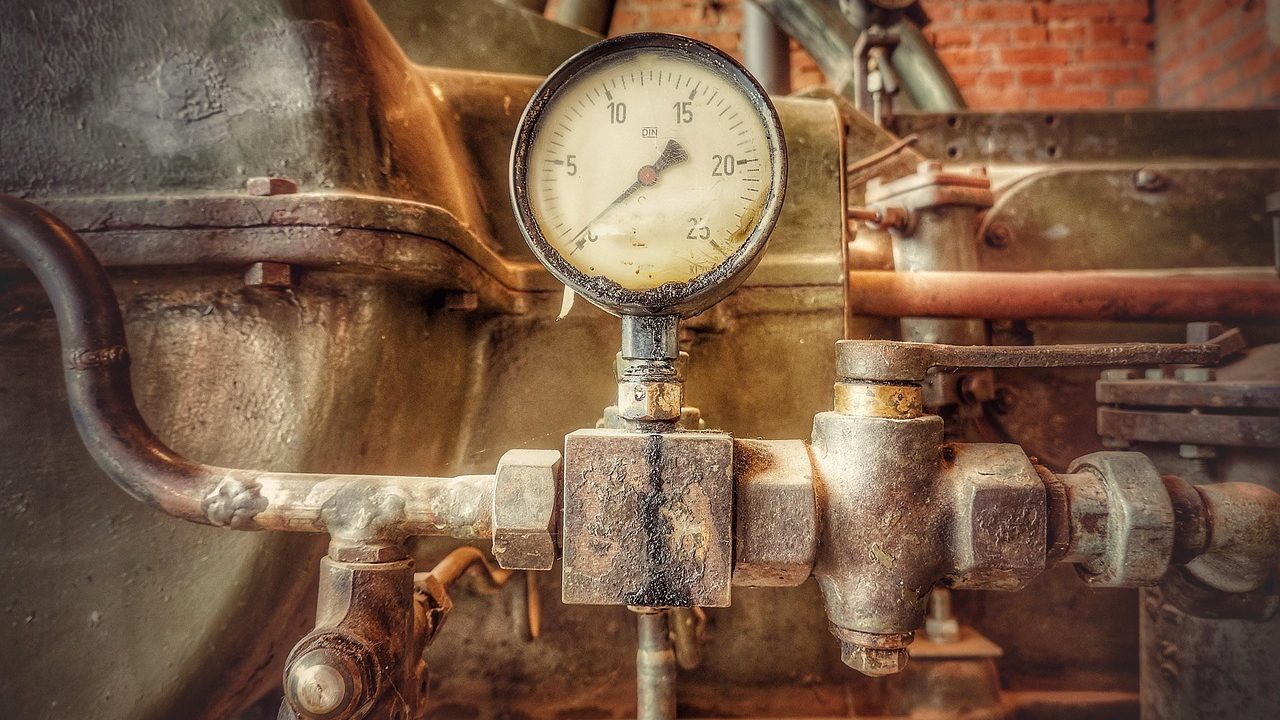
When your home’s water system starts behaving erratically—spitting air from faucets, surging wildly when you wash dishes, or kicking on the pump every single time you turn on the tap for ten seconds—the problem usually traces back to one heavy, cylindrical vessel in your basement, crawlspace, or utility shed: the pressure tank. For rural and suburban homeowners dependent on private well water, understanding the nuances of well pressure tank repair vs replacement is essential for keeping water flowing without draining your bank account on unnecessary plumbing service calls.
A failing tank can masquerade as a dying pump, a shorted-out pressure switch, or a simple plumbing leak. Misdiagnosing the issue leads homeowners to pay for full system replacements when a simple valve adjustment would suffice, or conversely, to spend weekends nursing a corroded, waterlogged tank that is structurally doomed to fail. This guide walks you through the engineering principles of modern bladder tanks, the diagnostic signs of failure, and a realistic cost-benefit breakdown to help you decide whether to fix what you have or invest in a brand-new assembly.
How Well Pressure Tanks Actually Work
To evaluate whether your setup needs a simple tune-up or a complete overhaul, you have to understand its underlying job. Unlike municipal water systems that rely on massive remote towers and city-wide pumps to maintain constant pressure, a private well system is a localized, on-demand utility. Your submersible or jet pump cannot run continuously every time a single family member washes their hands; doing so would burn out the pump motor in a matter of weeks.
The pressure tank solves this dilemma by storing water under compressed air pressure. Inside a modern bladder or diaphragm tank, a heavy-duty rubber membrane separates the system into two distinct chambers. The bottom or inner chamber holds pressurized well water delivered by the pump, while the upper or outer chamber contains a cushion of compressed air. When you open a faucet, the compressed air pushes against the bladder, forcing water out into your household plumbing at a steady, usable psi (pounds per square inch) without requiring the pump to kick on immediately.
As water leaves, the pressure inside the tank drops. Once it hits a predetermined threshold—typically 30 psi in a standard 30/50 switch setup—the pressure switch triggers the well pump to turn on. The pump rapidly replenishes the water supply, compressing the air cushion back up until the system reaches the high cutoff pressure (usually 50 psi), at which point the switch cuts power to the pump. This clever balance ensures constant pressure and protects your pump motor from excessive start-stop wear.
The Anatomy of Tank Failure: Waterlogging vs. Rupturing
When pressure tanks fail, they almost always do so in one of two distinct ways: they become waterlogged, or the internal bladder ruptures entirely. Recognizing the difference between these two failure modes is the absolute foundation of making an intelligent repair-or-replace decision.
A waterlogged tank happens when the compressed air cushion in the upper chamber gradually escapes or dissolves into the water over time. Without that air cushion to act as a shock absorber, water fills the entire volume of the tank. Because water is essentially incompressible, the tank loses its ability to store energy. The moment you open a valve, the pressure instantly plummets; the moment you close it, the pressure spikes. This forces your well pump to short-cycle—turning on and off rapidly every single time a faucet is cracked open.
A ruptured bladder is a more severe variation of the same problem. In this scenario, the flexible rubber membrane separating the air and water splits or tears away from the interior wall. Water floods the air chamber, and no amount of pumping air into the Schrader valve on top of the tank will fix the issue, because the air simply bubbles up into the water supply or leaks right back out. When a bladder ruptures, the tank is permanently compromised.
Diagnosing Your System: Symptoms and Simple Tests
Before calling a plumber or heading to the hardware store for a replacement unit, you need to perform a few basic diagnostic checks. These tests take less than fifteen minutes and will tell you definitively whether you are dealing with a minor maintenance issue or a terminal equipment failure.
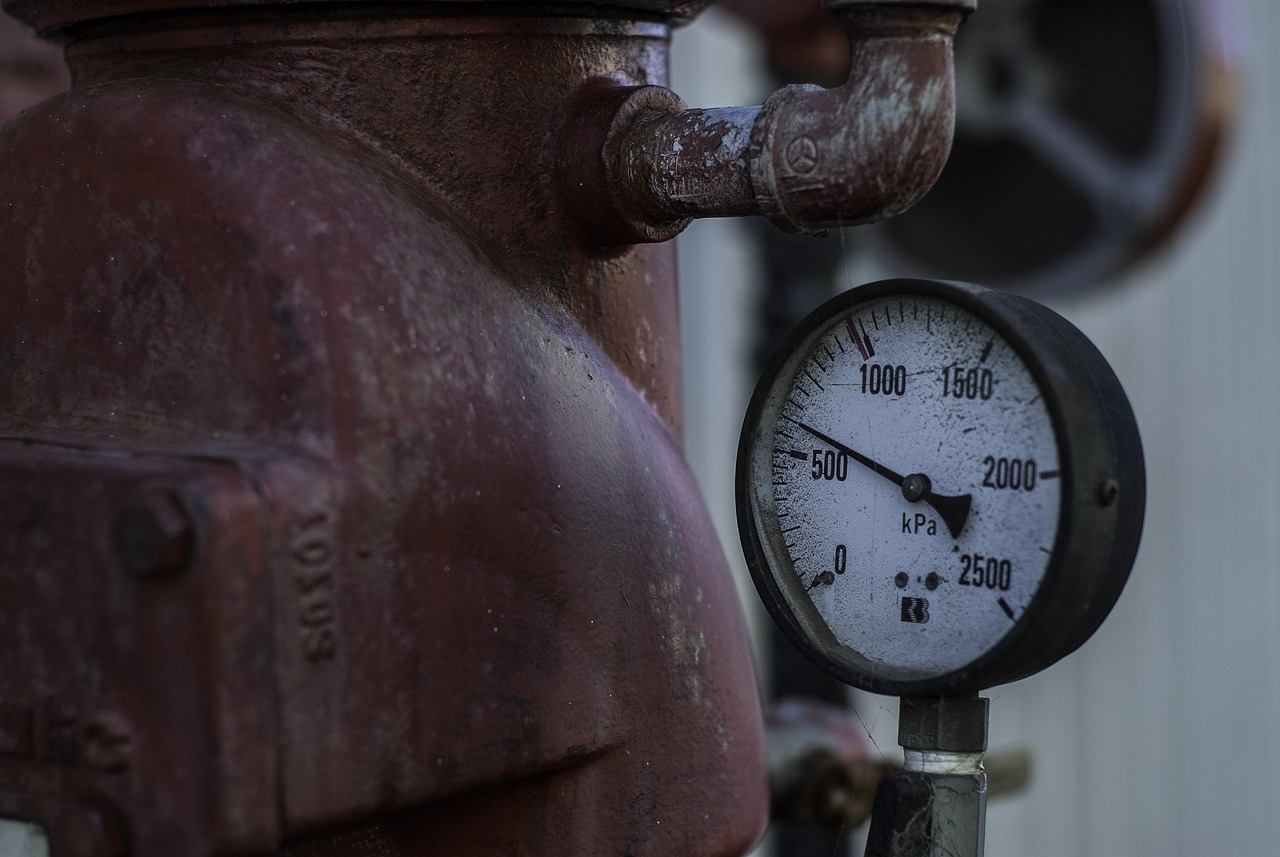
Start by observing your pump’s behavior while running water. Go to the utility room, open a nearby laundry tub faucet halfway, and watch the pressure gauge mounted on the supply line. Does the needle climb smoothly, hold steady, and then drop gradually as water runs? Or does the needle bounce frantically, and does the pump motor click on and off every three to five seconds? Rapid cycling is the classic hallmark of a pressure tank that has lost its air charge or suffered a bladder failure.
Next, perform the physical weight test. Carefully walk over to your pressure tank and nudge it or try to rock it slightly. If the tank is functioning correctly with a healthy air cushion, it should feel relatively light—mostly containing air, with water stored only in the lower bladder. If the tank feels astonishingly heavy, immovable, or completely solid from top to bottom, the vessel is entirely waterlogged with dead water weight.
Finally, locate the Schrader valve on the top of the tank (it looks identical to a standard automobile tire valve stem). Remove the plastic cap and press the center pin briefly with a small nail or key. If a steady stream of water shoots out of the valve stem, your internal bladder has ruptured. There is no patch or quick fix for a torn rubber membrane inside a sealed steel vessel; that outcome means you have crossed the line from repair to replacement.
The Case for Repair: Recharging and Adjusting
If your diagnostic tests reveal that the tank shell is structurally sound, the exterior is free of rust-through corrosion, and the bladder is intact, repair is almost always the smartest, most cost-effective path forward. Repairing a well pressure tank typically involves two main tasks: recharging the air charge and adjusting or cleaning the pressure switch.
Recharging a waterlogged tank is a straightforward DIY maintenance procedure that requires a standard bicycle pump or a portable air compressor. To do this correctly, you must completely drain the tank of all water first. Simply pumping air into a waterlogged tank without relieving the system pressure is ineffective and dangerous.
The proper recharge sequence requires shutting off the power breaker to your well pump, opening the lowest plumbing fixture in the house (such as a hose bib or utility sink) to drain every drop of water out of the system, and leaving that faucet wide open. Once the system pressure drops to zero psi, check the air pressure inside the tank using a standard tire pressure gauge attached to the Schrader valve. The correct pre-charge pressure should always be set exactly 2 psi below the cut-in pressure of your pressure switch. For example, if your switch turns the pump on at 30 psi, your dry tank air charge should read 28 psi.
Once you pump the air pressure up to the correct level, close the drain faucet, turn the power back on to the well pump, and let the system cycle. In many cases, this simple twenty-minute reset restores proper drawdown capacity and eliminates short-cycling entirely, buying your existing tank several more years of active service.
When Repair Is Just a Band-Aid: The Limits of Tinkering
While recharging an air charge is a valid and satisfying fix for a neglected system, homeowners often make the mistake of repeatedly recharging a tank that is slowly leaking air or water through a microscopic crack in the bladder. If you find yourself having to re-pressurize your tank every two or three months, the tank is failing.
Another common pitfall is tinkering with the pressure switch to mask tank problems. Some homeowners attempt to stop short-cycling by adjusting the differential nut on the pressure switch, forcing the pump to run longer intervals. If the tank is waterlogged, adjusting the electrical switch does nothing to restore the missing air cushion. In fact, it often places undue thermal and mechanical stress on the pump motor, leading to a much more expensive burnt-out pump down the road.
Furthermore, exterior condition dictates whether a repair is safe. Pressure tanks are subjected to constant internal pressures ranging from 30 to 65 psi or higher. If your tank shows signs of deep red rust, pitting, or blistering along the lower welded seams, do not attempt to repair or repressurize it. A ruptured steel pressure vessel can release stored pneumatic energy with explosive force, causing serious property damage or injury.
The Real Costs and Logistics of Full Tank Replacement
When repair is no longer an option, replacing the entire well pressure tank assembly becomes necessary. While buying a new tank and hiring a professional plumber involves a noticeable upfront investment, it resets the clock on your entire water system for the next decade or more.
When budgeting for replacement, you must account for more than just the price of the bare fiberglass or steel tank. The total project overhead includes several critical components:
- The Tank Itself: Tanks vary in price depending on total gallon capacity (ranging from small 20-gallon units to massive 120-gallon commercial-grade vessels) and construction material (epoxy-lined steel versus composite fiberglass).
- Fittings and Plumbing Hardwar: You will typically need a new tank tee, brass nipples, a fresh pressure gauge, a pressure relief valve, and a new pressure switch. Replacing all these control components simultaneously is standard best practice, as old switches often fail shortly after being disturbed.
- Labor Overhead: If you hire a licensed plumber or well technician, expect labor charges to reflect the physical labor of draining the system, cutting out old rigid PVC or galvanized iron piping, hauling away the heavy waterlogged old tank, and sweat-soldering or threading new connections into place.

For handy DIYers with basic plumbing skills, replacing a pressure tank is an achievable weekend project, provided you are comfortable working with pipe thread sealant, PVC primers, and electrical wiring around the pressure switch. However, mistakes during installation—such as cross-threading brass fittings or failing to wire the grounding screw on the pressure switch—can lead to major leaks or electrical hazards.
Evaluating Lifespan and Return on Investment
To finalize your decision between well pressure tank repair vs replacement, evaluate the age of your current installation. Most standard steel well pressure tanks carry an expected operational lifespan of five to ten years, depending heavily on your local water chemistry. If your water is high in iron, minerals, or acidity (low pH), internal components corrode much faster, and rubber bladders degrade prematurely. Composite fiberglass tanks often last significantly longer—sometimes fifteen to twenty years—because they are entirely immune to rust.
If your tank is over eight years old and experiencing frequent air loss or bladder sagging, pouring time and energy into temporary repairs is usually a false economy. Every time your pump short-cycles due to a failing tank, the electrical contacts in your pressure switch pit and burn, and the pump motor windings overheat. Replacing an elderly, failing tank proactively protects your much more expensive submersible well pump from premature burnout.
Conversely, if your tank is only two or three years old and simply lost its air charge due to a seasonal temperature swing or initial improper installation, recharging the bladder is a high-return task that preserves your capital. Look at the holistic state of your mechanical room: inspect the pressure switch for corrosion, test the water quality, check the age stamped on the tank data plate, and make your call based on structural reality rather than wishful thinking.
Final Decision Matrix
Use this quick reference checklist to determine your immediate next steps:
- Water test confirms the internal bladder is intact (no water from Schrader valve).
- Tank exterior is free of rust, corrosion, and structural dents.
- Tank is under five years old and simply lost its air cushion due to natural migration.
- System responds positively to a complete drain and air recharge.
- Water shoots out of the Schrader valve when the pin is depressed (ruptured bladder).
- Tank is heavily rusted, pitted, or leaking water from the outer steel shell.
- Tank requires frequent air recharges every few weeks.
- Unit is over ten years old and past its rated manufacturer lifespan.
By approaching well pressure tank repair vs replacement with a clear understanding of bladder mechanics and diagnostic testing, you can sidestep unnecessary service bills, protect your well pump from catastrophic cycling damage, and ensure your home enjoys reliable, steady water pressure for years to come.



