
When water heats up, it expands. In an open plumbing system, that extra volume simply pushes back out toward the municipal water main. But modern residential plumbing often incorporates backflow preventers, pressure-reducing valves, or check valves, creating a closed loop. Without an escape route, that expanding water has nowhere to go, causing spikes in hydraulic pressure that strain your entire plumbing infrastructure. That is why routine water heater expansion tank maintenance is an essential part of responsible homeownership. Neglecting this small, unassuming steel cylinder can lead to premature water heater failure, leaking T&P relief valves, and burst pipes.
Understanding how your expansion tank works makes it much easier to spot trouble before it turns into a costly emergency. Inside the tank, a flexible rubber bladder divides the unit into two chambers: one side holds system water connected to your plumbing, while the other side is pre-charged with compressed air behind a Schrader valve. As the water heater fires up and water expands, it pushes against the bladder, compressing the air cushion and absorbing the pressure surge. Over time, however, air can slowly leak out, or the bladder can tear, rendering the tank water-logged and useless. This guide walks you through the exact steps required to inspect, test, and maintain your thermal expansion tank.
Why Closed-Loop Systems Require Expansion Tanks
For decades, residential plumbing systems were considered open. If municipal water pressure was 60 pounds per square inch (psi), any thermal expansion generated by your water heater simply pushed past the water meter and back into the city supply lines. As water utilities modernized, they began installing check valves and backflow preventers to protect public water supplies from contamination. While necessary for community health, these devices trapped residential water inside homes.
When a 50-gallon water heater heats water from cold inlet temperatures up to 120 or 140 degrees Fahrenheit, the water expands by roughly half a gallon to a full gallon. In a closed system, that volumetric expansion dramatically increases pressure. Without a thermal expansion tank to cushion the blow, static pressure can easily spike from a normal 60 psi to well over 150 psi during a heating cycle. This constant pressure cycling fatigues tank glass linings, stresses pipe joints, and forces temperature and pressure relief valves to open repeatedly, leading to premature wear and potential flooding.
To understand the mechanics further, consider the incompressible nature of water. Unlike gases, which compress readily under applied force, water maintains its volume under extreme pressure. When thermal energy transfers from the heating elements or gas burner to the water storage vessel, molecules move faster and occupy more physical space. In a system without an expansion vessel, every degree of temperature rise translates directly to stress on the weakest link of your plumbing system—be it an old solder joint, a flexible supply line connector, or the glass-lined steel wall of the water heater itself.
Furthermore, regional building codes and municipal water authorities across the United States have universally adopted plumbing standards that prohibit thermal expansion backflow into public mains. This regulatory shift means that virtually every newly constructed home, or any home undergoing a major water heater replacement, must feature an expansion tank. Homeowners who inherit older systems without these safety devices should strongly consider retrofitting their plumbing to prevent chronic pressure fatigue.
Anatomy of a Thermal Expansion Tank
Before diving into maintenance tasks, it helps to familiarize yourself with the physical components of the tank itself. A standard residential thermal expansion tank is a small, torpedo-shaped or cylindrical steel vessel mounted directly above or near the water heater on the cold water supply line. It typically ranges from two to five gallons in capacity, sized proportionally to the overall volume of the domestic water storage tank it services.
The exterior consists of a heavy-gauge steel shell designed to withstand system pressures. Inside, a heavy-duty butyl rubber bladder or diaphragm separates the water side from the air side. On top or bottom of the tank, you will find a threaded water connection that splices directly into your plumbing line. Opposite or adjacent to that fitting sits a standard Schrader valve—the exact same type found on a car tire—which allows you to check or adjust the air pressure inside the dry chamber.
Manufacturing standards dictate that these tanks must be built to withstand continuous operational pressures, often rated up to 150 psi. However, the bladder itself is the component most susceptible to degradation. Over thousands of heating cycles, the rubber flexes continuously, eventually experiencing fatigue. The integrity of the air charge depends entirely on the valve core and the outer casing remaining completely sealed against moisture and atmospheric corrosion. Understanding this dual-chamber design helps clarify why losing the air cushion completely compromises the device’s ability to absorb water volume changes.
Warning Signs of a Failing Expansion Tank
Expansion tanks do not last forever. Most units have an operational lifespan of roughly five to eight years, depending on your local water chemistry and system pressure. Because they degrade silently, homeowners rarely notice a problem until secondary symptoms appear. Learning to recognize these red flags can save you from catastrophic water damage.
The most common indicator of a failing expansion tank is a dripping or discharging temperature and pressure relief valve. If your T&P relief valve keeps spitting water even though the water heater thermostat is set correctly and the domestic water pressure is within normal limits, your expansion tank is likely water-logged. Another obvious sign is a tank that feels completely heavy and solid when you gently tap it; a healthy tank will feel top-heavy and hollow because the upper chamber is filled with air rather than water.
Additional warning signs include fluctuating water pressure at your household fixtures, strange banging or knocking noises inside the pipes when the water heater kicks on (often confused with water hammer, but actually caused by pressure shock), and visible rust weeping from the welded seams of the tank itself. If you notice any of these symptoms, immediate testing is required to determine whether the tank can be re-charged or if it needs complete replacement.
It is also critical to check the area surrounding the tank for micro-leaks or pooling water. In hard water environments, mineral scaling can accumulate around the base of the tank connection or near the Schrader valve cap, signaling slow weeping that gradually compromises the system’s structural integrity.
Tools and Safety Gear Needed for Testing
Testing and maintaining your thermal expansion tank requires only a few basic tools that you likely already have in your garage. Before you begin, gather the following items:
- Standard tire pressure gauge (digital or dial analog)
- Bicycle pump or portable air compressor
- Bucket and a small towel
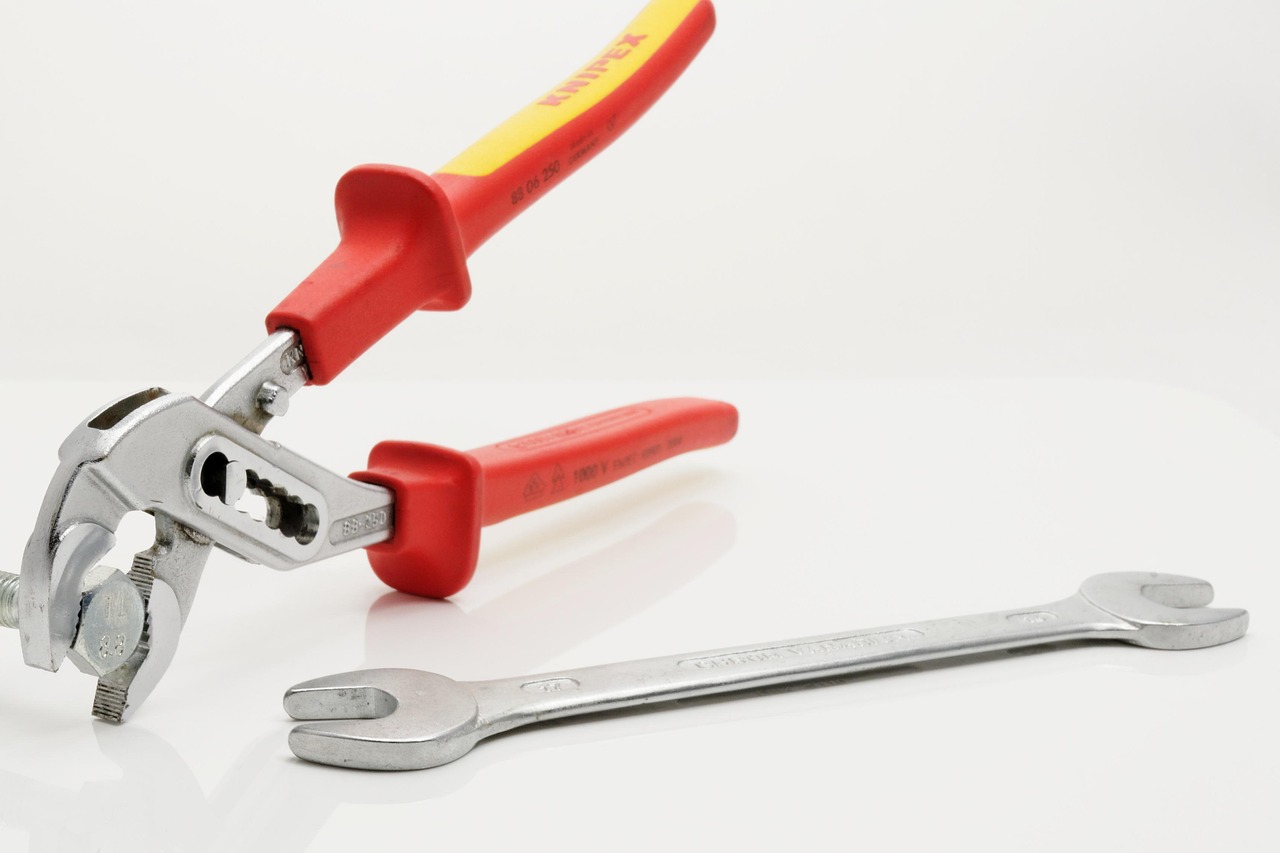
- Adjustable wrench or channel-lock pliers (if checking fittings)
- Safety glasses
Safety should always come first when working around water heating equipment. Always turn off the power supply to your water heater at the circuit breaker if you plan on draining or altering plumbing lines. For simple air pressure checks, shutting off power is generally unnecessary, but you must exercise caution around hot water pipes to avoid accidental burns. Wearing protective eyewear is also wise when checking Schrader valves, as mineral deposits or trace moisture can sometimes spray outward.
Step-by-Step: How to Test Your Expansion Tank
Testing your expansion tank takes about ten to fifteen minutes and should be performed at least once a year as part of your home preventative maintenance routine. Follow these step-by-step instructions to check the internal bladder and air charge:
- Locate the Schrader valve: Find the plastic or metal cap located on the expansion tank, usually on the end opposite the water pipe connection. Remove the cap and set it aside safely.
- Check for water leaks: Press the center pin of the Schrader valve momentarily with a small nail or the tip of your pressure gauge. If water spurts out instead of air, the internal rubber bladder has ruptured. A water-logged tank cannot be repaired and must be replaced immediately.
- Measure the air pressure: If only air escapes, use your tire pressure gauge to measure the air pressure inside the tank. Note this reading.
- Isolate the system pressure: To get an accurate reading of the tank’s pre-charge, you must isolate the tank from household water pressure. Turn off the main water supply to your home, then open a nearby hot water faucet to relieve system pressure until water stops flowing. Leave the faucet open during the next step.
- Compare pressures: The air pressure inside your empty expansion tank must match your home’s incoming water pressure (measured via a pressure gauge attached to an outdoor spigot). If your home water pressure is 60 psi, your expansion tank air charge should also be 60 psi.
- Adjust the air charge: If the air pressure is low, use a bicycle pump or portable air compressor to pump air into the Schrader valve until it matches your home water pressure. If it is too high, let a little air out using the valve pin.
- Restore system function: Close the hot water faucet, turn the main water supply back on, check for leaks around the valve, and replace the protective cap.
Executing these steps methodically ensures that your testing yields accurate data. Skipping the isolation step, for instance, will result in a false reading that mirrors your active water line pressure rather than the true air pre-charge of the vessel.
When to Replace a Water-Logged Expansion Tank
Maintenance can only solve problems related to incorrect air pre-charge. If your routine inspection reveals that the internal bladder has failed, or if the steel shell shows signs of deep rust and corrosion, adjustment is no longer an option. A water-logged tank adds unnecessary dead weight to your copper or PEX plumbing lines and fails to protect your water heater.
Replacing an expansion tank is a manageable intermediate DIY project if you are comfortable working with threaded pipe connections and pipe tape. However, if the tank is soldered directly into rigid copper lines or located in a tight, awkward crawlspace, hiring a licensed plumber is often the safer, faster route. Always ensure the system is completely depressurized and drained before attempting to unthread an old tank.
When installing a new tank, make sure it is properly supported. Because a water-logged tank can weigh several pounds more than an empty one, hanging a tank upside down or sideways without adequate structural strapping can place undue bending moment stress on the tee fitting attached to your main cold water line. Always verify local building codes, as many jurisdictions now mandate expansion tanks on all new or replacement water heater installations.
Common Homeowner Maintenance Mistakes to Avoid
Homeowners often run into trouble when attempting water heater maintenance without following proper procedures. Avoiding these common missteps will keep your plumbing system safe and efficient:
- Checking air pressure with water pressure present: If you measure the Schrader valve while the system is pressurized by household water, you will get a false high reading. You must relieve system pressure before checking the tank pre-charge.
- Ignoring annual checks: Letting years pass without checking the air charge allows the bladder to lose pressure slowly, silently stressing your water heater tank walls.
- Over-inflating the tank: Pumping the expansion tank up without matching your exact home water pressure defeats its purpose and places uneven stress on the internal diaphragm.
- Using automotive leak-seal liquids: Never inject tire sealants or chemical fixatives into an expansion tank valve; these products will ruin your potable water supply.
By being mindful of these common pitfalls, homeowners can extend the service life of their equipment and maintain a stable, secure plumbing environment.
Preventative Maintenance Scheduling and Long-Term Care
Establishing a dependable schedule is the single best defense against unexpected plumbing failures. While annual checks are standard recommendation, homes with aggressive water chemistry—such as high mineral content or extreme pH levels—may experience accelerated wear on metal fittings and valve cores. Incorporating your water heater expansion tank inspection into your seasonal home maintenance checklist ensures that minor air loss is corrected before it transforms into bladder failure.
Keep a small log near your water heater documenting the date of installation, the baseline municipal water pressure, and the dates of subsequent pressure checks. This historical data makes it much easier to track whether your tank is holding its air charge or steadily leaking pressure over time, providing an early warning indicator for replacement.



