
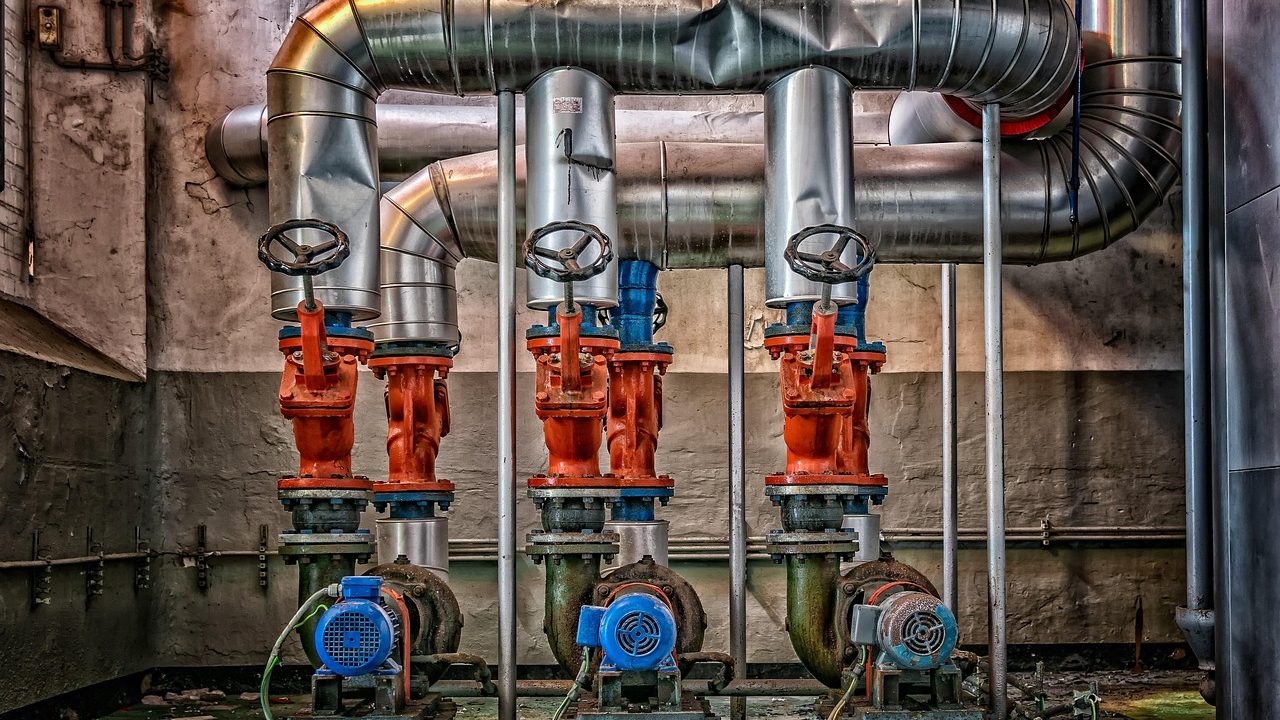
When municipal water systems deliver water to your neighborhood, following a dependable water pressure reducing valve maintenance guide helps ensure your home plumbing is protected. Municipalities often supply water at pressures far higher than household systems can comfortably handle. Municipalities routinely run main supply lines at 80 to 150 pounds per square inch (psi) to push water uphill, across long distances, and into multi-story commercial buildings. However, residential plumbing fixtures, water heaters, washing machine hoses, and ceramic toilet valves are typically designed to operate safely between 50 and 60 psi. When unmanaged high pressure enters a home, it places constant, damaging stress on every soldered joint, threaded connection, and rubber seal.
This is where a residential pressure-reducing valve, commonly known as a PRV, comes in. Installed on the main water supply line just after the main shutoff valve, a PRV acts as an automatic mechanical gatekeeper. It steps down high incoming municipal pressure to a safe, steady level before the water distributes through your walls and fixtures. Yet like any mechanical device exposed to mineral-heavy water, scale accumulation, and constant thermal expansion, a PRV does not last forever. Following a reliable maintenance schedule helps you catch failing regulators before they burst hoses, rupture water heater tanks, or cause annoying pipe-rattling water hammer.
Understanding How Residential PRVs Work
To effectively manage your home water pressure, it helps to understand what is happening inside that bell-shaped brass housing tucked away in your basement, crawlspace, or utility box. A standard direct-acting water pressure regulator consists of a spring, an adjustable tension nut, a flexible internal diaphragm, and a disc or plug seat. As high-pressure water pushes against the underside of the diaphragm, it works against the downward force of the adjustment spring. When you open a faucet, water flows through, and the valve opens proportionally to maintain downstream pressure. When all fixtures are closed, the spring forces the seat closed, sealing off the high-pressure supply and maintaining a safe static pressure downstream.
Because these internal components balance opposing forces thousands of times a day, they eventually wear out. The heavy-duty rubber or synthetic elastomer diaphragm can stiffen, crack, or tear after years of constant flexing. Mineral scale from hard water can build up around the moving stem and internal seat, causing the valve to stick open or closed. When a PRV sticks open, municipal pressure floods your home unchecked. When it sticks closed, water flow to your showers and sinks drops to a frustrating trickle. Regular inspection and testing let you spot these issues early, preventing emergency plumbing repairs.
Gathering the Right Tools for Pressure Testing
Before you touch the adjustment nut on your pressure regulator, you need accurate data. Guessing your home water pressure by how hard the shower sprays is a recipe for disaster; what feels like a normal shower might actually be running at a punishing 90 psi. To perform an accurate check, you need a few basic, inexpensive plumbing tools that you can pick up at any local hardware store or home center.
First, purchase a standard water pressure test gauge. These gauges typically feature a 3/4-inch female hose thread connection designed to screw directly onto a standard outdoor hose bibb or laundry sink faucet, accompanied by a dial face ranging from 0 to 200 psi. Look for a gauge that includes a secondary “lazy hand” or maximum-pointer needle. This extra marker gets pushed upward by the primary needle and stays at the highest recorded pressure point, which is critical for catching thermal expansion spikes caused by your water heater.
You will also need a pair of adjustable tongue-and-groove pliers (often called channel-locks), a sturdy adjustable wrench, a flathead screwdriver or hex key depending on your specific PRV lock nut design, a clean rag, and a small bucket or towel to catch any residual water trapped in lines. If you plan to clean or service any inline strainer baskets, having a roll of PTFE plumber’s tape on hand will ensure leak-free reassembly.
Step-by-Step Procedure: Testing Your Home Water Pressure
Testing your home pressure is a straightforward process that takes less than ten minutes. The best location for this test is an outdoor hose bibb located as close as possible to the main water entry point, though any exterior spigot will give you a reliable reading if your plumbing is relatively modern and uncorroded.
Begin by ensuring that no water is running anywhere inside or outside the house. Turn off washing machines, ice makers, and irrigation systems, and make sure nobody flushes a toilet during the test. If water is actively flowing through the home, your gauge will measure dynamic (working) pressure rather than static pressure, which will read artificially low due to friction loss in the pipes.
Remove any garden hose currently attached to the chosen spigot. Screw the water pressure test gauge directly onto the hose bibb threads. Tighten it securely by hand so the rubber washer inside the gauge creates a solid seal; do not use heavy wrenches on brass hose threads, as they can easily deform or strip. Slowly open the hose bibb valve all the way. The needle on the gauge will jump up and immediately display your home’s current static water pressure. Read the dial and record the number.
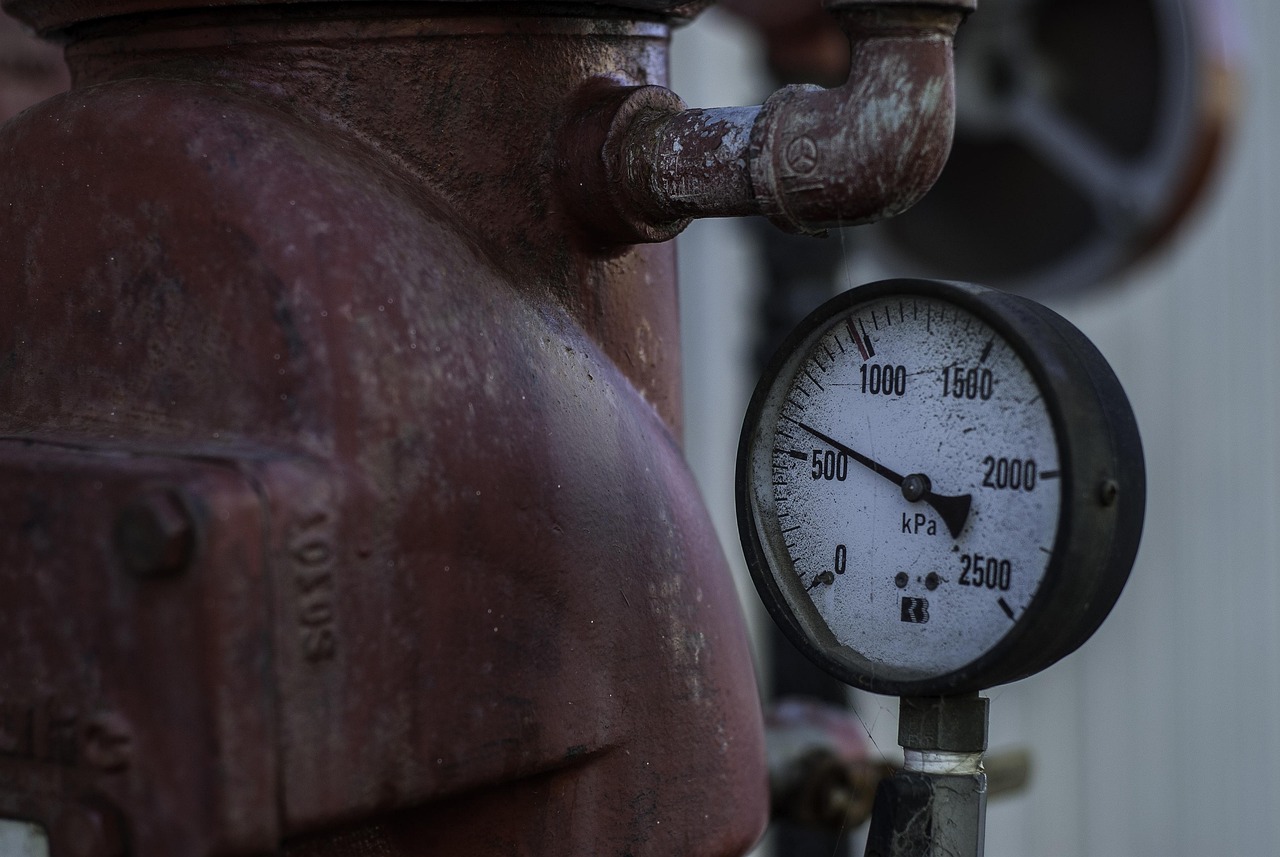
Next, check for thermal expansion. If your water heater has a closed-loop system—meaning it features a backflow preventer, pressure-reducing valve, or check valve on the supply line—heated water has nowhere to expand as temperatures rise. Turn on a hot water faucet inside the house for one minute, then turn it off. Watch the pressure gauge on the hose bibb. If the pressure needle climbs steadily higher over the next several minutes and stays elevated, your thermal expansion tank has likely failed or become waterlogged, placing extreme cyclical stress on your PRV and plumbing system.
Interpreting Your Pressure Readings
Once you have recorded your pressure gauge numbers, you need to know how to interpret them. Residential water pressure generally falls into four distinct operational categories, each with different implications for your home maintenance strategy.
A reading between 40 and 60 psi is considered the ideal sweet spot for modern residential plumbing. At this pressure, showers feel strong, washing machines fill efficiently, and faucets operate without splashing violently, while rubber supply lines and water heater tanks remain safe from excessive fatigue. If your gauge reads between 60 and 75 psi, your pressure is elevated but manageable. While most major plumbing fixtures can handle 75 psi temporarily, you are living on borrowed time, and minor seals or older valves are much more likely to fail prematurely.
Readings between 75 and 100 psi represent high municipal pressure. At this level, you are at serious risk of sudden appliance failure, pinhole leaks in copper pipe bends, and noisy water hammer every time a quick-closing valve shuts off. Anything reading above 100 psi is an emergency-level pressure situation. Continuous pressure above 100 psi will rapidly destroy toilet fill valves, crack plastic fittings, and shorten the lifespan of your water heater tank by years. If your test confirms high pressure and you already have a PRV installed, your regulator is failing and requires immediate attention or adjustment.
Locating and Inspecting Your Pressure-Reducing Valve
If your pressure test reveals high readings, you need to locate your existing PRV. In homes built with a basement or crawlspace, the pressure regulator is almost always located within a few feet of where the main water supply pipe enters the foundation wall, sitting just downstream of the main house shutoff valve and upstream of any branch lines or water filtration systems. In slab-on-grade homes, the PRV may be housed in an outdoor concrete utility box near the street meter or inside an interior mechanical closet.
Visually inspect the exterior of the valve body. Most residential PRVs are made of heavy cast brass and feature a distinctive bell-shaped top cap secured by a lock nut and adjustment screw. Look closely for signs of mineral weeping, green or white crusty oxidation around the seams, or active water droplets forming on the casing. While a dry brass body with minor discoloration is normal, active leaks or heavy corrosion indicate that the internal seals have deteriorated beyond simple adjustment.
Check whether your PRV includes an integral strainer basket. Many modern regulators feature a small threaded plug at the bottom of the body housing a stainless steel mesh screen. Over time, this screen catches silt, sand, and rust flakes traveling from aging municipal mains. If this screen becomes completely clogged with debris, water flow through the valve will drop drastically, mimicking the symptoms of a completely failed regulator.
Adjusting Your PRV to Lower Water Pressure
If your PRV is structurally sound, not leaking externally, and simply allowing too much pressure through, you can often recalibrate it yourself using basic hand tools. Before making any adjustments, locate the lock nut surrounding the threaded adjustment bolt on top of the bell housing.
Using your wrench, hold the adjustment bolt steady while loosening the surrounding lock nut counterclockwise just enough to allow the adjustment screw to turn. Do not back the lock nut off completely; loosening it a few turns is sufficient. Keep your pressure test gauge securely attached to the outdoor hose bibb so you can read real-time pressure changes as you work.
To lower the water pressure, turn the top adjustment screw counterclockwise (to the left, looking down from above). Turning the screw counterclockwise reduces tension on the internal spring, allowing the bypass mechanism to restrict flow more aggressively and lower downstream pressure. Make a small adjustment—about one-quarter to one-half turn—then walk to your test gauge, wait a moment for the system to stabilize, and check the reading.
To raise the pressure, turn the screw clockwise (to the right). Remember that you must have a faucet or hose bibb slightly cracked open or cycled immediately after turning the screw to get an accurate dynamic reading while adjusting downward, because trapped static pressure inside closed pipes will not drop on its own until water flows out of the system. Once you achieve your target pressure—ideally right around 55 psi—hold the adjustment bolt firmly in place with your screwdriver or wrench and tighten the lock nut clockwise until snug. Do not overtighten the lock nut, as excessive torque can crack the brass housing.
Troubleshooting Common PRV Failures and Symptoms
Even with careful maintenance, pressure regulators eventually succumb to normal wear and tear. Recognizing the early warning signs of internal failure helps you replace a dying valve before it causes property damage.
One of the most common symptoms of a failing PRV is pressure creep. When you test your water pressure, it might look fine initially, but over the course of several hours—especially at night when water usage drops to zero—the pressure reading slowly climbs higher and higher until it matches the full municipal supply pressure. This happens when mineral scale or a worn rubber seat prevents the internal piston or disc from closing completely tight. As water slowly trickles past the degraded seal into the house without anywhere to go, static pressure equalizes with the street supply.
Another frequent issue is fluctuating or pulsing water pressure when you open a faucet. If your shower pressure surges and drops rhythmically while you are washing, the internal spring or diaphragm inside the PRV may be fractured, causing it to flutter rapidly under water flow. You may also hear a loud humming, whining, or buzzing sound coming from the pipes near the valve when water is running; this acoustic resonance is caused by water vibrating against worn, loose internal components inside the regulator.
If you clean out any integrated strainer screens and adjust the tension nut but the pressure refuses to stabilize or continues creeping upward, the internal diaphragm is ruptured or the valve seat is permanently scored. At this stage, adjustment is no longer possible, and the entire unit must be serviced or replaced.
Repairing Versus Replacing a Pressure-Reducing Valve
When a PRV fails completely, homeowners face a choice between rebuilding the valve using a manufacturer repair kit or replacing the entire unit with a new regulator. Making the right call depends on the age, condition, and brand of your existing valve.
Many major plumbing manufacturers sell internal rebuild kits that contain a replacement spring, disc, stem, and fresh rubber diaphragm. If your PRV body is relatively new, clean, and made by a reputable manufacturer whose exact model replacement parts are readily available, rebuilding can save money on parts. However, rebuilding a PRV requires shutting off the main water supply, unbolting the top bell housing while working in a cramped basement space, carefully scraping out old mineral deposits, and reassembling delicate internal seals without pinching them.
In practice, professional plumbers and experienced DIYers almost always recommend complete replacement rather than rebuilding, especially if the valve is more than eight to ten years old. Cast brass valve bodies suffer from internal mineral pitting and erosion over years of service. Installing brand-new internal parts into an old, pitted valve body often results in persistent minor leaks around the mating surfaces. Furthermore, modern replacement PRVs are inexpensive relative to the labor required to service them, and swapping out the entire unit ensures you get a fresh brass body, a new strainer screen, and a clean factory warranty.
When to Call a Licensed Professional Plumber
While testing your water pressure and tweaking an adjustment nut are well within the skill set of most confident DIY homeowners, certain situations demand the expertise of a licensed professional plumber.
If your PRV is soldered directly into rigid copper supply lines with very little clearance from wooden floor joists or concrete walls, cutting out the old valve and sweating in a new one requires precise torch control, pipe cutting tools, and wet-line soldering skills to avoid scorching nearby framing or melting adjacent shutoff valves. Homes plumbed with PEX or CPVC piping also require specific transition fittings and crimping tools that differ from traditional copper techniques.
Additionally, if your main water shutoff valve outside or in the basement fails to close completely—allowing a steady stream of water to bypass the gate while you attempt repairs—you cannot work on the system safely. In municipal locations, turning off water at the street curb stop valve often requires a specialized pentagonal meter key and utility permission. If you encounter corroded galvanized steel pipes, crumbling main valves, or complex municipal service connections, hiring a licensed plumber ensures the job is done safely, up to local building code, and without risking a catastrophic main-line break.



