When managing situational anxiety in dogs—whether triggered by thunderstorms, vet visits, or bustling grooming salons—many owners turn to specialized tools like sensory-reducing caps and pressure wraps. However, slapping a tight piece of fabric or a mesh hood onto a stressed animal rarely solves the underlying panic. In fact, rushing the process can backfire, making your dog even more reactive. Successfully helping a dog accept these tools requires patience, careful measurement, and a structured habituation plan. This dog calming cap adjustment guide covers everything you need to know about proper sizing, slow introduction, and monitoring stress responses safely.
Understanding How Calming Caps and Anxiety Wraps Work
Before introducing any gear, it helps to understand what these tools are designed to do. A calming cap typically features sheer, semi-transparent fabric that tones down visual stimuli without plunging the dog into total darkness. By filtering out sudden movements and bright flashes (such as lightning or passing cars), the cap helps lower visual arousal in reactive dogs. For dogs that lunge at other animals or humans during walks due to hyper-vigilance, this reduction in sharp visual input can make the environment feel significantly less threatening, preventing the escalation into full-blown reactivity.
On the other hand, anti-anxiety wraps and shirts use gentle, maintained pressure across the torso, chest, and back. This concept is similar to swaddling an infant, using a weighted blanket, or applying therapeutic touch in human occupational therapy. The deep-pressure stimulation releases calming neurotransmitters, lowering heart rate and cortisol levels in many dogs. However, neither tool is a magic fix. They are management aids designed to support behavioral training, not replace it. Understanding their exact mechanical function helps you appreciate why a gradual approach is vital; if a dog perceives the garment as a trap or an uncomfortable restriction, their nervous system will interpret it as a threat rather than a relief.
Furthermore, evaluating your dog’s specific behavioral triggers is essential before choosing between a visual cap, a body wrap, or a combination of both. Dogs suffering primarily from noise phobias (like fireworks or thunder) often respond better to torso pressure because sound is non-visual. Conversely, dogs that exhibit severe car sickness or reactivity passing windows usually benefit more from visual dampening. Pinpointing the primary sensory trigger allows you to invest in the right gear and target the habituation process effectively from day one.
It is also important to note how canine neurology processes environmental stressors. When a dog experiences chronic or acute fear, their sympathetic nervous system enters a state of hyper-arousal, flooding the body with adrenaline and cortisol. In this state, higher-level cognitive functions—such as learning new commands or processing routine cues—effectively shut down. Calming caps and wraps act as physical buffers that lower the physiological baseline of arousal. By blunting the initial intensity of the stressor, these tools create a manageable window of tolerance where your dog can actually perceive food rewards, listen to your voice, and begin associating the triggering environment with safety rather than mortal danger.
Selecting the Correct Size and Fit
Fit is the single most important factor in whether your dog accepts or fights anxiety gear. Ill-fitting equipment can cause chafing, restrict breathing, pinch sensitive whiskers, or create additional panic that defeats the purpose of the intervention.
Measuring Your Dog
Never guess your dog’s size based on weight alone, as body shapes vary dramatically within the same weight class. Grab a flexible soft tape measure and record key dimensions depending on the product:
- For calming caps: Measure the circumference of the head around the eyes and snout, the distance between the eyes, and the length from the crown of the head to the tip of the nose. Ensure the eye openings or mesh panels align correctly with your dog’s field of vision without pressing directly against their eyeballs or eyelashes.
- For anxiety wraps: Measure the circumference of the chest right behind the front legs (the widest part of the ribcage), the neck girth at the base where a collar sits, and the length along the spine from the base of the neck to the tail base.
Checking Manufacturer Guidelines
Every brand cuts their patterns differently. Check the specific sizing chart for the exact model you purchase. If your dog falls right on the border between two sizes, read customer reviews or contact the manufacturer to see whether sizing up or down is recommended based on your dog’s coat type and build. For example, a heavy double-coated breed like a Golden Retriever may need a slightly larger wrap size to accommodate their fur volume, whereas a sleek pointer-mix might need the smaller size to ensure the pressure remains effective rather than sliding around loosely.
Once the item arrives, test the fit in a neutral environment without fastening anything tightly. Check for pinch points around the armpits, ears, and neck. If the fabric binds or restricts your dog’s natural range of motion during a casual stroll across the living room, exchange it for the correct size before proceeding with any desensitization training.
Additionally, take material composition into account when reviewing sizing. Some synthetic fabrics stretch slightly over time or when exposed to body heat, while cotton blends may shrink slightly if washed incorrectly. Always factor in your dog’s daily lifestyle, coat shedding cycles, and potential weight fluctuations when settling on a final fit. A properly sized garment should stay anchored in the correct anatomical zone without requiring you to overtighten straps or closures.
Preparing for the First Introduction
The biggest mistake owners make is putting the cap or wrap on for the first time right when a stressful event—like a severe thunderstorm or a trip to the clinic—is already happening. At that point, your dog’s adrenaline is already spiking, and they will likely associate the new garment with the terror of the event, transforming the supportive tool into a conditioned cue for panic.
Instead, start training during a quiet, relaxed moment when your dog is calm, well-exercised, and receptive to treats. Lay the gear out on the floor and let your dog sniff it at their own leisure. Reward them with high-value treats (like small pieces of cooked chicken, cheese, or specialized training treats) whenever they investigate the item voluntarily. This builds a positive emotional association before the fabric ever touches their body.
You can also place treats on top of or immediately adjacent to the folded cap or wrap, encouraging the dog to interact with the material naturally. If your dog shows hesitation or sidesteps the item, do not force them closer. Patience at this foundational stage prevents defensiveness and sets the tone for a smooth transition into active wear.
To maximize this introductory phase, practice short, low-pressure sessions over the course of several days before attempting to secure any straps. Let the gear become part of the everyday household scenery. When your dog sees the calming cap or pressure wrap lying harmlessly on the living room rug or tossed across a chair, their brain categorizes it as an ordinary, non-threatening object rather than an ambush weapon.
Step-by-Step Desensitization Schedule
Desensitization is the process of gradually exposing your dog to the stimulus or equipment until they remain neutral or positive. Move through these steps at your dog’s pace. If at any point your dog freezes, trembles, or tries to escape, take a step back to the previous successful phase.
Phase 1: Sniff and Inspect (Day 1-2)
Show the cap or wrap to your dog. Let them sniff it freely. Feed a treat right next to or slightly behind the item so they must move toward it. Repeat this five to ten times per session, running two short sessions a day. Keep the mood upbeat and casual.
Phase 2: Brief Contact (Day 3-4)
Hold the item near your dog’s face or body. Gently drape the fabric over their neck or back for just two seconds, then remove it immediately and hand over a high-value treat. Your goal is to teach them that contact predicts good things, reinforcing that the material is harmless.
Phase 3: Short Duration Wear (Day 5-7)
Secure the straps or pull the cap over your dog’s head for just 30 seconds. Keep the session light and engaging: play a gentle game, feed a few treats, or practice basic, low-stress commands like ‘sit’ and ‘focus’. Take the gear off before your dog shows any signs of annoyance or restlessness.
Phase 4: Extending Time (Week 2 and Beyond)
Gradually increase the time the dog wears the gear, moving from two minutes to five, ten, and eventually twenty minutes. Pair this extended time with positive activities like eating a stuffed interactive chew toy, receiving gentle body strokes, or resting quietly beside you on the couch while you watch television.
Maintain this structured progression without skipping steps. Even if your dog appears completely unbothered during Phase 3, rushing straight into multi-hour wear can overwhelm their neurological threshold. Consistent, incremental exposure builds genuine resilience and prevents sudden regressions in behavior.
Applying Anxiety Wraps Correctly
When fitting an anti-anxiety wrap, tension management is critical. The garment should feel snug—akin to a firm, reassuring hug—but never restrictive or tight enough to impede circulation or deep breathing.
- Fasten securely: Use the hook-and-loop fasteners to smooth the fabric neatly across the dog’s back and chest, following the product’s specific layering instructions.
- Check mobility: Ensure your dog can walk, sit, lie down, and pant comfortably without the fabric bunching up under their armpits or restricting shoulder movement.
- Monitor temperature: Double-layer pressure shirts can trap body heat, especially in thick-coated breeds or during warm weather. Avoid leaving them on for hours in warm indoor environments to prevent overheating.
Additionally, check the skin beneath the wrap periodically during the first few uses. If you notice any redness, chafing, or bald patches, remove the garment immediately and re-evaluate the sizing or fabric texture to ensure it is appropriate for your dog’s skin sensitivity.
Proper maintenance of the wrap itself also affects fit and function over time. Hook-and-loop fasteners frequently accumulate pet hair, lint, and dust particles, which significantly reduces their gripping strength. Regularly clean out the fasteners with a fine-toothed pet comb or a small brush to maintain a secure, adjustable hold. Furthermore, follow the manufacturer’s washing instructions carefully; machine drying high-tension elastic fabrics on high heat can warp the elasticity, rendering the pressure wrap ineffective.
Fitting and Adjusting Calming Caps
Calming caps require careful alignment around the ears, eyes, and muzzle to ensure absolute safety and comfort during use.
- Clear vision reduction: The mesh should dim light without creating total blindness or pinching sensitive whiskers. Your dog should still be able to navigate familiar indoor obstacles safely.
- Secure straps: Adjust any head straps so the cap stays securely in place if the dog shakes its head, but ensure you can easily slip two fingers beneath every strap without straining.
- Watch for pawing: Expect your dog to shake their head or try to rub the cap off initially due to the novel sensation. Distract them immediately with high-value treats or a puzzle toy to help them adjust to the feeling.
Never leave a calming cap on a dog while they are navigating outdoor stairs, crossing streets, or interacting with unfamiliar dogs off-leash, as their peripheral vision is intentionally restricted.
When introducing a calming cap, pay close attention to your dog’s facial anatomy and skull shape. Brachycephalic breeds (such as Pugs, French Bulldogs, and Boxers) or dolichocephalic breeds (such as Greyhounds and Collies) have vastly different facial structures that standard caps may not accommodate universally. Ensure the cap’s snout opening allows for unobstructed panting and airflow, which is critical for canine thermoregulation. If the cap forces the mouth shut or restricts jaw movement in any way, discontinue use immediately and seek an alternative design.
Common Mistakes to Avoid
Even with the best intentions, owners often make missteps that stall progress and increase their dog’s stress levels:
- Leaving the dog unattended: Never leave a dog alone while wearing a calming cap or anxiety wrap, especially during the early habituation phases. They could snag the fabric on furniture, catch a nail, or panic in your absence.
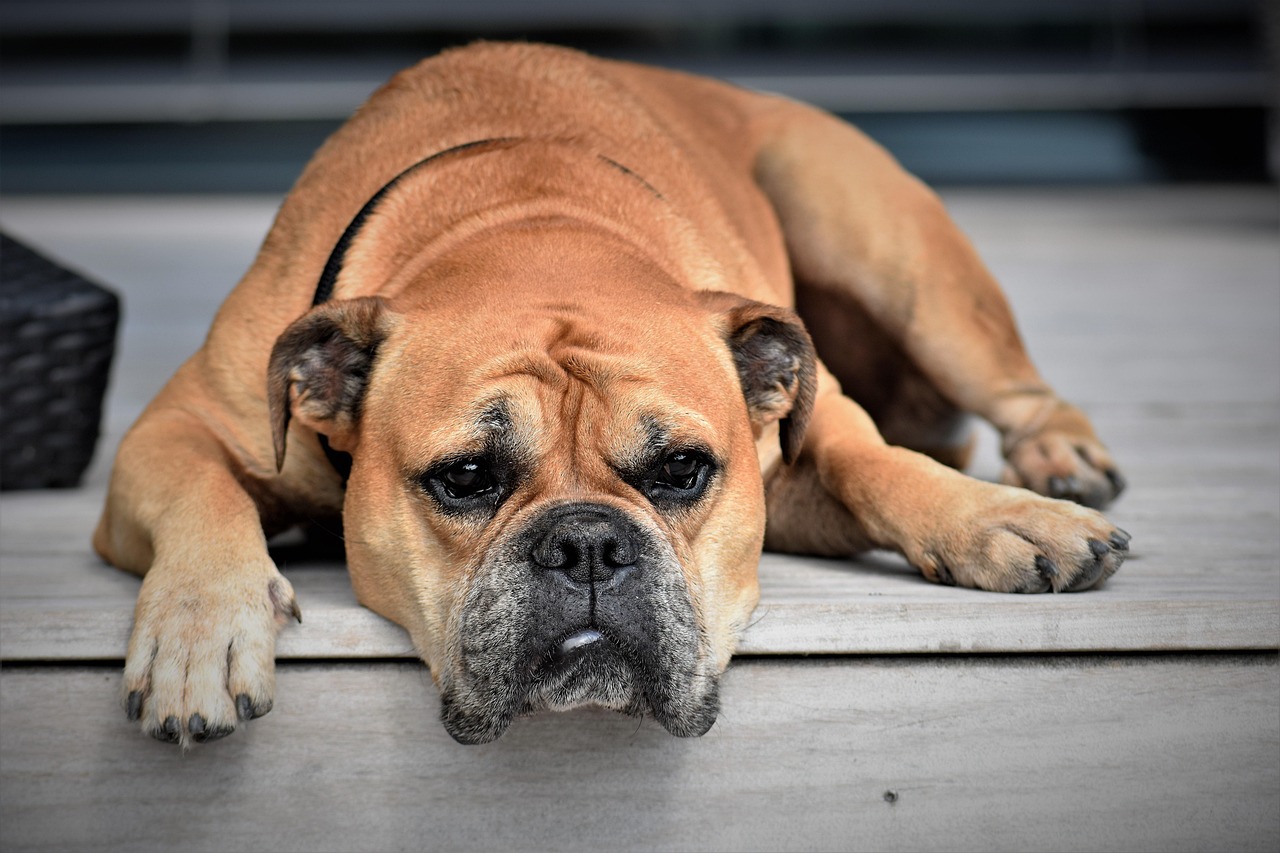
- Ignoring body language: Watch closely for whale eye (showing the whites of the eyes), lip licking, excessive yawning, or freezing. These are subtle stress signals indicating you are moving too fast through the desensitization phases.
- Relying on gear alone: Calming tools work best as part of a comprehensive behavior modification plan that may also include positive reinforcement training, environmental management, and professional guidance from a certified veterinary behaviorist.
Avoiding these pitfalls ensures your dog maintains trust in you and the equipment, paving the way for successful stress management over the long term.
Another common oversight is using calming garments as a punishment or attempting to force compliance through physical dominance. Pinning a dog down to force a cap or wrap onto their body destroys trust and converts the neutral tool into a source of direct conflict. If your dog resists, take a deep breath, reset your energy, and return to foundational treat-pairing exercises on a completely different day. Patience always yields faster, more reliable behavioral outcomes than forceful restraint.
Conclusion
Helping your dog feel secure during stressful situations takes time, consistency, and empathy. By investing a week or two in careful desensitization, proper sizing, and positive reinforcement, you can transform intimidating gear into a comforting tool that eases fear. Always monitor your dog closely, respect their comfort thresholds, and consult a qualified professional if anxiety levels remain severe or unmanageable.