When autumn temperatures begin to dip into the high thirties and the threat of the first hard freeze looms, most homeowners turn their attention to raking leaves, cleaning gutters, and putting away patio furniture. Yet one of the most critical steps in preparing a house for cold weather often gets overlooked until it is too late: protecting exterior water sources. Following a reliable outdoor faucet winterization guide is one of the single most effective ways to safeguard your home against catastrophic water damage, expensive emergency plumbing bills, and the structural stress of frozen pipes.
When water freezes, it expands by approximately nine percent. In a confined, rigid space like a copper or PEX water pipe, that expansion generates immense hydraulic pressure—often exceeding two thousand pounds per square inch. No residential pipe material can withstand that kind of force. When the ice expands and has nowhere to travel, the pipe splits or a fitting ruptures. Once temperatures climb and the ice thaws, water rushes freely through the break, potentially flooding crawlspaces, basements, or exterior walls before anyone notices the disaster. Taking a proactive approach to protecting your hose bibbs before sub-freezing weather arrives ensures your home remains safe, dry, and structurally sound all winter long.
Understanding the Risks of Freeze-Thaw Cracking
To appreciate why winterizing your outdoor plumbing is non-negotiable, it helps to understand the mechanics of freeze-thaw cycles. Exterior faucets, commonly referred to as hose bibbs or spigots, are directly exposed to ambient outdoor temperatures. Even if a home is thoroughly heated inside, the exterior wall penetration leaves the outboard end of the spigot vulnerable to freezing air.
When a garden hose is left screwed onto the spigot during freezing weather, a dangerous trap is created. Water remains trapped inside the hose and the nozzle of the faucet. When this water freezes, it forms an ice plug that seals the end of the pipe. As the freezing front moves backward toward the house, the water trapped inside the faucet barrel cannot expand outward because the ice plug is blocking the exit. Instead, the pressure builds backward through the valve stem and into the supply pipe inside the wall cavity, causing the pipe to fracture well inside the heated envelope of the home.
Even frost-free sillcocks—which are engineered with a long valve stem that places the actual shut-off seat several inches inside the warm interior of the house—are vulnerable if misused. If a homeowner leaves a hose attached during a freeze, the anti-siphon vacuum breaker or the internal barrel can hold standing water. When that water freezes, the brass casing cracks, or the internal seal blows out. As soon as the water is turned back on in the spring, water sprays uncontrollably inside the wall or out across the foundation.
Step One: Disconnect and Drain Garden Hoses
The absolute first step in any proper maintenance routine is clearing the deck of all watering accessories. Go around the entire perimeter of your home and disconnect every garden hose, soaker hose, timer, and nozzle attached to your exterior faucets.
Once disconnected, do not simply coil them up and leave them full of water. Lift one end of the hose and walk it out downhill to drain any standing water trapped inside the coils. Water left inside a rubber or vinyl hose will freeze, expand, and split the hose wall, rendering it useless by spring. After draining, store your hoses in a shed, garage, or basement where they are protected from prolonged exposure to freezing temperatures, which can make vinyl brittle and prone to cracking.
Check all quick-disconnect fittings, backflow preventers, and spray nozzles as well. Shake out any residual moisture and store them indoors. Leaving these small attachments screwed onto the faucet interferes with insulated covers and traps moisture directly against the metal threads, accelerating corrosion and frost damage.
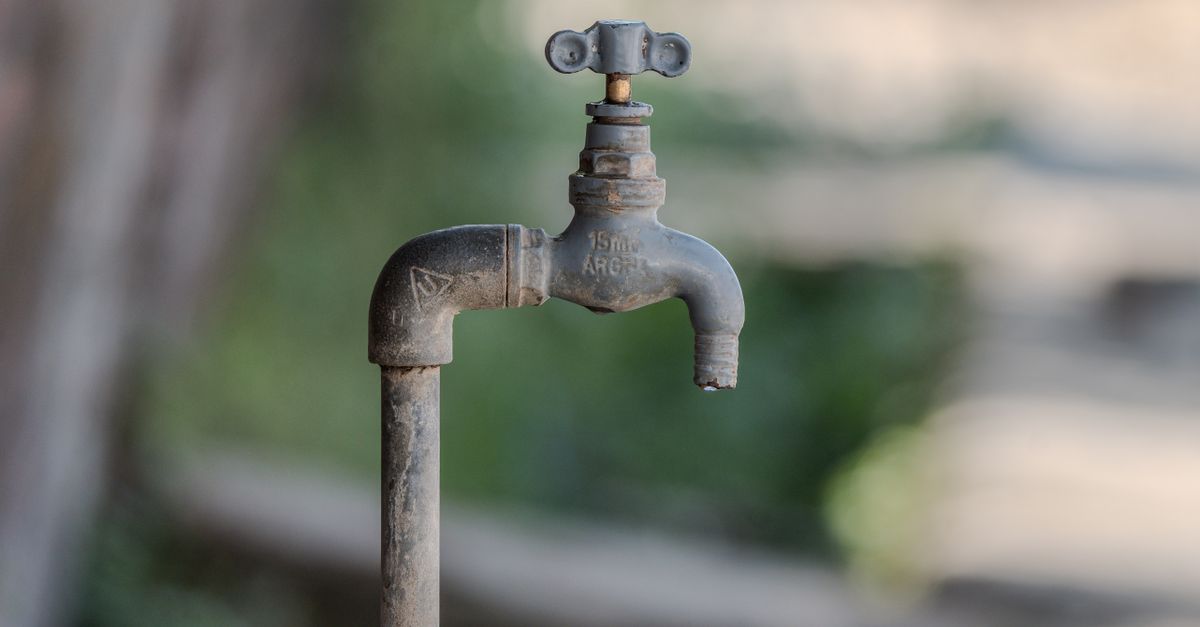
Next, inspect the physical condition of the outdoor faucet itself. Look closely at the brass or chrome-plated body for existing cracks, corrosion, mineral buildup, or loose mounting hardware. Wiggle the spigot handle. Does it feel firm, or is the entire pipe loose against the siding? A loose faucet can flex when you attach a heavy hose, breaking the interior seal or stressing the supply line inside the wall. If the mounting screws are loose, tighten them down carefully, but avoid over-tightening, which can strip the siding or crack the flange.
Step Two: Locate and Shut Off Interior Isolation Valves
The most foolproof method for preventing frozen exterior pipes is to shut off the water supply to the hose bibb from the inside of the house and drain the remaining water out of the line. Not all homes have dedicated interior shut-off valves for exterior faucets, but if your home was built within the last several decades—particularly in northern climates—chances are high that you have them.
Begin your search in the basement, utility room, crawlspace, or garage directly behind the location of the outdoor spigot. Trace the water supply line as it travels from the main water meter or trunk line toward the exterior wall. You are looking for an inline gate valve or ball valve installed specifically on the branch line leading to the outdoor faucet.
Once you locate the interior shut-off valve, turn it clockwise to the closed position perpendicular to the pipe. This cuts off water flow to that specific outdoor spigot, ensuring that even if the exterior portion freezes, it cannot draw water from your home’s main plumbing system.
If you discover that your home does not have interior shut-off valves for your exterior faucets, you may want to consider hiring a licensed plumber to install them during your next plumbing maintenance window. Having that isolation control gives you total peace of mind and makes future repairs or winter prep infinitely easier.
Step Three: Drain the Remaining Water from the Line
Closing the interior valve is only half the battle; water is still trapped inside the pipe run between the indoor valve and the outdoor spigot. If left there, that trapped water will freeze and split the pipe.
To drain the line completely, follow this sequence:
- Verify that the interior shut-off valve is completely closed.
- Walk outside to the exterior faucet and open the handle fully. Leave it open.
- Return to the indoor plumbing line and locate the small bleeder cap or bleeder screw (often called a drain cap) located on the side of the interior shut-off valve, positioned between the valve and the outdoor wall.
- Place a small bucket or towel beneath the bleeder valve to catch the water.
- Unscrew the bleeder cap slightly to let air enter the pipe and allow the trapped water to drain out into your bucket.
- Once the water stops draining, leave both the outdoor faucet handle and the indoor bleeder valve open for the duration of the winter. This open-air path allows any residual condensation or minor seepage to expand without building pressure.
If your system does not feature a bleeder cap, you can still drain the line by opening the interior valve halfway while keeping the outdoor spigot open, though gravity alone will do most of the work if the outdoor faucet is installed at a lower elevation than the indoor valve. In some cases, homeowners use a small portable air compressor to blow out the remaining water from the line, though this requires caution to avoid over-pressurizing older residential copper or PEX lines.
Step Four: Install Insulated Faucet Covers
Even after shutting off and draining your lines, installing an insulated faucet cover provides an essential secondary line of defense. These inexpensive insulating domes shield your hose bibbs from biting winds, freezing rain, and severe temperature drops.
You can find insulated outdoor faucet covers at any hardware store or home center. They typically consist of a dense block of hard foam or a heavy-duty fabric pouch filled with thick insulation, equipped with a rubber gasket and a pull-string or latch mechanism.
To install a hard foam cover:
These covers do not generate heat; rather, they trap the ambient warmth radiating slightly from your exterior walls and prevent icy wind from chilling the metal faucet body. Make sure the foam makes full contact with the wall surface. If gaps exist, cold air can funnel behind the cover and defeat the purpose of the insulation.
Evaluating Frost-Free Sillcocks
Many modern homes feature frost-free sillcocks. These specialized fixtures are designed so that the shut-off valve seat sits deep inside the warm interior of the home—usually twelve to eighteen inches back from the exterior wall. When you turn the handle outside, a long rod extends through the metal sleeve to open the valve far inside the house.
While these fixtures are remarkably reliable, homeowners often misunderstand how they work and assume they require no winter prep. This is a costly misconception. A frost-free sillcock is only frost-free if:
If your home has frost-free sillcocks, you should still disconnect hoses, check for proper exterior drainage slope, and install an insulated cover. If a sillcock has been installed level or sloping backward toward the house, water will pool inside the sleeve regardless of the design, leading to a split pipe right inside your wall cavity.
Troubleshooting Common Winterization Challenges
Maintaining exterior plumbing rarely goes completely according to script. Homeowners frequently run into unique obstacles during seasonal prep. Here is how to handle the most common issues:
Stripped or Stuck Interior Valves
If your interior shut-off valve is old, stuck, or difficult to turn, do not force it with a heavy pipe wrench, as you risk snapping the valve stem or cracking the copper pipe. Apply a small amount of penetrating oil to the packing nut and let it sit. If the valve still refuses to budge, turn off the main water supply to the entire house, drain the system, and replace the old gate valve with a modern, quarter-turn ball valve. Ball valves offer superior reliability and require only a simple ninety-degree turn to shut off completely.
Frozen Faucets That Refuse to Drain
If you open the outdoor faucet and the indoor bleeder cap, but no water comes out, check for a vacuum lock or confirm that the interior valve is indeed fully closed. If the pipe has already begun to freeze slightly, do not attempt to thaw it with an open flame or high-intensity torch, which is a major fire hazard, especially near wooden framing or vinyl siding. Instead, use a hair dryer or wrap the pipe in towels soaked in hot water to gently warm the metal until flow is restored.
Missing Indoor Bleeder Caps
If your indoor shut-off valve lacks a bleeder cap, you can still drain the line effectively by opening the outdoor faucet fully and leaving the interior valve in a partially open position for a few minutes while catching any discharge, then closing the interior valve completely while keeping the outdoor faucet open. This breaks the vacuum and lets most of the water escape.
A Seasonal Maintenance Checklist for Homeowners
To keep your outdoor plumbing pristine year after year, integrate these tasks into your broader home maintenance calendar:
By following this disciplined outdoor faucet winterization guide every autumn, you protect your home’s plumbing infrastructure, avoid the stress and expense of emergency winter repairs, and extend the lifespan of your exterior fixtures for years to come.