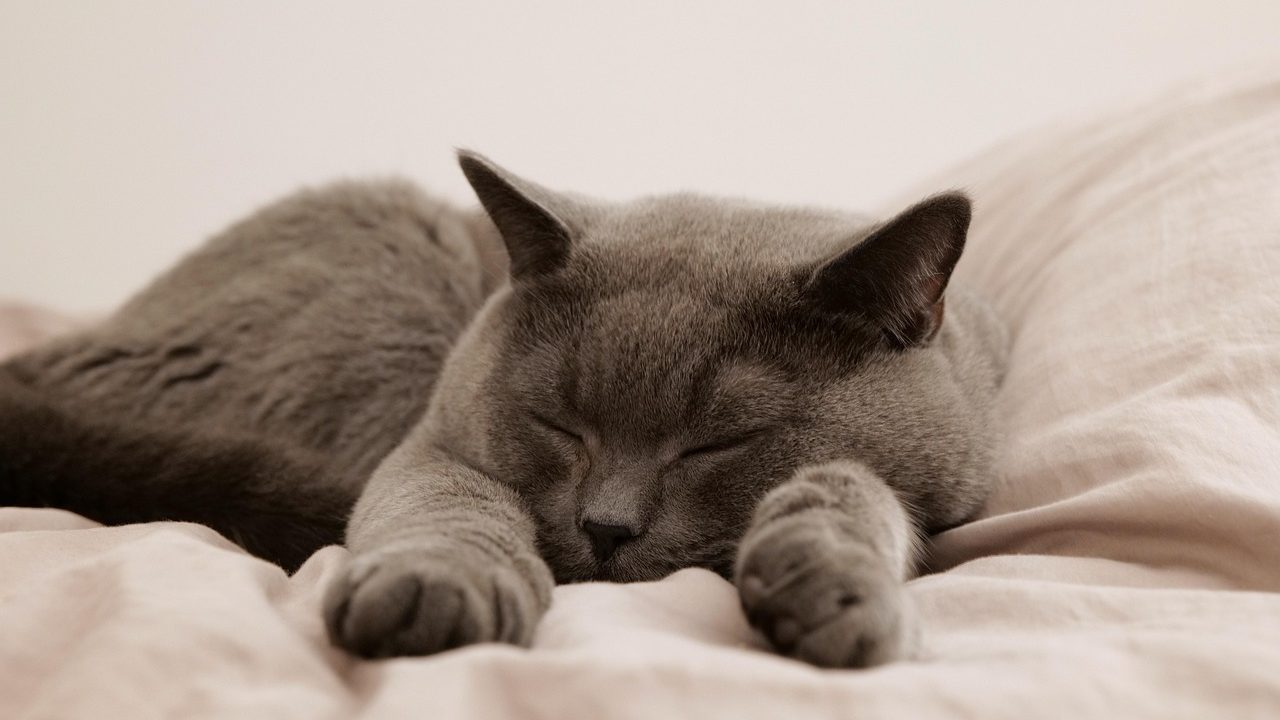
Receiving a feline renal failure diagnosis is a pivotal moment for any pet owner. When your veterinarian recommends subcutaneous therapy, mastering cat chronic kidney disease sub q fluid administration at home US procedures becomes one of the most effective ways to extend your senior cat’s quality of life, maintain their energy, support their appetite, and preserve daily comfort.
Subcutaneous (sub-Q) fluid administration involves delivering a prescribed volume of sterile electrolyte solution directly into the space beneath your cat’s skin. The extensive network of tiny blood vessels in the subcutaneous tissue slowly absorbs this fluid pool over several hours. This systemic absorption compensates for the lost filtering and water-retention capacity of failing kidneys. While medical equipment like IV bags, drip sets, and needles can initially look intimidating to non-medical caregivers, performing this procedure at home quickly becomes a smooth, predictable routine with the right setup, fluid warming protocols, and gentle handling techniques.
This comprehensive guide details everything you need to know to safely manage fluid therapy at home—from gathering essential supplies and properly warming fluid bags to perfecting your needle insertion technique, monitoring flow rates, and managing long-term care with minimal stress for both you and your feline companion.
Understanding Subcutaneous Fluid Therapy for Senior Cats
Cats diagnosed with chronic kidney disease (CKD) gradually lose functional nephrons—the microscopic filtering units within the kidneys responsible for concentrating urine and retaining vital body water. As kidney function declines, the body compensates by flushing excess water through the bladder to wash out accumulating metabolic waste products like blood urea nitrogen (BUN) and creatinine. Even if a senior cat drinks water continuously from bowls or fountains, their digestive system simply cannot absorb fluids fast enough to match the volume lost through the kidneys.
Subcutaneous fluid therapy acts as a direct supplemental hydrator. By depositing supplemental fluids under the skin, you increase total body water, dilute circulating toxins, and cushion organs against the damaging cycles of chronic, systemic dehydration. Unlike intravenous (IV) fluids, which must be administered slowly in a hospital setting to avoid rapid shifts in blood pressure, sub-Q fluids act as a temporary reservoir that the body draws upon gradually according to its physiological needs.
How Sub-Q Fluids Support Failing Kidneys
While subcutaneous fluids cannot restore dead kidney tissue, they neutralize the most debilitating physical side effects of renal failure. Regular home fluid therapy provides several vital benefits:
- Electrolyte balance maintenance: Formulated fluid solutions restore essential sodium, chloride, and potassium balances that are continuously washed away by excessive urination.
- Uremic toxin dilution: Expanding fluid volume lowers the concentration of nitrogenous wastes in the blood, reducing nausea, drooling, mouth ulcers, and the loss of appetite common in uremic cats.
- Constipation prevention: Chronic dehydration draws moisture out of the colon, causing dry, impacted stool. Proper systemic hydration keeps digestion moving smoothly.
- Restoration of energy and vitality: Dehydration causes profound muscle weakness, lethargy, and dull coat condition. Restoring hydration frequently brings back alertness, grooming habits, and playfulness.
Essential Equipment and Supply Logistics
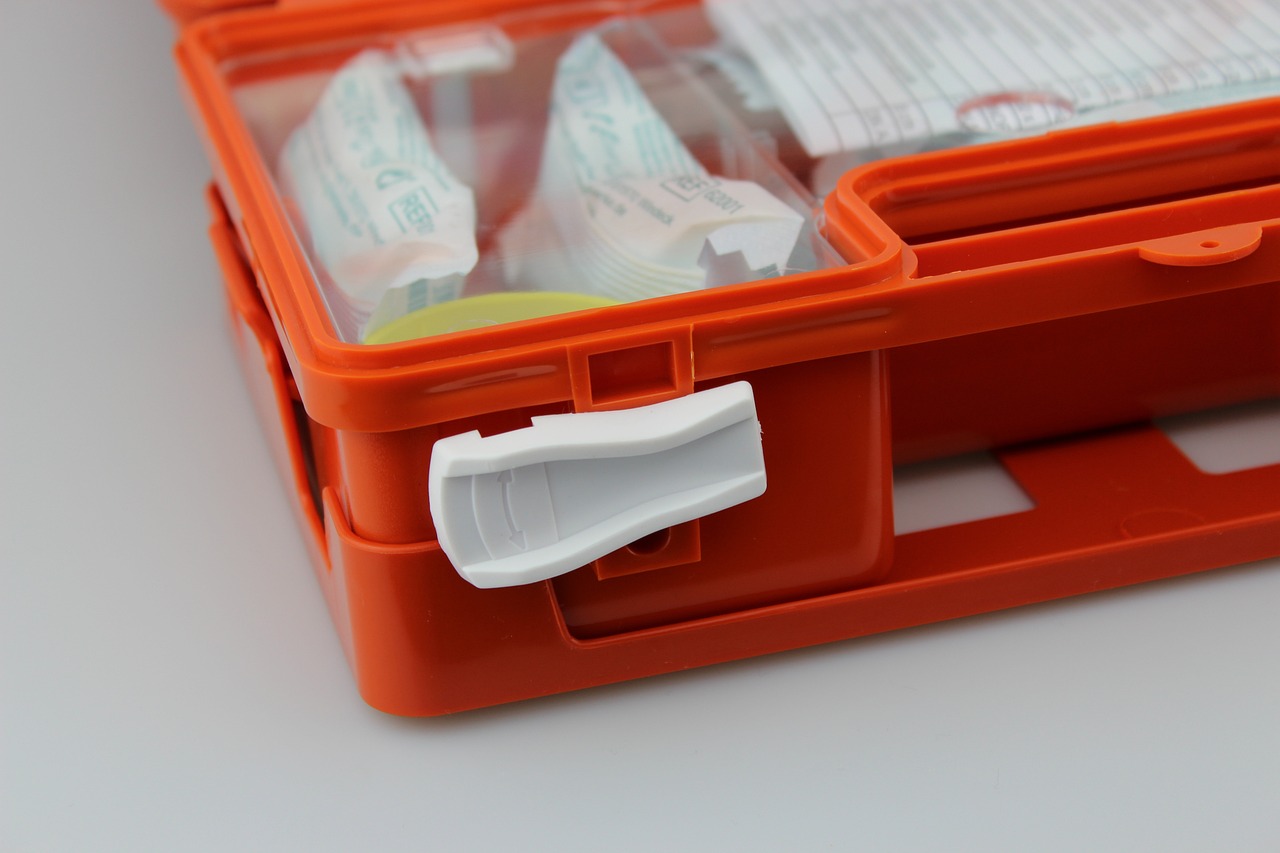
Before giving fluids at home, you will need a complete supply kit authorized by your veterinarian. Having all materials prepared and organized in a dedicated home medical box ensures every fluid session runs efficiently and without unnecessary delays.
Key Supplies Required
- Fluid Solution Bag: Standard veterinary prescription solutions include Lactated Ringer’s Solution (LRS), Normosol-R, or 0.9% Sodium Chloride (NaCl). LRS is most frequently prescribed for feline kidney care because its balanced electrolyte profile and lactate buffer help counteract metabolic acidosis. Fluids typically arrive in 1,000 mL (1 liter) flexible plastic bags.
- IV Primary Drip Set (Administration Tubing): A sterile tubing line connects the fluid bag to the needle. Primary drip sets feature a sharp plastic spike on one end, a clear drip chamber, a roller clamp to regulate or stop fluid flow, and a Luer-lock connector at the patient end. Standard macro-drip sets (which yield 10 to 15 drops per milliliter) are standard for feline sub-Q therapy because they allow rapid fluid flow.
- Sterile Needles: Fresh, ultra-sharp single-use needles are required for every individual session. Common gauges for feline sub-Q fluids range from 18-gauge to 21-gauge, measuring 1 inch in length. Lower gauge numbers represent wider needle diameters: an 18-gauge needle delivers fluids rapidly (reducing administration time), while a 20-gauge or 21-gauge needle is thinner and may cause less sensation upon skin entry, though the fluid will flow more slowly.
- Elevated Hanging Hook: Fluid administration relies entirely on gravity. You will need an IV pole, an over-the-door hook, or a secure wall anchor positioned 3 to 5 feet above your cat’s resting level to ensure high fluid pressure and rapid flow.
- Sharps Container: A heavy-duty, puncture-resistant medical waste container or thick plastic detergent bottle with a screw cap is essential for safely storing used medical needles prior to proper disposal.
| Needle Gauge | Outer Diameter | Flow Speed (100 mL) | Best Used For |
|---|---|---|---|
| 18 Gauge | 1.2 mm | Fast (1–3 minutes) | Calm cats that prefer the session to end as quickly as possible. |
| 19 Gauge | 1.1 mm | Moderate-Fast (2–4 minutes) | An excellent balance between rapid flow rate and patient comfort. |
| 20 Gauge | 0.9 mm | Moderate (3–5 minutes) | Standard choice for most senior cats; minimal insertion discomfort. |
| 21–22 Gauge | 0.7–0.8 mm | Slower (5–8 minutes) | Highly sensitive or small cats where needle insertion sensation must be minimized. |
Preparing and Warming Fluid Solutions Safely
Injecting room-temperature or cold fluid beneath a cat’s skin causes localized chilling, shivering, muscle tension, and unnecessary distress. Cats have a natural body temperature between 100.5°F and 102.5°F. Warming the fluid solution to near feline body temperature (approximately 95°F to 98°F) transforms the administration from an uncomfortable procedure into a soothing, warm sensation that often allows senior cats to relax or purr throughout the treatment.
Safe Fluid Warming Protocols
Never place an IV fluid bag into a microwave oven. Microwaves heat liquids unevenly, creating severe hot spots inside the solution bag. Even if the outside plastic feels lukewarm, hidden internal boiling spots can inflict catastrophic thermal burns on delicate subcutaneous tissues.
Instead, follow this safe, uniform warming method using a warm water bath:
- Keep the fluid bag sealed inside its protective outer plastic overwrap if it is brand new, or place an opened bag inside a clean, watertight Zip-top plastic bag to keep the administration port dry.
- Fill a clean basin or large bowl with warm tap water. Test the water with your wrist; it should feel comfortably warm, similar to bathwater for an infant (around 100°F to 105°F). Never use boiling water, as high heat can degrade the plastic bag and destabilize fluid components.
- Submerge the fluid bag in the warm water bath for 10 to 15 minutes.
- Remove the bag from the water, dry the outer surface thoroughly with a clean towel, and gently invert the bag 5 to 6 times to distribute heat evenly throughout the solution.
- Check the temperature by pressing the flat side of the fluid bag against the sensitive skin of your inner wrist or forearm. The bag should feel pleasant and warm, matching your skin temperature. If it feels hot at all, allow it to cool before proceed.
Step-by-Step Guide to Home Sub-Q Fluid Administration
Executing fluid delivery smoothly requires methodical setup before bringing your cat to the treatment spot. Preparation eliminates fumbling with caps or clamps while holding your pet, ensuring the process is swift and stress-free.
Step 1: Assembly and Tubing Preparation
- Wash your hands thoroughly with warm water and antibacterial soap. Set up your supplies on a clean, well-lit surface.
- Unwrap a new IV administration drip set. Immediately roll the wheel on the roller clamp all the way down into the locked, pinched position to ensure fluid cannot flow prematurely.
- Pull the protective plastic pull-tab off the bottom port of the warmed fluid bag. Remove the protective cover from the plastic spike at the top of the IV drip tubing. Without touching the exposed spike, push and twist it firmly into the bag port until completely seated.
- Hang the fluid bag from your elevated hook or IV stand.
- Gently squeeze the clear plastic drip chamber under the bag once or twice until it fills approximately halfway with fluid. Maintaining this half-full liquid level prevents large air pockets from entering the long tubing line.
- Hold the open end of the long tubing over a sink or small waste container. Slowly roll the clamp wheel upward to open the line, allowing fluid to run down the full length of the tubing. This purges all air from the system. Once a steady stream of liquid flows without air bubbles, roll the clamp completely shut.
- Unwrap a new sterile needle. Firmly attach the needle base to the Luer-lock connector at the end of the IV line with a clockwise twist. Keep the plastic needle cover securely in place until the instant before insertion.

Step 2: Securing Your Cat Comfortably
Choose a small, quiet, carpeted room without hard-to-reach hiding spots under furniture. A bathroom, laundry room, or bedroom works well. Set up a comfortable table-height workstation using a counter, washing machine, or desk lined with a thick, familiar towel or fleece blanket.
If your cat dislikes elevated surfaces, sit on the carpet with your legs extended in a V-shape, cradling your cat gently against your body. Have high-value rewards ready—such as lickable meat puree squeeze tubes, tuna juice, or favorite treats—to offer positive reinforcement throughout the session.
Step 3: Finding and Preparing the Injection Site
The ideal site for subcutaneous fluid administration is the loose skin along your cat’s upper back and shoulder region. This area contains expansive subcutaneous space with minimal nerve density. You can rotate injection locations daily to prevent tissue irritation:
- Over the left shoulder blade
- Over the right shoulder blade
- Along the upper midline behind the shoulder blades
- Over the loose skin of the upper hip/flank region (if shoulder areas become sensitive)
Avoid injecting directly into the tight skin over the sharp ridge of the spine or low down on the lower abdominal flanks, where fluid can collect uncomfortably.
Step 4: Tenting the Skin and Needle Insertion
- Position your cat so they face away from your dominant hand. Offer a lickable treat or have a family member gently hold a treat tube in front of the cat’s nose.
- Using your non-dominant hand, gently grasp a generous fold of loose skin over the shoulder area using your thumb and index finger. Pull the skin straight upward away from the body. This action creates a tented triangle of skin with a hollow pocket underneath.
- At the base of this skin tent, you will see and feel a flat pocket or depression. This is your target insertion zone.
- With your dominant hand, pull the protective cap straight off the needle. Hold the needle base like a dart, keeping the sharp, angled opening of the needle (the bevel) facing upward toward the ceiling.
- Position the needle parallel to your cat’s spine, aiming straight into the center of the skin tent pocket. In one swift, smooth, confident motion, slide the full length of the needle into the space under the skin. Avoid angling the needle downward toward the body muscles or upward through the opposite side of the skin tent.
- Once the needle is fully inserted, lower your hand holding the skin tent slightly so you can hold the needle hub flat against the cat’s coat to prevent twisting or dislodgement.
Step 5: Administering the Fluid Prescribed Volume
- With your free hand, roll the roller clamp on the IV line all the way open. You should immediately see rapid, steady dripping or a continuous stream in the clear upper drip chamber.
- If fluid drips extremely slowly or stops entirely, the needle tip may be resting against the inner skin wall or fat tissue. Gently twist the needle hub slightly between your fingers, or lift the skin pocket slightly to reposition the tip within the open subcutaneous cavity.
- Monitor the measurement lines printed on the side of the 1,000 mL fluid bag. For example, if your starting line was at 200 mL and your veterinarian prescribed a 100 mL dose, you will stop the flow when the fluid level reaches the 300 mL mark.
- While the fluid flows, a soft, spongy bulge (often called a fluid pocket or camel hump) will visibly form under your cat’s skin. This is completely normal and represents the concentrated volume waiting to be absorbed.
Step 6: Completing Administration and Needle Removal
- When the fluid reaches the target volume mark on the bag, roll the IV line roller clamp down into the fully locked position.
- Gently press your fingers against the skin immediately surrounding the needle insertion point.
- In one swift, smooth motion, pull the needle straight backward out of the skin.
- Maintain gentle finger pressure over the insertion point for 30 to 60 seconds. A few drops of clear fluid or a tiny speck of blood may leak out of the needle hole; this is harmless and stops quickly with light pressure.
- Recap the used needle carefully and unscrew it from the tubing line. Immediately discard the needle into your approved sharps container. Never reuse a needle, as even a single insertion dulls the delicate bevel and increases skin resistance and pain on subsequent attempts.
- Reward your cat immediately with praise, physical affection, and high-value treats to create a positive emotional association with the process.
Managing Cat Behavior and Reducing Therapy Stress
Consistency, calm energy, and environmental management are essential for building a long-term fluid routine. Cats feed on human emotional states; if you approach fluid therapy with anxiety or hesitation, your cat will anticipate danger and attempt to escape.
Stress-Reduction Strategies
- The Towel Wrap (